A quick guide for adding subtitles to a video on VLC
X
This article was co-authored by wikiHow staff writer, Jack Lloyd. Jack Lloyd is a Technology Writer and Editor for wikiHow. He has over two years of experience writing and editing technology-related articles. He is technology enthusiast and an English teacher.
This article has been viewed 346,749 times.
Learn more...
This wikiHow teaches you how to add a subtitle track to a video in VLC media player. As long as you have the subtitle file in the same folder and under the same name as the video with which you want to use it, you should be able to select the subtitle from VLC's "Subtitle" section.
Steps
Part 1
Part 1 of 2:
Setting up the Subtitle File
-
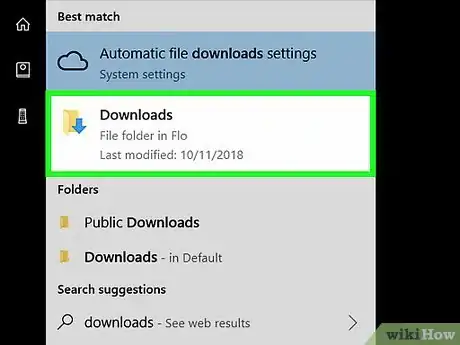
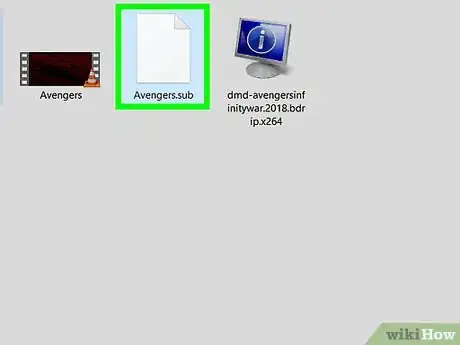
1Find your subtitle file. Go to the folder in which your subtitle file is stored.
- You'll need to create the subtitle file if you don't have one.
- The file is probably in the Downloads folder if you downloaded it from online.
-
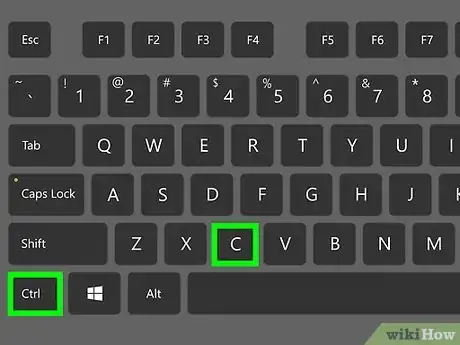
2Copy the subtitle file. Click once the subtitle file, then press either Ctrl+C (Windows) or ⌘ Command+C (Mac).Advertisement
-
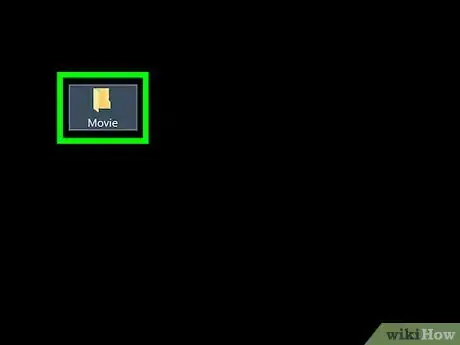
3Go to the video's location. Open the folder in which the video you want to subtitle is located.
-
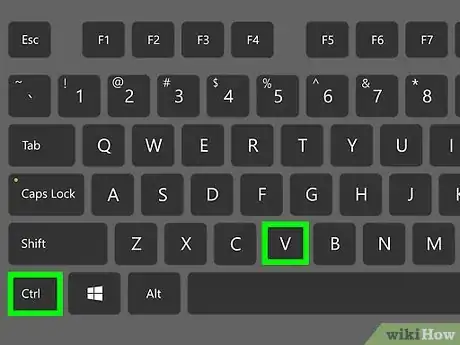
4Paste in the subtitle file. Press Ctrl+V (Windows) or ⌘ Command+V (Mac) to do so.
-
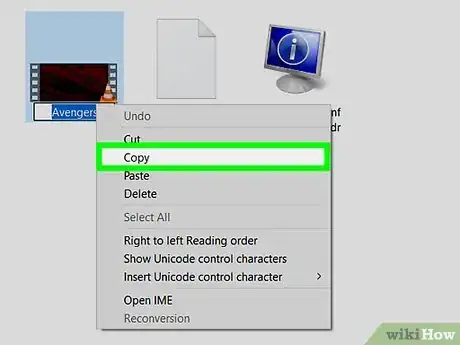
5Copy the video's name. You'll need to rename the subtitle file to match the video's exact name:
- Windows — Right-click the video, click Rename, press Ctrl+C, and press ↵ Enter.
- Mac — Click once the video, click the video's name, press ⌘ Command+C, and press ↵ Enter.
-
6Rename the subtitle file using the video's name. Right-click the subtitle file, click Rename, and press Ctrl+V to paste in the copied video name. You can then press ↵ Enter to save your changes.
- On a Mac, click once the subtitle file, click once the subtitle file's name, and press ⌘ Command+V to paste in the name, then press ⏎ Return.
Advertisement
Part 2
Part 2 of 2:
Selecting the Subtitle
-
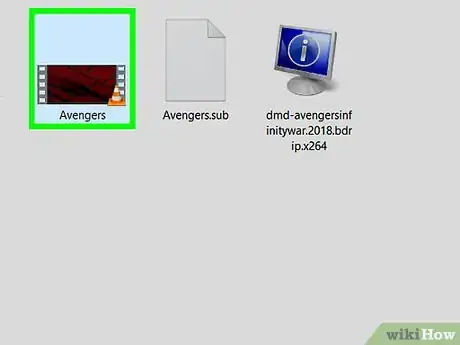
1Select the video. Click once the video to do so.
-
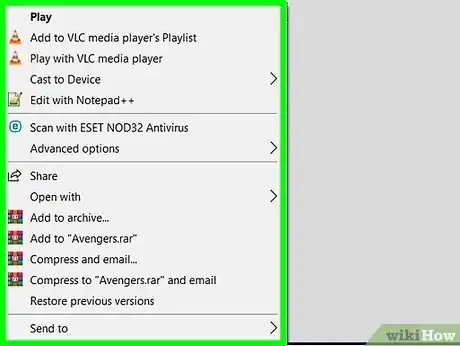
2Right-click the video. This will prompt a drop-down menu.
- On a Mac, click File in the menu bar instead.
-
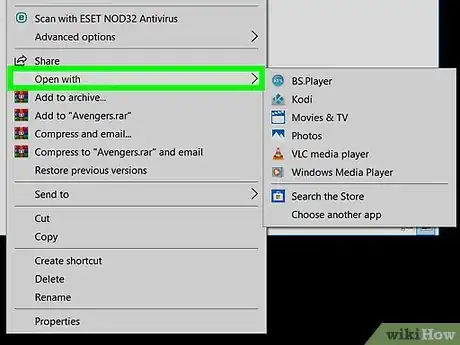
3Select Open with. It's in the drop-down menu. Doing so prompts a pop-out menu to appear.
- On a Mac, you'll instead select Open With in the File drop-down menu.
-
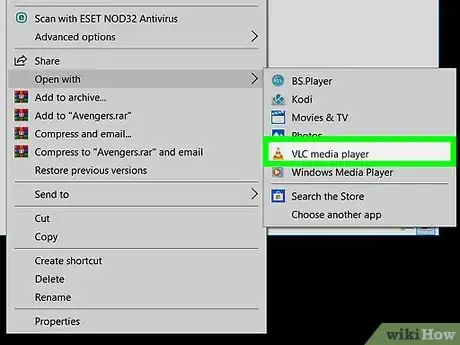
4Click VLC media player. This should be in the pop-out menu. Your video will open in VLC.
-
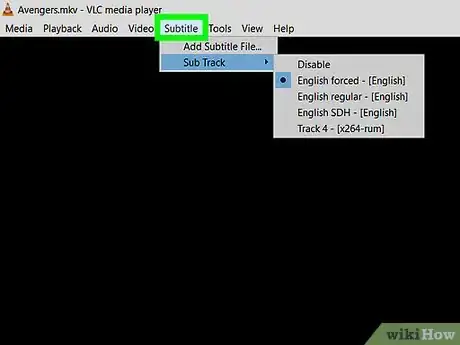
5Click Subtitle. It's at the top of the VLC window. A drop-down menu will appear.
- On Mac, this option will say "Subtitles" in the menu bar at the top of the screen.
-
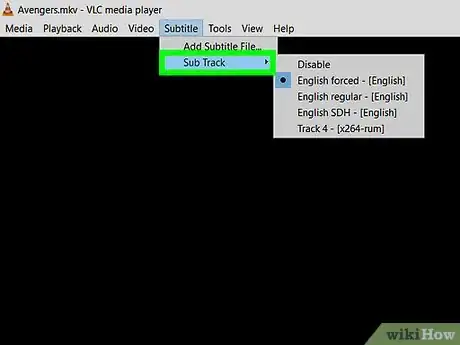
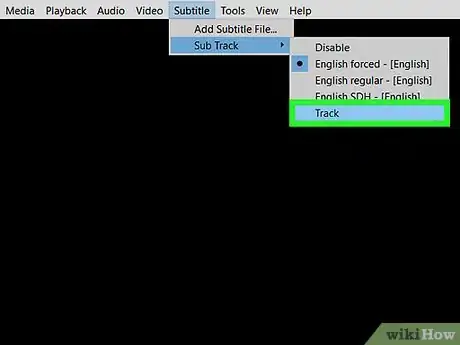
6Select Sub Track. This is in the Subtitle drop-down menu. An additional menu will pop out.
- On Mac, this option sill say "Subtitles Track" instead.
-
7Click Track 1. It's in the pop-out menu. You should now see your subtitles appear at the bottom of your video.
-
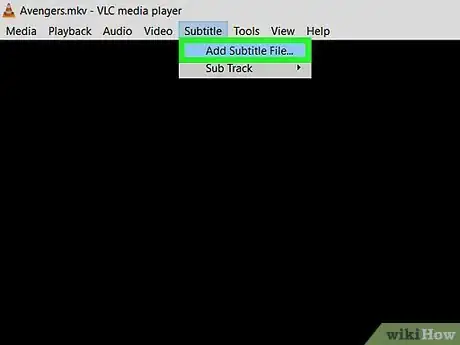
8Import the subtitle file if necessary. If VLC is having trouble finding or displaying the subtitle file, you can import it into your VLC session by doing the following:
- Click Subtitle.
- Click Add Subtitle File... in the drop-down menu.
- Select your subtitle file.
- Click Open or Choose.
Advertisement
Community Q&A
-
QuestionWhat if there is no option for a subtitle track in the video button?
 Community AnswerIn the latest VLC Media Player (2.2.4), the option should be found under: Subtitle > Add Subtitle File...
 -
QuestionThere is no "show the subtitle" option, so what can I do now?
 Community AnswerDownload a subtitle file on the internet, go on the subtitle menu and go to add subtitle file.
 -
QuestionHow can I add a subtitle only once?
 Community AnswerMake a folder. Put both movie and subtitle (.srt file) in that folder. Now rename the subtitle file to be exactly the name as the movie file. Now after the first time of adding the subtitle, it will be added automatically.
Advertisement
Warnings
- If your subtitle file doesn't work with VLC, it's most likely corrupted. Double-check the subtitle file's syntax (e.g., the spacing and formatting of the subtitle file's lines) before trying it again.⧼thumbs_response⧽
Advertisement
About This Article
Advertisement
