This article was co-authored by wikiHow staff writer, Nicole Levine, MFA. Nicole Levine is a Technology Writer and Editor for wikiHow. She has more than 20 years of experience creating technical documentation and leading support teams at major web hosting and software companies. Nicole also holds an MFA in Creative Writing from Portland State University and teaches composition, fiction-writing, and zine-making at various institutions.
There are 7 references cited in this article, which can be found at the bottom of the page.
The wikiHow Tech Team also followed the article's instructions and verified that they work.
This article has been viewed 300,809 times.
Learn more...
Pictures in print materials enhance the information provided, add visual interest and evoke emotion. Adobe InDesign is a desktop publishing software program that allows users to create a variety of print products. Knowing how to add pictures in InDesign will allow you to create compelling print documents that are also visually appealing.
Steps
-
1Open Adobe InDesign.
-
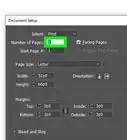
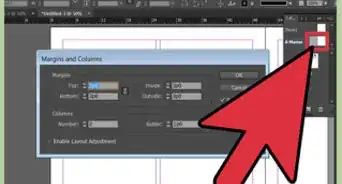
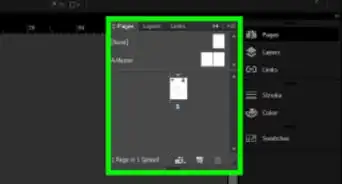
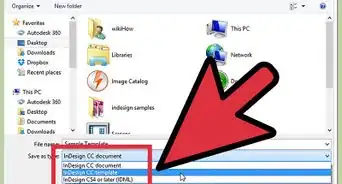
2Open the InDesign document you will be working from. Do this by selecting File>Open from the Control panel at the top of your workspace. If you do not have an existing InDesign document to work from, create a new document by selecting File>New>Document and specifying the settings for your new document.Advertisement
-
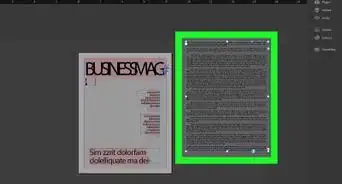
3Click File>Place in InDesign's Control panel. Navigate to the picture file you would like to import and double click the file name.
-
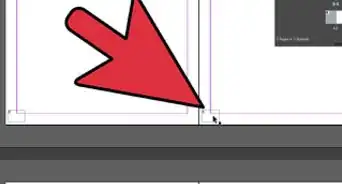
4Drag and place your picture to your desired position and click your mouse.
-
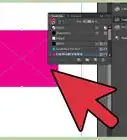
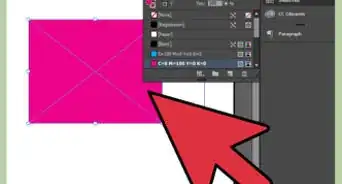
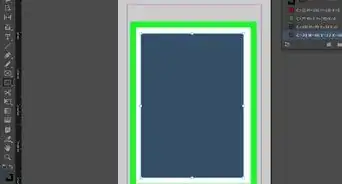
5Adjust the size of your picture, if necessary, by selecting the picture using your Select tool and clicking one of the handles (small squares) located on the frame. Drag the handle while simultaneously holding the Control and Shift keys (Or for a mac, Command+Shift). Holding the Shift key will adjust the pictures size proportionally. If you want to crop out a particular portion of your picture, hold only the Control key as you drag the handle. You may also enter precise values for the pictures height and width in the Height and Width fields located in the Control panel.
-
6Repeat these steps for all pictures you wish to add.


Community Q&A
-
QuestionWhat are linked images?
 Community AnswerLinked images are pictures that redirect you to another page when you click on them.
 -
QuestionHow do I bring text to the front?
 Khadijah O.Community AnswerIf you are using Word, highlight the text, right-click, and click bring to the front in the text wrapping.
 -
QuestionHow do I make sure my pictures are JPEGs in InDesign?
 Community AnswerYou'll want to avoid using JPEG's in InDesign. Try using TIFFS. JPEGs won't print when you're using InDesign.
Things You'll Need
- Computer
- Digital picture files

References
- http://help.adobe.com/en_US/InDesign/6.0/WSa285fff53dea4f8617383751001ea8cb3f-715aa.html
- http://help.adobe.com/en_US/InDesign/6.0/WSa285fff53dea4f8617383751001ea8cb3f-6bc4a.html
- http://help.adobe.com/en_US/InDesign/6.0/WSBAC794A2-274A-466f-8254-11FB23B86A5Fa.html
- https://en.wikipedia.org/wiki/Image_resolution
- http://help.adobe.com/en_US/InDesign/6.0/WSa285fff53dea4f8617383751001ea8cb3f-6be1a.html
- http://help.adobe.com/en_US/InDesign/6.0/WS41D0E11E-2D62-4d63-9CA1-4CDAACACB6C0a.html
- http://www.techsoup.org/learningcenter/software/page6045.cfm
About This Article

1. Open your document.
2. Click File.
3. Click Place.
4. Select an image.
5. Click Open.
6. Drag the handles to resize.
7. Drag the image to the desired location.