This article was co-authored by Robin Smith, a trusted member of wikiHow's volunteer community. Robin has been writing and publishing children's picture books for over a decade, with direct experience publishing on Kindle Direct Publishing. Robin has over 20 books available and is continuing to write more.
wikiHow marks an article as reader-approved once it receives enough positive feedback. In this case, 92% of readers who voted found the article helpful, earning it our reader-approved status.
This article has been viewed 34,729 times.
Learn more...
This guide will walk you through the major steps of writing a picture book for the preschool-aged child. You will note that the process requires publishing software, and has a learning curve for that software as well as working with online, POD publishing companies.
Steps
Planning Your Book
-
1Decide on a story idea. You will want to have between 24 and 34 pages that tell your story. Select a theme that will be enjoyed by preschoolers through the age of 7 years old (and that parents and teachers will enjoy reading aloud to children.) Set a working title that matches your story.
- In creating a story use themes of family, adventure, confidence, creativity, imagination, and any others that will interest the target audience of small children, and those that care for them or teach them.
-
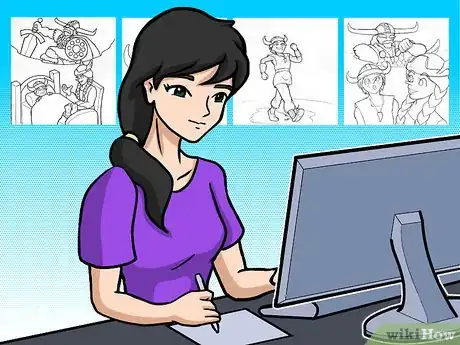
2Create a storyboard. It should walk you through each page of the story, and takes into account the needed text, illustrations, and artwork. The storyboard is a working, flexible document and you will change it as needed as you write and create the story.
- Storyboards are vital in planning out the pages and flow of your story, as well as noting what illustrations, text, and backgrounds are needed. Your storyboard can be one large sheet of paper divided into book pages, or it can be a binder or flip chart. DO NOT SKIP the storyboard process, it's the map of your story-telling destination!
Advertisement -
3Write for your audience. If you tackle sensitive issues, such as loss, sorrow, bullying, etc., make efforts to keep the story from being too dark. You can show bullying or sorrow and still create a picture book suitable for reading to a very young child. Make bright, colorful books, with overall happy messages, while still addressing the central themes.
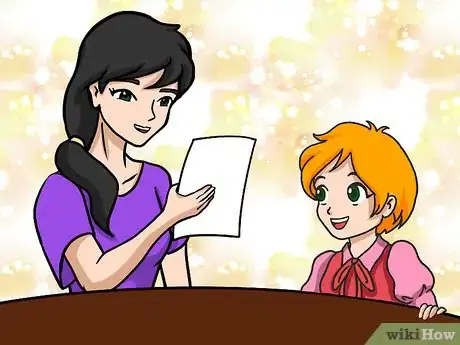
- Write like an adult, think like a child! Read your story to a child, it's the best way to see if you've done a good story-telling job.
- Add humor! A touch of humor is always a great idea!
-
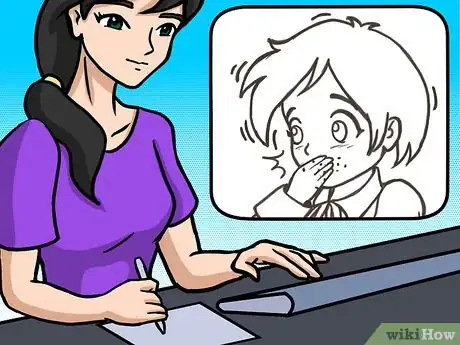
4Plan your illustrations. Once you have written all the text needed to tell the story, you will note on the storyboard what illustrations are needed to show your story. Begin drawing the needed sketches, drawings, doodles for each page.
-
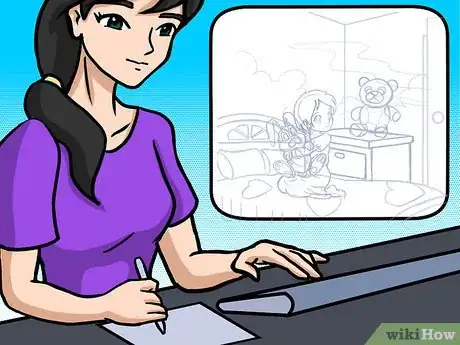
5Pick a design for your pages. Decide if you are going to have a background color or pattern on your picture book pages, or if you will leave the pages white. If you decide to use backgrounds, you will need to create a background for each page. Again the storyboard is a great place to organize notes on the kind of background needed for each illustrated or text only page.
Putting Your Book Together
-
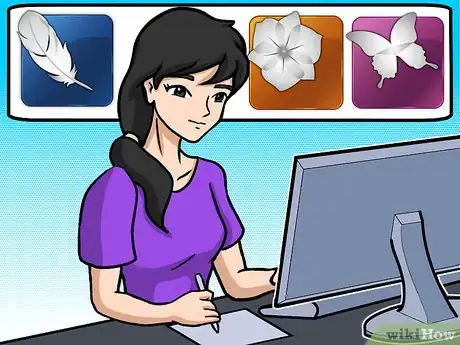
1Pick software to put together your book. To combine your different layers of your story to get ready to publish, you will need software (Adobe Photoshop, Illustrator or InDesign). There are free tutorials that walk you through learning the software available on KDP.com, and Adobe.com, as well as in the software programs themselves.
- Adobe Illustrator has a feature called Image Trace, that will remove the white background from black and white line drawings in one or two clicks!
- KDP.com offers templates for book layouts, as well as a user community forum to answer any questions you may have.
-
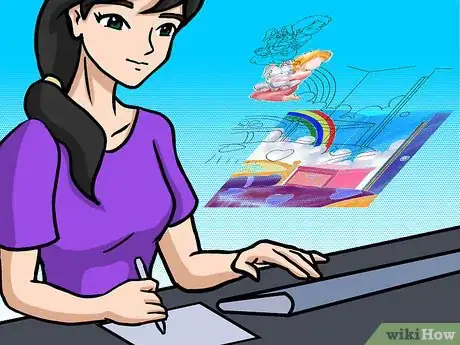
2Envision your book as layers. In Adobe or other publishing software, you will combine your story layers, backgrounds (or white page), followed by illustrations and on a top layer, text. Adobe Illustrator handles text better than Photoshop, and it's best to type text into InDesign last, after placing backgrounds and picture. Copying text over from other applications can make your text blurry and unreadable. Use Photoshop for altering the illustrations for color, size, perspective, but use InDesign for text.
-
3Save your file first in your publishing software! This will be your master copy if you later need to make changes. Don't rely on your PDF version as your only copy. You want to be able to make improvements to the original file later.
-
4Convert it to PDF. Once you have your full book in InDesign, or your other publishing software, you will need to use the save as feature to convert the pages to one PDF file. A single PDF file is needed to upload to a Print-on-Demand (POD) publisher, such as KDP (Kindle Direct Publishing) or Lulu.com
- If your file is too large you will not be able to upload it for printing/publishing. Make smaller files by selecting "Optimizing for the Web", and not selecting "include Thumbnails, or Illustrator's ability to change." Now you have two copies, your master Illustrator file, and a single PDF file in a smaller size for upload to POD.
-
5Decide on a title and work on cover art for your book. KDP has temples that will help you design your cover, and get the correct size that includes front, back and spine in one larger file. The interior storybook file -- the single PDF, and the cover file are uploaded separately to the online publisher.
Reviewing Your Book
-
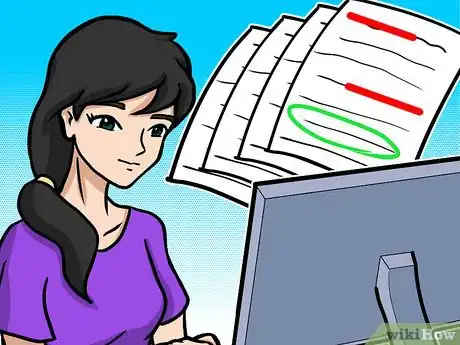
1Review your storybook on line in a digital version. Make any corrections for typos, wording , or desired changes to artwork. This is a good time to set the final title for your book, or keep the working title if you like it! When you like what you see digitally, you will be ready for the next step.
-
2Order a printed proof copy. Both Lulu.com and KDP.com encourage you to order a proof copy before you approve your picture book file and cover for publication. While proof copies are only between $7 - $10 in cost depending on page count , color use and publisher chosen, you should make as many changes in the master InDesign file after viewing the digital / free copy of your book. KDP will allow changes even after you book is published. You will need to upload a corrected PDF book file.
- Get your book as close to typo free and as perfect as possible before you order the first proof. Use printed proofs to see how the publisher is true to color, how you like the placement of text and artwork, and for any creative changes you wish to make. Your goal is to need no more that 2 or 3 proof copies in getting to a perfect, printable file for publishing.
-
3Use your proof to fix any mistakes. At each proof, check for typos, color, text and art placement, and for any changes that will enhance your story. Carefully check your cover, front and back, and the outside and inside margins and gutters.
- Did the color "full bleed" if you intended it to, (color right to the edges of the pages)?
- Is the inside white gutter just right, or showing too much white?
-
4Experiment with small changes. Use of color can create emotion and tone, grays for rainy scenes, greens and yellows for spring, happy times, etc. Consider "sub-visuals" - any artwork or drawings that show activity, emotion or tell a separate story from that which is the main story of the book. Sub-visuals can add another layer of interest to a story, gently and visually.
-
5Get feedback from friends and family. Ask those you trust to tell you the truth. Honest criticism will only improve the story and your work. Input from others can be helpful beyond just finding typos or errors on art. Sometimes family or friends will have ideas to make the story or art better, clearer or more interesting. Be open to new ideas and approaches that you can use to improve your final story.
-
6Read your story to a child. Beyond marketing, the success of your book ultimately depends on whether it is a good reading experience for the preschool set. Create stories they want to hear about with issues that interest them, s wells those that have a bit of fun, and life in them. Don't talk down to your audience; Successful children's authors such as Dr. Seuss (The at in the Hat), Sendak (Where the Wild Things Are), (If You Give a Mouse a Cookie), and other standards of picture books -- will set the level of writing.
Publishing Your Book
-
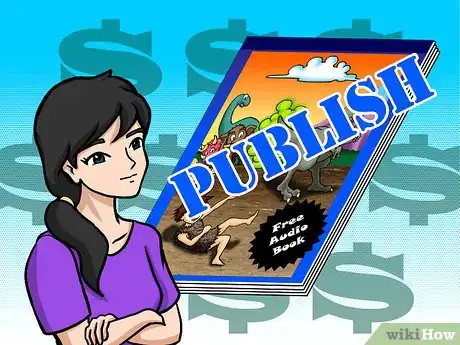
1Publish! You can publish your book traditionally or you can self-publish it. If self-publishing, oce you have a printed proof that you feel is ready to publish and sell, you are ready to approve your file with the POD publisher (Create Space. Lulu, or other). After this step, your book is published -- and you can tell people to purchase it in online bookstores. You can buy cheaper author copies and sell your book yourself!
- *Publishing requires an ISBN#, in the publishing process, you will be given a choice to use the POD free ISBN, or purchase one of your own.
-
2Deal with any errors you find thereafter. If errors in proofs are in your file, and as such author error, you will need to make changes to the master illustrator file, and re-convert to a PDF copy, then upload that file to replace the bad file. If errors are the POD publishers fault, or printing errors not seen in the digital file, contact the POD publisher for replacement copies.
-
3Enjoy - and sell - your book. Once you have approved the files and published your book, you should begin to sell author copies as well as market your book via online bookstores, your website, blogs and social media. Having a video created of your story is a great way to market the book and yourself as a writer.
- Don't get discouraged over marketing , sales, etc. At best, everyone will read your books... At worst, your friends and family, children, grandchildren and great-grandchildren will read them! That's not a bad legacy, now is it?
Warnings
- Writing and publishing takes time. Only you can decide if you have the time and energy needed to devote to the writing process. You may have one story idea now, but it is best to have many story ideas and to write several books. This establishes you as a writer with range You will have different stories for different themes, emotions, holidays or topics. If a publisher is interested in one of your books, they may be interested to see what else you have written! If you do not get the attention of a publisher, POD and self publishing will be the path to creating your books.⧼thumbs_response⧽
Things You'll Need
- Desktop publishing software
- Tutorials, books to learn the publishing software
- Art supplies, markers, paper, notebooks
- Budget of $25 to $50 or even less, for proof copies, and money to purchase author copies for sale.
- Laptop or computer at least a year new, so it's fast enough and powerful enough to handle the needed graphics and large publishing software programs.
- If you have the resources, classes at a nearby college or online can be very valuable! It can cut the learning time down for using and working with InDesign, Illustrator or Photoshop.
