This article was co-authored by wikiHow Staff. Our trained team of editors and researchers validate articles for accuracy and comprehensiveness. wikiHow's Content Management Team carefully monitors the work from our editorial staff to ensure that each article is backed by trusted research and meets our high quality standards.
There are 9 references cited in this article, which can be found at the bottom of the page.
This article has been viewed 24,327 times.
Learn more...
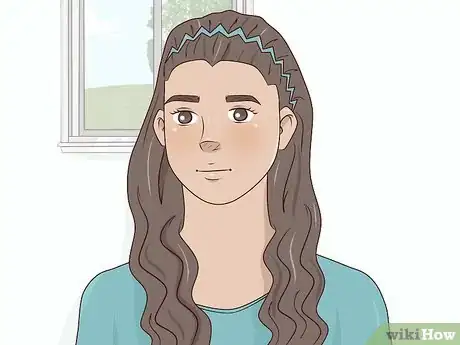
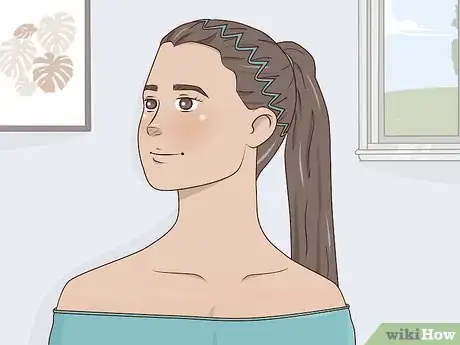
A zig zag headband is a fun hair accessory that pulls your hair back while leaving unique lines. The most common type of zig zag headband is one that's super flexible and wraps around your head, but there are also rigid plastic ones that are used like a regular headband. Wearing one is super easy and just requires a comb to slick back your hair. A zig zag headband looks great with many different hairstyles, like a bun, ponytail, braid, or loose curls.
Steps
Placing the Headband in Your Hair
-
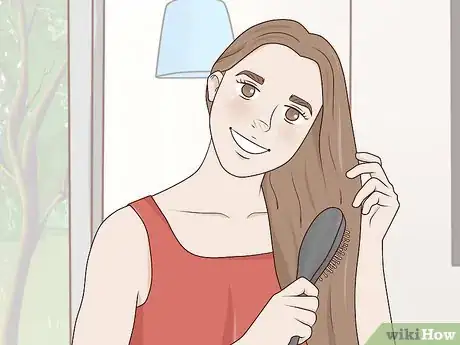
1Add anti-frizz products to your hair and blow dry it so it's straight. If your hair tends to frizz easily, apply a dollop of styling cream or a smoothing product to your hands and spread it through your hair, focusing on the top section where your headband will be. It's also a good idea to blow dry the top section of your hair straight back so that it'll be smooth for the headband.[1]
- Dampen your hair slightly with water before you add the styling anti-frizz product and blow dry your hair.
- Use a round brush to blow dry the top section of your hair for the best results.
-
2Comb your hair back so it’s untangled and slicked back slightly. Use a regular brush or a comb to brush your hair back from your face. Move the brush from the top of your forehead to the back of your head, untangling the hair that will be slicked back by the headband.[2]
- Try to comb your hair back so your part is no longer visible.
Advertisement -
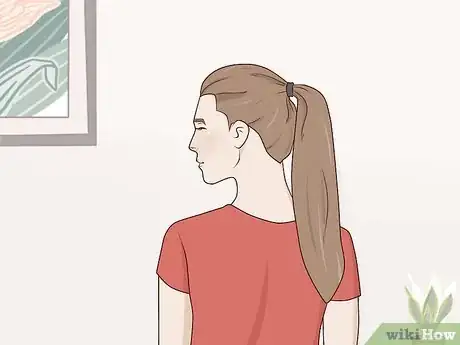
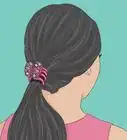
3Put your hair up in a ponytail to keep it out of your face. Once your hair is combed back, pull it into a ponytail at the back of your head. This is to keep your hair slicked straight back and make it easier to put the headband in without having to move the hair around your face.[3]
- Avoid making the ponytail super tight so your hair is able to move when you put the headband in.
-
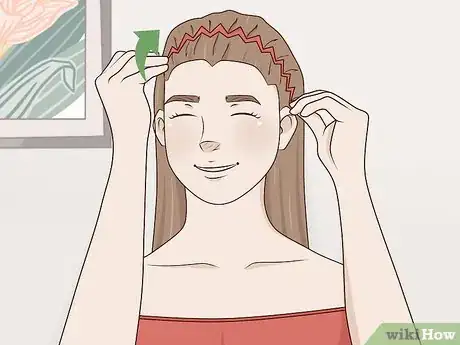
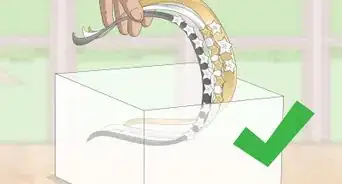
4Unlatch a bendy zig zag headband and stretch it around your head. Situate the headband so that the spiked side is facing you. Slide the headband into your hair starting at the front of your head and continue positioning it along both sides of your head so it goes all the way around. Fasten the zig zag headband at the nape of your neck once it’s on.[4]
- Since the zig zag headband is stretchy, it’ll be easy to pull it around your entire head.
-
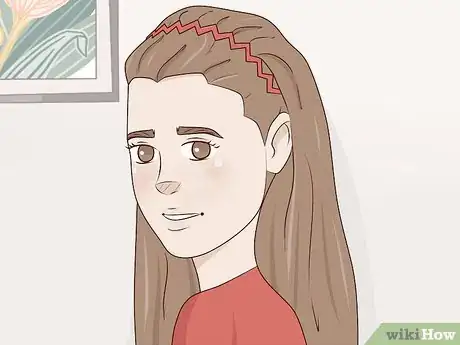
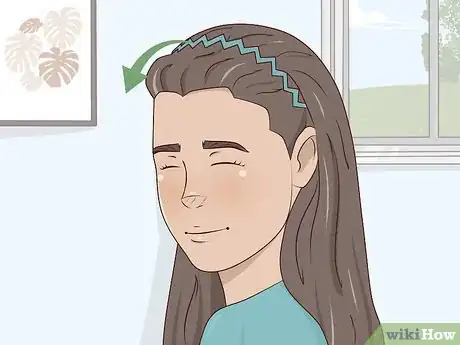
5Push the headband as far back on your head as you’d like. As you push the headband back into your hair, the teeth will create lines, giving your hair a unique look. Choose to keep the zig zag headband near the front of your head to just keep stray hairs out of your face, or opt to push it farther back for a slicked back look.[5]
-
6Use a rigid zig zag headband if you want a quick fix. While most people think of the stretchy zig zag headband as being the most popular, there are also rigid plastic zig zag headbands. These have the same zig zag shape to them but you put them on just like you would a normal plastic headband. Slide the rigid zig zag headband into place so that each end is behind your ears.[6]
- These headbands don't need to be fastened at the nape of your neck.
Choosing a Headband Hairstyle
-
1Curl your hair and slide the headband into place for a classic look. For a simple style, use a curling iron to add soft curls to your hair. Comb back the front of your hair so it’s out of your face and position your headband on your head. Slide the zig zag headband back into place how you’d like it in your hair and leave the rest of your curls down to frame your face.[7]
- Add a heat protectant spray to your hair before you curl it to prevent damage.
-
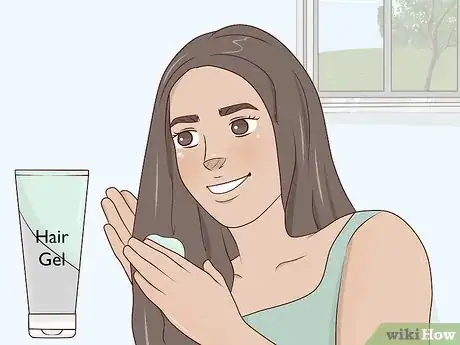
2Put gel in your hair to create a wet look with your headband. Squeeze out a pea-sized amount of hair gel and use a comb to comb it through your hair where the headband will go. Put the zig zag headband in your hair and push the headband back. The gel will define the lines made by the headband and ensure that your hairstyle stays in place.[8]
- This works with both a rigid zig zag headband and a flexible one.
-
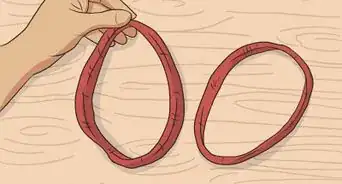
3Wear a zig zag headband with your hair in a bun for an elegant look. Create the bun first by combing your hair back into a ponytail, twisting the ponytail to form the bun, and securing the bun with a hair elastic and bobby pins. Then place the zig zag headband around your head near your hairline and slide it back to form the distinct lines in your hair.[9]
- Create a high bun on top of your head or opt for a low bun near the nape of your neck.
-
4Create a pouf with the headband to give your hair some volume. Position the zig zag headband in your hair and slide it back about 2–3 in (5.1–7.6 cm) from your hairline. To form the pouf, pull the headband back gently in the opposite direction (towards your forehead) so that volume is added to the front of your hair.[10]
- The pouf is easiest to create with a rigid zig zag headband.
- The closer you pull your headband back to your hairline, the larger the pouf you’ll create.
-
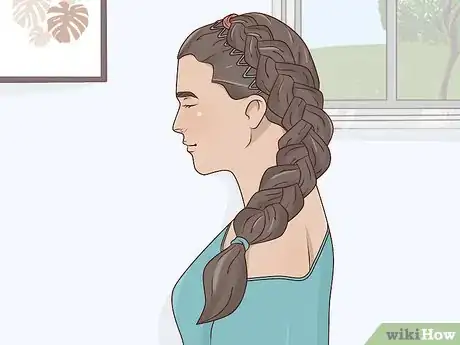
5Braid your hair while wearing the headband for a cute look. Brush your hair back from your face and place the zig zag headband in your hair. Braid your hair by forming two french braids, one long braid down your back, or any other type of braid you’d like. Once the braid is secure, put the finishing touches on your headband by pushing it forward or back on your head.[11]
- Use hair ties and bobby pins to keep your braid secured.
-
6Wear a ponytail with your headband to keep your hair out of your face. Brush your hair back and pull it up into a ponytail, securing the ponytail with a fun scrunchie or plain elastic. Push a rigid zig zag headband onto your head for a quick fix or position a flexible one around your head to pull any stray hairs back.[12]
- If you want to add a little poof to your hair, put the zig zag headband on first, situate it how you’d like it on your head, and then pull your hair up into a ponytail.
References
- ↑ https://www.schwarzkopf.international/en/hairstyling/hairband/zig-zag-headband.html
- ↑ https://www.youtube.com/watch?v=aYJdz1CbWb0#t=21s
- ↑ https://www.youtube.com/watch?v=aYJdz1CbWb0#t=44s
- ↑ https://www.youtube.com/watch?v=aYJdz1CbWb0#t=48s
- ↑ https://www.youtube.com/watch?v=aYJdz1CbWb0#t=1m5s
- ↑ https://www.schwarzkopf.international/en/hairstyling/hairband/zig-zag-headband.html
- ↑ https://www.schwarzkopf.international/en/hairstyling/hairband/zig-zag-headband.html
- ↑ https://magazine.lorealprofessionnel.com/article/90s-hairstyles-remember-the-zigzag-headband_a3449/1
- ↑ https://magazine.lorealprofessionnel.com/article/90s-hairstyles-remember-the-zigzag-headband_a3449/1

