X
This article was co-authored by Bess Ruff, MA. Bess Ruff is a Geography PhD student at Florida State University. She received her MA in Environmental Science and Management from the University of California, Santa Barbara in 2016. She has conducted survey work for marine spatial planning projects in the Caribbean and provided research support as a graduate fellow for the Sustainable Fisheries Group.
This article has been viewed 31,368 times.
Eppendorf pipettes are a common laboratory tool used to measure and transport liquid. Due to the cost of these useful instruments, you’ll have to take care to preserve their condition. Pipettes also have different colored tips which represent different dosages.
Steps
Part 1
Part 1 of 3:
Setting the Pipette
-
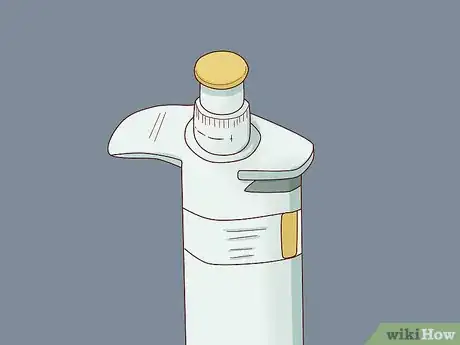
1Check your pipette plunger button to ensure you have the right one. Even if you’re pretty sure you’ve got the right one, take a moment to inspect the plunger button. The plunger should indicate the range of the pipette.
- If your lab has several pipettes and you grab the wrong one, you might accidentally set it outside of its range and do permanent damage to it.
- Pipettes fall into the following ranges: P10 (.5 to 10 μl), P20 (2 to 20 μl), P200 (20 to 200 μl), P1000 (200 to 1000 μl), P5000 (1000 to 5000 μl).
-
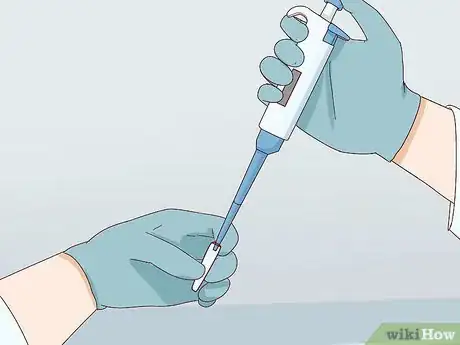
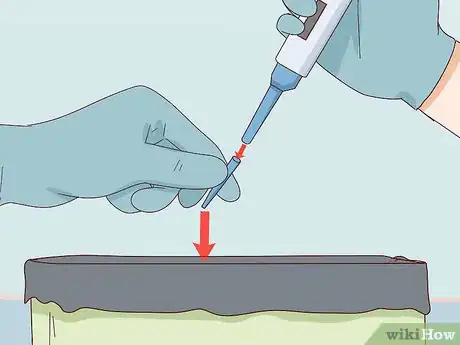
2Put a tip on your pipette if necessary. Using a pipette without a tip could damage its sensitive inner parts. Tips should be sterile if you’re doing microbiology work. Generally, tips fit onto the shaft of the pipette and lock firmly into place.
- If you are working on a project that needs sterile conditions, take care not to let the tip touch any contaminated object, like your hands or work surface.
- Clear tips represent a range of 2 – 10 microliters (μl), yellow tips 10 – 100 μl, and blue tips 100 to 1000 μl. When using a pipette, always use a disposable tip.
Advertisement -
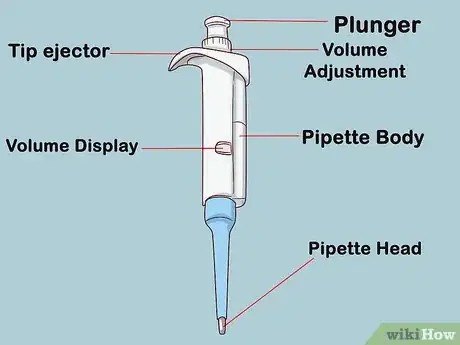
3Identify the parts of the pipette. The tip of your pipette should have a clear, yellow, or blue tip. Moving up the pipette, after the tip will be a plastic shaft. Above the shaft (and along its side) is a stainless steel arm through which fluid passes. The body of the pipette will have the following:
- A plunger button at the top (opposite to the disposable tip end).
- A tip ejector button at the base of the plunger button.
- A volume adjustment dial beneath the ejector button.
- A stainless steel micrometer beneath the volume adjustment dial.
- A volume indicator on the face of the pipette.
-
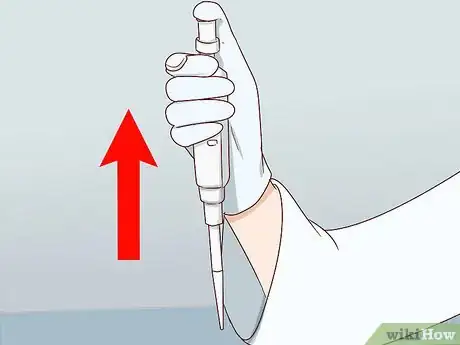
4Prevent damage to your pipette with proper handling. Rotating the volume adjustment knob beyond the upper or lower range of the pipette could damage it. Keep your pipette upright whenever it contains fluid. Setting it on its side could cause the fluid to travel into the delicate parts of the pipette.
- Avoid letting the plunger snap backwards after fluid is withdrawn into the pipette or ejected from it. This could cause damage to the piston inside the pipette.
-
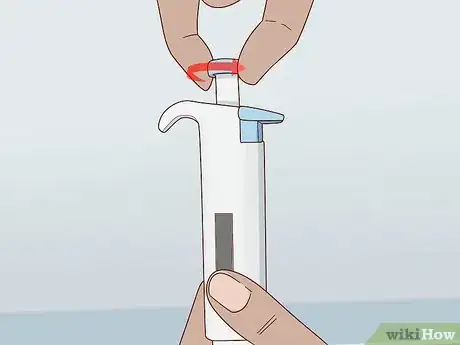
5Adjust the pipette until you reach the desired volume. Your pipette may have a small black safety button that needs to be depressed while rotating the volume adjustment dial. If not, you’ll need to pull the knob out first before you can adjust it, but remember to push the knob back in when the pipette is set.
- Operate the volume adjustment knob with light force and never turn the knob if you feel resistance. Turning the knob in the direction with resistance can damage your pipette.
Advertisement
Part 2
Part 2 of 3:
Drawing (Aspirating)
-
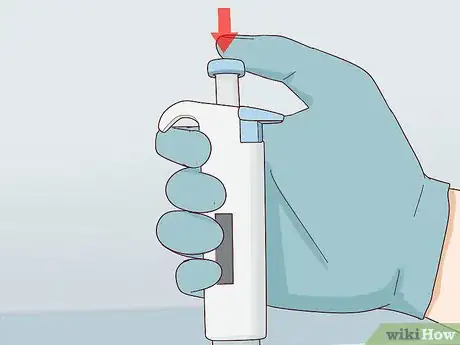
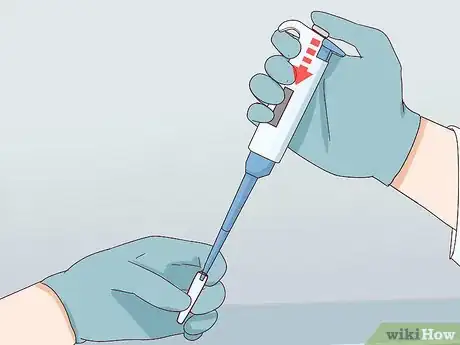
1Press the plunger until it reaches the First Stop. When you feel resistance in the plunger, you’ve positioned it to draw the amount set by the volume adjustment knob. Push the plunger gently; you can push beyond the First Stop if you ignore the resistance, but this is not recommended.
-
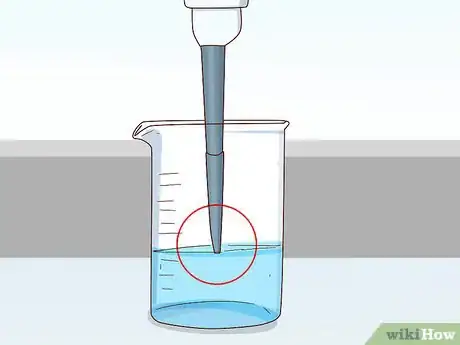
2Immerse the disposable tip of the pipette into liquid. Hold the pipette at a 90° angle so it forms an L-shape with the surface of the liquid. If possible, hold the tip about a quarter inch (.64 cm) from the bottom of the liquid’s container.[1] However, do not submerge the shaft of the pipette in the liquid.
- Be careful not to press the tip of your pipette against the bottom of the fluid’s container. This could also cause damage to the pipette.[2]
-
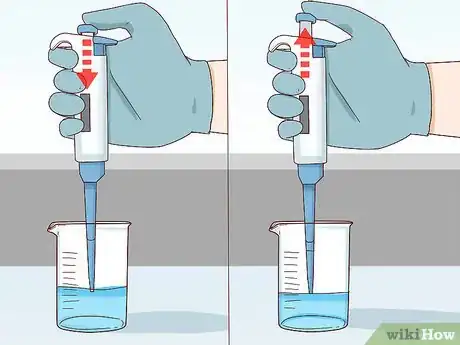
3Draw fluid into the pipette. When the tip is immersed, use the plunger button to allow the plunger to return to its starting position (fully extended). Do this slowly so the plunger doesn’t snap out.
- Wait a few seconds after the plunger returns to its original position before moving the pipette. This will ensure the full amount of liquid was taken.
Advertisement
Part 3
Part 3 of 3:
Dispensing
-
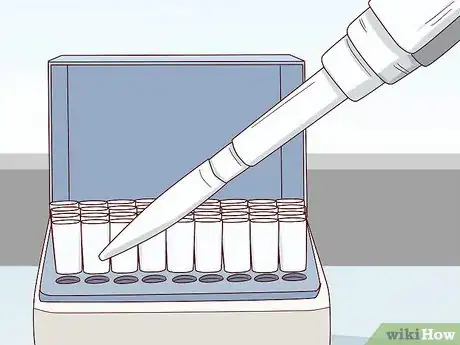
1Position the pipette over the receiving container. Remove the tip of your pipette from the liquid. Position the pipette on an angle, so its tip touches the side wall of the receiving container and forms a 45° angle (halfway between up and down and flat).
-
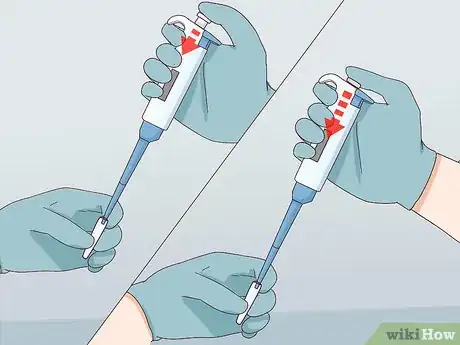
2Dispense the liquid into the receiving container. If there is already fluid in the receiving container, hold the pipette so its tip is just above its surface or slightly above the bottom of the container. Gently push the plunger to the First Stop to release the liquid.[3]
-
3Press the plunger to the Second Stop to remove the liquid. While the pipette is still in the container, wait a few seconds with the plunger engaged to the First Stop. Now you’re ready to press the plunger to the Second Stop to remove any liquid still in the tip.
-
4Remove the pipette from the receiving container. Continue to hold the plunger down after reaching the Second Stop. Take the pipette out of the container and release the plunger slowly until it has returned to its original (fully extended) position.[4]
-
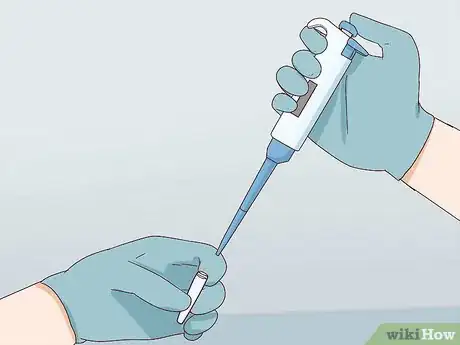
5Dispose the tip and return your pipette to a safe storage location. The tip can be removed easily with the tip ejector button. However, this will cause the tip to spring free of the pipette. Make sure the tip is pointed at a suitable receptacle before pressing the ejector button, then put your pipette away.
Advertisement
Community Q&A
-
QuestionOnce I dispense the liquid in the tip of the pipette into the receiving container having a liquid, should I push the plunger few times to clean the tip with the solution in the receiving container?
 KnowledgeIsForeverCommunity AnswerYou can, it sometimes helps to remove all of the liquid you want to transfer into the receiving container.
Advertisement
Warnings
- If you do not hold down the plunger while extracting the tip from the liquid, you may not take in all the liquid.⧼thumbs_response⧽
- Eppendorf pipettes are fragile instruments that can be easily damaged. Due to their relatively high cost, you should handle this tool with care.⧼thumbs_response⧽
Advertisement
Things You’ll Need
- Eppendorf pipette
- Liquid
- Receiving container (like a beaker or test tube)
- Gloves (if working with dangerous liquid or liquid that could cause skin irritation)
- Goggles (if working with liquid that could cause eye irritation)
References
About This Article
Advertisement
