This article was co-authored by Josh Goldenberg. Josh Goldenberg is a Residential Remodeling Expert and the Co-Founder of 5blox, based in the Greater Los Angeles area. With more than seven years of experience, Josh and his team specialize in luxurious and sustainable home renovations. 5blox is fully licensed and bonded.
There are 10 references cited in this article, which can be found at the bottom of the page.
This article has been viewed 130,570 times.
Scroll saws are used to cut intricate designs in wood and metal craft projects. Draw your design onto the material first, before putting on your safety gear and adjusting the settings on the machine. Start cutting out your design by testing the scroll saw on a piece of scrap wood, choosing the right speed, and carefully guiding your project through the blade. Make gifts for your friends and family to practice using different types of wood and new designs, and watch your scroll sawing confidence grow!
Steps
Setting Up the Scroll Saw
-
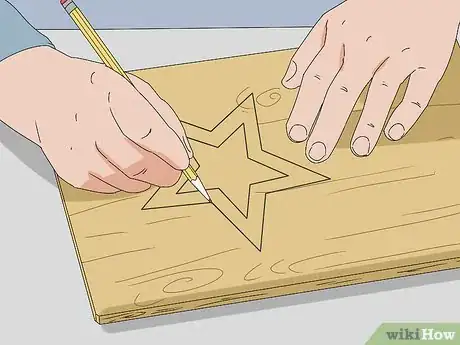
1Draw your design or pattern onto the wood. Use a pencil to draw the outline of your design. Make sure that your pencil markings are easily visible on the wood. Add bridges within the pattern to create areas of positive and negative space.[1]
- Positive space is where the wood is still intact and negative space is where the wood has been removed.
- The bridges are the positive spaces on the wood that connect the different parts.
- Stick to a simple design if you are just beginning to use a scroll saw. For example, practice making a leaf or a flower first, with only a few areas of negative space.[2]
- There are many scroll saw patterns for beginners available online.
-
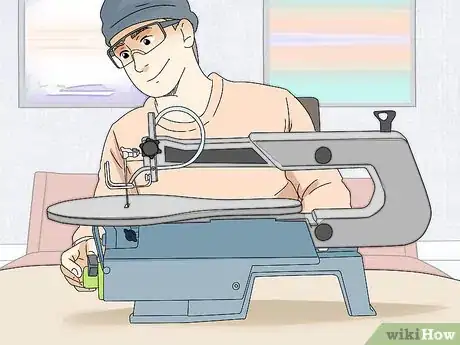
2Wear safety goggles and other safety equipment. Place your safety goggles over your eyes before you turn on the machine, and wear them for the whole duration that it is on. These will protect your eyes from any broken blades and from sawdust irritation.
- Tie back your hair if it is long before you use the scroll saw.
- You can also wear a dust mask if you prefer.
- Make sure that you aren’t wearing baggy sleeves or long jewelry that could get caught in the blade.[3]
Advertisement -
3Check that the scroll saw is secured correctly on your work surface. Refer to the manufacturer’s instructions for your scroll saw to learn how to bolt, screw, or clamp the machine onto the surface. Follow all of the instructions fully.
-
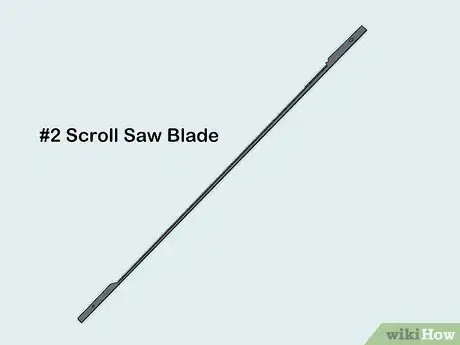
4Use a #2 or #3 blade for wood that's about 1⁄8 in (3.2 mm) thick. Thin wood requires a smaller blade. The lower the number of the blade, the smaller it is.[4]
- Smaller blades tend to cut through the wood more slowly. This also means that you have more control when you are using the scroll saw.
- Intricate designs are more accurately cut with smaller blades.
-
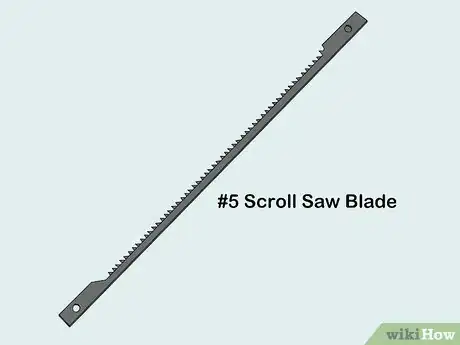
5Choose a #5 or a #7 blade for wood that is around 3⁄4 in (19 mm) thick. As the thickness of the wood increases, use a larger blade. The higher the number of the blade, the denser and thicker the wood it can cut through.[5]
- If you are going to be cutting more than 1 piece of wood, consider how thick the overall stack will be. Although the individual pieces of wood might be thin, you will need to use a larger blade.
-
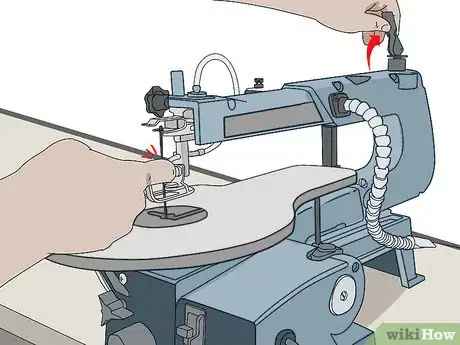
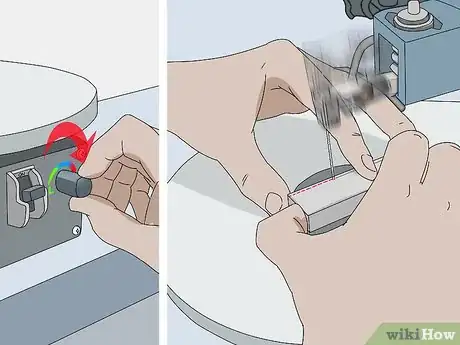
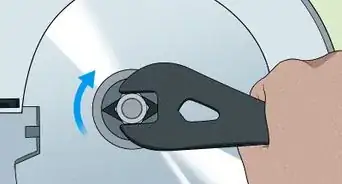
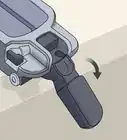
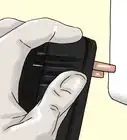
6Set the tension on the blade. Once you have fitted the correct blade, adjust the tension according to the manufacturer's instructions. Apply a moderate amount of pressure to the midpoint of the blade with your finger. A blade that has been set to the correct tension will not move more than ⅛" in (3 mm) in any direction.
- The right tension of the blade is about finding the balance between having the blade tight enough so that it doesn’t cave and is accurate, but not so tight that it snaps.[6]
- You can also check the tension of the blade by plucking it like a guitar string. A blade that has the right tension will make a sharp ping noise.
- Generally, the larger the blade the higher the tension it can withstand.
-
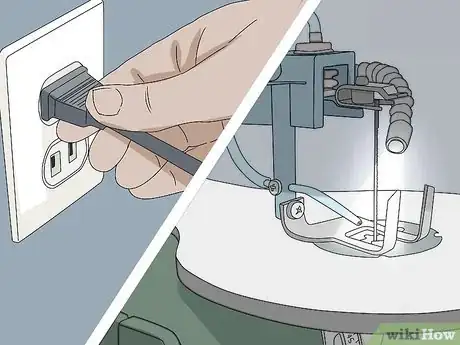
7Turn the saw and the light on. Plug the saw into an electrical socket, and turn the power switch of the machine on. Make sure to also turn machine light on so that you can see what you’re doing while you use the scroll saw.
- Some scroll saws don’t come with a light source. If this is the case, get a bright lamp and position it so that you can see the saw and your work fully. You can also purchase specialty lights that can be mounted directly onto a scroll saw.
- If your machine has a dust blower, switch this on too. This will remove the dust from your work as you use the scroll saw so that you can see your design clearly.
Cutting Out Your Project
-
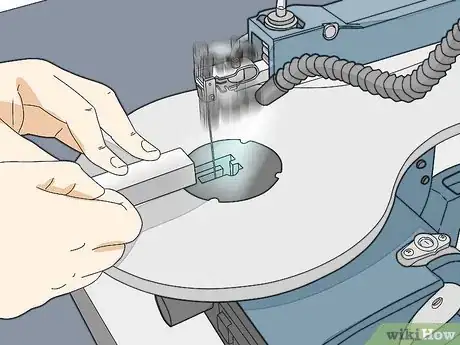
1Test the scroll saw by cutting a piece of scrap wood. Use a piece of scrap wood that is either the same or very similar to what you are using for your project. Make a small cut to check that the size of the blade is right for the wood and that the tension feels correct.[7]
- Practicing on a piece of scrap wood first will also let you make sure that the lighting is sufficient.
-
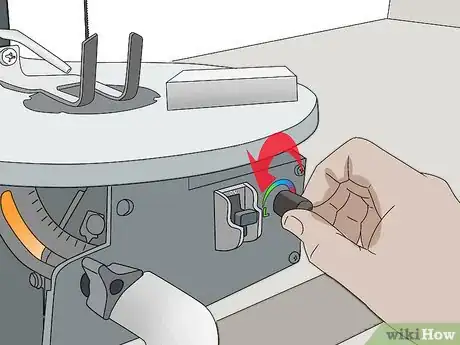
2Set the scroll saw to a slow speed if the material is thin. The thinner and denser the wood is that you will be cutting, the slower the speed needs to be Set the scroll to a very slow speed if you are unsure, as you can always adjust it as required.[8]
- Stick to a slower speed if you are just beginning to use a scroll saw, as this will give you better control as you learn.[9]
-
3Choose a faster speed if the wood is a softwood. Softwoods such as maple require faster cutting speeds when using a scroll saw than harder types of wood. If you are just beginning to use a scroll saw, test out the different speeds on a piece of scrap wood first to make sure that you feel confident operating it at a higher speed.[10]
-
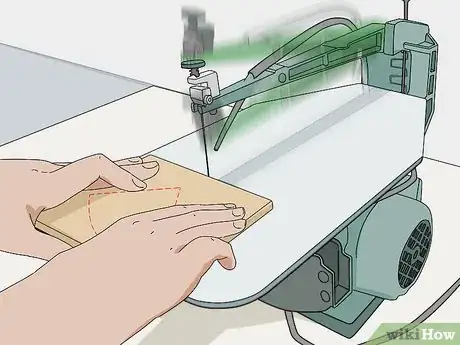
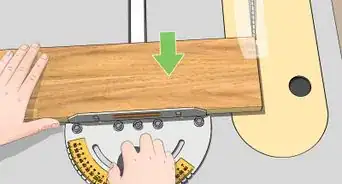
4Guide the design through the blade using both hands. Bring your project up to the blade, and aim it towards the first line that you need to cut. Press the wood down and forward to guide it into the blade. Adjust the wood as necessary for small turns using your forefingers and 1 thumb. Keep the other thumb out of the way of the blade as you guide the wood.
- Keep an eye on your fingers and the blade at all times to make sure that the blade doesn’t get too close to your hands.[11]
- Keep both hands on the wood at all times. Otherwise this might cause the scroll saw to jump and to make a jagged cut.
- Stick to the speed of the machine. Never rush the wood through the machine faster than the speed that the blade is cutting, otherwise your fingers could slip or your design could be crooked.
-
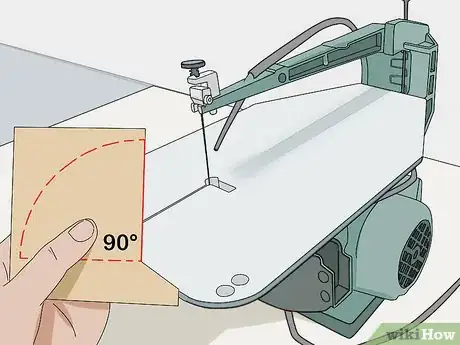
5Remove your project from the blade when you need to make a 90° turn. Once the blade reaches a turning point of 90° or larger, draw the wood back towards you to move the blade back through the line that has already been cut. Turn the wood around so that the blade is facing the adjacent line, and continue cutting and guiding your project past the blade.
- You don’t need to worry about removing the wood and turning it if you are using a spiral blade. These can cut in all directions, so you simply just need to turn your project as necessary.[12]
-
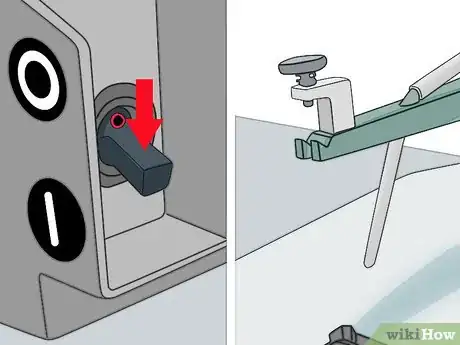
6Turn the scroll saw off and remove the blade when you are done. When you have finished cutting your project and you are happy with the final result, switch the scroll saw off using the power button or switch. Take the blade out of the saw and return it to the storage container.
- If you aren’t going to be using the scroll saw again soon, detach it from the workbench and store it away.
Community Q&A
-
QuestionHow is the center cut out?
 Community AnswerA small hole is drilled, then the blade is removed and placed into the hole. Cut around it, then remove the blade once you're done.
 -
QuestionWhat are some health and safety tips when working with a scroll saw?
 Community AnswerNever put your fingers in direct line with the blade. Always hold the wood down tight. Never push the wood into the blade, only gently push the wood.
 -
QuestionHow do I choose a blade for a particular job?
 Community AnswerIt all depends on your project. The thinner the blade, the easier it will be to make tighter and quicker turns, which are good if you need to cut out small things. Thicker blades are the opposite. They make it difficult to make quick and tight turns, but they are good for cutting out thicker pieces of wood.
Warnings
- Always be concentrated and never rush while using a scroll saw, as this can be dangerous.[13]⧼thumbs_response⧽
Things You’ll Need
- Pencil
- Wood
- Safety goggles
- Dust mask
- Workbench
- Scroll saw
- Scroll saw blade
- Lamp
References
- ↑ http://scrollsawer.com/2017/09/13/adapting-patterns-2/
- ↑ https://www.craftideas.info/html/scrollsaw.html
- ↑ https://www.woodmagazine.com/woodworking-tools/power/scrollsaw-expert-advice
- ↑ http://scrollsawer.com/2017/09/06/choosing-the-right-blade/
- ↑ http://scrollsawer.com/2017/09/06/choosing-the-right-blade/
- ↑ http://www.thewoodbox.com/data/scrollsaw/scbladeteninfo.htm
- ↑ http://www.toolerant.com/top-5-scroll-saw-problems/
- ↑ https://houseandbeyond.org/how-to-use-a-scroll-saw/
- ↑ https://woodworkingtoolkit.com/scroll-saw-beginners/
- ↑ https://houseandbeyond.org/how-to-use-a-scroll-saw/
- ↑ https://woodworkingfuel.com/tips/use-tools/scroll-saw/
- ↑ http://www.fundamentalsofwoodworking.com/woodworking-resources/Woodworking-Articles/the-trick-to-cutting-detailed-scroll-saw-patterns
- ↑ https://woodworkingfuel.com/tips/use-tools/scroll-saw/
About This Article
To use a scroll saw, start by drawing your design or pattern on the wood's surface with a pencil. Next, bolt or clamp the saw to your work surface and fit the saw with a blade that best accommodates your project. For example, use a #2 or #3 blade for thin wood or especially intricate designs. Then, adjust the blade tension and speed. Finally, guide the design through the blade using both hands, following along the penciled cut lines you created. For tips on making 90 degree turns with your scroll saw, read on!
