X
wikiHow is a “wiki,” similar to Wikipedia, which means that many of our articles are co-written by multiple authors. To create this article, volunteer authors worked to edit and improve it over time.
This article has been viewed 43,173 times.
Learn more...
Pearl Ex pigments are highly versatile and can be used to add color to a variety of different crafting mediums. Among other projects, Pearl Ex can be used to create colored embossing powder, colored polymer clay, watercolor paints, and tinted adhesive.
Steps
Method 1
Method 1 of 4:
Method One: Tint Embossing Powder
-
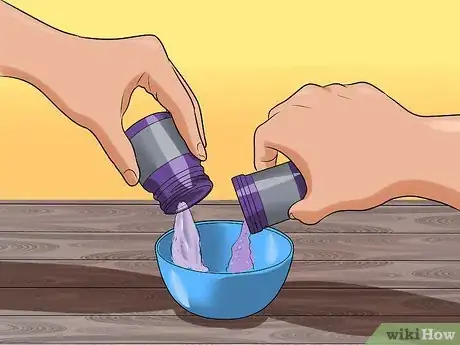
1Mix together Pearl Ex and embossing powder. Combine one part Pearl Ex pigment with two parts clear embossing powder, mixing them together in a small bowl with a plastic spoon until evenly blended.[1]
- The exact amount of embossing powder you need will vary depending on how dramatic you want the effect to be and how thin the paper is. More absorbent paper requires a greater amount of embossing powder.
- For use with an average sized stamp and heavy cardstock, 1/4 tsp (1.25 ml) Pearl Ex pigment and 1/2 tsp (2.5 ml) clear embossing powder should be sufficient.
-
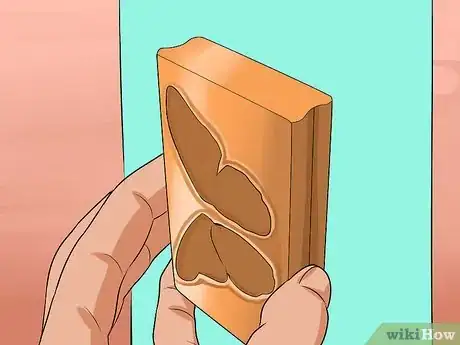
2Stamp the desired image on your paper. Load a stamp with clear embossing liquid and press the stamp firmly onto a heavy sheet of paper.
- cardstock and other heavy-weight papers work better than light papers do.
- Make sure that the surface you want to emboss faces up as you stamp it.
- Alternatively, you could spread the clear embossing fluid on a stamp pad instead of applying it directly to the stamp itself. Load the stamp with the treated ink of the pad before stamping it onto the paper.
- After stamping the image, thoroughly clean away all of the embossing fluid from the stamp. If the embossing fluid is left on the stamp, it can harden and ruin the rubber.
Advertisement -
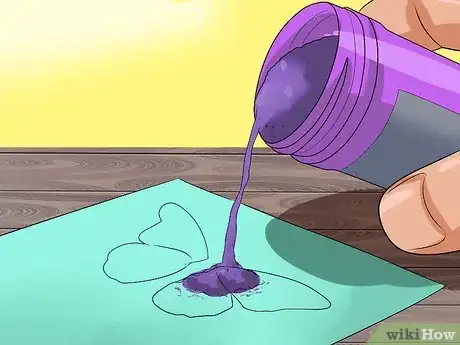
3Sprinkle the tinted powder over the stamp. Gently sprinkle the enhanced embossing powder over the stamped design. Make sure that the entire design has been covered by the powder.
- Lift the paper and carefully tip it upside-down so that the majority of excess powder will fall off. Gently tap the back of the paper to encourage the excess powder to drop.
-
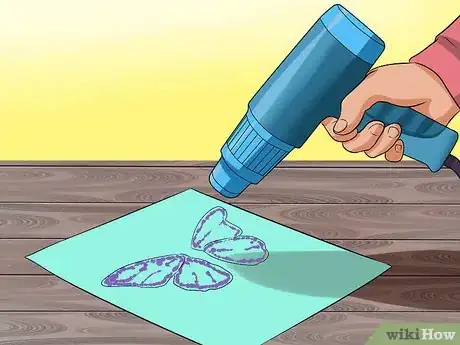
4Heat the area with a heat gun. Pass a heat gun over the entire design. Continue heating the area until the lines of the design lift above the surface of the paper.
- Hold the heat gun 2 to 4 inches (5 to 10 cm) away from the surface of the paper and move it around continuously as you apply the heat.
- Using too much concentrated heat can result in scorch marks, so you need to work carefully during this step.
-
5Wipe away excess Pearl Ex. Use tissue paper, tracing paper, coffee filters, or another patch of soft paper to wipe away any excess Pearl Ex powder. Once the excess has been removed, the project is complete.
- Allow the area to cool and set for one to two minutes before brushing away any excess powder.
- If soft paper is not available, you could brush away the excess with a soft-bristled paintbrush.
Advertisement
Method 2
Method 2 of 4:
Method Two: Color Polymer Clay
-
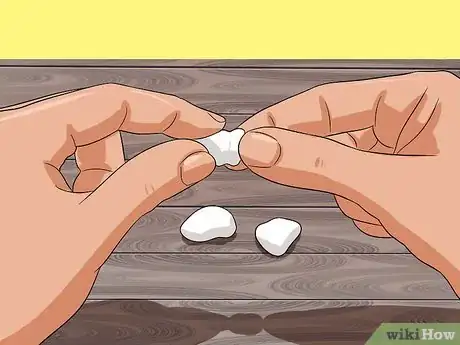
1Pinch off a piece of white polymer clay. Grab a piece of white polymer clay large enough for your intended project. Knead it in your hands for 30 to 60 seconds, or until it becomes more flexible.
- You can also experiment by mixing Pearl Ex pigment into pre-colored clay to produce different shades. For instance, you can add a glittery pink Pearl Ex pigment to a matte pink clay to give the clay a sparkle effect.
-
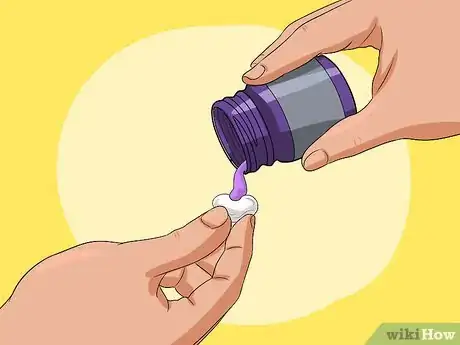
2Mix in the Pearl Ex. Carefully dust a little Pearl Ex pigment over the clump of polymer clay, then knead it into the clay.
- You must knead the clay and pigment together for a few minutes, or until the color is evenly distributed throughout the entire piece of clay.
-
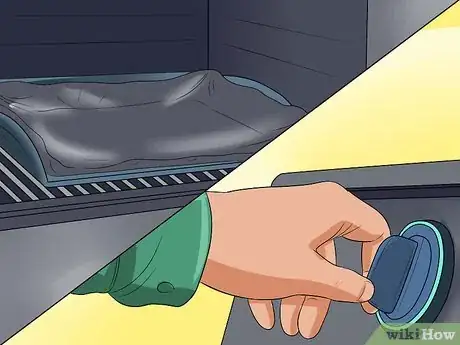
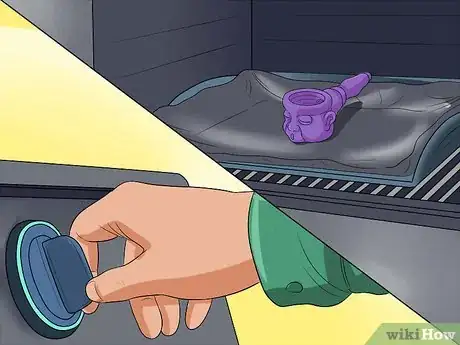
3Preheat the oven to 275 degrees Fahrenheit (135 degrees Celsius). Line a baking sheet with nonstick aluminum foil, wax paper, or parchment paper.
- The exact baking temperature may vary depending on the brand of polymer clay you opt to use. Always check the package instructions to determine the right way to bake the clay.
-
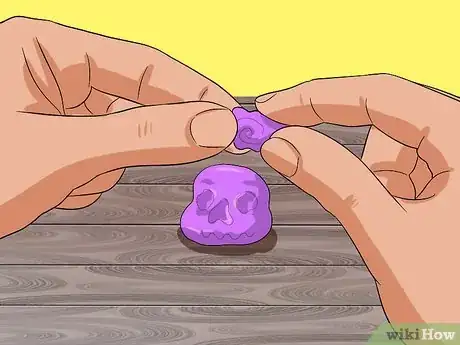
4Form the clay as desired. Use any standard molding method to sculpt the tinted polymer clay into the pieces you wish to make.
- Polymer clay can be used to form a variety of pieces, including small sculptures, beads, pendants, ornaments, and containers, among other things.
- You can form polymer clay free-handed, or you can use a variety of tools and molds to help you create shapes.
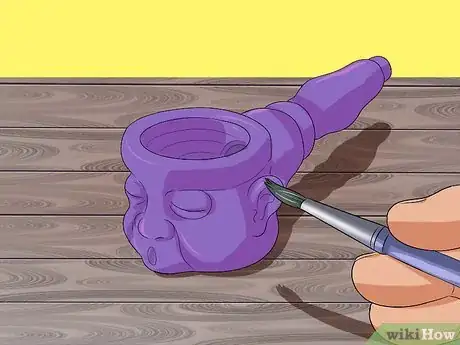
- If desired, you can also apply Pearl Ex pigment directly to a polymer clay mold by brushing it on with a soft-bristled paintbrush. Turn the mold over and lightly tap the back to dump any excess before pressing the clay into the mold. This will result in a more vibrant shade, and the pigment also makes it easier to release the clay from the mold.
-
5Brush on additional color as needed. If you want to create a bolder shade of pigment on part of the piece, you can do so by dusting Pearl Ex pigment directly over the area with a paintbrush or cotton swab.
- Press the pigment into the clay with just enough force to make it stick. The best way to do this is by gently rubbing it in with your ring finger. You need to apply a gentle amount of pressure to avoid damaging the shape of the clay as you work.
-
6Bake the clay. Place the clay on your prepared baking sheet and place the baking sheet in the oven. Allow the clay to bake for 20 to 25 minutes, or until hardened.
- As with the baking temperature, the baking/curing time can vary based on the brand of clay you use. Check the instructions before proceeding.
-
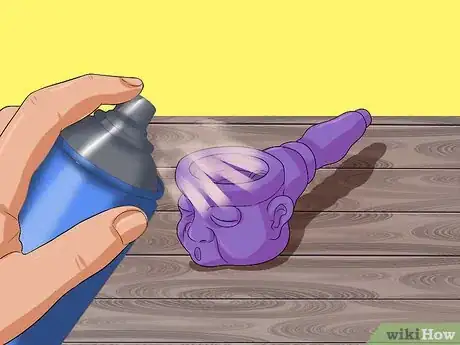
7Coat with varnish. After the clay cools, brush or spray clear varnish over the surface to seal in the surface pigment. Once the varnish dries, the piece is finished.
- Note that varnish is only necessary if you coated the surface with Pearl Ex pigment. Pigment that has been kneaded into the clay will remain in place even without varnish, but clear varnish can still be used to give the piece a glossy sheen.
- For best results, spray the varnish out over the surface and allow the mist to fall onto it from above. Spraying the varnish directly onto the surface can cause the powder to blow away and may also result in uneven coats or spray marks.
- Liquid varnish can be applied directly to the surface with a paintbrush. Use a sponge brush if you want to avoid the risk of brush stroke lines.
Advertisement
Method 3
Method 3 of 4:
Method Three: Make Watercolor Paint
-
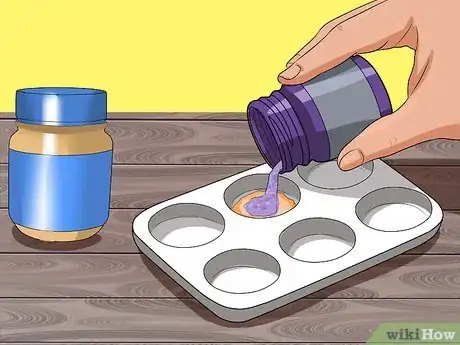
1Combine Pearl Ex with gum arabic. Mix four parts Pearl Ex pigment with one part powdered gum arabic. Stir the two powders together until evenly blended.
- Consider mixing the paint in a plastic well palette, just as you would mix most traditional paints.
-
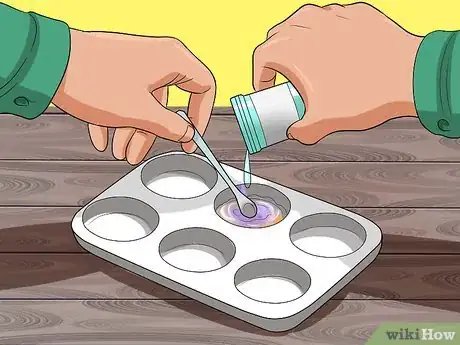
2Blend with water. Slowly add water to the blended powder, mixing continuously, until you achieve the paint consistency you desire.
- The exact amount can vary, but usually, you will need four parts water for every one part gum arabic. This also means that the amount of water you use will be similar to the amount of Pearl Ex pigment used.
-
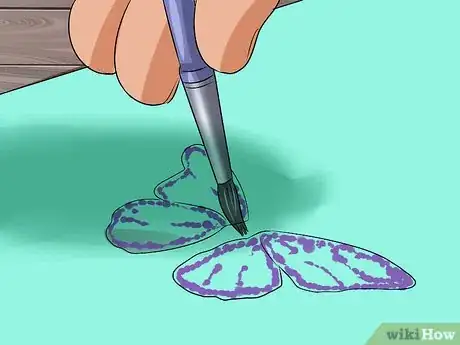
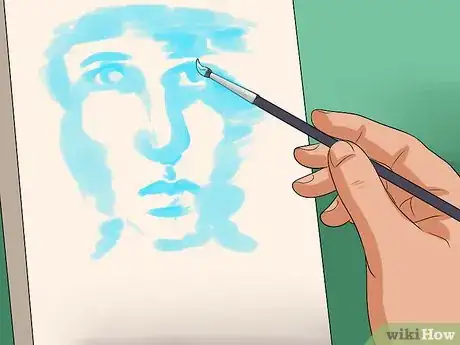
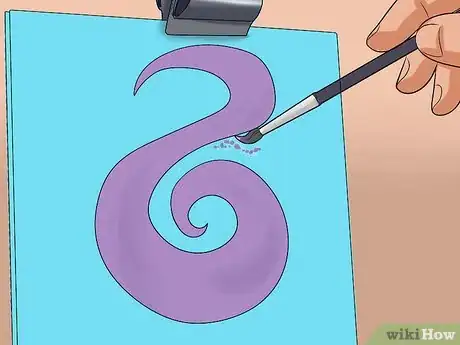
3Paint as desired. Use this paint as you would use any other watercolor paint.
- If necessary, you can lightly trace designs and outlines onto cardstock or heavy paper using a pencil. These traced designs can serve as a guide, so you can paint over the pencil marks with the Pearl Ex based paint.
- When painting a picture with more than one color of Pearl Ex paint, you should mix all paint colors first before you begin painting.
-
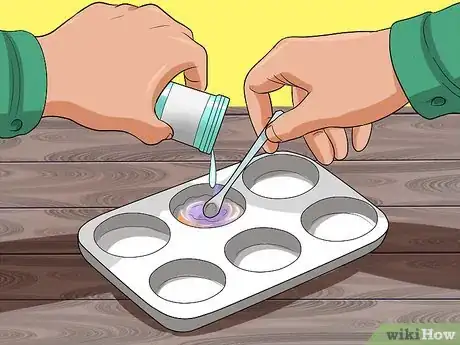
4Reconstitute with water as needed. As the paint sits, it may start to dry out. You should be able to reconstitute the paint by slowly mixing more water into it.
- You will not need to add the same amount of water as you originally used, however. Start with a much smaller amount and gradually increase it until the paint returns to the correct consistency.
Advertisement
Method 4
Method 4 of 4:
Method Four: Create Stenciled Designs
-
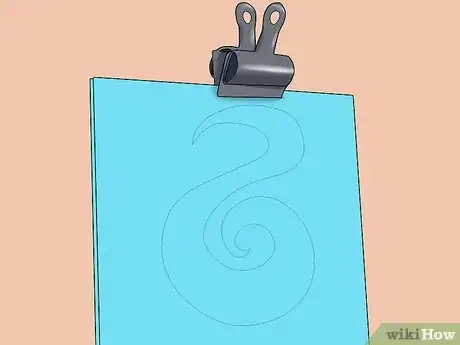
1Cover paper with your desired stencil. Choose a stencil design that appeals to you, then place that stencil on top of a flat sheet of paper.
- Keep the stencil flat and in place by holding it with paper clips or tape.
- Protect any background area beyond the perimeter of the stencil by covering it with scrap paper. Tape this scrap paper to the stencil to prevent it from falling off.
- Note that you may wish to cover the entire working area beneath the paper with a Teflon pressing sheet or cookie sheet to help catch any excess Pearl Ex pigment. As long as the pigment is not contaminated by adhesive or other debris, it can be reused for other projects.
-
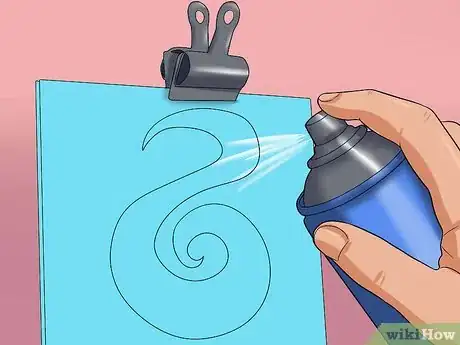
2Apply spray adhesive to the area. Lightly coat the stenciled area with spray adhesive, holding the can approximately 12 inches (30.5 cm) away from the paper as you spray it.[2]
- Always apply spray adhesive in a well-ventilated area.
- Alternatively, you could apply standard PVA (white) glue to the paper using a paintbrush. Apply an even coat of glue to each opening in the stencil design.
- To create fine lines, dots, or other raised features, draw them on using the tip of a standard PVA glue bottle.
-
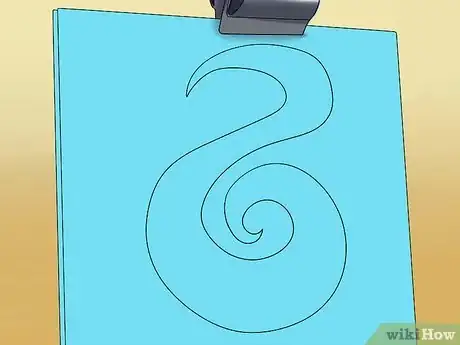
3Let the adhesive set slightly. Allow the adhesive to set for two minutes before continuing. After it sets, remove the stencil.
- Giving the adhesive time to set minimizes the risk of smudging the stenciled design. Even so, you should still remove the stencil, scrap paper, paperclips, and tape very carefully to avoid smears.
- Do not let the adhesive dry completely. It should still be tacky to the touch.
-
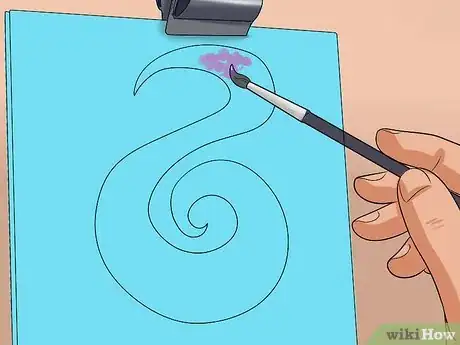
4Brush on the Pearl Ex. Coat a dry paintbrush with Pearl Ex pigment, then brush the powder over the adhesive until you fill in the entire design.
- Note that you can use multiple colors of Pearl Ex pigment, but you will need to apply each with a different paintbrush to avoid accidental blending.
-
5Remove any excess. Allow the adhesive to finish drying. After it dries, dust away any excess powder with a dry, clean paintbrush.
- Once the adhesive dries, the project is complete.
Advertisement
Community Q&A
-
QuestionCan I use these for face paint?
 Community AnswerNo. Pearl Ex pigments are not meant to be used in makeup or food. Cosmetics made with Pearl Ex may result in skin irritation and food decorations tinted with Pearl Ex may cause food poisoning.
 -
QuestionCan I use this for writing ink?
 Community AnswerYou can, but I wouldn't recommend it. Try finding some actual writing ink. Watercolors can sometimes work for me as well.
 -
QuestionCan I use this to mix with acrylic paint?
 Community AnswerNo, it will make the paint to thick or maybe even clumpy. That is not recommended.
Advertisement
Warnings
- Using a dust mask is recommended with powdered pigments.⧼thumbs_response⧽
- Pearl Ex pigments are not meant to be used in makeup or food. Cosmetics made with Pearl Ex may result in skin irritation and food decorations tinted with Pearl Ex may cause food poisoning.⧼thumbs_response⧽
- Do not make a pipe with polymer clay as shown in these images. It would not be safe to smoke from a polymer clay pipe.⧼thumbs_response⧽
Advertisement
Things You'll Need
Tint Embossing Powder
- Pearl Ex pigment
- Clear embossing powder
- Plastic spoon
- Small dish
- Heavy paper
- Clear embossing liquid
- Stamp
- Heat gun
- Soft paper or paintbrush
Color Polymer Clay
- White polymer clay
- Pearl Ex pigment
- Baking sheet
- Aluminum foil, wax paper, or parchment paper
- Polymer clay molds and tools
- Paintbrush
- Clear varnish
Make Watercolor Paint
- Pearl Ex pigment
- Gum arabic
- Water
- Paintbrush
- Plastic well palette
- Heavy paper
Create Stenciled Designs
- Stencil
- Paper
- Paperclips
- Scrap paper
- Tape
- Teflon mat
- Spray adhesive or PVA glue
- Paintbrush
- Pearl Ex pigment
References
About This Article
Advertisement
