wikiHow is a “wiki,” similar to Wikipedia, which means that many of our articles are co-written by multiple authors. To create this article, 9 people, some anonymous, worked to edit and improve it over time.
wikiHow marks an article as reader-approved once it receives enough positive feedback. In this case, 91% of readers who voted found the article helpful, earning it our reader-approved status.
This article has been viewed 98,494 times.
Learn more...
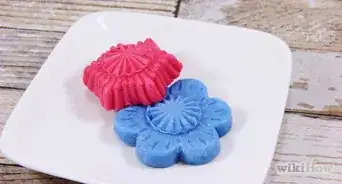
Isomalt is a low-calorie sucrose-based sugar substitute derived from beet sugar. It does not brown like sugar does and resists fracturing, so it is most often used for making edible decorations. You can work with isomalt crystals, but working with isomalt nibs or sticks is often easier to do.
Ingredients
Using Isomalt Crystals
Makes 2.5 cups (625 ml) syrup
- 2 cups (500 ml) isomalt crystals
- 1/2 cup (125 ml) distilled water
- 5 to 10 drops food coloring (optional)
Using Isomalt Nibs or Sticks
Makes 2.5 cups (625 ml) syrup
- 2.5 cups (625 ml) isomalt nibs or sticks
Steps
Part One: Preparing Isomalt Syrup from Crystals
-
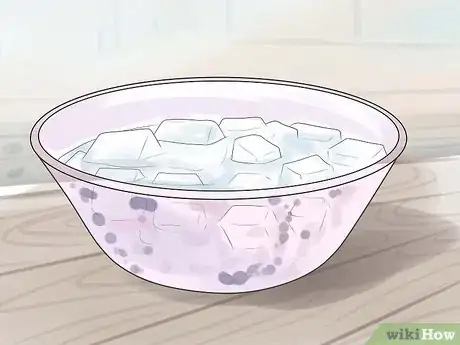
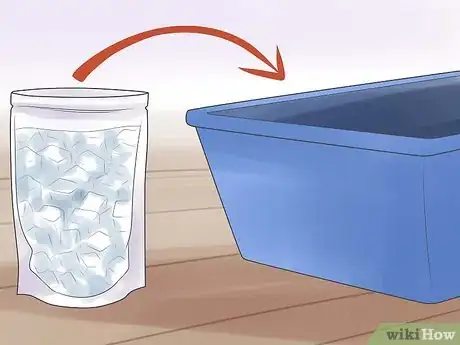
1Prepare a bowl of ice water. Fill a large bowl or shallow baking dish with 2 to 3 inches (5 to 7.6 cm) of water and a handful of ice.
- Note that the bowl needs to be wide enough to fit the bottom of the saucepan you'll be using.
- You can also use this ice water in case you accidentally burn yourself during the cooking process. If you burn yourself with the metal saucepan or the hot syrup, simply dunk the burned area into the bowl of ice water to immediately stop the damage.
-
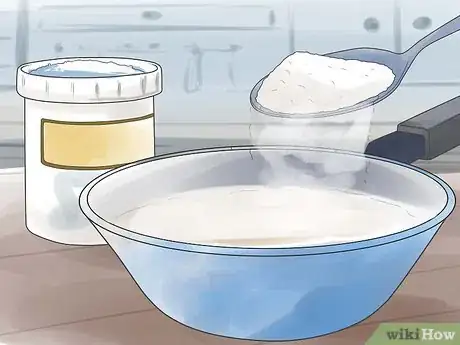
2Combine the isomalt and water. Place the isomalt crystals in a small to medium-sized saucepan. Pour the water into the saucepan, as well, and stir the two ingredients together with a metal spoon to combine.
- You only need enough water to wet the isomalt. When combined at this stage, the contents of the saucepan should look like wet sand.
- If you need to alter the amount of isomalt, make sure that you change the amount of water, too. Typically, you need three to four parts isomalt for every one part water.[1]
- Use distilled or filtered water. Tap water contains minerals that can cause the syrup to turn yellow or brown.
- The saucepan and spoon should be made of stainless steel. Avoid using a wooden spoon since previously absorbed material can seep into the syrup and give it a yellow tint.[2]
Advertisement -
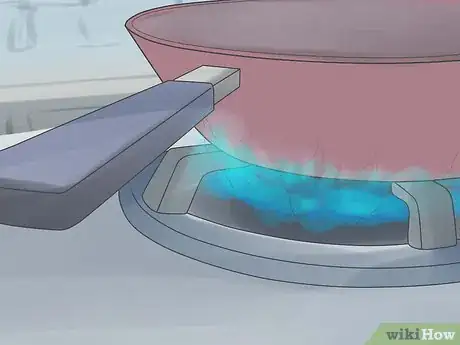
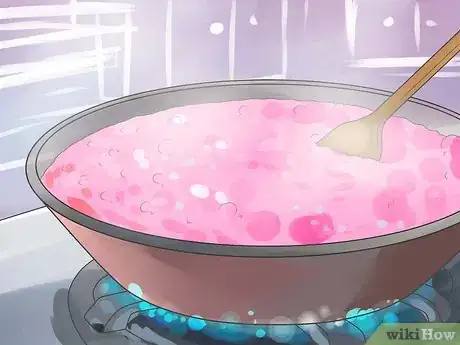
3Boil over high heat. Set the saucepan on the stove over medium heat. The contents should reach a steady boil; do not stir or disturb them until they do.
- Once the contents reach a boil, use a nylon pastry brush to scrape the excess off the sides of the pan and back into the main mixture. Do not use a natural bristle brush for this.
- After cleaning the side of the saucepan, attach a candy thermometer to the side. Make sure that the ball of the thermometer touches the hot syrup, not the bottom of the pan.
-
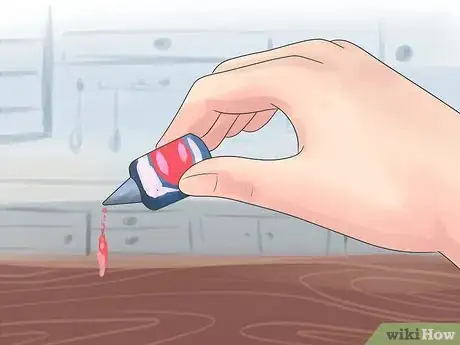
4Add food coloring at 280 degrees Fahrenheit (82 degrees Celsius). If you want to add food coloring to the isomalt syrup, this is the ideal temperature to do so. Add the number of drops needed to achieve your desired color depth, then stir the food coloring into the boiling syrup using a metal mixing spoon or skewer.
- Don't worry if the mixture gets stuck at around 225 degrees Fahrenheit (107 degrees Celsius) for a little while. At this temperature, the excess water is boiling out. The temperature will not climb further until this water boils out.
- Expect the mixture to bubble rapidly when you add the food coloring in.
-
5Cook until the syrup reaches 340 degrees Fahrenheit (171 degrees Celsius). In order to create isomalt glass or similar isomalt decorations, the liquified syrup must be allowed to reach this temperature. If it does not, the structure of the isomalt may not be altered enough to allow the decoration to set properly.
- You should actually remove the saucepan from the heat when the thermometer reads 333 degrees Fahrenheit (167 degrees Celsius). The temperature will continue to climb after that, even if you try to quickly stop the melting process.
-
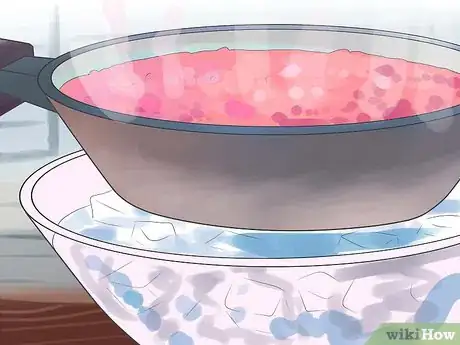
6Dunk the bottom of the pan in ice water. Once the isomalt reaches the correct temperature, quickly transfer the saucepan to your prepared dish of ice water. Stick the bottom of the pan inside the water for 5 to 10 seconds or so to stop the temperature from climbing further.
- Do not let any of the ice water get inside the saucepan.
- Remove the saucepan from the water as soon as the hissing sounds stop.
-
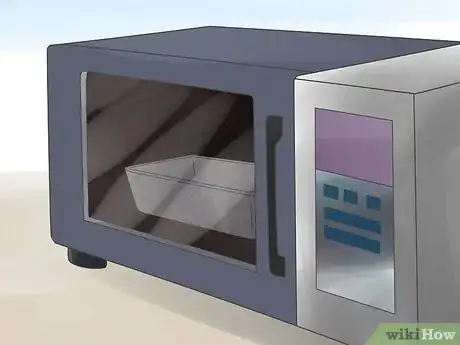
7Keep the isomalt warm in your oven. Isomalt pours best at about 300 degrees Fahrenheit (149 degrees Celsius), so you should keep it warm in the oven until you are ready to use it to prevent the syrup from cooling too much.
- The oven should be set to 275 degrees Fahrenheit (135 degrees Celsius).
- Keeping the isomalt syrup in the oven for 15 minutes will usually help it achieve its ideal pouring temperature. During this time, the bubbles will also have time to escape from the syrup.
- You can keep isomalt in the oven for up to three hours. If you store it longer, the mixture can begin to yellow.
Part Two: Preparing Isomalt Syrup from Nibs or Sticks
-
1Place the nibs in a microwave-safe bowl. Make sure that they are evenly spread out to promote even melting.
- If using isomalt sticks instead of nibs, break the sticks in halves or thirds before placing them in the dish.
- Isomalt nibs and sticks come in clear forms and pre-colored forms. If you want to create a colored creation, use pre-colored nibs.
- Since melted isomalt can get very hot, using a dish with a handle may make it easier and safer to handle the melted syrup. You could also use silicone baking dishes or bowls since silicone is fairly heat resistant. If you use something without a handle, however, consider placing the dish on a microwave-safe plate to limit the amount of contact you'll need to have with the dish itself.
-
2Microwave on high, working in 15 to 20-second increments.[3] You will need to stir the isomalt nibs after each increment to make sure that they are heating in an even, thorough manner. Continue microwaving them in this manner until the entire batch has been melted down.
- Note that air bubbles will naturally form as the isomalt melts.
- Use oven mitts to protect your hands while handling a dish of hot isomalt.
- Stir the melting isomalt with a metal skewer or similar utensil. Avoid wooden utensils.
- It takes an average of one minute to melt roughly five nibs. This amount of time can vary depending on the strength of your microwave and the size of the nibs, however.
-
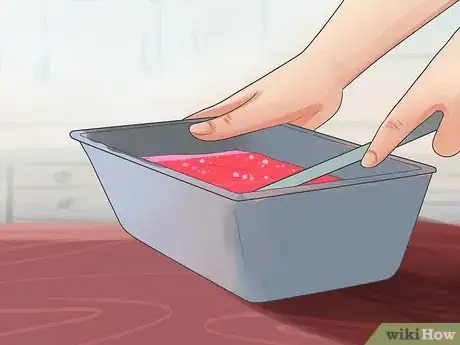
3Stir well. Stir the melted isomalt one last time to remove as many air bubbles as possible.
- You must make sure that all of the bubbles are out of the melted isomalt before you try to use it. If there are bubbles in the syrup, there will be bubbles in the finished decoration.
-
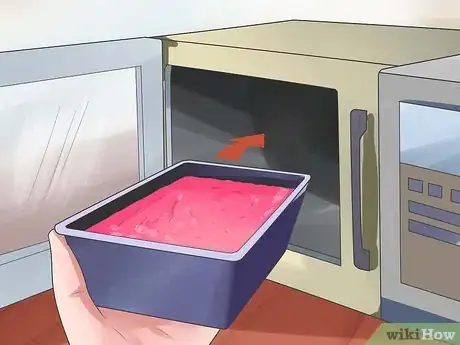
4Reheat as needed. If the isomalt begins to harden or set before you have a chance to use it, you can simply reheat it in the microwave by putting the dish in and reheating it in additional intervals of 15 to 20 seconds.
- You should be able to let the melted isomalt sit out for up to 5 or 10 minutes before it starts cooling.
- If additional bubbles begin to form, stir the isomalt to help release them.
Part Three: Molding the Isomalt Glass
-
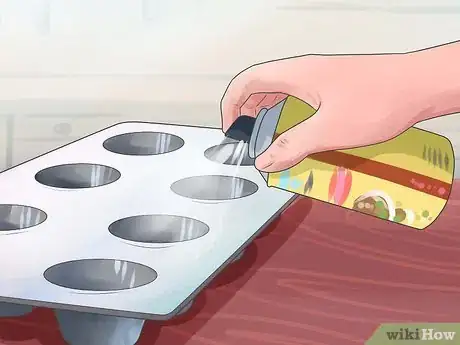
1Coat the molds with cooking spray. Spray an even layer of nonstick cooking spray into each mold, giving each one a thorough, even coat.[4]
- Use a dry paper towel to clean off the excess cooking spray from the top of the molds.
- Make sure that the molds you use are labeled for use with isomalt or sugar-based hard candy. The high temperatures you'll be working with could melt molds that are not durable enough.
-
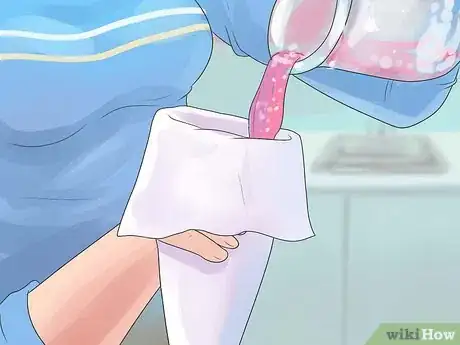
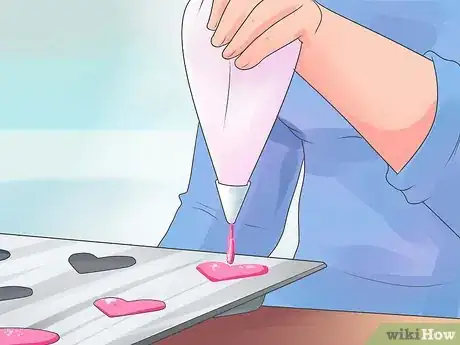
2Transfer the syrup into a pastry bag, if desired.[5] Only add about 1/2 cup (125 ml) of melted isomalt to the pastry bag.
- Adding more could cause the bag to weaken or melt. Adding too much can also cause burns.
- Using pastry may make it easier for you to work with the melted isomalt, but many find the step to be an unnecessary one.
- Do not cut off the tip of the pastry bag before adding the isomalt. Leave the tip intact for now.
- Make sure that you still continue to wear oven mitts while handling the pastry bag. The heat of the melted isomalt can still burn you through the bag.
-
3Pour or squeeze the syrup into the molds. Place just enough melted isomalt into each mold compartment to fill it.
- Only cut the tip of the pastry bag when you are ready to fill the molds. The isomalt will pour out quickly, so you'll need to be careful.
- Regardless of how you pour the melted isomalt, you should let it pour out in a thin stream. Doing so will minimize the number of bubbles that form.
- Lightly tap the bottom of the mold on a counter, table, or another hard surface to release any bubbles from the syrup after you fill the molds.
-
4Let the syrup set. Depending on the size of your molds, the isomalt should harden into a stiff decoration within 5 to 15 minutes.
- Once the isomalt cools, it should naturally pull away from the sides of the mold. You should be able to simply tip the mold on its side and watch the pieces tumble out.
-
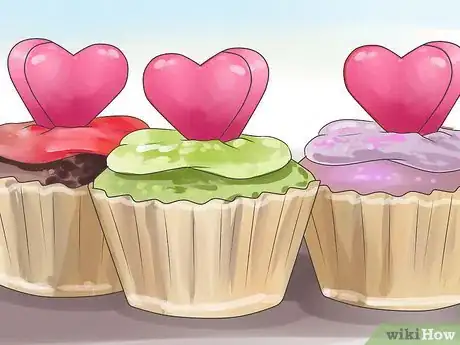
5Use as desired. The isomalt decorations can be stored in airtight containers or used immediately.
- If you plan on sticking the decorations to something like a cake, apply a little corn syrup or melted isomalt to the back of the decoration using a toothpick, then stick the decoration onto the cake. It should remain in place without any difficulty.
Community Q&A
-
QuestionCan I use melted isomalt for cookies?
 Community AnswerYou shouldn't do this if you want your cookies to taste like cookies. Isomalt doesn't taste as sweet as the table or brown sugar that you would typically use in cookies.
 -
QuestionCan isomalt be made into a curved surface?
 Community AnswerYes, it can. You can even heat it in the oven, then pour it into silicone molds to make breakable beer bottles.
 -
QuestionCan isomalt be used as a powdered sugar, and can it be used in liquids such as tea and coffee?
 Community AnswerYou could, but you would be disappointed in its flavor. It will not be a sweet as you are expecting.
Things You'll Need
Preparing Isomalt Syrup from Crystals
- Large bowl or baking dish
- Ice water
- Medium saucepan
- Stainless steel skewer or mixing spoon
- Candy thermometer
- Oven
- Oven mitts
Preparing Isomalt Syrup from Nibs or Sticks
- Microwave-safe dish
- Stainless steel skewer
- Oven mitts
- Microwave
Molding Isomalt Glass
- Cooking spray
- Isomalt molds
- Oven mitts
- Pastry bag (optional)
References
- ↑ http://www.pastrysampler.com/Articles/Pastry_Baking/Isomalt.html
- ↑ http://www.makeyourownmolds.com/isomalt
- ↑ http://www.pastrychef.com/CAKEPLAY-ISOMALT—READY-TO-USE_p_1903.html
- ↑ http://www.craftsy.com/blog/2013/04/how-to-make-isomalt-jewels/
- ↑ http://artisancakecompany.com/2013/05/how-to-make-shiny-edible-gems/
- ↑ http://blog.ideasinfood.com/ideas_in_food/2010/01/isomalt.html
