This article was co-authored by Lauren Kurtz and by wikiHow staff writer, Amber Crain. Lauren Kurtz is a Naturalist and Horticultural Specialist. Lauren has worked for Aurora, Colorado managing the Water-Wise Garden at Aurora Municipal Center for the Water Conservation Department. She earned a BA in Environmental and Sustainability Studies from Western Michigan University in 2014.
This article has been viewed 119,830 times.
Cucumbers thrive best when encouraged to grow vertically as well as horizontally. A solid trellis will give them something to climb on and provide vertical support as they grow. Trellises will even help to fight pests and diseases, making them a crucial tool when growing cucumbers. Trellises are moderately simple to construct, and it's easy to train cucumber plants to use them!
Steps
Constructing a Trellis Frame
-
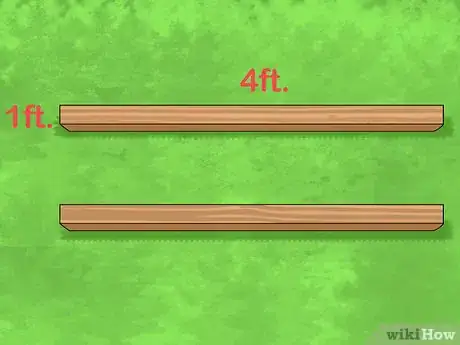
1Start with 9 wooden poles or stakes that are 4 ft (1.2 m) long. Choose poles with square 1 in (2.5 cm) by 1 in (2.5 cm) faces. All 9 poles should be the same exact length.[1]
-
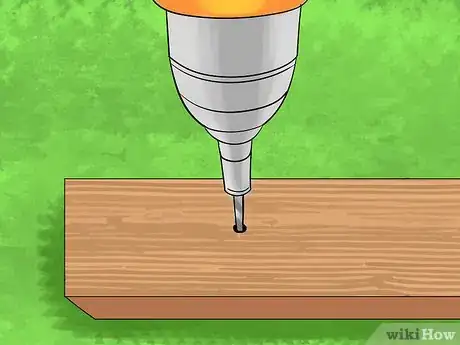
2Drill a 1⁄4 in (6.4 mm) hole near the top of 2 of the poles. Center the hole and position it 2 in (5.1 cm) down from the top of each piece. Use an electric drill to create the 2 holes.Advertisement
-
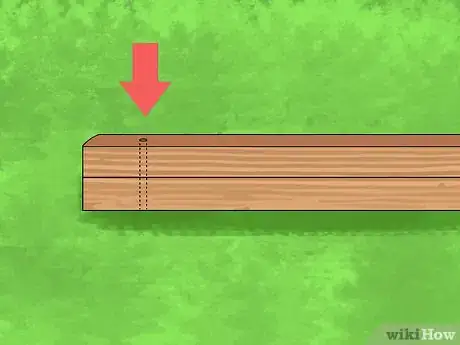
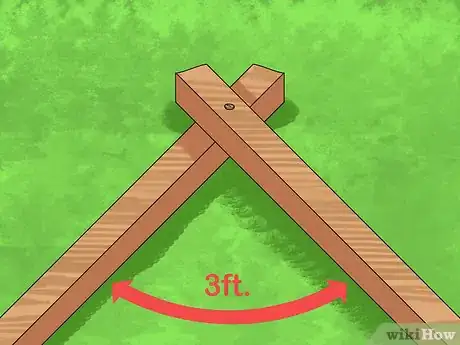
3Place the 2 poles flat on the ground and overlap the holes. Situate 1 pole on top of the other. Line up the holes so that they overlap. You should be able to see straight through to the ground if you look through the holes.
-
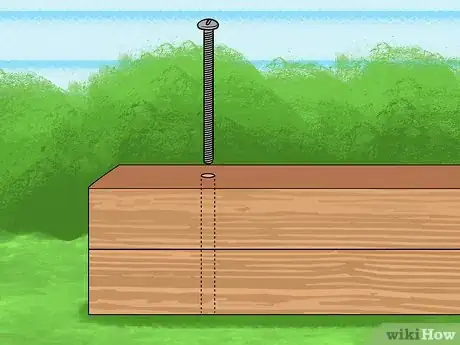
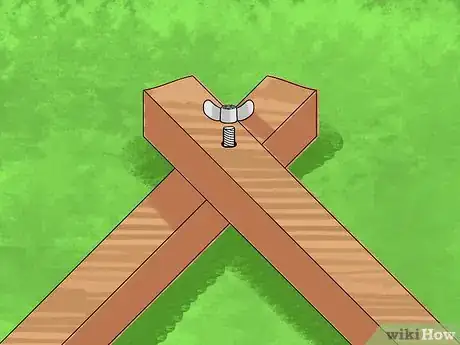
4Fix the 2 poles together with a carriage bolt. Push the carriage bolt through both holes so the poles are loosely bolted together. The bolt holds the 2 poles together by acting as a hinge.
-
5Open the 2 poles so that the bottoms are 3 ft (0.91 m) apart. Keep the poles flat on the ground. Grab the end of 1 pole in each hand and pull them apart. Keep them joined at the hinge so they create an "A" shape.
-
6Screw a wing nut onto the carriage bolt. The wingnut locks the 2 poles in place, forming the first "A" set of legs for your trellis frame.
-
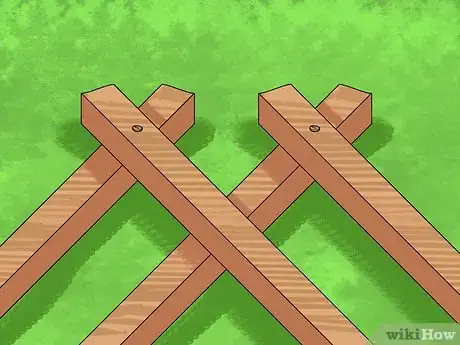
7Create another set of "A" legs with 2 more 4 ft (1.2 m) long poles. Repeat the above steps with another 2 poles. These 2 poles should form another "A" set of legs.
-
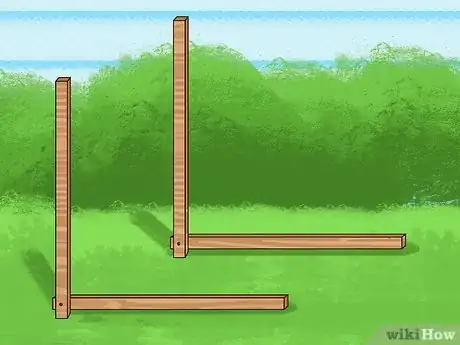
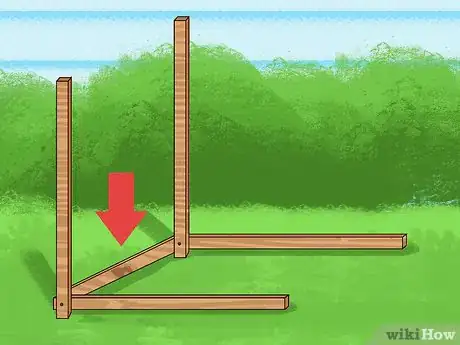
8Turn both "A" legs on their sides and place them 4 ft (1.2 m) apart. The "A" shapes should not be flat or parallel to the ground. Turn them to be perpendicular to the ground, with 1 leg flat on the ground and the other pointing up and out. They are now "L" shapes.
-
9Connect the "A" shapes together at the top with another pole. Use a power drill and heavy-duty screws to attach the fifth pole at the point where both sets of legs hinge. This fifth pole should be flat against the ground. Continue to keep the legs turned on their sides as you attach the fifth pole.
-
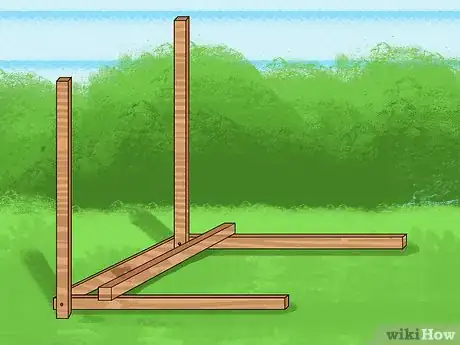
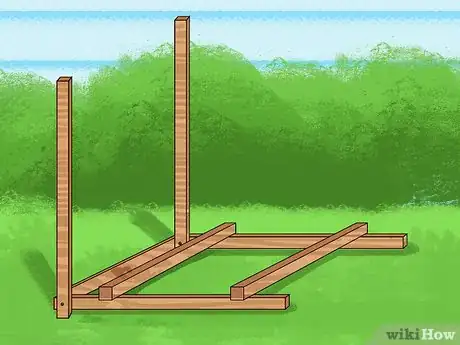
10Attach another pole 6 in (15 cm) down on the lower legs. The lower legs are the 2 legs currently resting on the ground. Use a power drill and heavy-duty screws to connect them together with another 4 ft (1.2 m) pole. This creates a top bar to fix your netting to.
-
11Fix another pole about 6 in (15 cm) from the bottom of the lower legs. Use a power drill and heavy-duty screws to hold them together. This creates a lower bar to fix your netting to.
-
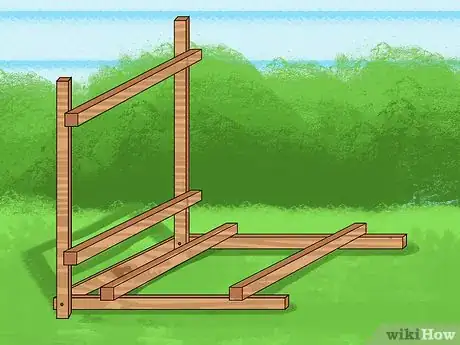
12Repeat the netting-bar steps on the upper legs. The upper legs are those currently off the ground. Use a power drill and heavy-duty screws to fix 2 additional netting bars onto the top legs. Space them 6 in (15 cm) from the top and bottom, just like before.
Setting up the Trellis
-
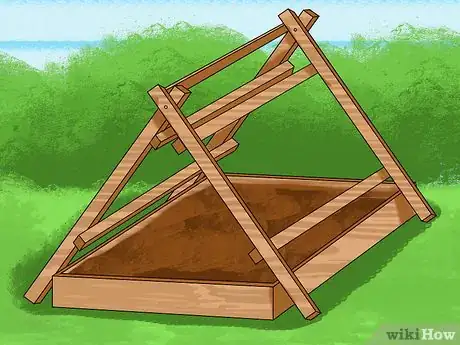
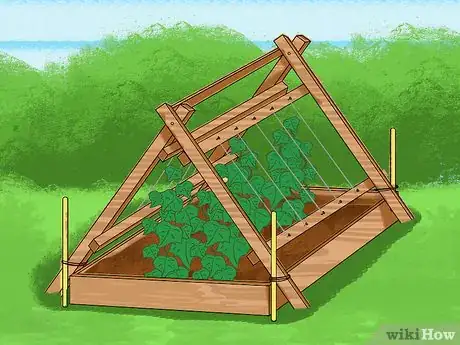
1Stand the trellis frame over your cucumber plot. The tops of the "A" shapes should be pointing straight up. The 4 legs of the "A" shapes should be standing on the ground.[2]
-
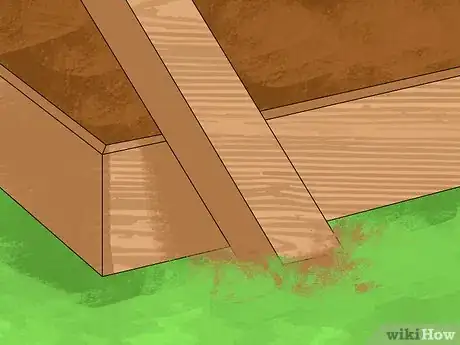
2Press the 4 legs of the trellis 1 in (2.5 cm) to 2 in (5.1 cm) into the soil. Apply pressure to each leg, pushing it down into the soil. Keep the top supporting bar parallel to the ground.
-
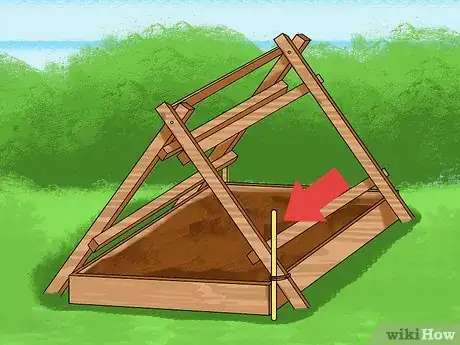
3Drive a 2 ft (61 cm) stake into the ground next to 1 of the legs. Tightly tie the stake and the leg together with strong twine.
-
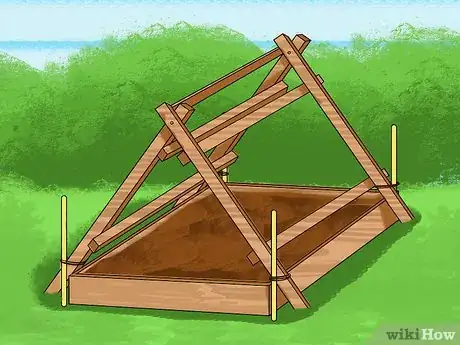
4Repeat the staking and tying procedure with the other 3 legs. These stakes provide your trellis with extra support.
-
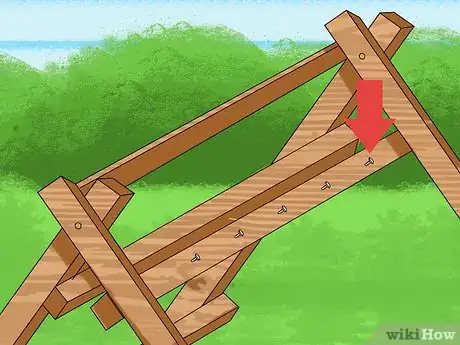
5Hammer 1 in (2.5 cm) nails halfway into all 4 netting bars. Space the nails about 6 in (15 cm) apart. Do not hammer the nails flat all the way into the bars.
-
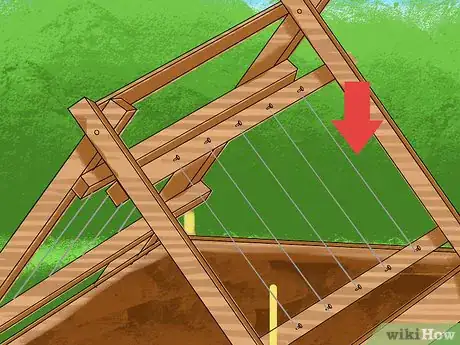
6Tie clotheslines to each nail to form a net for your cucumbers to climb up. Each clothesline should be about 3 ft (0.91 m) long. Use 1 piece of clothesline to connect 2 screws on opposing netting bars, parallel to the legs of the "A" stand.
- Heavy twine or flexible wire may also be used in place of clothesline.
Training Your Cucumbers
-
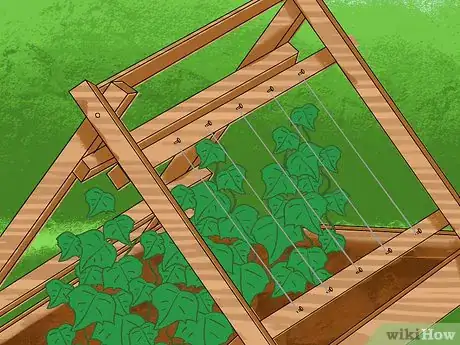
1Plant your cucumbers below the trellis. Space the cucumber plants 1 ft (30 cm) apart from one another. Create rows that are spaced directly beneath the bottom netting bars.[3]
- Waiting to plant the cucumbers until after you build the trellis prevents your cucumbers from getting root damage.
-
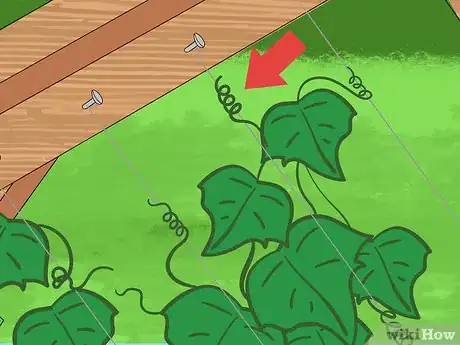
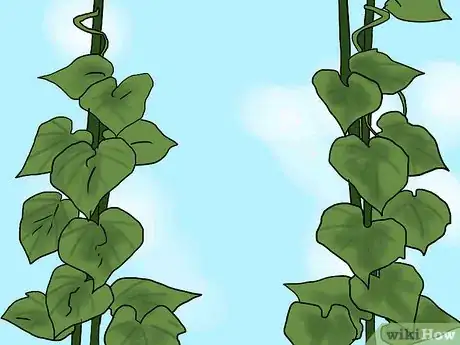
2Wrap the vine tendrils around the bottom of the clothesline. Once your plants start growing, vines will emerge. You may need to wind them around a few times before they stay in place. This trains them to climb on the trellis.
-
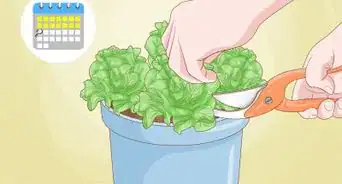
3Continue winding the vines around the clothesline as they grow. This trains your cucumbers to grow upward and naturally climb onto the trellis. After your vines have grown about 1 ft (30 cm) in length, they will probably begin climbing the trellis without additional training.
-
4Monitor their progress throughout the growing season. Keep an eye on your cucumber plants and train any vines that don't naturally start climbing the trellis.
Community Q&A
-
QuestionCan a straight eight cucumber grown horizontal rob support?
 NinoxTop AnswererIt depends on the size of the support. You need to give at least 1 m (3') to each cucumber to grow on the support.
Things You'll Need
- Electric power drill
- 9 4-foot tall wooden poles, 1-inch by 1-inch
- 2 1/4" by 4 1/2" carriage bolts
- 2 1/4" wing nuts
- 10 heavy-duty screws
- 4 2-foot wooden stakes
- Twine
- 28 1-inch screws
- Hammer
- 14 pieces of 3-foot clothesline
References
About This Article
To trellis cucumbers, start by drilling a ¼ inch hole near the top of 2 of 9 poles, placing them on the ground, and overlapping the holes so you can fit them together with a carriage bolt. Then, open the poles so that they form an “A” shape, screw a wing nut onto the carriage bolt, and create another set of “A” legs. Once you have two sets of “A” legs, turn them on their sides, place them 4 feet apart, and connect them at the top, middle, and bottom with the remaining poles. After the trellis is set up, plant the cucumbers below it, and train the tendrils to grow up it. For more tips from our Horticultural reviewer, including how to set up your cucumber trellis, keep reading!
