This article was medically reviewed by Luba Lee, FNP-BC, MS and by wikiHow staff writer, Christopher M. Osborne, PhD. Luba Lee, FNP-BC is a Board-Certified Family Nurse Practitioner (FNP) and educator in Tennessee with over a decade of clinical experience. Luba has certifications in Pediatric Advanced Life Support (PALS), Emergency Medicine, Advanced Cardiac Life Support (ACLS), Team Building, and Critical Care Nursing. She received her Master of Science in Nursing (MSN) from the University of Tennessee in 2006.
wikiHow marks an article as reader-approved once it receives enough positive feedback. In this case, several readers have written to tell us that this article was helpful to them, earning it our reader-approved status.
This article has been viewed 144,054 times.
Hot glue guns are great for crafting and minor DIY repairs, but the molten glue can cause some nasty little burns! If you do get burned, rinse or soak the area in cool water for at least 10 minutes, then start working on removing the glue from your skin. Care for the wound like you would any small 1st or 2nd degree burn, by keeping it clean and covering it with a dressing. However, you should call your doctor if the burn is obviously more severe or seems to be getting worse.
Steps
Cooling the Burn with Water
-
1Resist the urge to wipe off any hot glue on your skin. Your immediate instinct will be to get the molten hot glue off of your skin—but don’t do it! If you try to wipe it away with your fingers, you’ll just burn them, too. If you try to wipe the glue on your pants or a towel, you’ll probably pull away the skin under the glue.
- Peeling away the skin along with the glue makes the burn more painful, lengthens the recovery time, and increases the risk of infection.
- If you can’t stop yourself from wiping the glue away, continue on with the rest of this treatment plan as described anyway. There will probably still be some residual glue on your skin.
-
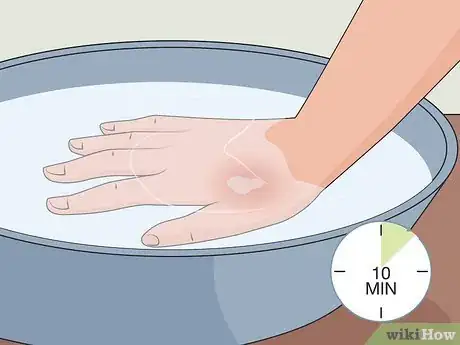
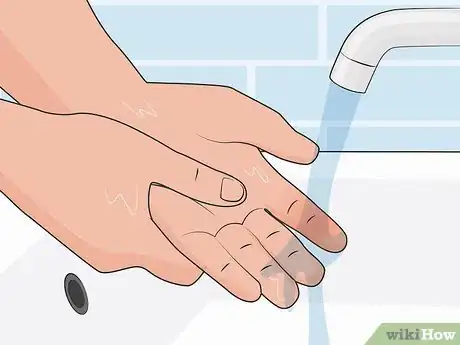
2Place the burn under cool running water or in a bowl of cool water. Do this as soon as you can. Use cool running water whenever possible, but resort to a bowl of cool water if you can’t easily stick the burned area under the faucet or spigot.[1]
- Use cool water—not ice water! Dunking your hand in ice water may cause further damage to the burned skin. Applying ice directly to the burn can also cause skin damage, and the ice may get stuck to the burned skin.
- If your tap water is uncomfortably cold, slightly open the hot water valve as well. So long as the water temperature remains below body temperature—and, better yet, room temperature—it will help treat the burn.
Advertisement -
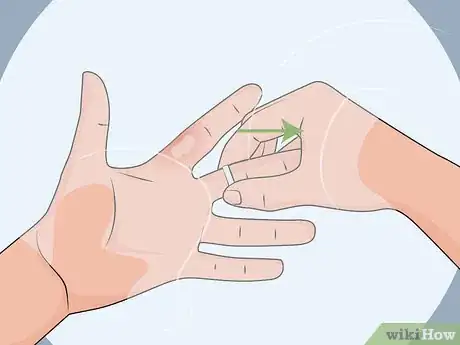
3Remove any rings or tight jewelry in the area while cooling the burn. Your fingers are definitely the most likely spot for a hot glue burn. If you burn a finger with a ring on it, slide off the ring while keeping the area under running water or in cool water.[2]
- Skip this step if the ring or other jewelry is too tight to remove, can’t be removed without scraping the burn, or has been glued to your skin.
- Your skin may swell in the area of the burn over a period of hours or days. If, for example, your finger swells significantly, a medical professional may need to cut your ring off in order to maintain blood flow.
-
4Continue to cool the burn with water for at least 10 minutes. Even if the burn starts to feel better, keep cooling it for a minimum of 10 minutes. If the pain has not lessened significantly after 10 minutes, keep going for another 5-10 minutes until your discomfort is manageable.[3]
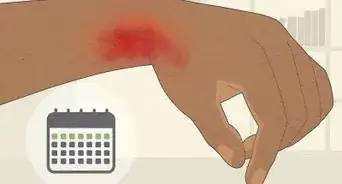
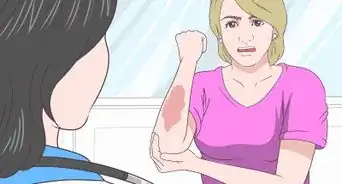
- Hot glue from a glue gun usually causes 1st degree or low-grade 2nd degree burns, both of which can be treated at home. That said, get medical assistance if any of the following are true:
- The pain remains severe after 20 minutes of treatment with cool water.
- The burned area is too large to fit inside a 2 in (5.1 cm) diameter circle.
- Numerous blisters form quickly. Limited blistering is a sign of a 2nd degree burn, which can normally be managed at home.
- The skin looks ashy white or black and leathery. This indicates a 3rd degree burn and is very unlikely in this case.
- Hot glue from a glue gun usually causes 1st degree or low-grade 2nd degree burns, both of which can be treated at home. That said, get medical assistance if any of the following are true:
Removing Glue from Your Skin
-
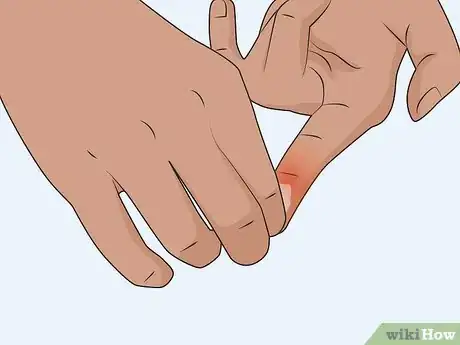
1Rub the dried glue gently while keeping the burn in water. Don’t worry about the glue on your skin until you’ve soaked the burn for at least 10 minutes. With the burned area still under running water or in a bowl of water, softly rub the hardened glue with the pad of your index finger or thumb. Over the period of a few minutes, layers of glue will peel and flake away from your skin.
- If your skin starts peeling away with the glue, stop trying to remove it. Contact your doctor for advice.
-
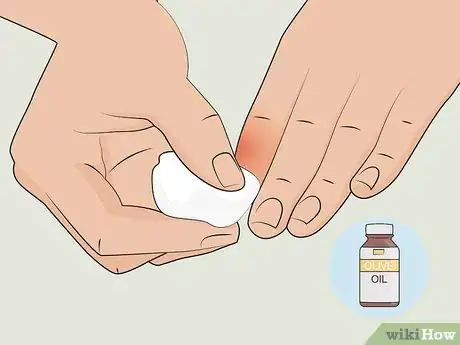
2Soak a cotton ball in olive oil and rub it over any residual glue. Remove the burned area from the water once you’ve rubbed away most of the glue. Pour some olive oil in a small bowl and dip a cotton ball into it. Gently rub the cotton ball back and forth over the glue residue on your skin. Re-dip the cotton ball as needed. Over time, the remaining glue will lift away from your skin.[4]
- Other food-grade oils can be used here, but olive oil seems to work particularly well.
-
3Rinse the olive oil away completely with more cool water. Once you’ve rubbed away all the glue residue, put the burned area back under cool running water or in a bowl of cool water. Rinse the oil completely away from the burn—gently rub the burn with your finger or a damp, soft, lint-free cloth if necessary. Take care not to leave any oil on the burn, since it could make your injuries worse.[5]
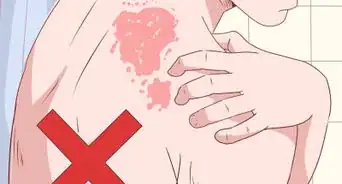
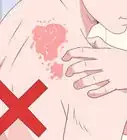
- Despite what you may have heard, oil, butter, and/or petroleum jelly are not good burn remedies and should not be used. These products trap any residual heat against the burn and may cause additional damage.
Caring for the Wound
-
1Pat the burn dry with a clean, lint-free cloth. Don’t rub or wipe the burned area. Instead, lightly dab it with the cloth until the area is mostly dry. If the cloth sticks to the burned area, place the burn and cloth back under or in cool water, slowly pull the cloth away, and allow the burn to air dry instead.[6]
-
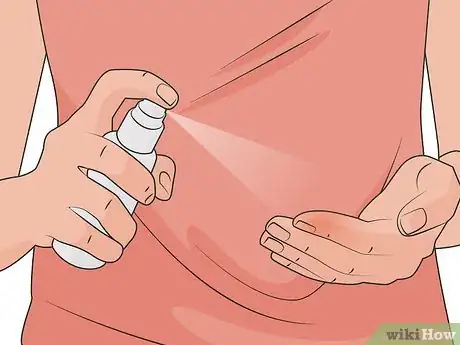
2Spray on an antiseptic product, or dab on vinegar with a cotton ball. Apply a light coating of an antiseptic spray if you have one available. Don’t use an antibiotic ointment or gel in this case, since these products may trap in residual heat against the burned area.[7]
- If you don’t have an antiseptic spray, soak a cotton ball in white vinegar, then lightly dab it over the burned area. Allow the vinegar to air dry.
-
3Use a bandage if there’s a risk of irritation or discomfort. If the skin isn’t blistering or very red and raw in the burn area, or if your clothing won’t rub against and irritate the burn, you don’t need to bandage it. If it does need a bandage, keep any bandage adhesive at least 0.5 in (1.3 cm) away from the perimeter of the burn.[8]
- If you use an adhesive bandage, choose one that is substantially larger than the burned area. Alternatively, wrap the area loosely with a non-adhesive bandage material and use just enough medical tape to keep the bandage in place.
-
4Wash the burn gently and inspect it closely at least once per day. Carefully remove the bandage if there is one in place. If the burn looks the same or is improving, wash it gently with cool water and a mild soap. Rinse it completely, pat it dry with a clean towel, and apply a new bandage, if needed.[9]
- If you see substantially more redness, swelling, or blistering, or if there is an odor or discharge coming from the burn, contact your healthcare provider.
-
5Manage burn pain with OTC pain relievers. OTC oral pain relievers, such as ibuprofen (Motrin) or acetaminophen (Tylenol), can also help ease burn discomfort.[10] Take any pain reliever product exactly as directed, and check the package instructions carefully for any warnings about potential side effects and drug interactions. Contact your doctor or pharmacist if you have questions or concerns.[11]
Things You’ll Need
- Cool, clean water
- Cotton balls
- Olive oil to remove the glue (rinse it away when you’re finished)
- Clean cloths
- Antiseptic spray or white vinegar
- Mild soap
- Bandages (optional)
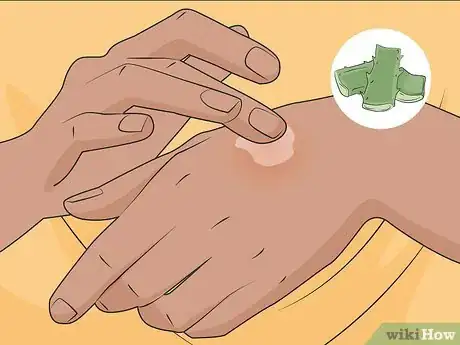
- Aloe vera gel (optional)
- OTC pain reliever (optional)
References
- ↑ https://youtu.be/zB5sW0ZjQGc?t=55
- ↑ https://hhma.org/healthadvisor/aha-burnther-crs/
- ↑ https://youtu.be/zB5sW0ZjQGc?t=55
- ↑ https://www.researchgate.net/publication/309203552_The_Benefits_of_Olive_Oil_Compounds_in_Healing_Burned_Skin_Lesions
- ↑ https://newsnetwork.mayoclinic.org/discussion/mayo-clinic-q-and-a-treating-burns/
- ↑ https://newsnetwork.mayoclinic.org/discussion/mayo-clinic-q-and-a-treating-burns/
- ↑ https://hhma.org/healthadvisor/aha-burnther-crs/
- ↑ https://hhma.org/healthadvisor/aha-burnther-crs/
- ↑ https://newsnetwork.mayoclinic.org/discussion/mayo-clinic-q-and-a-treating-burns/


