This article was co-authored by Lauren Kurtz. Lauren Kurtz is a Naturalist and Horticultural Specialist. Lauren has worked for Aurora, Colorado managing the Water-Wise Garden at Aurora Municipal Center for the Water Conservation Department. She earned a BA in Environmental and Sustainability Studies from Western Michigan University in 2014.
wikiHow marks an article as reader-approved once it receives enough positive feedback. This article received 14 testimonials and 91% of readers who voted found it helpful, earning it our reader-approved status.
This article has been viewed 417,260 times.
Transplanting a small tree (sapling) is a little more involved than simply buying a container grown tree and setting it out—a few extra considerations come into play. Nevertheless, the basic principles of preparation and care are the same. With a bit of effort and determination, your young tree will be healthy and growing in no time.
Steps
Selecting a Planting Location
-
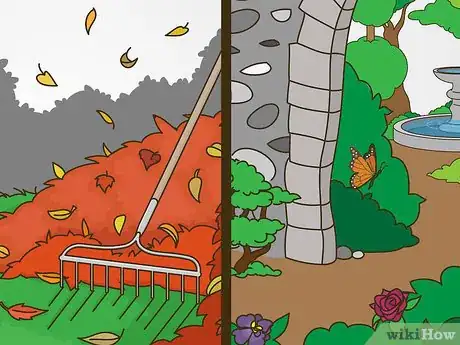
1Transplant your tree in the fall or spring. During these seasons, most specimens are dormant, which is ideal. When plants are removed from the soil while growing they enter a state of shock that decreases their chances of survival in a new home. On the other hand, dormant plants have more time to lay down new root systems, store nutrients, and prepare for growth season.
- Different plants fare better during different time frames. For example, evergreen and pine trees do best in early fall, oak trees in early spring, maple trees in late fall, and fruit trees in early spring, right before growth season.
- If you succeed in removing the roots still covered with earth, the tree should survive even in the summer.
-
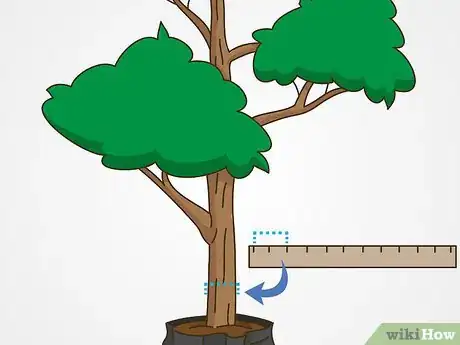
2Select a sapling no more than 2 to 3 inches (5.1 to 7.6 cm) thick. Saplings with a base thickness within this range tend to be small enough that you won't have trouble digging up their root systems. You also need to make sure that it is a variety that can handle the stress of transplanting—sometimes this will just have to be a case of trial and error.[1]
- Good varieties to transplant include oak, birch, magnolia, dogwood, eucalyptus and tea tree.
- Limit yourself to trees with trunk diameters that are 2 inches (5.1 cm) or less for the best results. Anything bigger can be difficult, and is best transplanted by landscape contractors.
Advertisement -
3Find a location that falls into the right plant hardiness zone. Different trees thrive in specific plant hardiness zones. For example, Leyland Cypress thrives in zones 6 to 10, which corresponds to an extreme average minimum temperature range of −5 to 35 °F (−21 to 2 °C) on the zone map.
- Hardiness zones are the regions in a country that are grouped together based off of similar climate conditions.
- Take a look at the worldwide USDA plant hardiness zones here: http://planthardiness.ars.usda.gov/PHZMWeb/
-
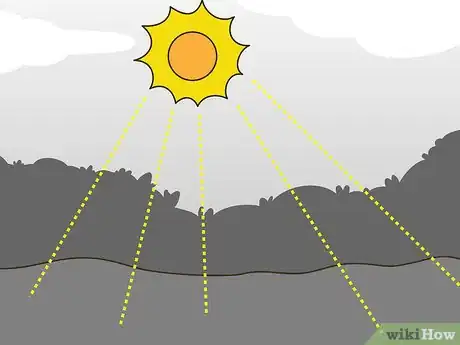
4Select a location that provides a suitable amount of sunlight. Always try to mirror the conditions of the native region as much as possible. Full sunlight is 6-8 hours of sunlight, either continuous or not. Partial sunlight is defined as 4 to 6 hours. While some plants can thrive in partial sunlight, others don't respond well to shade and require full sunlight.[2]
- Signs that your plant is getting too much sun include petals drying out, burnt leaf edges, drooping, and a washed out or faded color. On the other hand, signs of not getting enough sunlight include decreased growth, a wide distance between leaf stems, spindly stems, and fewer flower buds.
- Trees that are considered tolerant to shade are white ash, green ash, river birch, sugar maple, red maple, hackberry, Norway maple, American linden, ironwood, and Kentucky coffeetree.
-
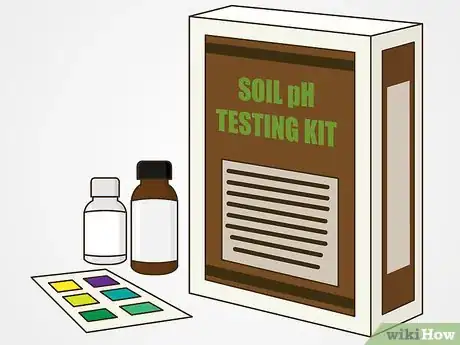
5Test pH of the new soil to determine its alkalinity or acidity. Although most plants have their own optimal pH, in general trees can thrive within the range of 5.5 and 6.5. For pHs outside of this range, additions of limestone, sulfur, or aluminum sulfite are your best options for adjustment. However, it is usually more practical and sustainable to find plants that will thrive in your soil's natural pH.
- Add dolomitic limestone to raise the pH of low-magnesium soils. For high-magnesium soils, add calcitic limestone to raise pH.[3]
- Sulfur additions can lead to gradual decreases in pH, although its effectiveness varies depending on moisture, temperature, and bacterial presence. Conversely, aluminum sulfate additions lead to instantaneous pH decreases that are difficult to control.[4]
-
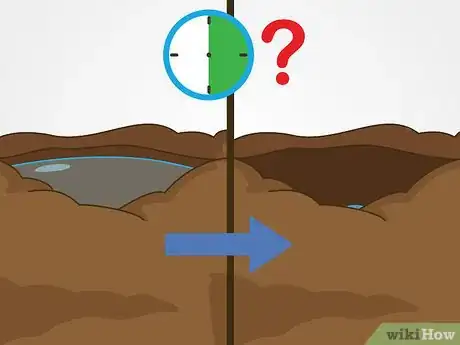
6Dig a small hole and pour water into it to test soil drainage. Young trees require adequate drainage. To test your proposed location's drainage, dig a hole around 12 to 18 inches (30 to 46 cm) both across and deep. Pour water into it until it's full and determine how long it takes to drain. If it takes longer than 1 hour, the soil is poorly drained.[5]
- Additions of organic matter such as peat moss, manure, or compost can improve soil drainage.
Digging up Your Tree
-
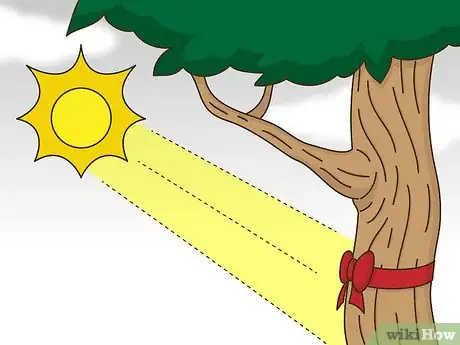
1Tag the direction the sapling is facing with a ribbon prior to removal. When transplanting it, align this ribbon to the same direction as its previous location. This is called "sun orientation", and is important to observe because it eases the sapling's adaptation as it adjusts to the new location.
- For example, tie a colored ribbon to north side of the tree, and plant with this ribbon facing north.
-
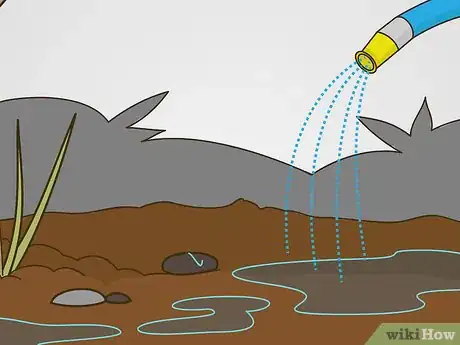
2Water the area of the young tree 3 to 4 days prior to transplanting. This will ensure that the soil is moist when you need to dig up the plant. Just be sure not to overwater, as too much water can hinder growth.[6]
- Consistently watering for several days before you transfer the plant will help the soil stay clumped to the plant's root ball.
-
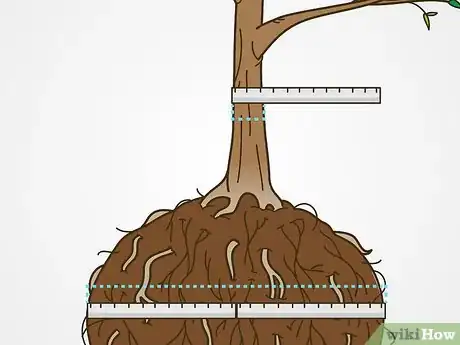
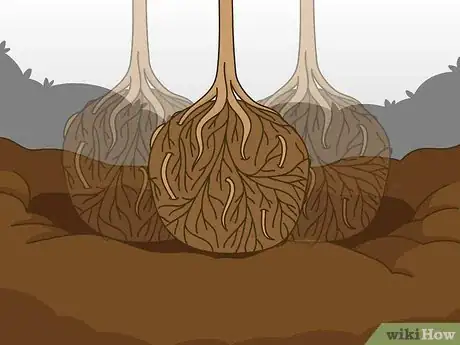
3Estimate the radius of the root ball. The root ball of your selected sapling should be between 8 to 12 inches (20 to 30 cm) for each 1 inch (2.5 cm) of the trunk's diameter at chest height. For example, if your tree has a trunk diameter of 1 inch (2.5 cm), the diameter of the root ball should be 16 to 24 inches (41 to 61 cm).[7]
- You can also measure the root ball after digging it out for better accuracy. However, estimating will give you a good idea of how to dig around the ball to minimize damage to the tree's roots.
-
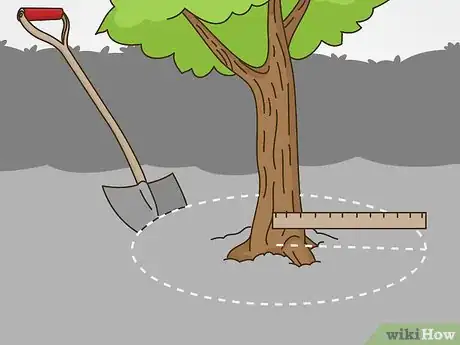
4Dig up the sapling 12 inches (30 cm) from the base of the tree. Use a round-point shovel to cut a circle around the root system of the sapling. Cut into the soil as deep as you can so that you preserve the roots intact, and always make sure that the root ball does not break.
- If the ground is firm enough and has moisture, you can cut around and down below the main root mass and remove it intact without disturbing the roots.
- Limit yourself to trees with a trunk diameter of 2 inches (5.1 cm) or less. Anything bigger should be transplanted by an experienced contractor.
-
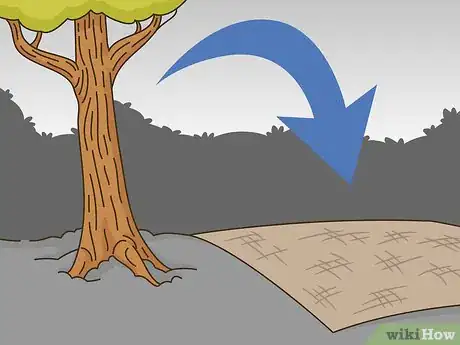
5Place a plastic or burlap cloth on the ground beside the tree. Moving the tree to its new hole is much easier (and less messy) when it's wrapped in a plastic or cloth. For soil that is loose and sandy, it's a necessity.
- Purchase plastic or a tarp from local home hardware or garden stores.
-
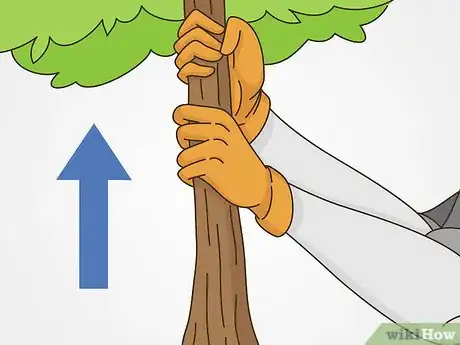
6Grab the sapling from the bottom and lift it out of the hole. If you can pull the tree up with most of the roots still in soil, you can carry it a short distance to replant it. Walk slowly and handle it gently to avoid shaking, jarring, or other action to the root ball. This will decrease the chances of the tree's survival by loosening the soil and leading to excess air exposure that dries out the roots.
- Saplings with large taproots and large roots extending from the trunk are likely unsuitable for transplanting.
-
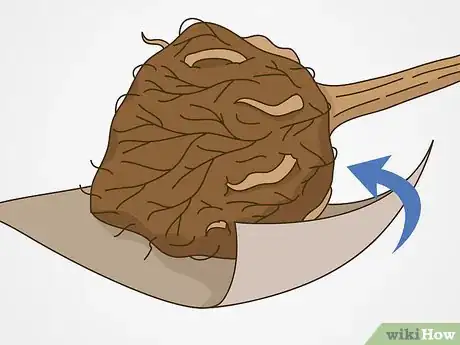
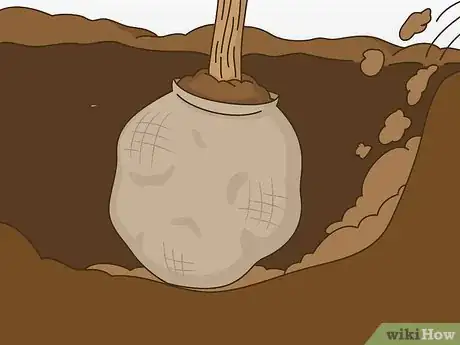
7Roll your root ball onto plastic or burlap fabric for far transfers. If you have to haul your sapling to another location, set it in the center of your plastic or burlap fabric, draw the fabric around it to support the roots and soil, and tie it off with twine around the trunk.[8]
- Avoid shaking the root ball during transportation. This will loosen the loosen the soil around the roots and allow air to reach them, causing them to dry out.
Establishing the New Location
-
1Dig a hole that is big enough to accommodate your tree's root system. Use your measured or estimated measurement of the root system to determine the hole's width and depth. The hole should be approximately 2 to 3 times the width of your tree's root ball and have a depth around 1 to 2 inches (2.5 to 5.1 cm) less than the height of your root ball.[9]
- If the soil is extremely hard or compacted, dig your hole much larger to loosen the soil around the perimeter and make it easier for the roots to spread when they begin to grow outward.
-
2Place the sapling into the bottom of the hole. Make sure that the sapling is at the same depth as when you removed it. Ease loose soil around it to support for support, watering as you do so to eliminate voids or air pockets.
- Don't water so much that you wash the soil from the roots.
-
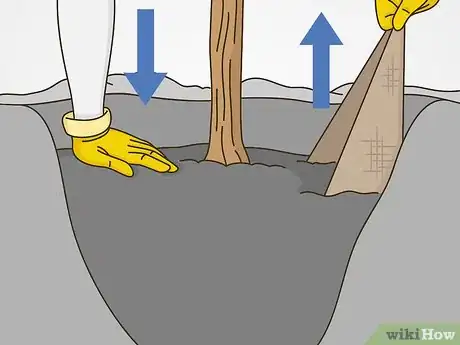
3Fill the hole back up and make sure it's level with the adjacent ground. Once the hole is approximately two-thirds full, use your hands to press down on the soil around the root ball and remove any air pockets. Remove the twine secured around the soil ball if your transported it with burlap. Then, pull out any remaining burlap from under the tree. Afterwards, continue filling the hole up with the remaining soil.[10]
- Water the tree slowly and thoroughly after the hole is filled. Steady watering ensures that the tree does not dry out.
-
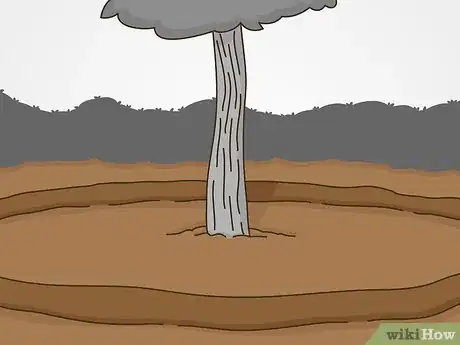
4Create a small dam about 3 inches (7.6 cm) high around the tree. Use the excess soil that remains to create the dam about 2 feet (0.61 m) from the trunk. This will keep water from running off when you water the tree.
- These dams are especially useful for dry soil.
Caring for Your Tree
-
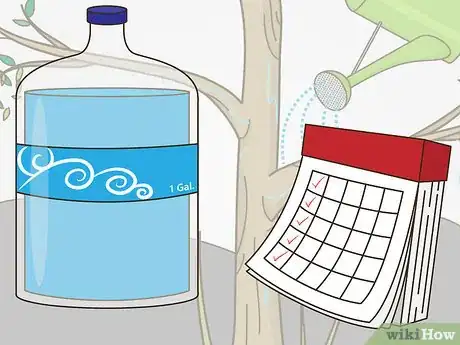
1Water your tree with 5 to 7 gallons (0.019 to 0.026 m3) of water once a week. Although weather and soil conditions can change this number, it's typically enough for newly planted trees and shrubs. In general, well-drained soil that is sandy requires more water, while clay soils might hold too much and require drainage.
- Dig about 4 to 8 inches (10 to 20 cm) into the soil and touch it with your hands. If it's dry, or even just a bit damp, it needs more water.
- Avoid short, frequent watering, as it doesn't promote deep root growth necessary for newly transplanted trees.
- Rewater the tree after the initial watering has soaked in, and keep watering the sapling through its first growing season.
-
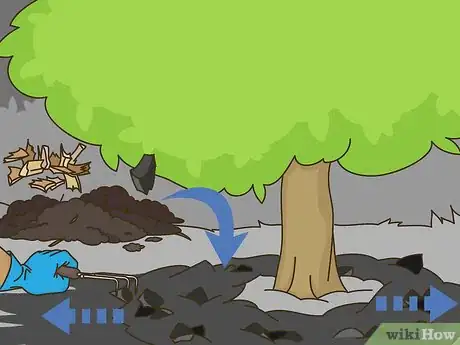
2Add a 3 to 6 inches (7.6 to 15.2 cm) layer of mulch to the base. Spread it in a 3 to 6 feet (0.91 to 1.83 m) diameter circle around your tree. Always make sure that the mulch is not directly in contact with the tree's trunk.
- Mulching provides a favorable environment for root growth by improving water flow, holding in moisture, and preventing weed growth.
-
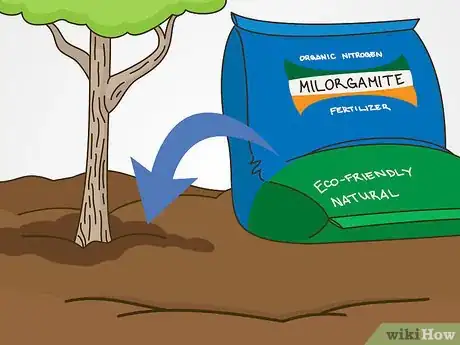
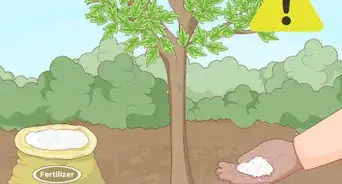
3Fertilize your newly planted trees every 2 to 3 weeks in the fall or spring. Apply fertilizer to the surface of the tree once you notice new growth, and water it after each application. Do not apply nitrogen fertilizer in the late summer unless your tree is deficient in nutrients. Otherwise, your tree will be damaged easier by winter temperatures due to new growth that doesn't properly harden.
- If you're fertilizing in the fall, do so after leaves have fallen. For spring fertilization, do so before tree growth begins. Try to avoid fertilizing when there is the risk of a frost, though, as this can kill the sapling's new growth.
- Adding fertilizer too early will stimulate the tree to put more growth out than its stressed roots can support.
-
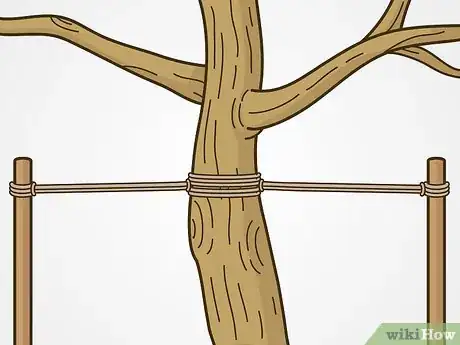
4Stake the sapling if you're planting in a windy environment. This can be done by driving some rebar, pipe, or wooden stakes around the tree about 3 feet (0.91 m) from the trunk. Afterward, tie tree straps around the tree's trunk, making sure the tree is level in the ground.[11]
- You might want to wrap the string or wire with a split, cut-off piece of garden hose where it contacts the tree to keep it from chaffing the bark at these locations.
- High winds can blow the sapling down before the soil is compacted and the roots begin growing out to establish a new foothold.
Expert Q&A
Did you know you can get expert answers for this article?
Unlock expert answers by supporting wikiHow
-
QuestionWhat is a good time of year to transplant a Japanese maple?
 Lauren KurtzLauren Kurtz is a Naturalist and Horticultural Specialist. Lauren has worked for Aurora, Colorado managing the Water-Wise Garden at Aurora Municipal Center for the Water Conservation Department. She earned a BA in Environmental and Sustainability Studies from Western Michigan University in 2014.
Professional Gardener
-
QuestionCan I transplant a 15-foot blue spruce tree without damaging it?
 Lauren KurtzLauren Kurtz is a Naturalist and Horticultural Specialist. Lauren has worked for Aurora, Colorado managing the Water-Wise Garden at Aurora Municipal Center for the Water Conservation Department. She earned a BA in Environmental and Sustainability Studies from Western Michigan University in 2014.
Professional Gardener
-
QuestionWhat do I feed a young tree?
 Community AnswerMake sure your young tree is well watered. You can also put bone powder on the ground around the trunk.
Things You'll Need
- Small healthy sapling
- Round-point shovel
- Sheet of plastic or burlap trap
- Water container or water source
- pH paper
- Rope or twine
- Wooden stakes
Warnings
- Going onto private property or state/provincial federal park lands to remove trees is illegal in many countries, such as the United States, Australia and Canada. Be aware of the local regulations and do the right thing—these laws are there to protect our forests for everyone's future.⧼thumbs_response⧽
- Watch for the usual pests if you are in the woods looking for a transplant candidate. These include snakes and wild animals, ticks that can carry diseases, insects like hornets, bees, and wasps, and poison oak, ivy, and sumac.⧼thumbs_response⧽
References
- ↑ https://hortnews.extension.iastate.edu/2009/3-11/transplanting.html
- ↑ http://web.extension.illinois.edu/gardendesign/assessment_sunlight.cfm
- ↑ http://extension.msstate.edu/content/soil-testing
- ↑ http://www.clemson.edu/extension/hgic/plants/other/soils/hgic1650.html
- ↑ https://athenaeum.libs.uga.edu/bitstream/handle/10724/34451/LeylandCypress.pdf?sequence=1&isAllowed=y
- ↑ https://hortnews.extension.iastate.edu/2009/3-11/transplanting.html
- ↑ https://hortnews.extension.iastate.edu/2009/3-11/transplanting.html
- ↑ https://hortnews.extension.iastate.edu/2009/3-11/transplanting.html
- ↑ https://hortnews.extension.iastate.edu/2009/3-11/transplanting.html
About This Article
It’s best to transplant a young tree in the fall or spring, which will give it more time to lay down its roots, store nutrients, and prepare for growth season. Make sure your sapling is no more than 2-inches thick to give it the best chance of taking to its new environment. Additionally, dig up the sapling 12-inches from the base of the tree so it won't damage the tree's structure. Use a round-point shovel to cut a circle around its root system and be careful to keep its root ball intact when you lift it out. Once you’ve dug up your sapling, dig a hole 2-3 times as big as its root ball in your new location. Place the sapling in the bottom of the hole and fill it in with soil. Finally, use the excess soil to create a 3-inch dam about 2 feet from the trunk to keep water from draining away. For more tips from our Gardening co-author, including how to care for your new tree after planting it, read on!
