This article was co-authored by Maggie Moran. Maggie Moran is a Professional Gardener in Pennsylvania.
This article has been viewed 276,590 times.
Transplanting is an important part of plant care. Whether you need to move the plant into a bigger pot or outdoors, it is important that you do it right. How you take care of the plant before transplanting is just as important as how you take care of it afterwards. The process itself is simple, but there is a trick to getting it done right; if you don't do it correctly, you could kill your plant.
Steps
Transferring to a New Pot
-
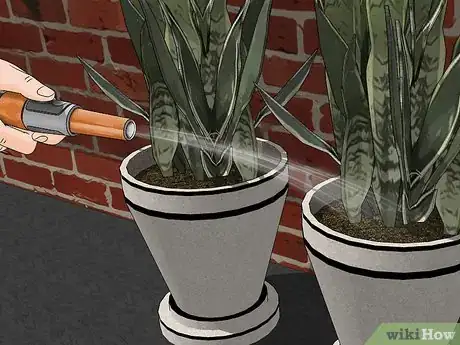
1Water the plant a few hours before you transplant it. The time of the year does not matter much since you will be keeping the plant indoors. What does matter, however, is the soil. Water the plant thoroughly, then wait 1 hour; this will dampen the soil and make it easier to remove the root ball.[1]
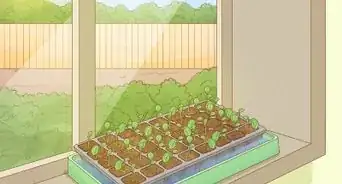
- If you are transplanting a seedling, wait until it forms a pair of true leaves. True leaves are hardier than the delicate leaves you see at first.
-
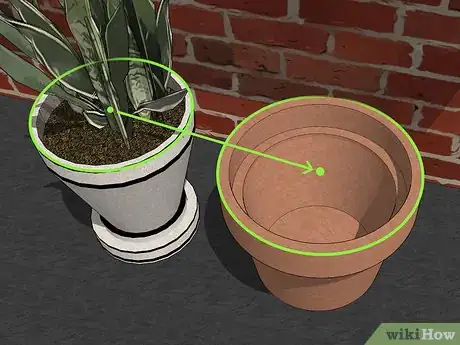
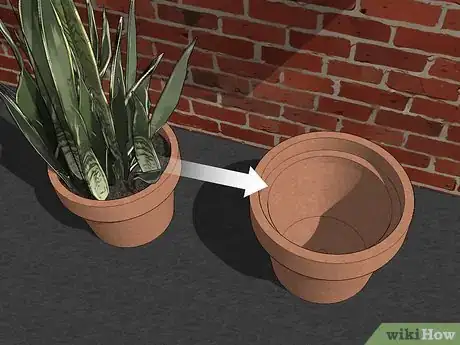
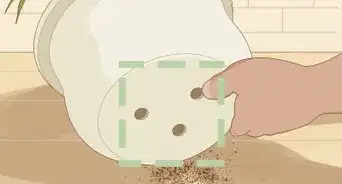
2Choose a pot that's 1 size larger than the old pot. It's better to gradually increase the size of your plant's pot as it grows rather than putting it into a giant pot from the start. Get a pot that is 1 size bigger than the one that the plant is already in. Cover the drainage hole in the new pot with a piece of mesh or a coffee filter.[2]
- You want to cover the drainage hole so that the soil doesn't fall out. The water will still be able to come out.
- If the new pot doesn't have a drainage hole, fill the pot with 1 to 2 inches (2.5 to 5.1 cm) of gravel.
Advertisement -
3Fill the new pot with a few inches/centimeters of potting soil. Use enough potting soil so that if you were to set the root ball into the pot, the top of the root ball would sit 1 inch (2.5 cm) below the pot's rim. Do not use gardening soil.[3]
- Gardening soil often contains insects, diseases, and fungi. Your plant is not used to these, and it can get sick or die as a result.
- For the healthiest, happiest plant, look for soil that contains equal parts of rich loam, sand/perlite, and organic matter.[4]
- If you are transplanting a seedling, fill the pot to within 1 inch (2.5 cm) of the rim. Dampen the soil with warm water and wait 1 hour.
-
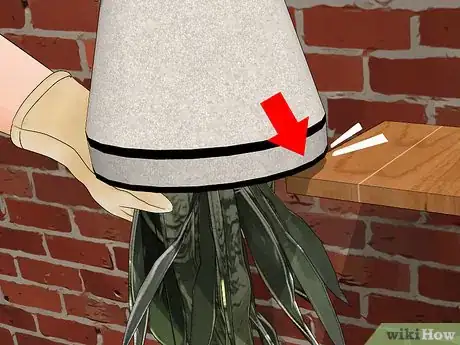
4Turn the pot upside down and gently tap the rim against a table. Cover the top of the pot with your hand so that the plant sticks out between your fingers. Turn the pot upside down, then gently tap the pot's against the edge of a table. This should loosen the root ball and cause it to slide out of the soil and into your hand.[5]
- Do not grab the plant by the stem and pull it out. Break the pot instead as a last resort.
- If you are transplanting a seedling, use a spoon to carefully dig the seedling out. Hold it by a leaf, never by the stem.
-
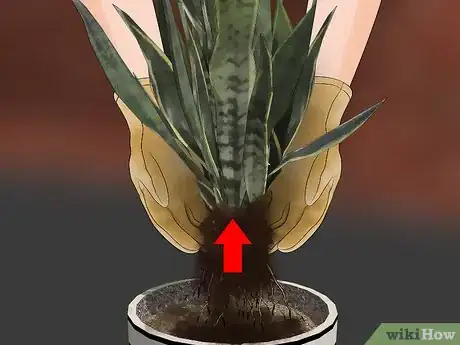
5Slide the root ball out and loosen it if the roots are tangled. Most root balls clump together, which is normal. If the plant was in the small pot for a long time, however, the root ball may retain the shape of the pot. In this case, gently squeeze the root ball with your fingers to loosen it.[6]
- If you can't loosen the root ball, use a sharp, clean knife to slice into the sides of the root ball; make the slices 1⁄8 to 1⁄8 inch (0.32 to 0.32 cm) deep.
- Be sure to cut away any dead or rotten roots with sharp, clean scissors.
-
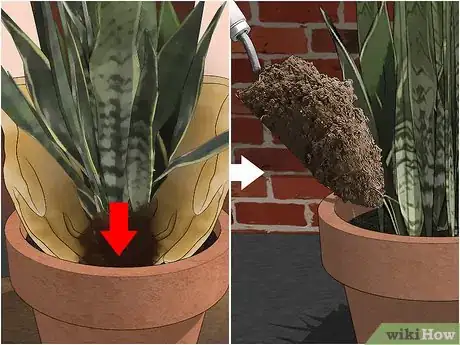
6Set the root ball into the new pot, then fill it with more soil. Cover the top of the root ball with a thin layer of soil. Leave 3⁄4 to 1 inch (1.9 to 2.5 cm) of space between the soil and the rim of the pot.[7]
- If you are working with a seedling, poke a hole into the soil, then tuck the seedling inside. Pat the soil around the seedling.
-
7Water the plant thoroughly. It would be even better if you added some water-soluble fertilizer into the water, but make sure that it's the right kind for your plant. This will help the plant recover faster. Once you are done watering the plant, do not water it again until the top layer of soil is dry.[8] If you are working with seedlings, keep the soil damp, but not soggy.
- If the pot has a drainage hole, keep watering until water comes out of the hole. If the plant does not have a drainage hole, use your best judgement.
-
8Bring the plant into sunlight over the next couple of days. Do not put the plant in full sunlight right away or you will shock it. Instead, gradually move it into brighter and brighter areas over the next 2 to 3 days. Keep the plant warm, but avoid heat.[9]
- If the plants start to wilt, mist them with water, then cover them with plastic wrap. Keep them in a cool area, away from direct sunlight for 1 to 2 days.
-
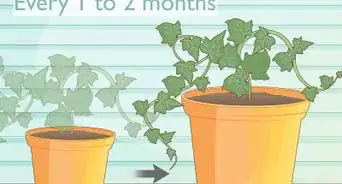
9Move the plant into a larger pot as it grows bigger. How soon you do this depends on how fast the plant grows; some plants grow faster than others. A slow growing plant typically needs to be transferred to a new pot once every 2 to 3 years. A fast growing plant will need to be transferred to a new pot once per year.[10]
- If you notice the roots poking out of the drainage hole, it's time for a new pot!
Transplanting a Plant Outside
-
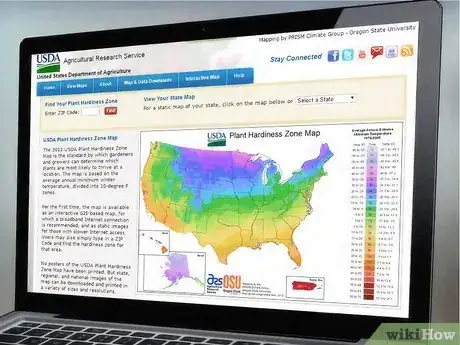
1Research the date when you should move your plant outside. Most plants can be only be planted outside during certain times of the year. The date will depend on what gardening zone you live in as well as the type of plant you have. Online is a great place to start, but seed packets and care tags often contain this information too.[11]
-
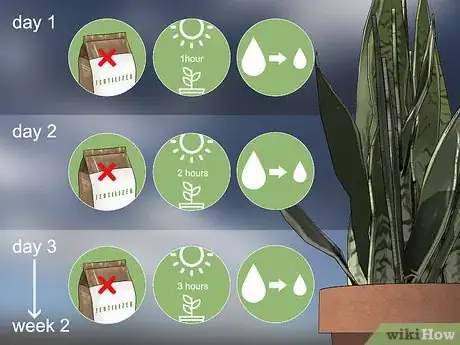
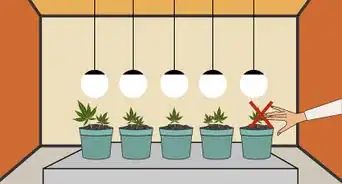
2Begin to harden the plant off 2 weeks before the transplanting date. Stop fertilizing 2 weeks before the transplanting date. Reduce watering, but don't omit it. A week before the date, move the plant outside. Leave it outside for 1 hour on the first day, 2 hours on the second day, and so forth. Keep it out of direct wind and sunlight, and water it often during this week.
- Take the plant outside in the morning each day. You will leave it outside 1 hour longer every day.
-
3Plan to transplant during the cool part of the day. It would be even better if it is overcast or drizzling. Early morning is a good time, but early evening would be even better, because then your plants won't have to deal with the heat of the day while acclimating to their new home.
-
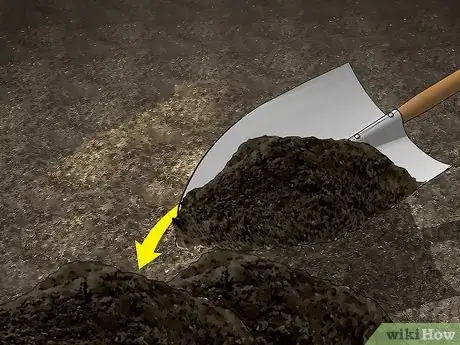
4Fill the planting bed with gardening soil. Choose the area that you will be moving your plant into. Make sure that the area has enough sunlight/shade for your type of plant. Dig up any untilled soil, and replace it with gardening soil. For even better results, mix some compost into the soil.[12]
- It would be best to buy the soil from the store. This way, you can ensure that it is pest, disease, and fungi free.
-
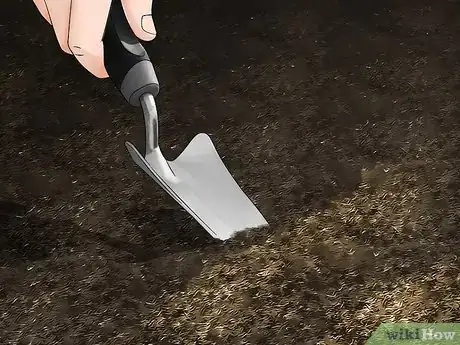
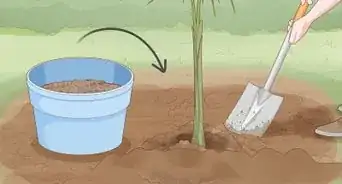
5Dig a hole big enough to hold the plant's pot. Unless the pot is made out of peat or paper, you will be removing the plant from the pot and placing the root ball into the hole. It is difficult to tell how big the root ball is when the plant is still in the pot, however, but if you make the hole the same size as the pot, you can ensure a good fit.[13]
-
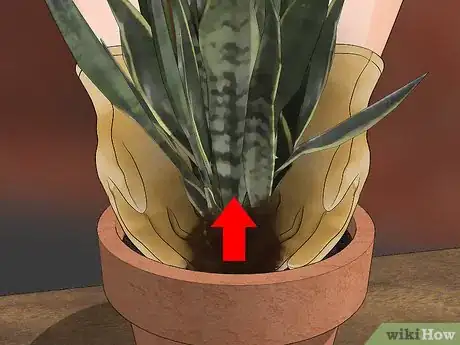
6Turn the pot upside down and slide the root ball out. Place your hand over the top of the pot first, so that the plant is sticking out between your fingers. Carefully flip the pot upside down. If the plant doesn't slide into your hand, lightly tap the rim of the pot against a firm surface, like a table or bench.[14]
- Do not grab the plant by the stem and pull it out. This can damage the plant.
-
7Leave the plant in the pot if it's made from peat or paper. Instead, cut the sides of the pot so that the roots can reach the fresh soil sooner. It would be good idea to tear away the top inch (2.5 cm) of the pot so that it sits below the soil when you transplant it--otherwise it may soak up the water before it gets to the roots.
-
8Loosen the root ball with your fingers, if needed. Most root balls are already loose, but some of them are so tight that they take the shape of the pot. If this happened with your plant, gently squish the root ball until it loosens up.[15]
- If the root ball is still too firm, make 1/8 to 1/4-inch (0.32 to 0.64-cm) deep incisions into the root ball with a clean knife.
- Skip this step if the plant is in a peat or paper pot.
-
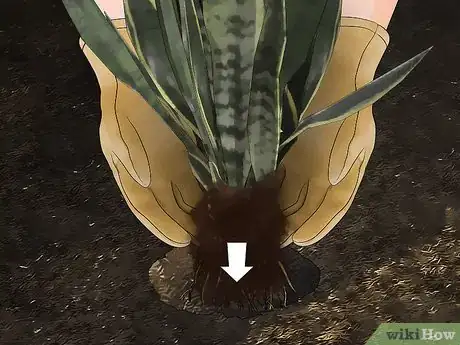
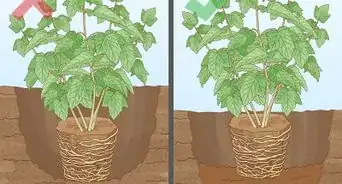
9Place the root ball into the hole. The top of the root ball should be level with the top of the hole. If the hole is too deep, lift the plant out, and add a few more inches/centimeters of gardening soil.[16] If the plant is in a peat or paper pot, simply place the entire pot into the hole.
-
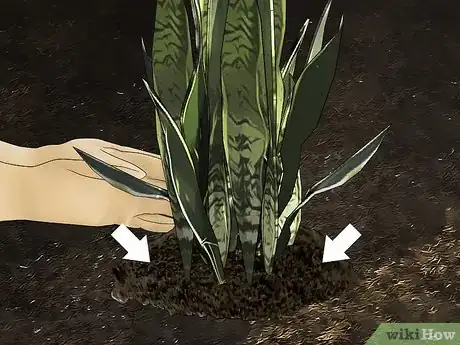
10Fill the space around the root ball with more soil and pat it down. The hole will be a little too big for the root ball, so scoop some soil into the spaces between the root ball and the hole. If the hole caves in and becomes shorter than the root ball, simply add more soil around the top of the root ball so that everything is level. Gently pat the soil down when you are done.[17]
-
11Water the plant thoroughly. After this initial watering, water the plant as often as needed. Depending on the type of plant you have, this could be daily, weekly, or only when the top layer of soil is dry.[18]
- For even better results, add some fertilizer into the water. Be sure to use the right type for your plant, however!
Expert Q&A
Did you know you can get expert answers for this article?
Unlock expert answers by supporting wikiHow
-
QuestionWhat is the best time of day to transplant?
 Maggie MoranMaggie Moran is a Professional Gardener in Pennsylvania.
Home & Garden Specialist
-
QuestionCan plants recover from transplant shock?
 Maggie MoranMaggie Moran is a Professional Gardener in Pennsylvania.
Home & Garden Specialist
-
QuestionWhat is the best time to transplant?
 Maggie MoranMaggie Moran is a Professional Gardener in Pennsylvania.
Home & Garden Specialist
Things You'll Need
Transferring to a New Pot
- Plant to be transplanted
- New pot, 1 size larger
- Broken pottery, mesh, or pebble
- Potting soil
- Fertilizer (optional)
Transplanting a Plant Outside
- Plant to be transplanted
- Gardening soil
- Shovel or trowel
- Fertilizer
References
- ↑ http://www.thegardenhelper.com/repotting.html
- ↑ http://www.thegardenhelper.com/repotting.html
- ↑ http://www.thegardenhelper.com/repotting.html
- ↑ http://www.thegardenhelper.com/repotting.html
- ↑ http://www.thegardenhelper.com/repotting.html
- ↑ http://www.thegardenhelper.com/repotting.html
- ↑ http://www.thegardenhelper.com/repotting.html
- ↑ http://www.thegardenhelper.com/repotting.html
- ↑ http://www.thegardenhelper.com/repotting.html
- ↑ http://www.thegardenhelper.com/repotting.html
- ↑ https://www.proflowers.com/blog/how-to-transplant-potted-flowers
- ↑ https://www.proflowers.com/blog/how-to-transplant-potted-flowers
- ↑ https://www.proflowers.com/blog/how-to-transplant-potted-flowers
- ↑ https://www.proflowers.com/blog/how-to-transplant-potted-flowers
- ↑ https://www.proflowers.com/blog/how-to-transplant-potted-flowers
- ↑ https://www.proflowers.com/blog/how-to-transplant-potted-flowers
- ↑ https://www.proflowers.com/blog/how-to-transplant-potted-flowers
- ↑ https://www.proflowers.com/blog/how-to-transplant-potted-flowers
- ↑ https://gilmour.com/transplanting-when-how-to
- ↑ https://gilmour.com/transplanting-when-how-to
- ↑ http://www.thegardenhelper.com/repotting.html
About This Article
To transplant a plant to a bigger pot, start by watering the plant to make removal easier. Cover the new pot’s drainage hole and fill it halfway with soil. Then, gently place the plant in the new pot. Once you’ve filled the rest of the pot with soil, water the plant and place it in the sun. If you are moving it outside, limit watering it and stop fertilizing it for 2 weeks. After 1 week, move the plant outside for a little bit every day. Lastly, put the plant in the soil outside and water it to help it grow. To learn more about transplanting plants, like how to remove the root ball, keep reading!
