wikiHow is a “wiki,” similar to Wikipedia, which means that many of our articles are co-written by multiple authors. To create this article, volunteer authors worked to edit and improve it over time.
This article has been viewed 22,130 times.
Learn more...
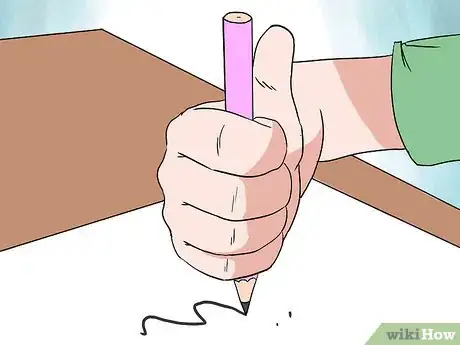
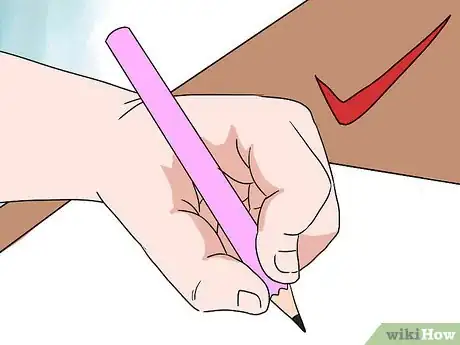
When a child learns to color, they instinctively hold a crayon in their fist and scribble. But by the time your child is in preschool or kindergarten, they should be able to properly hold their pencil between their thumb and pointer finger in the ‘tripod grip’. Holding a pencil the right way can be tricky for a kid to learn, but it is invaluable to their fine motor development and their learning progress. If a child incorrectly learns to hold a pencil, it can lead to poor handwriting and hand posture, and can be incredibly difficult to correct later. Because of this, it is important to get the right supplies, practice the right techniques, and troubleshoot if problems arise.
Steps
Getting the Right Tools
-
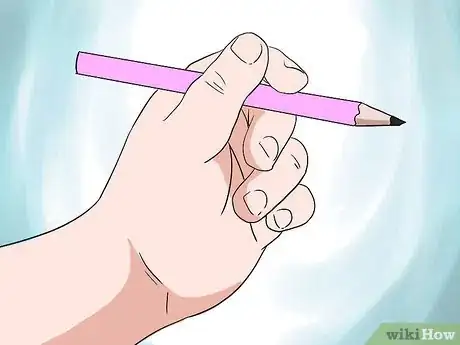
1Get the right pencil for your child. Using short pencils, like golf pencils or normal pencils broken in half, can help children find the right grip on their own. Short pencils have less room for unnecessary fingers, so your child has little choice but to use the correct three-finger grip.
- You can purchase short pencils at most craft and office supply stores.
-
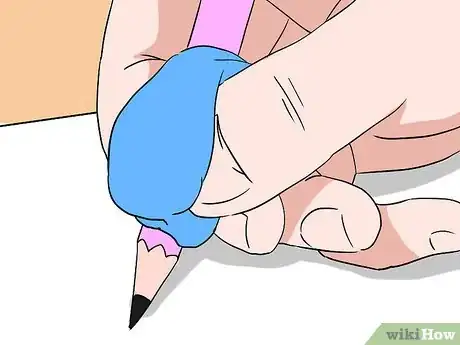
2Help your child out with a pencil grip. Pencil grips are simple devices placed on a pencil to encourage children to hold the pencil correctly. In most cases, the grip slips easily over a pencil and rests around the area where a pencil is held. The grip is shaped in a way that helps to guide your child’s hand, while the sticky material keeps his hand in place once he’s gripped the pencil in the correct way.
- Pencil grips are available at most learning and office supply stores, or online. They are relevantly inexpensive, so consider experimenting with a few different types until you find the one that fits best and is most comfortable for your child’s hand.
Advertisement -
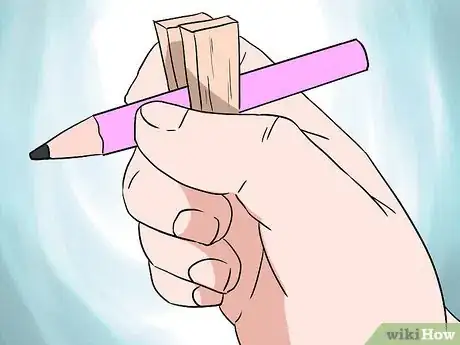
3Make a homemade pencil grip. A simple homemade alternative to a pencil grip is to slide a pencil through a clothespin and have the child hold onto the clothespin between his thumb and pointer finger.
- With the pencil through the round cutout near the end, the child can hold onto the long, flat ends and the pencil will stay in a position that allows your child to pinch and hold it with three fingers.
-
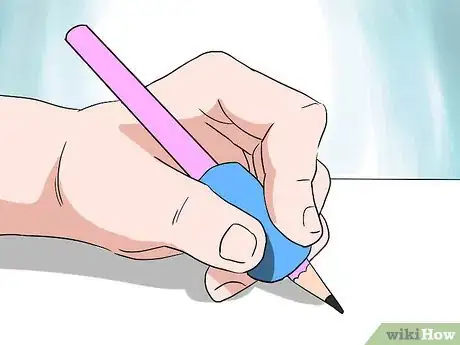
4Start by using the pencil grip every time your child writes. Soon, your child’s hand will automatically hold the pencil correctly thanks to muscle memory. Once they can hold the pencil correctly on their own, you can remove the pencil grips and have your child use normal pencils.
Teaching the Basics of Pencil Holding
-
1Practice fine motor skills to make pencil holding easier. Developing fine motor skills and finger strength can give young children the physical skills needed to correctly hold a pencil. Have your child play with small household items, such as straws or Popsicle sticks, by picking them up and dropping them into another container. This establishes finger grip from an early age.
- Another way to develop fine motor skills is to have a child practice putting small items through small holes, like corn kernels through the holes of a Parmesan cheese container or noodles through a cheese grater or a straw. Be creative—there are lots of items around the house that are perfect for developing fine motor skills. Anything that requires your child to pinch or grasp the object can help to build the muscles and skills to properly hold a pencil.
-
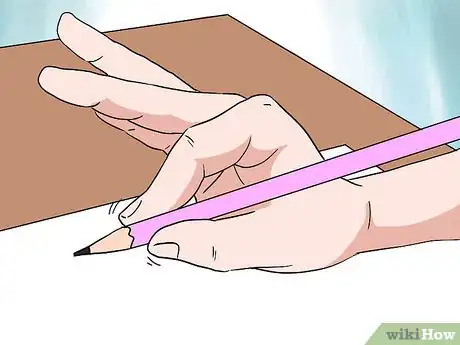
2Use the OK grip to get your child’s hand into the correct pencil-gripping position. Start with your child making the “ok” sign with their writing hand by connecting their thumb and pointer finger in an O and putting their three remaining fingers straight up. Have them open the thumb and pointer finger of the O slightly, and then place the pencil between the fingers. They can then grasp down and wrap the remaining fingers around the pencil to get their hand into the correct writing position.
-
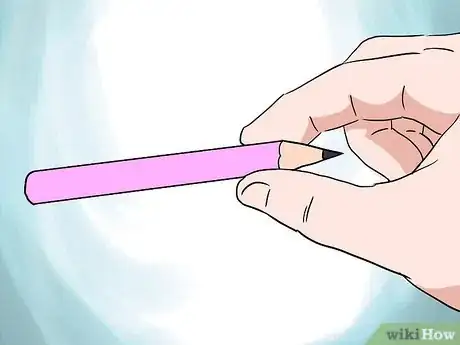
3Teach your child the pinch and flip. A quick way to get the pencil into the right position is to begin with the pencil lying on the table. Have your child put their thumb and pointer finger of their writing hand at the very top of the pencil, right under the sharpened part. Pick up the pencil and use the other hand to flip the pencil and twist it in a clockwise motion until it gets in the right position.
- You can walk your child through this process and be the one to twist the pencil to the right place before letting your child do the whole thing on his own.
-
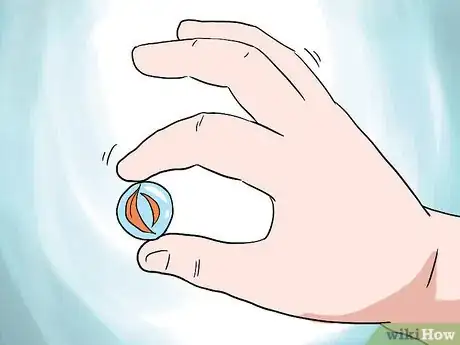
4Practice the ‘finger hide’ to make holding the pencil easier. Many children have difficulty keeping their pinky and ring fingers away from the pencil by holding them curled under the hand—their motor skills just aren’t developed enough to separate those two fingers and move them on their own. Have your child hold a small object in those two fingers, which will force the fingers to curl and press against the hand.
- Small items such as a marble, play dough, or cotton ball work well for small hands.
-
5Model and repeat. Just like every motor skill development, consistency is the key. Model proper pencil holding whenever you are writing or coloring where your child can see you, and point out how you are holding your pencil.
- Encourage your child to hold the pencil correctly whenever they are using a writing instrument and check them as soon as they pick up a crayon or pencil to make sure they have the right grip from the beginning.
- Learning the proper pencil grip takes time, but with a constant effort, your child will be more likely to succeed.
Troubleshooting
-
1Make sure the pencil fits comfortably in your child’s hand. First, check to see if your child’s pencil or pencil grip is comfortable. If something is rubbing uncomfortably against your child’s hand, it may be as simple as trying a new type of pencil.
-
2Seek help from an occupational therapist. If you have tried the above methods and nothing seems to be working, consider talking to your child’s teacher or pediatrician about bringing them to an occupational therapist for additional fine motor skill testing and training. The lack of proper pencil holding can be a sign for other developmental delays, so it is important to catch the problem early and start your child right from the start.
-
3Understand your child’s developmental limits. It may seem easier to just start a child early and begin teaching them the correct pencil holding technique as soon as they can hold a pencil or crayon, but that can have adverse effects. Toddlers and younger children have a difficult time holding a pencil in the correct tripod grip because their shoulder and arm muscles are still developing and steadying.
-
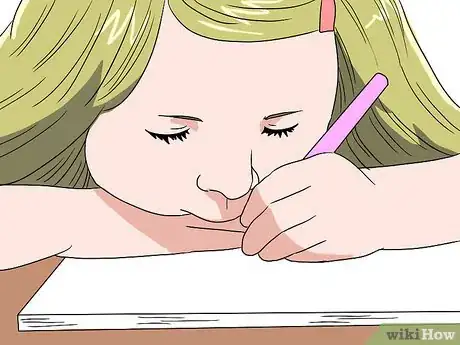
4Allow your toddler to work his way through different grasps. When a toddler begins coloring, they will put a crayon in the fist grasp and use their shoulder muscles. As the shoulder muscles grow, most children naturally move to a grip with the pencil in the palm of their hand while wrapping all of their fingers around the pencil. From there they move on to the immature 5-finger grasp and then eventually the 3-finger grasp.
- Let your child naturally work their way through the different grasps before you step in to intervene. Although most children won’t make it to the 3-finger grasp completely without help, it will help their development to let them figure it out most of the way on their own.
Community Q&A
-
QuestionHow do I hold a pencil?
 Community AnswerFollow the steps below and treat them as if you are teaching yourself, not someone else.
