X
wikiHow is a “wiki,” similar to Wikipedia, which means that many of our articles are co-written by multiple authors. To create this article, volunteer authors worked to edit and improve it over time.
This article has been viewed 32,227 times.
Learn more...
Some employees may feel uncomfortable with their picture displayed on their ID badge or on a notice board that displays the photo's of key employees at the business. Would you like to make them feel proud of their ID card photo? These steps will help you to achieve a professional result and can be used to take professional portraits for your customers or friends.
Steps
-
1Chose a place to take your photo's. You do not need a huge room, look for a room that is not used very often and has enough space for you and the subject.
-
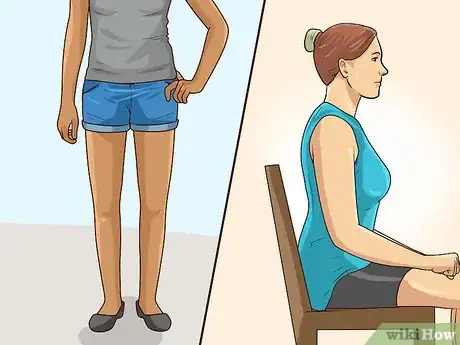
2Consider whether the employer requires the employee to be standing or seated when they have their photo taken.Advertisement
-
3Look for a sturdy chair without casters.
-
4Use a plain backdrop if you have one. A light blue color works well for corporate images. The backdrop can be pinned to the wall using small tacks or tape if you do not have a proper backdrop support. If you do not have any suitable backdrops you should have a plain colored wall behind the subject.
-
5Place the chair about 1 foot (0.3 m) away from the wall. Always use the same distance from the wall so that the images have a uniform feel to them.
-
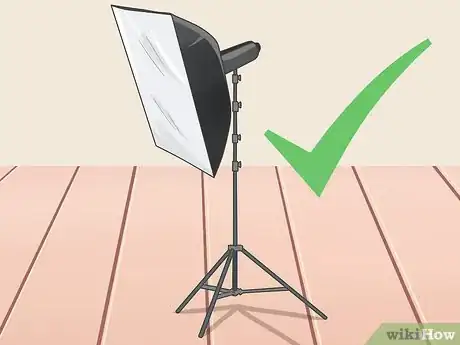
6Set up simple lighting using a key light and soft box if you have one.
-
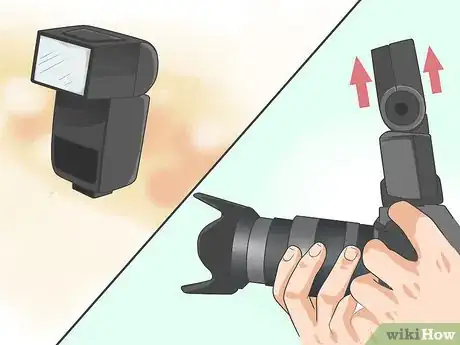
7If you do not have a lighting kit, then use an external flash with a diffuser attached and the flash pointing towards the ceiling or the wall behind you. This will evenly distribute the light.
-
8Avoid using the internal camera flash because you have very little control over the lighting and color cast it will produce. Use your tripod and manual settings instead.
-
9Take a couple of practice shots using your preferred method of set up prior to taking the shots of employees. This way you will not be taking up their time whilst you get the area set up.
-
10Put your subject at ease, tell them how to sit or stand and take the images quickly, this way they will not begin to feel uncomfortable.
-
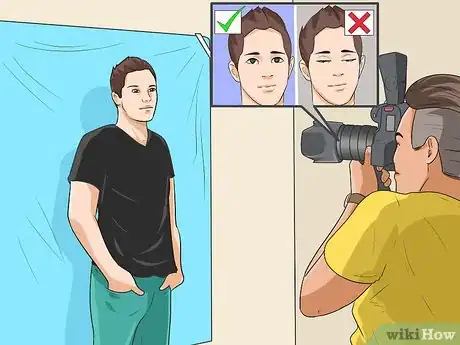
11Take 2 or 3 images and check that the subject is looking at you with their eyes open and the shot is in focus.
-
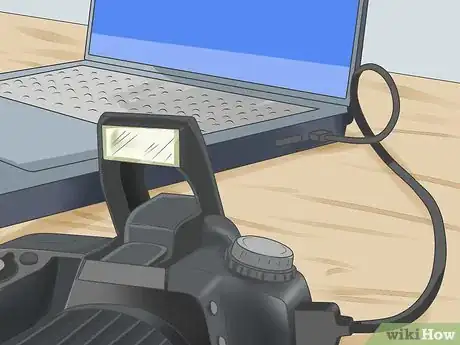
12Load your images onto your computer as soon as possible to ensure they are safe.
-
13Set up a folder for the images and consider backing up the images on an external hard drive.
-
14Make any required editing adjustments.
Advertisement
Warnings
- Unless you have experience of using a lighting kit and light meter you will not achieve an acceptable result.⧼thumbs_response⧽
- Do not stand too close to the subject because you may make the person feel uncomfortable and the lens will distort the largest feature on the face for instance the nose, making it appear bigger.⧼thumbs_response⧽
- If you are using a lighting kit, ensure that any cables are covered to avoid a tip hazard.⧼thumbs_response⧽
- If you are using a flash on your camera always point the flash at the ceiling or wall behind you to bounce the light off .If you point the flash directly at your subject it will cause a shadow around the subject and may even create a white flash of light on their head or skin.⧼thumbs_response⧽
- Avoid using the overhead lighting in the room as this will cause a yellow color cast to the image.⧼thumbs_response⧽
Advertisement
Things You'll Need
- A quiet room to take the photographs
- A digital camera
- Spare camera batteries and flash cards
- A flash and diffuser
- A tripod
- Shutter release cable
- A lighting kit or a flash and diffuser
- A light meter if you are using a lighting kit
- A suitable backdrop, blue works well for employee ID cards
- A computer or external hard drive to store the pictures
- A photo editing software
About This Article
Advertisement

