This article was co-authored by Karissa Sanford. Karissa Sanford is the Co-owner of Make Me Holey Body Piercing, a piercing studio based in the San Francisco Bay Area that specializes in safe and friendly body piercing. Karissa has over 10 years of piercing experience and is a member of the Association of Professional Piercers (APP).
wikiHow marks an article as reader-approved once it receives enough positive feedback. This article received 11 testimonials and 89% of readers who voted found it helpful, earning it our reader-approved status.
This article has been viewed 921,347 times.
Earlobe stretching is something that not only makes your ears bigger to accommodate big jewelry; it is also a meaningful journey with your ears. You can see how far your skin can stretch and push your ears to the limit. Some people refer to this as "gauging" your ears, and even though this isn't the correct term, it is very commonly used for beginners. This describes the way to do it yourself, which for many people, has much less pain than having someone else do it for you.
Steps
Stretching the Piercing
-
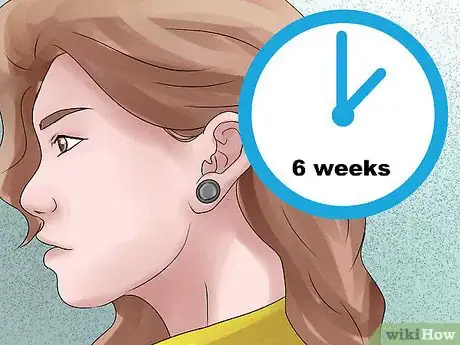
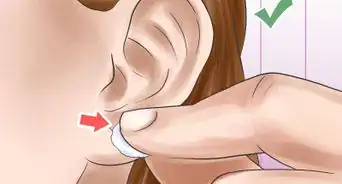
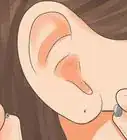
1Get an ear piercing. If you don't have it already, get your earlobes pierced. Gun piercings aren't that great, especially if you get them done by an unprofessional at the mall. Go to a piercer and get your lobes pierced with a needle. You should wait at least five months before beginning a stretch, to let your ear fully heal.[1]
- Getting a piercing at a professional body piercer with a needle is the safest way, and they can pierce your ear at a bigger size than if you got it done with a gun.
-
2Find out what size your earlobe piercings are. Most standard piercings start at 16g or 14g, but can be done bigger by request. Years of wearing long, dangly earrings and tugging on your piercings may make your piercings bigger! Professional body piercers can measure your ears to see what size they are.[2]Advertisement
-
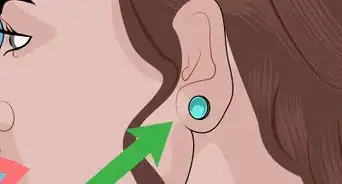
3Decide on a stopping point. From personal experience, it's hard to decide on a stopping point. Stretching is addicting, and you may decide on a larger size later on. But for now, get a rough idea of where you want to stop. This way, you can go to the store and buy just what you need.[3]
- In order, these are the sizes for stretched piercings. The smallest is a 20 gauge, and they increase in size as the chart continues.
- 20 gauge- .8mm
- 18 gauge- 1mm
- 16 gauge- 1.2mm
- 14 gauge- 1.6 mm
- 12 gauge- 2mm
- 10 gauge- 2.5mm
- 8 gauge- 3.2mm
- 6 gauge- 4mm
- 4 gauge- 5mm
- 2 gauge- 6mm
- 1 gauge - 7mm
- 0 gauge- 8mm
- 9mm
- 00 gauge- 10mm
- 7⁄16 inch (1.1 cm)- 11mm
- ½ inch- 12.7mm
- 9⁄16 inch (1.4 cm)- 14mm
- 5⁄8 inch (1.6 cm)- 16mm
- 11⁄16 inch (1.7 cm)- 18mm
- ¾ inch- 19mm
- 7⁄8 inch (2.2 cm)- 22mm
- 15⁄16 inch (2.4 cm)- 24mm
- 1 inch (2.5 cm)- 25mm
- 1 and 1/16 inch- 28mm
- 1 and 1/8 inch- 30mm
- 1 and ¼ inch- 32mm
- 1 and 3/8 inch- 35mm
- 1 and ½ inch- 38mm
- 1 and 5/8 inch- 41mm
- 1 and ¾ inch- 44mm
- 1 and 7/8 inch- 47mm
- 2 inch (5.1 cm)- 50mm
- Sizes can get bigger after 2 inches (5.1 cm), but it is most commonly the biggest size.
-
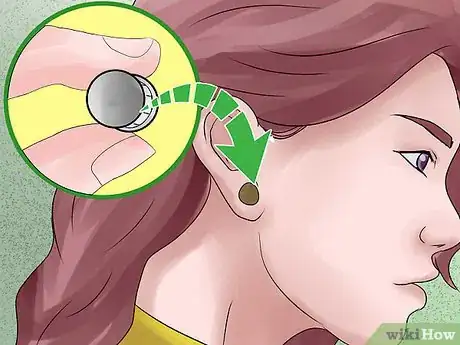
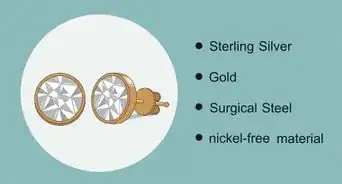
4Buy tapers and earrings. A taper is a long stick used to stretch your ear from a small size to a bigger one, but for the first few stretches (before a 10 or 8 gauge, depending on your elasticity), you might be able just to put in the earring. Tapers are not jewelry, however, and should only be used as tools to stretch to the next size, and follow up with your tunnel/plug. There are other methods of stretching such as "dead stretching" and "taping". Dead stretching involves just waiting until your piercing naturally is loose enough to move to the next size without using a taper. Taping is where PTFE tape is wrapped around your current earrings then oiled and put back in the ear, a few wraps of tape every 3-4 days will move the piercing up to the next size fairly rapidly.[4]
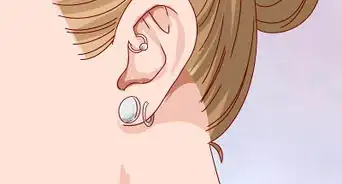
- When you first stretch a piercing, hoops and horseshoe earrings are much easier to wear than plugs because they allow for movement and swelling. Treat a stretched piercing as a new piercing.
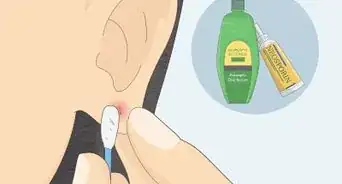
- Lubricants also make a stretch easier. While you're out getting a new taper, get some Jojoba Oil, Emu Oil, Vitamin E or another lube. Neosporin and Vaseline are not good lubes. If you read the back, it says not to use on a cut or open wound (like freshly stretched ears).
-
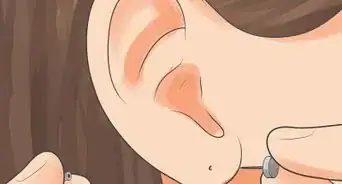
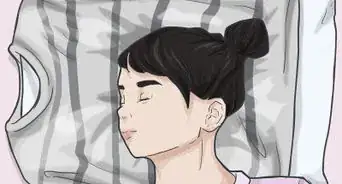
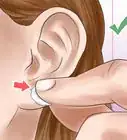
5Stretch your ears. Find a time when you have the bathroom to yourself and push the taper in. When it finally gets in, let your ear rest and put the earring in. Don't forget to lube the taper and both sides of your ear. Some people say a hot shower beforehand helps to make your ear a bit stretchy and massage it to get the blood flowing.[5]
- When stretching, one stretch should start by pushing the taper in from the front, then the next stretch you should push the taper in from the back, then front, then back, and so on. This helps to keep scar tissue from forming and keeps stretching easier.
-
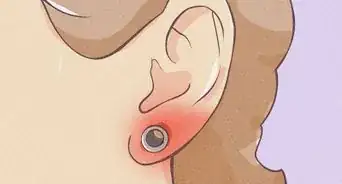
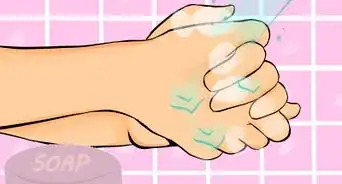
6Keep it clean! Do sea salt soaks (1/8 teaspoon of sea salt dissolved into a cup of warm water) twice daily for the first week or so. Use ear care solution from the piercer for cleaning away crusties, or little bits of sand-like tissue that comes out of your ears. This is when it's easier to use a hoop earring.[6]
-
7Prepare for the next stretch. Here is a chart to determine how long you should wait in between stretches:[7]
- 16g to 14g - 1 month
- 14g to 12g - 1 month
- 12g to 10g - 1.5 months
- 10g to 8g - 2 months
- 8g to 6g - 3 months
- 6g to 4g - 3 month
- 4g to 2g - 3 months
- 2g to 0g - 4 months
- 0g to 00g - 4 months
-
8Using Teflon tape and packing it onto your earrings can make it bigger between stretches and makes stretching easier, but is more likely to harbor bacteria that can cause infection.[8]
-
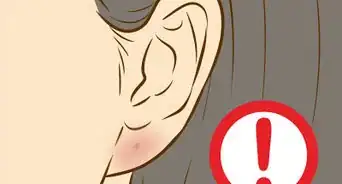
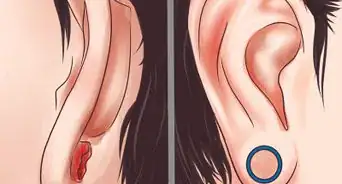
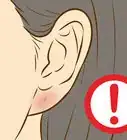
9Know when to stop. If you stretch improperly and get a blowout or thin lobes, downsize and do daily oil massages to thicken lobes. With blowouts, downsize and put a single flared plug in from the opposite side to "roll" it back in.[9]
Gauge Size Chart
Community Q&A
-
QuestionCan my ear lobe return to its original shape after stretching?
 Community AnswerIf you go past a 00 gauge, it is possible that it might not. However, some people have gone up to a half inch and back down to regular earrings. It likely depends on your skin's personal level of stretchability.
 -
QuestionHow do I persuade my parents to let me stretch my earlobe?
 Community AnswerAsk them politely if you have parents who are prepared to listen without judging. It is a good idea to explain the process, the risks and the outcome, as they'll want to understand what you're doing. If they disagree, it's for a good reason, usually out of care for your appearance and well-being. If you disobey them, use hair or a beanie to hide the stretching. However, they will see it soon enough and they'll be disappointed in you.
 -
QuestionHow can I determine the size of my gauges?
 Community AnswerUse a metric ruler to find how many millimeters it is. The look up a chart of millimeters to gauge.
Warnings
- If you get a blowout, you should downsize your ears, and not continue stretching as this will result in either tearing your ear lobe or a massive scar tissue.⧼thumbs_response⧽
- You should not have blood or any pain during a stretch. If you do, stop the stretch, put your old earrings in, and continue the sea salt soaks. Wait a couple of weeks or so.⧼thumbs_response⧽
References
- ↑ https://authoritytattoo.com/ear-stretching/
- ↑ https://info.painfulpleasures.com/help-center/piercing-information/typical-piercing-sizes
- ↑ https://onetribe.nu/blogs/content/77109185-ear-lobe-stretching-faq
- ↑ https://www.urbanbodyjewelry.com/ear-stretching-guide
- ↑ https://arcticbuffalo.com/pages/ear-stretching-guide
- ↑ https://arcticbuffalo.com/pages/ear-stretching-guide
- ↑ https://arcticbuffalo.com/pages/ear-stretching-guide
- ↑ https://onetribe.nu/blogs/content/77109185-ear-lobe-stretching-faq
- ↑ https://www.self.com/story/fix-ripped-earlobes


