This article was co-authored by Mark Spelman. Mark Spelman is a General Contractor based in Austin, Texas. With over 30 years of construction experience, Mark specializes in constructing interiors, project management, and project estimation. He has been a construction professional since 1987.
wikiHow marks an article as reader-approved once it receives enough positive feedback. In this case, 90% of readers who voted found the article helpful, earning it our reader-approved status.
This article has been viewed 250,353 times.
Wrinkled, loose carpet is not only unsightly, but it is also a nuisance that can cause you to trip when you walk across it. Luckily, stretching carpet is something any dedicated homeowner can handle. You'll have to rent a couple of special tools from your local hardware store, but otherwise the technique is quite easy. You'll save money and feel the satisfaction of stretching your own carpet!
Steps
Removing Old Materials
-
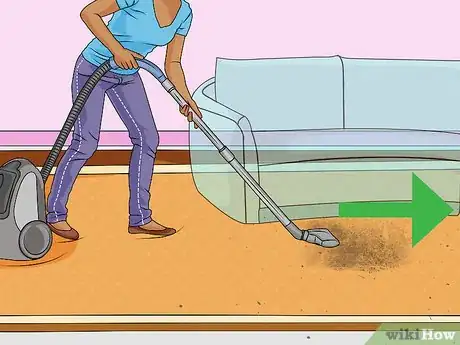
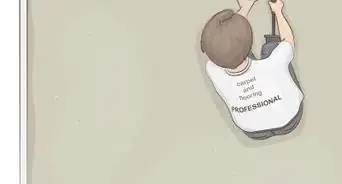
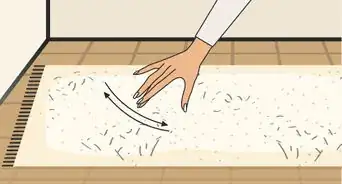
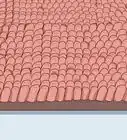
1Clear and shampoo the carpet. Remove all furniture and other items from the carpet you need to stretch. Thoroughly vacuum the carpet, then shampoo the carpet. Wait until the carpet dries completely, about 24 hours, before stretching the carpet.
-
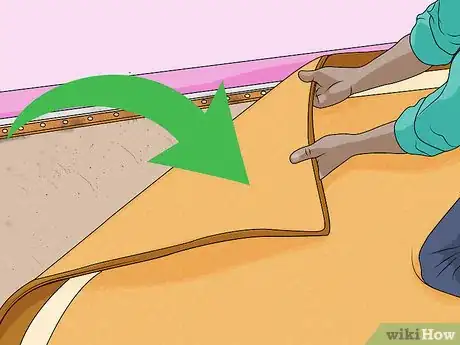
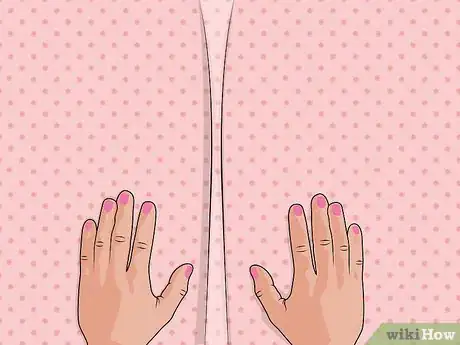
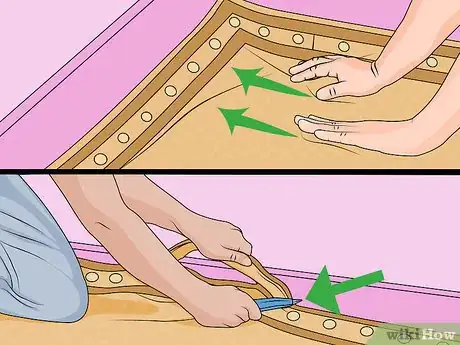
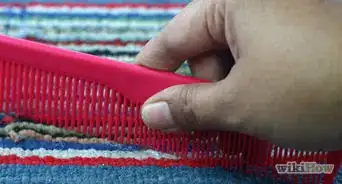
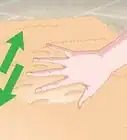
2Peel the old carpet back. Your carpet will be held in place by tack strips located near the edges. Starting in one corner, slowly push out and pull up on the carpet to ease it away from the tacks. If it doesn’t come up easily, try grabbing the corner of the carpet with a pair of pliers and then gently tugging it away from the tack strip. Once you get started, it should pull away like a zipper.[1]
- Don’t pull the carpet up on all sides of the room. It needs to remain anchored on two opposing walls.
- Don’t pull too hard, as this could separate the fibers and damage the carpet. If you’re having serious trouble getting the carpet up, contact a professional.
Advertisement -
3Pull out staples or tacks from the pad before lifting it from the floor. There will be a layer of soft padding underneath the carpet you just pulled up. Examine the padding. If it is held down by any staples or tacks, pry those out with pliers and a flat-head screwdriver. Lift it back from the edges of the walls as well to allow space for you to work with the tack strips.
-
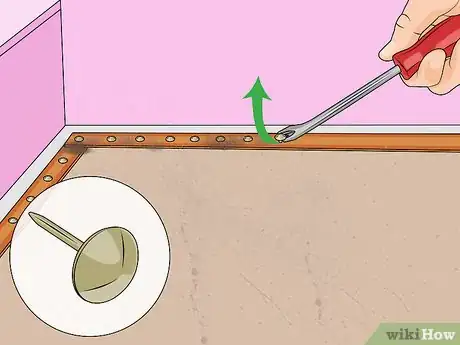
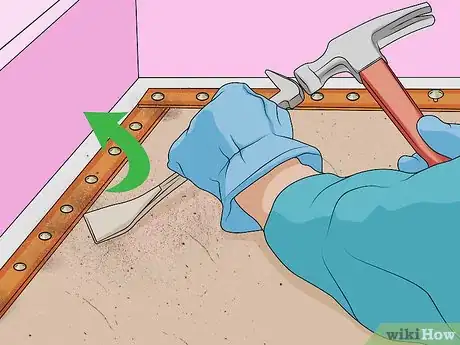
4Remove the old tack strips. Use a strong flat-head screwdriver, the claw of a hammer or a pry bar. Wedge your tool underneath the old tack strips and pry them up and out.[2]
- Wear work gloves while handling old and new tack strips as they are made of setting nails on one side and razor-sharp tacks on the other. It’s also a good idea to wear protective eyewear to keep you from being injured by flying splinters or tacks.
- Place old pieces of tack strip in a bucket or cardboard box near you. This will keep your work area clear of these sharp objects to prevent you from putting a knee or hand down on the exposed nails.
-
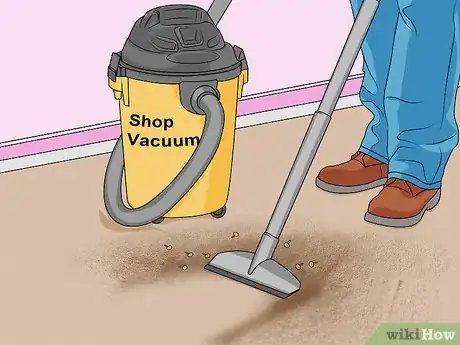
5Clean the floor. Once the carpet and padding are peeled away, your base flooring will be exposed and will need to be cleaned. There may be splinters or loose staples from pulling up the materials, as well as dust and dirt. Go over the floor with a shop vacuum to remove this debris.[3]
-
6Fix any areas that need it. If any of the plywood are loose, use a hammer and nails to secure them. You can also fix rises or dips in the subfloor by sanding down high areas or applying a filling compound to low areas.
Prepping for Installation
-
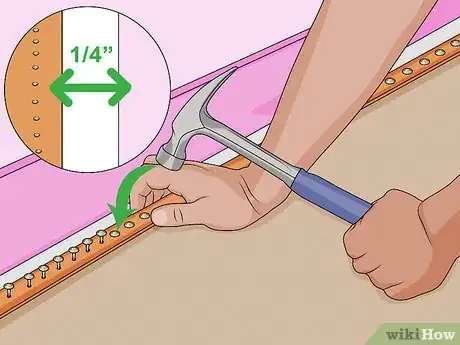
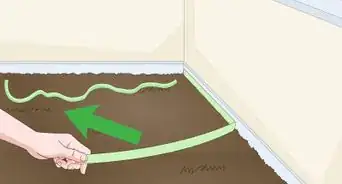
1Put new tack strips into place. Set the new tack strips about 1⁄4 inch (0.6 cm) from the wall where you pulled up the old ones, using a pair of tin snips to cut them in lengths to fit. Lay them so that the gripping nails on top (the sharp nails that'll hold the carpet in place) are pointed toward the wall. Use a nail punch to sink the setting nails (those pointed down to the floor) into the floor.[4]
- You should be able to find tack strips at a flooring supply or hardware store if you haven’t already purchased them.
- Measure out the perimeter of the area you will be carpeting. It’s a good idea to buy enough tack strips to have a little bit more than the perimeter length, just in case there’s a problem and you need extras.
-
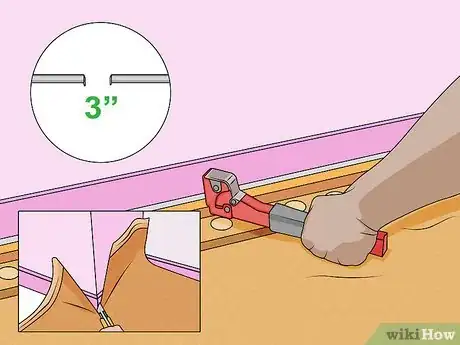
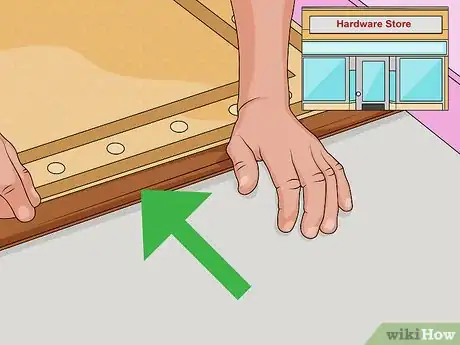
2Reset the pad. Lay the carpet padding back down over the newly-installed tack strip. You can trim it along the tack strip with a utility knife, or wait to use a carpet cutter that you will rent with other tools from a hardware store. Finally, staple the padding to the floor about every 3 inches (7.6 cm) next to the tack strip and along all seams where one piece ends and another begins.
- Cut diagonally at corners of the room and around door frames so it'll fall into place when you trim off the excess.
- If the area you are working with is large enough that you need multiple pieces of padding, you can also use duct tape to secure the seams between them.[5]
-
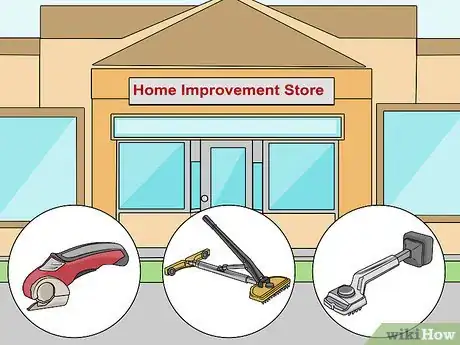
3Rent carpet tools. You’ll need to visit a home improvement store to get these, but hold off on renting this equipment until you have the new tack strips in place. You will usually rent the tools by the hour or by the day, so you want to make sure that your floor is prepared and you are ready to use them as soon as you get home. Talk to the store staff if you have questions. You will need just a few tools:[6]
- A power stretcher provides a lot of the muscle. It "bites" into the carpet with sharp prongs on one end and has a brace that fits against the opposite wall, allowing you to stretch the carpet in the largest areas of the room. This tool comes with extenders to allow you to adjust the stretching shaft to fit the length of the room.
- A knee kicker can help you stretch the carpet in smaller areas that can't accommodate a power stretcher. It also comes in handy for doing the last bit of stretching after using the power stretcher.
- A carpet cutter will make the job of cutting excess carpet much easier than trying to use a utility knife.
Getting the Carpet into Place
-
1Lay the carpet down. Trim the padding with a carpet cutter if you haven’t already done so with a utility knife. Then, lay down the carpet over the padding. Set the power stretcher down over the part of the carpet you are working with and want to be stretched.
- If you are installing new carpet instead of just stretching existing carpet, measure it out and cut it ahead of time to make it easier to lay down.
-
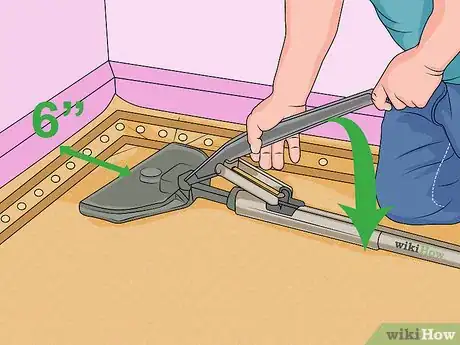
2Use the power stretcher to pull the carpet into place. Place the base of the stretcher against the wall the carpet is anchored to. Lengthen the adjustment rod of the power stretcher until its head is about 6 inches (15.2 cm) from the carpet's un-anchored edge. Press down on the lever of the power stretcher to smooth out the carpet wrinkles.[7]
- If the lever requires too much pressure to push down, you're stretching the carpet too tight.
- Likewise, if it takes almost no effort to push the lever down, you aren't stretching it tight enough.
-
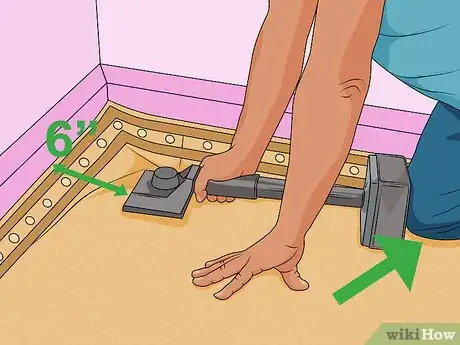
3Grab the knee kicker to finish the stretching. If you are trying to stretch carpet in a part of a room where the power stretcher is too big to fit, you’ll want to use the knee kicker. To use the knee kicker, place its head about 6 inches (15.2 cm) from the wall and use your leg (just above the kneecap) to finish the stretch.
- This tool also comes in handy for going back over the carpet after the power stretcher has done the bulk of the work, to give any trouble spots some extra care.
-
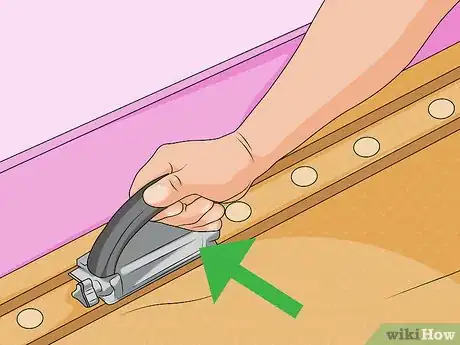
4Trim the excess carpet. Push the edges of the stretched carpet down into the tack strips. The carpet should also push down slightly (be embedded) in the space between the tack strips and the wall. Then, use the carpet cutter to remove any excess that is butting up against the wall.[8]
- If you are using a utility knife, cut very slowly and cautiously so you don't over-trim.
-
5Secure the carpet at doorways. If you are stretching carpet over or through doorways, you’ll need to pick up some additional materials at the hardware or flooring supply store. Look for transition molding that can be nailed in place over the carpet in the doorway. This will help hold the carpet in the high-traction area.[9]
- Transition molding can also be used to cover carpet seams.
- If you have questions about how to select or install transition molding, ask the staff at the hardware or flooring supply store for more information.
Expert Q&A
Did you know you can get expert answers for this article?
Unlock expert answers by supporting wikiHow
-
QuestionIf you lay padding on tack points what holds the carpet?
 Mark SpelmanMark Spelman is a General Contractor based in Austin, Texas. With over 30 years of construction experience, Mark specializes in constructing interiors, project management, and project estimation. He has been a construction professional since 1987.
Construction Professional
Warnings
- Get in touch with a carpet professional if you are ever unsure of what to do. You don't want to risk damaging your flooring or existing carpet by making a mistake.⧼thumbs_response⧽
References
- ↑ https://www.bobvila.com/articles/how-to-stretch-carpet/
- ↑ https://www.bobvila.com/articles/how-to-stretch-carpet/
- ↑ https://www.thisoldhouse.com/how-to/how-to-install-wall-to-wall-carpeting
- ↑ http://www.familyhandyman.com/floor/carpet-repair/how-to-restretch-a-carpet/step-by-step
- ↑ https://www.thisoldhouse.com/how-to/how-to-install-wall-to-wall-carpeting
- ↑ http://www.familyhandyman.com/floor/carpet-repair/how-to-restretch-a-carpet/step-by-step
- ↑ https://www.bobvila.com/articles/how-to-stretch-carpet/
- ↑ https://www.thisoldhouse.com/how-to/how-to-install-wall-to-wall-carpeting
- ↑ https://www.thisoldhouse.com/how-to/how-to-install-wall-to-wall-carpeting
About This Article
To stretch carpet, start by pulling up one side of the carpet and removing the padding and old tack strips. Then, install some new tack strips along the wall and staple the old padding to the new strips. Once you have the tack strips and padding in place, lay the carpet back down and use a power stretcher to pull the carpet into place so it's tight. Once the carpet is secure on the tack strips, trim off the excess with a carpet cutter and you're finished! To learn how to prepare your carpet for stretching, keep reading!
