This article was co-authored by Laura M. Johnson. Laura M. Johnson is a Mural Artist and the Owner of Laura Margo Murals & Custom Art in St. Paul, Minnesota. She has over five years of experience in the industry and has worked professionally across venture capital, communications, the arts, and beyond. She helps empower small and growing businesses to find their voices, share their stories, and grow their impact. Laura received her Master of Business Administration from the University of Minnesota - Carlson School of Management, and her Bachelors in Journalism and Communication Studies with a minor in Fine Arts from the University of Oregon.
There are 7 references cited in this article, which can be found at the bottom of the page.
This article has been viewed 17,702 times.
Most of the time, a regular primer will help you cover knots in pieces of wood before painting. However, certain softwoods and newly cut woodwork have natural oils and resins that may bleed through wood knots after they’ve been painted if you haven’t primed them properly. If you've noticed knots showing through your painted wood, or you want to prevent this from happening, there are some easy steps you can take to make sure you get an even color. Purchase a stain blocker in the form of a shellac or other type of solution that blocks knots from seeping through paint. Apply this to each knot on painted or unpainted wood using a paint brush before applying a regular coat of paint to cover it up.
Steps
Sanding and Preparing the Wood
-
1Cover your work area to protect any surfaces. Lay down a sheet or piece of plastic under the wood that you’re painting so you don’t get paint or stain blocker on your floor or other surfaces. If you’re working on a large piece of wood, move other pieces of furniture out of the way or do the painting in an open garage or other work area.
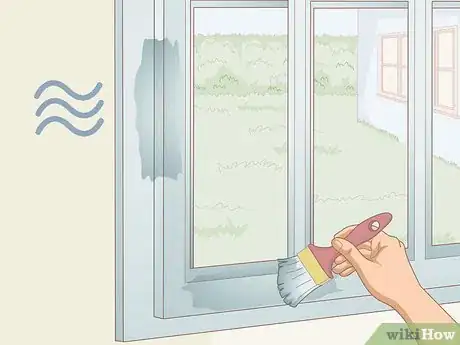
- If you're working indoors, open a door or window to the outdoors to avoid breathing in fumes.
- Wear old clothing that you don't mind getting dirty.
-
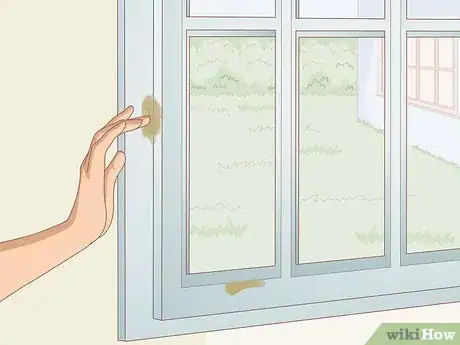
2Locate each spot on the wood that has a knot showing. Do a quick scan of the piece of wood to be sure you know exactly which areas need to be covered. If your piece of wood is brand new, the knots will be clearly visible as darker circles. Otherwise, the knots may be a slightly darker color than the rest of your painted wood.[1]
- Anywhere you see a darker spot on your piece of wood should be covered up with a stain blocker.
Advertisement -
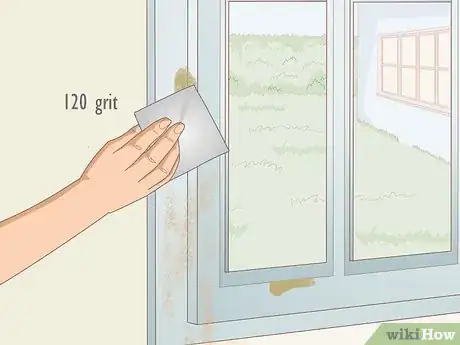
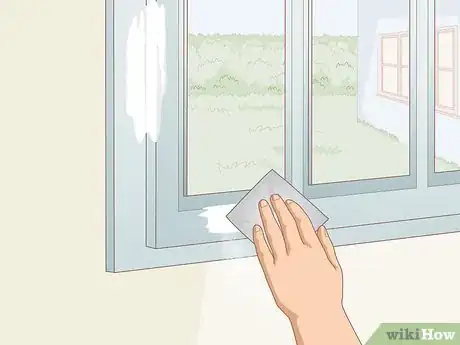
3Sand the surface with 120-grit sandpaper. This creates an even surface while helping to roughen up the wood, making it easier for the stain blocker to adhere. Sand the knots using circular motions, being sure to cover the entire area that will be painted.[2]
- If you're going to paint over the entire piece of wood, which isn't required to cover the knots but can help create an even paint layer, sand the entire piece of wood as well.
Priming the Wood with a Stain Blocker
-
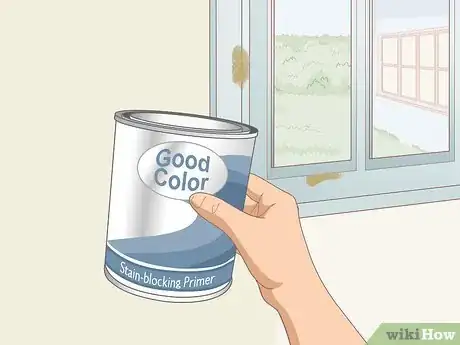
1Purchase a stain-blocking primer or knotting solution from a paint store. Stain-blocking primers or shellacs are designed to prevent the knots and sap from seeping through the paint, keeping your piece of wood evenly colored. Stain-blocking primers made for wood can be found at your local hardware store or paint store.[3]
- Look for a clear or white shellac-based stain-blocking primer.
- BIN by Zinsser is the most popular brand of knot stain blocker.
-
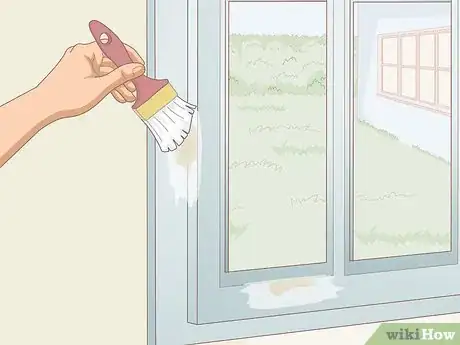
2Cover the knots in a thin, even layer of stain blocker. Dip a foam brush or regular paint brush into the shellac or other form of stain blocker. Brush it onto the entire surface of the knot, creating a thin layer that’s even with the rest of the wood. If your stain blocker is clear, don’t worry if the stain appears darker after applying it. A white stain blocker should cover the stain to make it less noticeable.[4]
- Avoid applying too much stain blocker to one area of the wood; otherwise, it will get too clumpy. That said, read the manufacturer's instructions, as some blockers might need more than one layer.
- If your white stain shellac doesn’t completely cover the knot, don’t worry. You can apply another coat once the first one has dried and been lightly sanded.
-
3Wait 30-45 minutes for the stain blocker to dry. Read the instructions on your specific type of stain blocker for the exact time it will take to dry completely. Consider setting a timer for 30 minutes so you know when to check on the wood to see if it’s dry yet, doing a simple touch test to find out.[5]
- If you touch the stain blocker and it still feels wet or slightly sticky, it hasn’t dried completely yet.
-
4Apply a second coat of stain blocker for extra protection. Once the first coat is dry, sand the stained spot lightly to create a smooth surface. Brush on another layer of stain blocker just like you did the first, covering the entire area. Let this second coat dry completely before sanding or painting over it.[6]
Painting over the Primer
-
1Sand the knots lightly to create a smooth surface. Once the coat of stain blocker is completely dry, use your 120-grit sandpaper to lightly sand the surface of each knot again. Avoid sanding too harshly or too much, as this will remove the layer of stain blocker needed to hide the stain once the piece of wood is painted.[7]
- If you painted the entire piece of wood, sand the whole surface lightly as well.
-
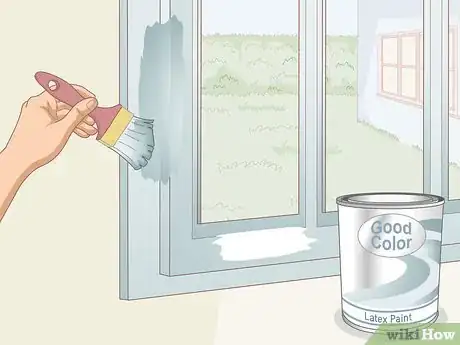
2Paint over the stain blocker using water- or oil-based paint. Use a paint roller or paint brush to apply a paint made for wood to your wood surface. If your piece of wood has already been painted once and you’re just going over the spots where knots are showing through, cover the entire surface of the knot to be sure none of it shows. Otherwise, apply the coat of wood paint to the entire piece of wood evenly.[8]
- Water-based paints like latex or oil-based paints like alkyd-based paint are both safe on wood.
- If you’re using a roller, pour a small amount of paint into a tray to make the application process easier.
- Use back and forth strokes of the roller or paint brush to create an even layer of paint.
- If you're just painting over the knot, make sure the paint color is an exact match and use brush strokes that go in the same direction as the previously painted layer.
-
3Let the paint dry completely before adding additional coats. Wait at least 1 hour for the coat of paint to dry. If you want to add another coat of paint to the wood, use the roller or brush to apply the second coat just like you did the first. Paint slowly and evenly to be sure there aren’t any drips, and cover the spots with the knots thoroughly.[9]
- Read the instructions that come on your can of paint to find out how long it will take to dry, as all types of paint are different.
- Consider adding a sealant to the wood after you’ve applied a regular coat of paint for extra protection. Wait for the additional layers to dry completely before applying the sealant.
References
- ↑ https://baileylineroad.com/brown-stains-coming-through-paint/
- ↑ https://baileylineroad.com/brown-stains-coming-through-paint/
- ↑ https://www.bobvila.com/articles/best-paint-to-use-on-wood/
- ↑ https://www.youtube.com/watch?v=N0O437Ze7uU#t=1m38s
- ↑ https://www.nytimes.com/1982/10/03/nyregion/home-clinic-using-stain-killers-before-painting.html
- ↑ https://www.youtube.com/watch?v=N0O437Ze7uU#t=2m39s
- ↑ https://www.youtube.com/watch?v=N0O437Ze7uU#t=2m40s
- ↑ https://www.nytimes.com/1982/10/03/nyregion/home-clinic-using-stain-killers-before-painting.html
- ↑ https://www.youtube.com/watch?v=lpg7wbowAa4#t=2m57s

