This article was co-authored by wikiHow Staff. Our trained team of editors and researchers validate articles for accuracy and comprehensiveness. wikiHow's Content Management Team carefully monitors the work from our editorial staff to ensure that each article is backed by trusted research and meets our high quality standards.
There are 14 references cited in this article, which can be found at the bottom of the page.
The wikiHow Culinary Team also followed the article's instructions and verified that they work.
This article has been viewed 641,312 times.
Learn more...
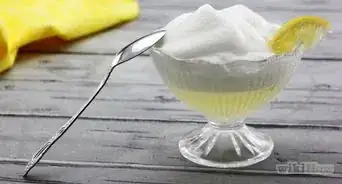
A generous dollop of whipped cream makes dessert even more appetizing. But this delicious foam of air, water, and fat falls apart given any opportunity. Stabilizing the cream lets you pipe cupcakes, frost a cake, or just keep the whipped cream stiff during a car ride. Gelatin is preferred by professionals, but there are many other options that are easier to prepare and vegetarian-friendly.
Ingredients
- 1 cup (240mL) Heavy cream, plus one of the following:
- 1 teaspoon (5mL) plain gelatin
- 2 teaspoons (10mL) nonfat dry milk powder
- 2 tablespoons (30mL) powdered sugar
- 2 tablespoons (30mL) instant dry vanilla pudding mix
- 2–3 jumbo marshmallows
Steps
Adding Gelatin
-
1Let gelatin thicken in cold water. Sprinkle ½ teaspoon (2.5mL) plain gelatin powder into 1 tbsp (15mL) cold water. Let the mixture sit for 5 minutes, or until the liquid is slightly thick.[1]
- All amounts given are for 1 cup (240mL) heavy cream. This expands to about 2 cups (480mL) after whipping.
-
2Stir constantly over low heat. Continue heating and stirring until all the gelatin dissolves, leaving no lumps behind. Do not let the liquid begin to boil.[2]
- Try a double boiler, which will heat the gelatin slowly and evenly.
- A microwave is the fastest, but a little risky. Heat at 10-second intervals only, to avoid overheating.[3]
Advertisement -
3Let the mixture cool to body temperature. Remove from heat and let the gelatin cool. Wait until it reaches roughly the temperature of your finger.[4] Do not let it cool too far past this point, or the gelatin may set into a solid.
-
4Whisk heavy cream until barely stiff. Whisk until thick, but not yet able to form peaks.[5]
-
5Whisk in gelatin in a steady stream. Whisk constantly while pouring in the gelatin. If you leave the gelatin sitting in the cold cream, it may set into strings of solid gelatin. Continue whisking the cream as usual.
Alternative Stabilizing Ingredients
-
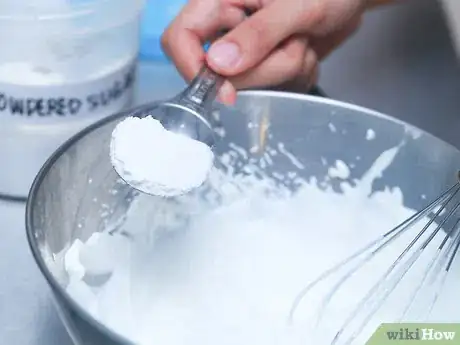
1Use powdered sugar. Most store-bought powdered sugar includes cornstarch, which will help stabilize the cream.[6] Replace the granulated sugar with an equal weight of powdered sugar.
- If you do not have a kitchen scale, replace 1 part granulated sugar with 1.75 parts powdered sugar.[7] 2 tbsp (30 mL) powdered sugar is typically enough for 1 cup (240mL) cream.[8]
- Whip the cream until soft peaks form before adding most ingredients. Adding sugar too early can reduce the volume and fluffiness of your whipped cream.[9]
-
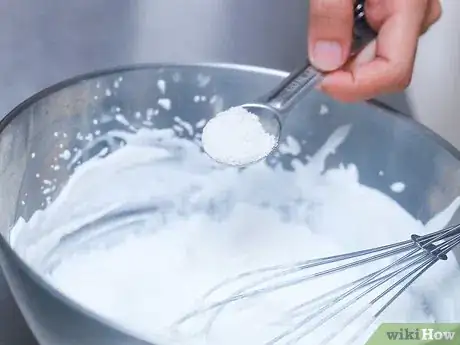
2Add dry milk powder before whipping. Stir in 2 tsp (10mL) milk powder for each cup (240mL) cream. This should add protein to support your whipped cream, without affecting the flavor.[10]
-
3Mix in melted marshmallows. Melt two or three jumbo marshmallows by microwaving in a large bowl in 5-second intervals, or by carefully heating them in a large greased pan.[11] They're ready when they expand and melt enough to stir together; remove from heat to avoid browning. Let cool for a couple minutes, then stir into the whipped cream once it's formed soft peaks.
- Mini marshmallows may contain cornstarch. This can help stabilize the cream as well, but some cooks find it more difficult to melt and mix in.[12]
-
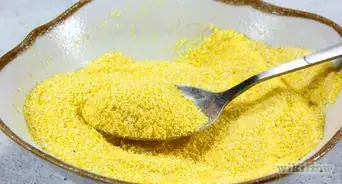
4
-
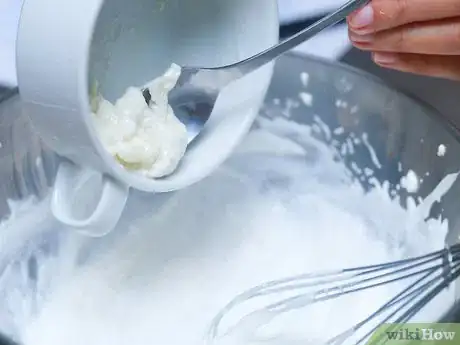
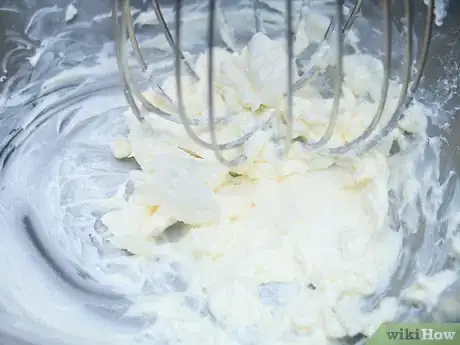
5Mix crème fraîche or mascarpone cheese for slight firmness. Add ½ cup (120mL) crème fraîche or mascarpone cheese to the cream after soft peaks form. The result is stiffer than usual, but not as solid as other stabilizers.[15] This will still work as a tangy cake frosting, but don't try to pipe it.
- This version will still melt just as fast in the heat. Keep it in the fridge or icebox.
- Use the mixer attachment to gently break mascarpone into small pieces to avoid them flying out of bowl.
Changing Your Technique
-
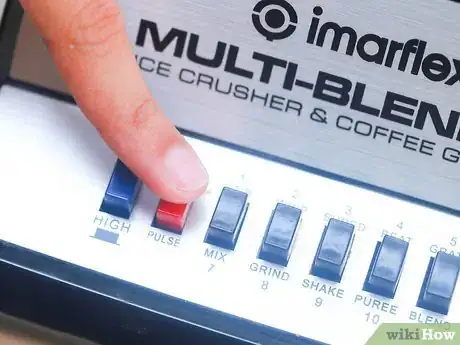
1Consider a food processor or stick blender. Whip the cream in a series of short pulses to work in plenty of air. Once the cream's thickened enough not to splash over the sides, pulse until it reaches the desired consistency. This typically takes 30 seconds, does not require chilling the equipment, and creates whipped cream that should last at least a couple hours.[16] [17] [18]
- Do not blend for too long or on too high a speed, or the cream will become butter. If you catch signs of separation and coarseness early, you can sometimes fix it by whisking in a little more cream by hand.
-
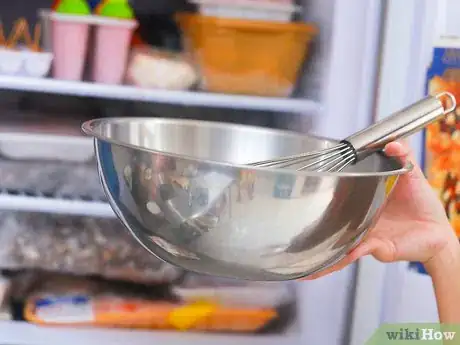
2Chill all ingredients and tools before whipping. The colder the cream, the less likely it is to separate. Store the heavy cream in the coldest part of your fridge, typically at the back of the lowest shelf. When whisking by hand or an electric mixer, chill the bowl and the beaters in the freezer for at least 15 minutes beforehand.[19]
- Metal bowls stay cold longer than glass bowls, and not all glass bowls are freezer-safe.
- If the weather is hot, place the bowl of cream in an ice bath. Whisk in an air-conditioned room.
-
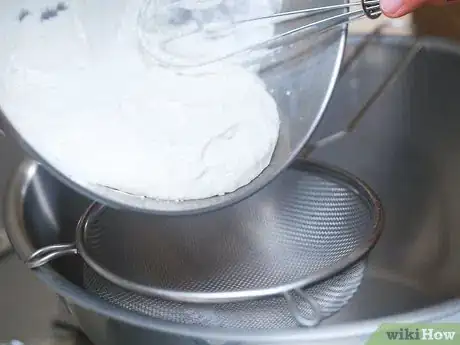
3Store whipped cream in a sieve over a bowl. Whipped cream leaks water over time, which is a major reason for runny collapses. Store it in a fine-mesh sieve so the water drains down into a container below, instead of breaking apart your whipped cream.[20]
- Line the sieve with cheesecloth or a paper towel if the holes are too large to stop the whipped cream.
Community Q&A
-
QuestionWhere can I get instant pudding or non-flavored gelatin?
 Community AnswerMost grocery stores sell these ingredients. If you live in a rural area, you may need to order them online.
 -
QuestionCan you use cornstarch to stabilize whipped cream?
 Community AnswerThis isn't tested, but cornstarch will most likely stabilize whipped cream. This is why the powdered sugar recipe adds stability — most powdered sugar contains cornstarch. You should only need a tiny pinch of this ingredient.
 -
QuestionMy cream icing started to melt right away. How do I prevent this?
 Community AnswerLower the speed on your mixer or beat by hand, then store in an extra-cold fridge. Humidity can also cause icing or whipped cream to collapse, so consider running a dehumidifier in your kitchen. (If you see moisture gathering inside your fridge, put a bowl of baking soda inside.)
Warnings
- Gelatin is an animal product not suitable for most vegetarians. However, Kosher gelatin can be found which does not contain animal products.⧼thumbs_response⧽
- Store desserts with stabilized whipped cream in the refrigerator or icebox if they will not be served immediately. Even stabilized whipped cream may collapse if left at warm temperatures.⧼thumbs_response⧽
Things You'll Need
- Beater
- Bowl
References
- ↑ http://www.recipetips.com/kitchen-tips/t--962/whipping-cream.asp
- ↑ http://www.ochef.com/824.htm
- ↑ http://www.freep.com/story/life/food/recipes/2014/09/18/whipped-cream-stabilizing-weeping/15782457/
- ↑ http://www.ochef.com/824.htm
- ↑ http://www.food.com/recipe/wilton-stabilized-whipped-cream-79506
- ↑ http://www.recipetips.com/kitchen-tips/t--962/whipping-cream.asp
- ↑ http://www.food.com/about/powdered-sugar-140
- ↑ http://www.recipetips.com/kitchen-tips/t--962/whipping-cream.asp
- ↑ http://www.organicvalley.coop/recipes/kitchen-pantry/whip-tips/
- ↑ http://www.finecooking.com/item/8153/whipped-cream-stability-and-celebrity
- ↑ http://www.timescolonist.com/reena-nerbas-how-to-melt-marshmallows-for-a-recipe-1.63758
- ↑ http://www.craftsy.com/blog/2013/06/how-to-stabilize-whipped-cream/
- ↑ http://www.craftsy.com/blog/2013/06/how-to-stabilize-whipped-cream/
- ↑ https://www.thekitchn.com/long-lasting-wh-160614
- ↑ http://www.craftsy.com/blog/2013/06/how-to-stabilize-whipped-cream/
- ↑ http://bakingbites.com/2015/04/how-to-make-whipped-cream-food-processor/
- ↑ http://latimesblogs.latimes.com/dailydish/2011/02/la-times-test-kitchen-tips-perfect-whipped-cream.html
- ↑ https://www.thekitchn.com/long-lasting-wh-160614
- ↑ http://www.recipetips.com/kitchen-tips/t--962/whipping-cream.asp
- ↑ https://play.google.com/store/books/details?id=CFdcCy_AYAkC
- ↑ http://whatscookingamerica.net/Sauces_Condiments/CreamDefinitions.htm
About This Article
To stabilize whipped cream, start by beating chilled cream with an electric mixer until soft peaks form. Then, add 2 tablespoons of powdered sugar for every cup of whipped cream and continue beating it until the cream is fluffy and stiff. If you'd rather not add sugar, dissolve 2 teaspoons of dry milk powder into your whipped cream to stabilize it before you start beating. For tips on how to store whipped cream so that it doesn’t get watery, read on!


