This article was co-authored by Patrick Coye. Patrick Coye is the owner and operator of Patrick’s Painting & Home Improvement in Alexandria, Virginia. With over 15 years of experience in residential construction, Patrick specializes in painting, wallpaper removal/installation, drywall, staining decks and fences, and kitchen cabinetry painting. To date, Patrick and his team have painted over 2,000 houses and stained over 800 decks. Patrick's Company won a "Top Job" award from the American Painting contractor magazine in 2020.
There are 9 references cited in this article, which can be found at the bottom of the page.
wikiHow marks an article as reader-approved once it receives enough positive feedback. In this case, 93% of readers who voted found the article helpful, earning it our reader-approved status.
This article has been viewed 324,629 times.
A skim coat is a thin coat of joint compound—also known as mud—that you can use to repair or smooth out an area on a wall.[1] You may need a skim coat if you are repairing a crack, filling a joint, or leveling an area with an existing flat surface. Spread a skim coat with a trowel or drywall knife over a rough wall or ceiling to create a flat surface for painting or wallpapering. In general, you will need to apply 2–4 coats before the surface is smooth.
Steps
Preparing the Surface
-
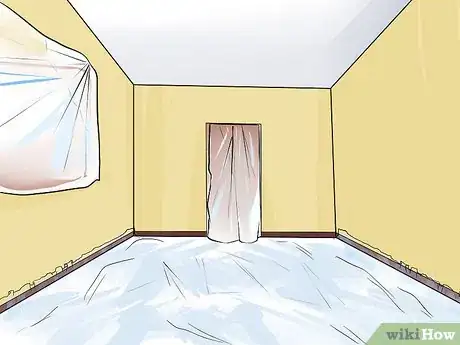
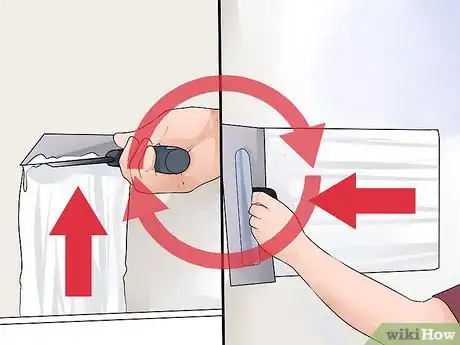
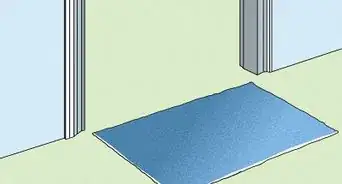
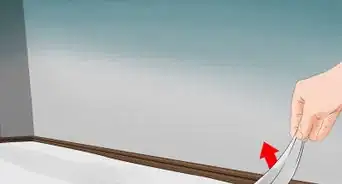
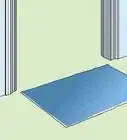
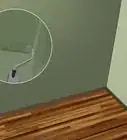
1Protect furniture and entryways from dust and splatter. Remove all furniture from the room. Cover the floor with a canvas or plastic drop cloth. Cover doorways with plastic sheeting—held in place with painters tape—to contain the splatters and plaster dust within the room where you are working. Remove cover plates from light switches and wall sockets to keep them splatter-free.
-
2Determine the damage to your walls or ceilings. If there is a lot of damage (nicks, cracks, large holes), you must repair these first. You may just need to finish joints between pieces of new sheetrock; maybe you have to finish broken plaster or a plaster-sheetrock joint; or perhaps you plan to repair plaster that has begun to crack from years of settling or vibration. Perhaps you simply want to flatten your popcorn-style ceiling.
- Pull any nails from the surface that will receive the skim coat. Fill in the holes with joint compound.
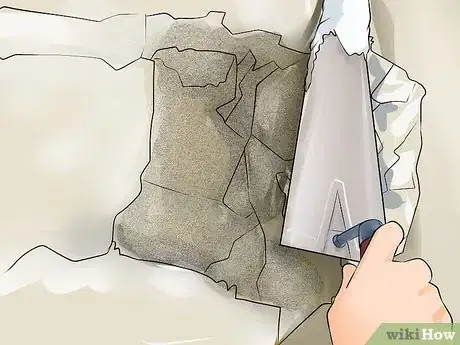
- Cover any cracks in plaster walls by scraping out any loose plaster, filling the hole with joint compound, and applying joint tape to prevent the crack from spreading. Allow to dry before continuing.
Advertisement -
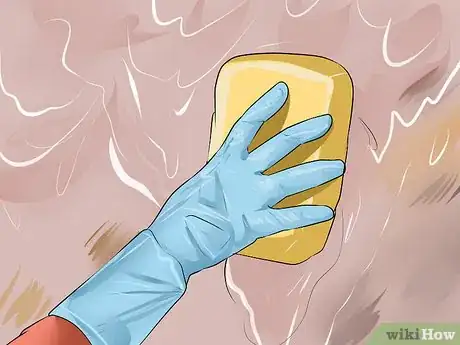
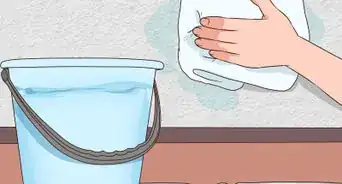
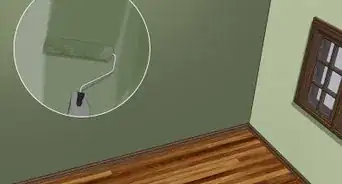
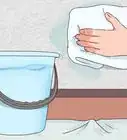
3Thoroughly clean the walls or ceiling. Dust first, then wash if necessary to remove any grease. Use a sponge or a damp towel to wipe down the surface. Use water or a wall-friendly cleaning product depending on the extent of any grime. Rinse the wall with clean water after using any cleaning product.[2]
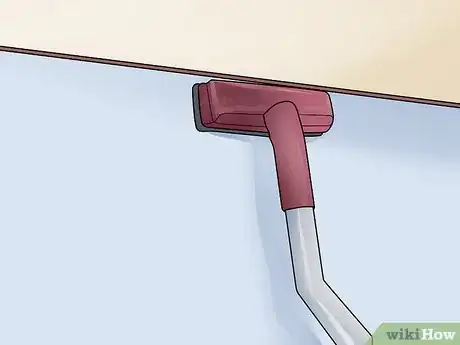
- Sweep away loose particulates with a duster, or go over the wall with the dust-brush attachment on your vacuum cleaner.[3]
- Wipe light smudges with a damp, clean sponge or paper towel.
- For more resistant grime, try wiping the wall with a mix of warm water and mild detergent. Try rubbing stains with a paste of baking soda and water. Try mixing 1 cup ammonia, 1/2 cup vinegar, and 1/4 cup baking soda with one gallon of warm water for a powerful homemade cleaning agent.
- Consider using commercial surface-cleaning products like 409 and Pine-Sol.
-
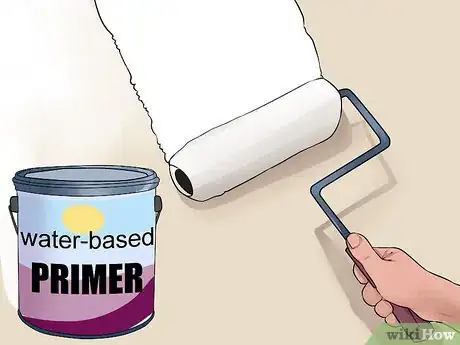
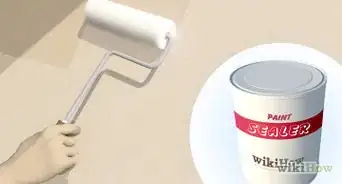
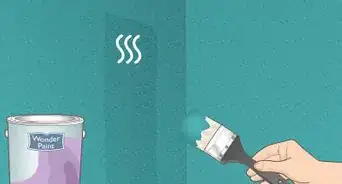
4Apply a water-based primer/sealer to surface, and allow to dry. You should only skim over matte paint or primer. Any other painted surface should be primed with a basic primer, then prepared by wiping down with a degreaser. This allows the compound to attach to the surface and not slide off or bubble. If you have removed wallpaper from a wall, prime the surface again with an oil-based primer.
Preparing Materials
-
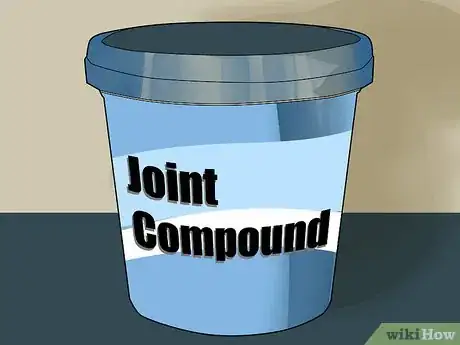
1Find a good joint compound/mud. Joint compound—sometimes called sheetrock "mud"—is very fine dust mixed with water. There are two typical choices for skim-coat materials:
- Pre-mixed joint compound comes ready to apply to the surface. After application, it gradually dries out. As such, you can add more water to the mixture to extend your working time. If you have never applied a skim coat before, you may find it easiest to use a ready-to-use pre-mixed product.
- "Quick set" is made from the same dusty base as pre-mixed joint compound, but you must mix it with water before use. Setting compounds are like concrete: they don't dry out. Instead, they undergo a chemical reaction which makes them "set."[4]
-
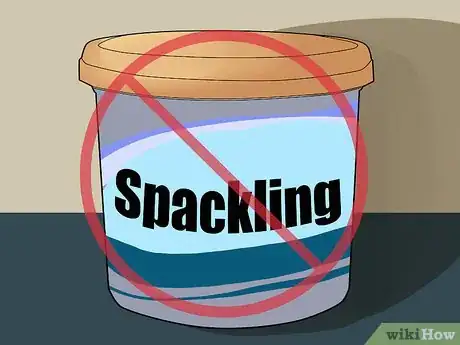
2Do not use spackling. Spackling is often mistakenly used as a skim-coat. However, spackling is harder to spread, more difficult to sand, and is best used on wood trim to fill large imperfections.[5]
-
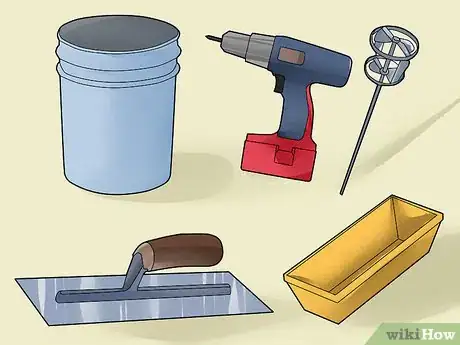
3Gather your tools. These could include:
- A ladder or scaffolding to reach high places without fatigue. This is especially important if you are applying a skim coat to a high wall or ceiling.
- A large five gallon bucket for mixing the skim coat.
- A metal mixing rod that attaches to a drill. This will make it easier to mix large amounts of compound.
- A mud pan.
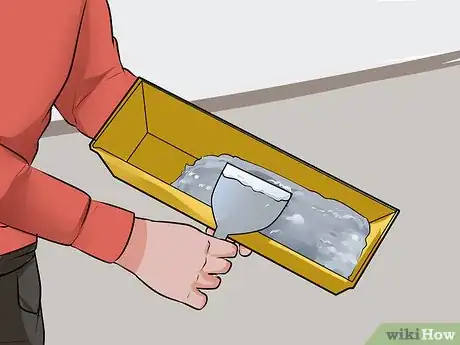
- The skimmer plate. This holds the prepared compound. You will hold the skimmer plate in one hand—or place it somewhere within easy reach—while you apply the skim coat.[6]
- The compound applicator of your choice. You can use a paint roller or a flat, trowel-like "compound applicator". The applicator should be 6" wider than the area being smoothed. Use a 12" applicator for leveling.[7]
-
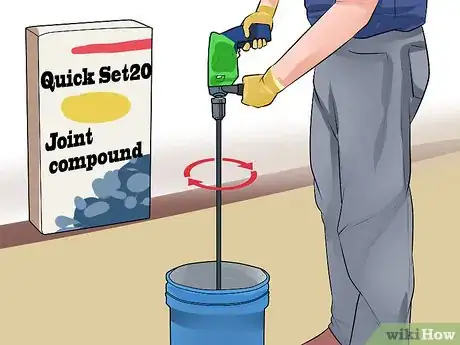
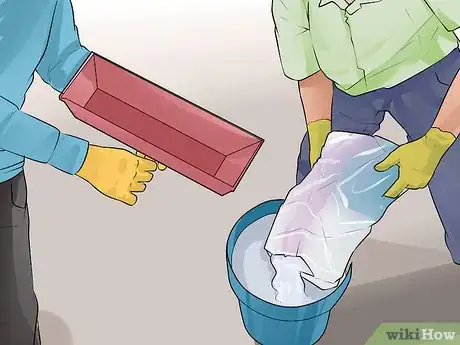
4Mix "quick set" according to package directions. A setting compound ("quick set") comes in bags, and you must mix it with water before using it. The bags have a time limit printed on them—often 20, 45, or 90 minutes—which indicates the working time under average conditions. Heat shortens working time and cold lengthens it. Mix your compound in small batches: if you mix too much at one time, it will start to dry out in the bucket before it can be applied.
- The benefit of a setting compound is that it can be sanded or re-coated as soon as it sets. This also means that you have know exactly where you will apply it and be ready, because as it stiffens it cannot be re-wetted.
- Setting compounds are much more durable than "mud" and will not come apart when wet. They are ideal for walls and ceilings in places that have been exposed to moisture, such as bathrooms and kitchens. A glop of setting compound will set even if dropped in water.
-
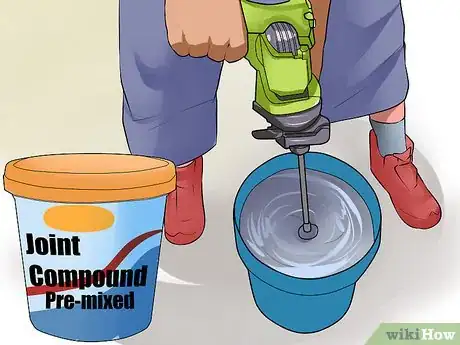
5Stir a pre-mixed joint compound to loosen it for application. Stir a bucket of ready-made joint compound with a paddle attached to an electric drill. Mix until the compound is completely smooth, adding water as needed. The resulting mixture should have the texture of custard.
-
6Add any tint that you want to use. You can tint many joint compounds by adding tint while you are mixing. Find tint products in a hardware store. You can also add sand or other rough materials if you want a certain texture embedded in your coat.
-
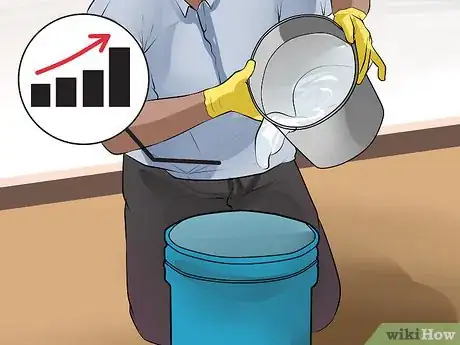
7When mixing, start by adding the least amount of water called for. Start slow with the drill until the liquid is mixed, then gradually increase the speed. You can slowly add more liquid if you need to thin the compound. Run an image or video search for "mixed joint compound" to see what your compound should look like when "ready."
- Mixing compound is much like mixing cake batter. Remember not to pull the drill mixer out of the compound while the drill is running, or you may have flecks of mud flying everywhere.
- It is critical to make sure there are no lumps in your ready-to-apply compound. If you do come across a lump of dry compound during application, you can probably smash it into the surrounding wet compound. If the lump is too big to crush, remove it with a small putty knife.
-
8Ask someone to help out. The five gallon bucket needs to be cleaned each time you use it, or else little pieces of dry compound will carry over to your new batch. Your helper can transfer the prepared compound from the bucket into a smaller container. From this container, use either your applicator or a smaller trowel to move the compound to the mud pan. Then, your helper can start cleaning the bucket and preparing the next batch of compound.
Applying a Skim Coat
-
1Prepare to apply the first skim coat. Decide how thick you want the coat, or determine the type of finish that you want (from completely smooth to rough and textured). If you are right-handed, you will be holding the skimmer plate in your left hand and the compound applicator in your right hand. You may have to adjust your technique to get the desired thickness and texture. You can always add more compound to the surface, but once dry, it is messy and time-consuming to remove.[8]
-
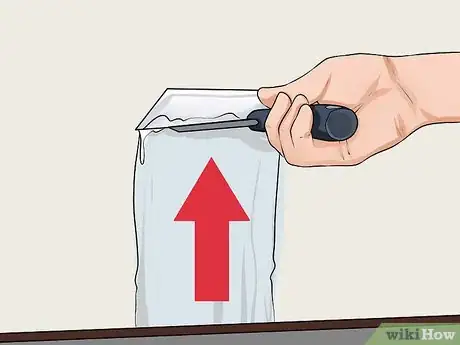
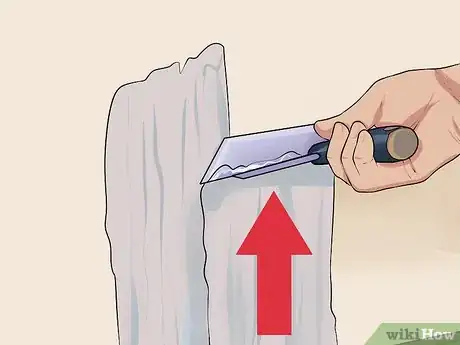
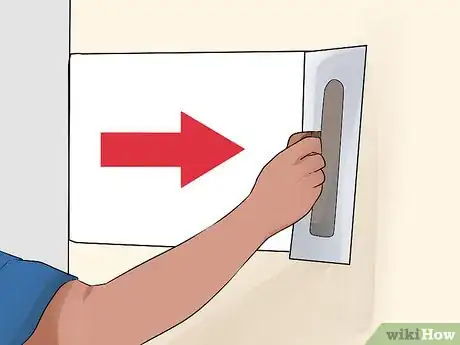
2Apply the first scoop. Mound the compound up at one end of a repair area, then pull it across the surface with the compound applicator. Apply firm, even pressure in the direction of the joint/crack, similar to pulling a window squeegee, such that little material is present on either side of the repair area.
- Start in one corner of the wall, and work down from the highest point. If you are skimming a ceiling, start at an edge and work towards the center.
- Apply the drywall compound at a 45° angle, then pull it in whatever direction you need. Keep going over that until the area is covered, and try to get it as smooth as possible so you won't have to sand as much when you're finished.[9]
- If you have never skimmed before, try practicing on a piece of scrap drywall. This way, you can get used to the applicator and the weight of the compound, and you can see what it will look like when dry.
-
3Keep spreading the skim coat over the repair area. Once you have applied the first scoop, take another and work out of the spot you just finished. Be thorough—make sure that each new scoop overlaps with the last. Pull the coat in different directions to even out bumps and valleys regardless of how they are aligned.
- A repair area isn't flat: it is a low, smooth mound, made to look flat. Shine a light along the surface to identify areas where the wall is sunken, and mark those spots with pencil as you go.
- Patience is key, but you must work efficiently so that the mixed compound does not dry out before you finish. Give yourself enough time to complete an entire section. Try not to stop in the middle of a surface, as blending a dried section with wet compound can be difficult.
- Do not try to rush the application by taking a larger scoop. This may make your arms tired, it may lead to compound falling off your skimmer, and you may need to go over the area later to remove excess compound.
-
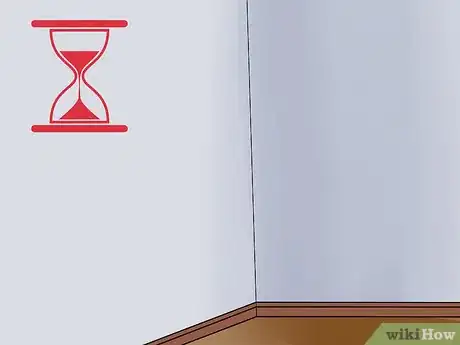
4Allow the first layer to set for several hours or overnight. Smooth fiberglass repair tape onto cracks and joints. Let the surface set or dry out before you apply the next coat. If repair areas are deep/large, count on 2–4 coats to get solid repairs & smooth surfaces. Do not apply excess material or try to finish with one coat—this can only be fixed by demo or lots of sanding. It is better to do many thin coats than an uneven one that needs repair.
Applying the Finishing Coats
-
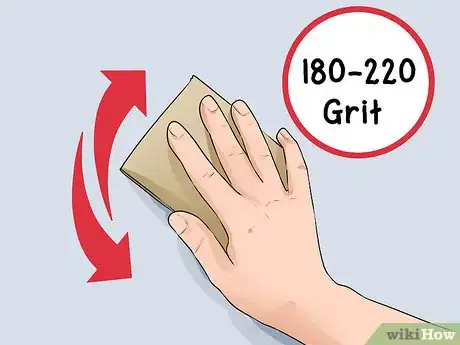
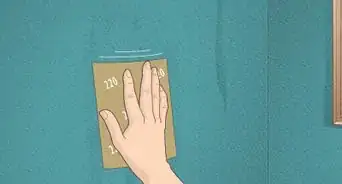
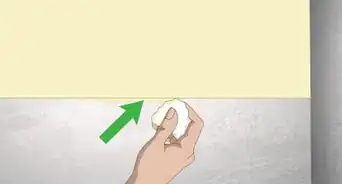
1Sand the walls. Use a fine grit sandpaper (180 to 220) to smooth out any rough edges. If you marked low areas with a pencil, you can blend them into the high areas to ensure that the next coat will bond fluidly to the surface.
-
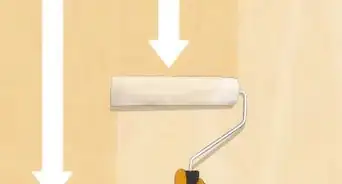
2Apply a second layer of drywall mud. This time, work in a horizontal direction, perpendicular to the first coat. Allow to dry. Sand once more, and run your hands over the surface to feel out imperfections that you can't see with the naked eye.
-
3Repeat as necessary until the surface is smooth. With each new coat, switch direction from horizontal to vertical to ensure even coverage of the drywall. Make sure that you allow each coat ample time to dry before you apply the next coat.
-
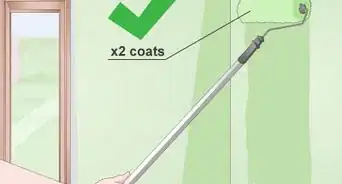
4Clean the room thoroughly when you are done. Vacuum the walls and make sure that there is no remaining plaster dust. Apply a primer before painting or hanging wallpaper.
Expert Q&A
Did you know you can get expert answers for this article?
Unlock expert answers by supporting wikiHow
-
QuestionWhen should you put on a skim coat?
 Patrick CoyePatrick Coye is the owner and operator of Patrick’s Painting & Home Improvement in Alexandria, Virginia. With over 15 years of experience in residential construction, Patrick specializes in painting, wallpaper removal/installation, drywall, staining decks and fences, and kitchen cabinetry painting. To date, Patrick and his team have painted over 2,000 houses and stained over 800 decks. Patrick's Company won a "Top Job" award from the American Painting contractor magazine in 2020.
Painting Specialist
-
QuestionCan I mix the binding glue with skim coat and apply it to a wall?
 Jamiya JonesCommunity AnswerYes, it would add more texture and will make your wall look even better.
 -
QuestionWhy does my mud continue to bubble in spots?
 Community AnswerI found that when my mud bubbles, it needs to be mixed longer. You can mix it in your pan, or put it back in the bucket and mix till it does have bubbles in the bucket. Then it should be ready.
Warnings
- Wear a face mask and protective eye gear when sanding. A shower or swim cap will keep dust out of your hair.⧼thumbs_response⧽
- Don't clean drywall tools over a drain. The compound will stick, harden, and block your pipes. Instead, scrape the excess mud into a trash bin. Clean tools with a rough sponge or towel to get them completely clean.⧼thumbs_response⧽
Things You'll Need
- Canvas and/or plastic drop cloths
- Painters tape
- Soapy water for cleaning walls
- Joint compound or drywall mud
- Heavy-duty electric drill with paint paddle attachment
- Joint tape
- Hawk
- Trowel or drywall knife
- Paint tray and roller (if desired)
- Ladder or scaffolding to reach higher areas
- Face mask
- Protective eye gear
- Sandpaper in various grits from 180 to 220
- Vacuum cleaner
References
- ↑ Patrick Coye. Painting Specialist. Expert Interview. 22 July 2020.
- ↑ http://www.howtocleanstuff.net/how-to-wash-walls/
- ↑ http://www.bobvila.com/articles/how-to-clean-painted-walls/#.VZ65YvlViko
- ↑ http://diy.stackexchange.com/questions/2698/what-compound-is-best-to-use-when-skim-coating-a-plaster-wall-that-had-wallpaper
- ↑ http://homeguides.sfgate.com/skim-coat-painting-walls-73714.html
- ↑ https://sawdustgirl.com/how-to-skim-coat-get-rid-wall-texture/
- ↑ http://drywall101.com/articles/taping/rollskim.php
- ↑ http://www.oldtownhome.com/2013/11/13/DIY-Plaster-Repair-We-Finally-Put-the-Skim-in-Skim-Coat/
- ↑ Patrick Coye. Painting Specialist. Expert Interview. 22 July 2020.
About This Article
To skim coat, first take a small scoop of compound and mound it up at one end of the repair area. Then, pull it across the surface with the compound applicator using firm, even pressure. Continue scooping out compound and filling the joint or crack, pulling the compound in different directions to even out bumps and valleys. Let your first layer sit overnight, then repeat the process for any additional layers if they’re necessary before you apply the finishing coat. To learn how to prepare your room and your compound before you skim coat, read on!

