This article was co-authored by wikiHow Staff. Our trained team of editors and researchers validate articles for accuracy and comprehensiveness. wikiHow's Content Management Team carefully monitors the work from our editorial staff to ensure that each article is backed by trusted research and meets our high quality standards.
There are 9 references cited in this article, which can be found at the bottom of the page.
This article has been viewed 197,512 times.
Learn more...
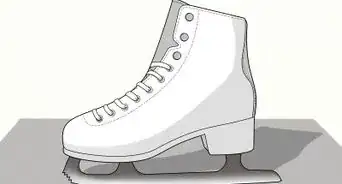
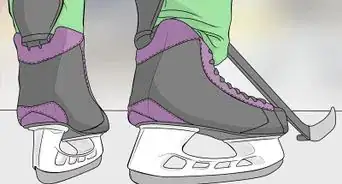
In general, hockey players and figure skaters use ice skates that are "hollow-ground" and sharpen them using a machine. This means that each blade connects with the ice at two points with a center line that has been ground-down or "hollowed" out. In contrast, speed skaters use hollow-less, "flat-ground" skates that must be sharpened by hand. Hollow-ground blades give the skater greater grip and maneuverability, while flat-ground blades reduce resistance to allow for greater speed. Although the equipment needed to sharpen both types of skate can be expensive at first, learning to do this skill on your own will eventually save you time and money.
Steps
Using a Sharpening Machine for Hollow-Ground Skates
-
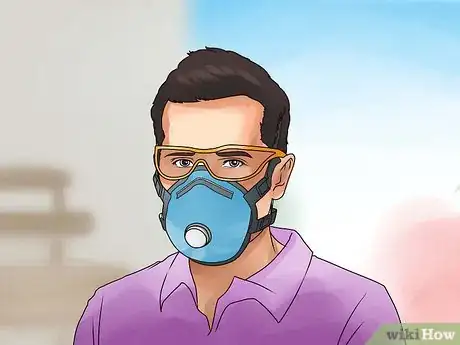
1Wear proper protection. At bare minimum, you should wear shatter proof glasses or goggles when machine-sharpening skates. Ear and breathing protection are also recommended. Do not wear loose clothing or accessories that can be caught in the grinding wheel. Tie back long hair and consider a protective hair covering.
-
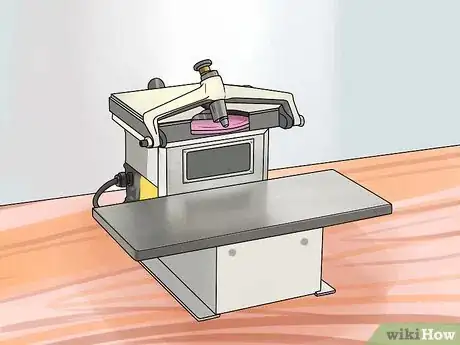
2Turn on the machine. Make sure that your work area is free from clutter. Before powering the machine, double-check that nothing is in contact with the grinding wheel, including the diamond dresser. Make sure the grinding wheel is balanced before you begin.
- Some machines require that the diamond dresser be in position, touching the wheel, before the machine is turned on. Read your machine's operating manual to determine if this applies.[1]
Advertisement -
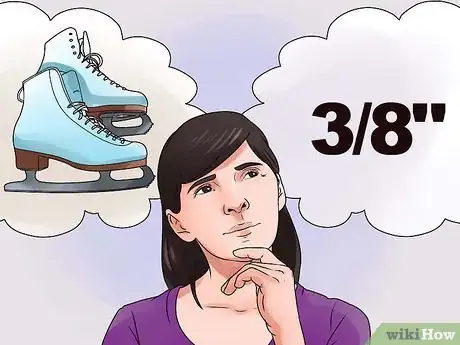
3Figure out the radius size you need. The default that most skate shops use is a 1/2" radius, which is standard for young skaters. A smaller radius will create a deeper hollow, creating better grip and more drag. A larger radius, on the other hand, will produce a shallow hollow with worse grip and less drag. Grip determines maneuverability, while less drag allows for greater speed.
- The "radius" refers to the shape the grinding wheel takes out of skate that's brushed against it. You may remember from geometry class that the radius of a circle is half its width. Think of a circle with a small radius and how that can cut into the end of a rectangle. It can overlap much more than a circle with a larger radius. Thus, smaller radii create much more dramatic edges (a deeper hollow) than the more blunt edges of larger radii (a shallow hollow).[2]
- Typical starting radii include: 3/8" for very light skaters, 5/8" for average skaters, 3/4" for heavy skaters, and 7/8" – 1 1/4" for hockey goalies. Start with these guidelines but tailor your radius to what ends up working best for you.
- For increased glide, select a radius of 1" or higher. For better grip and control, pick one that is 3/8" or smaller.[3]
-
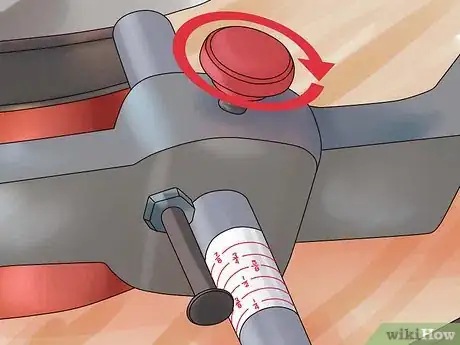
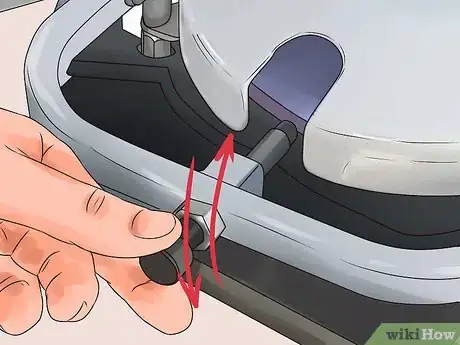
4Adjust the diamond dresser. Change the dresser's position within the dresser arm to achieve the appropriate radius size. In general, you will loosen the diamond's arm grip with a thumbscrew and move the dresser backwards or forwards. The diamond dresser will be marked with lines according to radius size.[4]
-
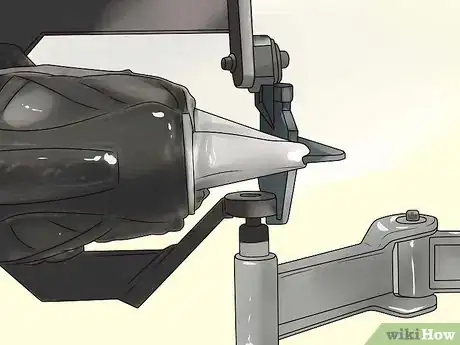
5Dress the grinding wheel. Press the diamond dresser into the moving grinding wheel for a few seconds. In general, the dresser will be attached to a tool that you will move up and down across the wheel.
- The exact method for dressing your wheel, and for machine-sharpening in general, will vary depending on the model you're using. Always consult your machine's user guide and documentation for details.
-
6Mount and blacken a single skate. Your sharpener will most likely have come with a special skate holder or sharpening jig. Make sure that the blade lines up with the center of the grinding wheel. Use a black marker to color the edge of the blade to serve as a guide.
-
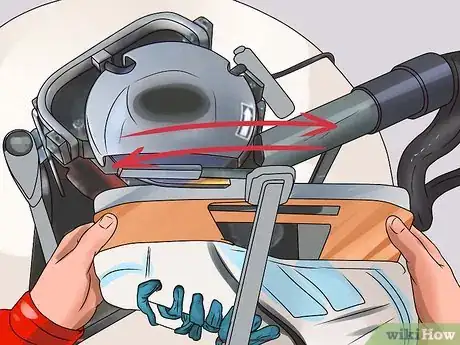
7Sharpen your skate. Starting with the toe, lightly touch the edge of the blade to the spinning grinding wheel. Move the skate holder so that the entire length of the skate has been run through the grinder. Try to do this as smoothly and consistently as possible to prevent an uneven sharpening. Do this two or three times.[5]
-
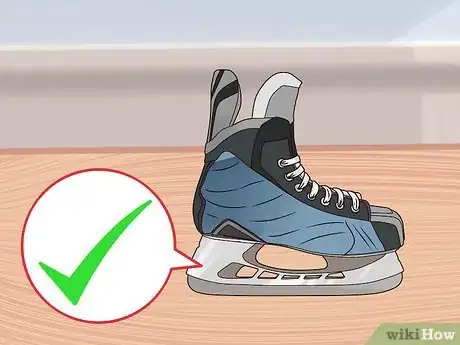
8Check your blade. If you have successfully sharpened the entire length of the skate, there should no longer be any visible black marking. If there is, do one or more passes until it disappears. Look down the center of your blade to make sure that the hollow is in the middle. If it isn't, adjust the holder to better line the skate up with the wheel and try again.
Sharpening Flat-Ground Skates by Hand
-
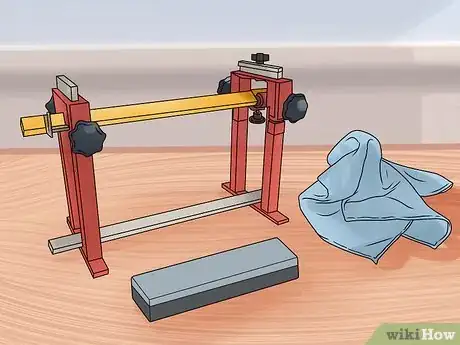
1Gather your materials. You will need a sharpening jig, a large 2-sided sharpening stone, a small burr stone, and a rag to wipe everything down. Look for a jig and stones specifically meant for sharpening skates. These are often sold together as a sharpening set.
- You will also need something to lubricate your stone, which will depend on the particular type you use. This will usually be water, some type of oil, or a mixture thereof.
- If you are a speed skater, you probably want skates that are completely flat, creating a perfect 90 degree angle with the ice.
-
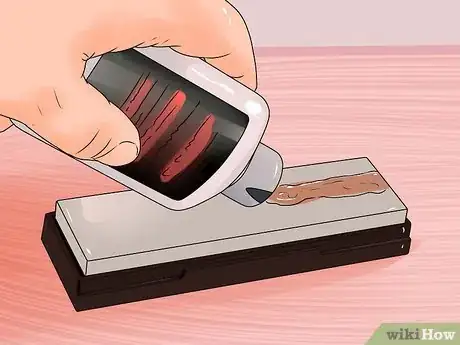
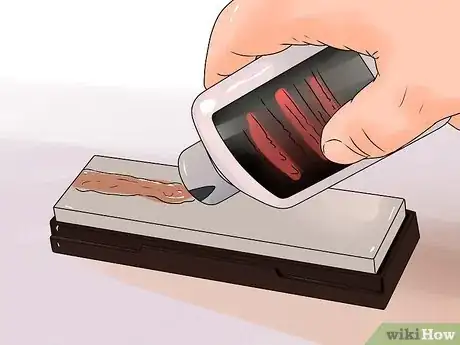
2Lubricate your stones. Simply wet your stones with a few drops of the correct lubricant. The lubricant will help to whisk away debris as you sharpen.
- If you are using a set of traditional oil-lubricated stones for the first time, you will need to saturate them with oil before their first use. In a plastic container, pour or brush some oil onto one side of the stone. Wait for the stone to absorb the oil before adding some more. Once the oil absorption slows, flip the stone over and repeat the process on the opposite side. Wrap the stones in plastic between sharpenings. This will prevent your stones from becoming clogged with dirty oil.[6]
-
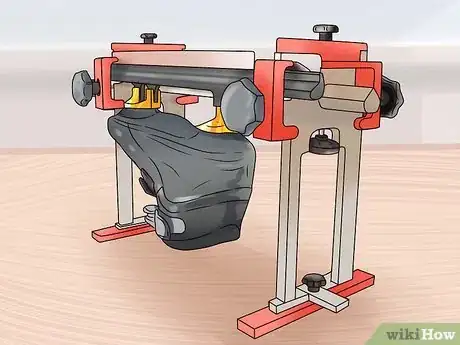
3Mount your skate in the sharpening jig. Speed skate sharpening jigs generally hold two skates parallel to each other with clamps. The heel and toe ends of each skate will have their own clamps for a total of four. Different jigs will have different specific instructions. Consult the user manual that came with yours if you aren't sure how to secure your skates properly.
- Orient your skates parallel with the blades in the air, as if you were skating upside-down.
- The toe end of a jig usually has a guide-plate. Make sure the end of each blade is up against this plate before you finish tightening the clamps.
- The exact orientation of your blades isn't as important as maintaining consistency between the right and left sides and across multiple sharpenings. For example, some people place the heel-ends of their blades up against the guide-plate instead of the toe-ends. As long as this is done every time the blades are sharpened, this is a perfectly valid way of mounting a skate.
-
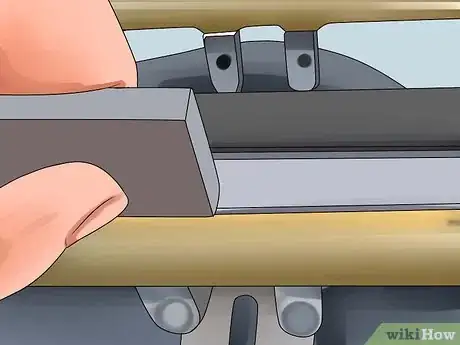
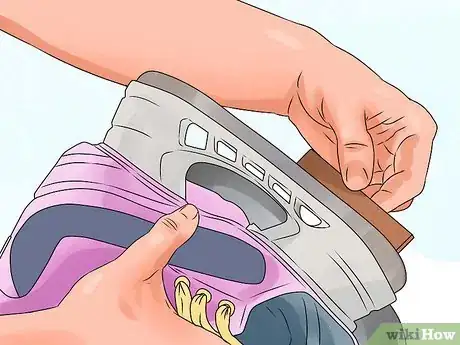
4Check for and remove existing burrs. When it comes to sharpening skates, "burrs" are bits of displaced extra metal that have been pushed to the sides of the blade. Sometimes you will find burrs before you begin to sharpen. If that's the case, remove them with your burr stone.
- Position your burr stone flat against the side of the blade with the top of the stone placed slightly past the top of the blade.
- Apply steady, even pressure to push your burr stone along the entire length of the blade in one motion.
- Repeat these strokes until the burr is removed.[7]
-
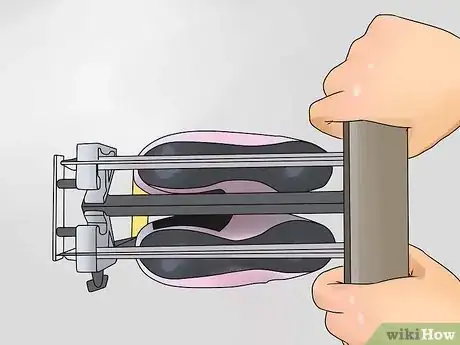
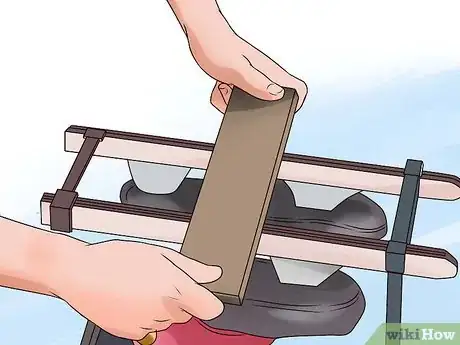
5Position your sharpening stone on top of your skates. Start with the coarse side of the stone facing down and in contact with the blades. Place the stone perpendicular to your skates to form an "L," with the stone far to one end and one side of the two skates.
- Which side and which end you start with doesn't matter as long as you stay consistent between sharpening.
-
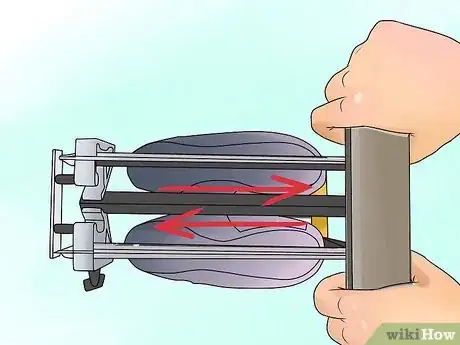
6Grind the blades. Push the sharpening stone down to the opposite end and side of your skates. Then pull the stone back along the blades to its starting position. Keep the stone perpendicular to your skates the entire time. Repeat this for a total of 20 strokes.[8]
-
7Switch your starting side. Turn the jig around so that the opposite ends of your skates now face you. Do another set of 20 strokes, still pushing and pulling, but in the opposite direction. For example, if you originally went forward and to the left, this time move forward and to the right.[9]
-
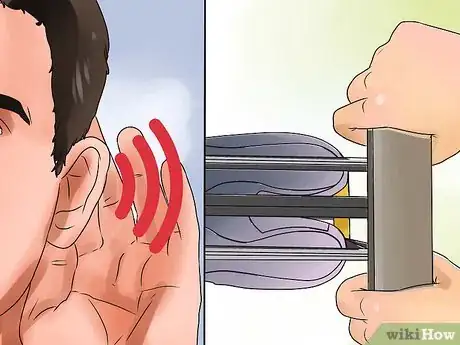
8Listen as you work. A dull blade will make a loud scraping noise even with proper lubrication. As you sharpen, the noise will get quieter and quieter. Keep repeating the sets of 20 strokes, turning the jig and switching directions each time. The duller the blade, the more sets you will have to do to get it sharp.[10]
-
9Lubricate your stone again if necessary. After you've done a few sets, your stone is likely to dry out. If you start to hear a squeaking, "fingernails on a chalkboard" noise, add a few more drops of lubricant to the coarse side of your stone. Remember that if you are just starting out on a dull blade, it will make a loud noise regardless of lubrication.[11]
-
10Check for burrs every few sets. Once your strokes start to quiet down, check for burrs. When four distinct burrs have formed, one on either side of each blade, you have finished the grinding process. Keep in mind that a partially-sharpened blade will develop a burr on the outside edge before it does so on the inside.
- How many total sets you will need to do will depend on how dull the blade was when you began. A blade that has been recently sharpened may only need a few sets of 2x20, while a very dull skate may need a few dozen.[12]
-
11Polish the skates with the fine side of your sharpening stone. After the burrs have properly formed, lubricate the opposite side of your sharpening stone and flip it over. Position your stone the same way you did to grind your skate down. Do one or two passes of 20 and check that the blade is shiny and smooth. If there are still scratch marks, do another set and check again.[13]
-
12Deburr the blades. Remove your skates from the sharpening jig. Apply steady, even pressure with your burr stone to the entire length of each side of the blades. Repeat until the burr has been removed from all for edges.[14]
-
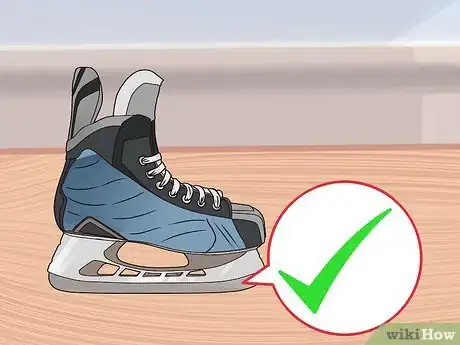
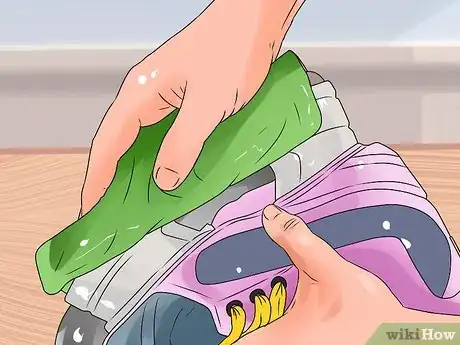
13Clean the blades and your tools. Wipe the blades down with a clean cloth to remove any stray metal shavings or lubricant. Your skates should now be ready for use.
- Use a rag and some additional lubricant to clean off your stones before storing them. Proper maintenance will keep them working for a long time.[15]
Our Most Loved Articles & Quizzes
Community Q&A
-
QuestionHow do I check my skate size?
 Community AnswerTo check your skate size you might want to go to a skate pro shop and ask them to size you. Men’s skates are usually 1 to 1 1/2 sizes down from your shoe size, and for women it’s about 3 sizes down. Women can use men’s skates and men can use women’s skates, but be careful to get the right size.
References
- ↑ http://ssmofnorthamerica.com/wp-content/uploads/2015/02/SSM-2-MANUAL.pdf
- ↑ http://www.wissota.com/learning-about-radius
- ↑ http://www.theskatetruck.com/radius/
- ↑ http://www.dupliskate.com/pdf/Dupliskate-User-Manual.pdf
- ↑ http://www.wissota.com/how-to-sharpen-skates
- ↑ http://www.indyspeed.org/equipment/SharpeningYourSkates.pdf
- ↑ http://www.indyspeed.org/equipment/SharpeningYourSkates.pdf
- ↑ http://www.indyspeed.org/equipment/SharpeningYourSkates.pdf
- ↑ http://www.indyspeed.org/equipment/SharpeningYourSkates.pdf
- ↑ http://www.indyspeed.org/equipment/SharpeningYourSkates.pdf
- ↑ http://www.indyspeed.org/equipment/SharpeningYourSkates.pdf
- ↑ http://www.indyspeed.org/equipment/SharpeningYourSkates.pdf
- ↑ http://www.indyspeed.org/equipment/SharpeningYourSkates.pdf
- ↑ http://www.indyspeed.org/equipment/SharpeningYourSkates.pdf
- ↑ http://www.indyspeed.org/equipment/SharpeningYourSkates.pdf
- ↑ http://www.thehandofgord.ca/skates-sharpening/maintaining-your-edge
- ↑ http://ssmofnorthamerica.com/wp-content/uploads/2015/02/SSM-2-MANUAL.pdf
- ↑ http://www.theskatetruck.com/radius
