This article was co-authored by wikiHow staff writer, Jessica Gibson. Jessica Gibson is a Writer and Editor who's been with wikiHow since 2014. After completing a year of art studies at the Emily Carr University in Vancouver, she graduated from Columbia College with a BA in History. Jessica also completed an MA in History from The University of Oregon in 2013.
There are 11 references cited in this article, which can be found at the bottom of the page.
This article has been viewed 27,819 times.
Learn more...
You've come to the end of your sewing project and couldn't be prouder of what you've done. You smile and lean over to read the pattern's final step. Oh no. You have to sew on snaps. We know this may seem intimidating, but sewing snaps onto fabric is much easier than you may think! As long as you accurately mark where to place both parts of the snap, you'll be able to sew the pieces on just like that. In this article, we'll take you through the process step-by-step, and soon you'll be a snap-sewing pro.
Steps
Marking the Placement
-
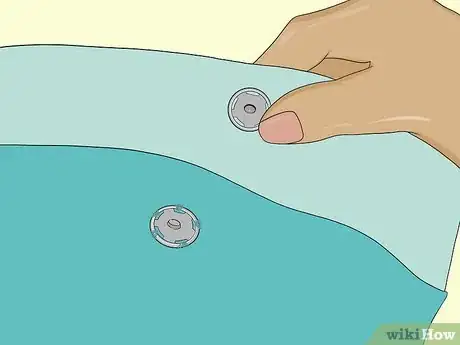
1Separate the snap from the package. Most snaps will be pressed together between the packaging when you buy them. To remove the snap, pull the front and back of the snap apart in opposite directions. Both pieces should come away from the packaging.[1]
Did You Know? The ball side of the snap is the piece that you'll attach to the bottom of your project. You'll be able to push the socket side of the snap down onto the ball to close the snap.
-
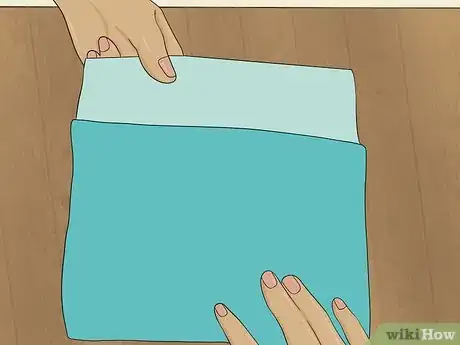
2Position your project so the layers are where you want them. In order to mark the right places for the parts of the snap, you'll need to fold or position fabric layers. For example, if you're making a pouch, fold over as much fabric as you'd like to make the opening. If you're putting snaps on a shirt, lay the front edge of the shirt over the opposite side so they overlap enough for you to add the snap.
- If your fabric won't stay in place, consider ironing it so it won't unfold or shift around while you work.
Advertisement -
3Stick a pin where you want to sew the snap on the fabric. Take a sharp sewing pin and insert it through your project where you want to place the snap. Ensure that you push the pin through the top layer of fabric so it comes out and touches the bottom layer of fabric. This will help you position both sides of the snap.[2]
- For example, if you're adding a snap to the top of a pouch, fold the pouch over as though you're snapping it shut. Then, stick the pin through the top layer of fabric.
-
4Mark both layers of fabric with a fabric pen or pencil. While the sewing pin is inserted, get out something to mark the fabric with and make a small dot where the pin touches the bottom layer of fabric. Then, lift the top layer of fabric back so you can make a mark where the pin is still sticking out of the fabric.[3]
- If you're making a lining for your project, put in the snaps before sewing in the lining. The lining will hide the stitches on the back of your snaps.
Stitching the Ball-Sided Piece
-
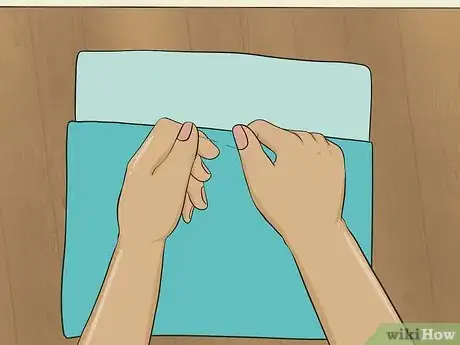
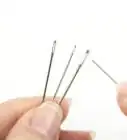
1Thread a sewing needle and tie a knot at the end of the thread. You can use any color of thread for your project, so decide what look you're going for. If you want the snap to blend in, choose a thread color that matches the fabric. For fun snaps that really stand out, pick a bold thread color that pops. Thread your needle with at least 1 foot (30 cm) of thread and tie a knot at the end.[4]
- Use whichever size needle you feel comfortable with.
-
2Hold the ball-sided piece on the bottom piece of fabric. Use your non-dominant hand to put the ball-sided piece of the snap onto the mark you made. Remember that it should be on the bottom fabric piece.
- For example, if you're making a snap for a shirt, the ball-sided piece will be on the edge of the fabric that's underneath the seam or edge.
-
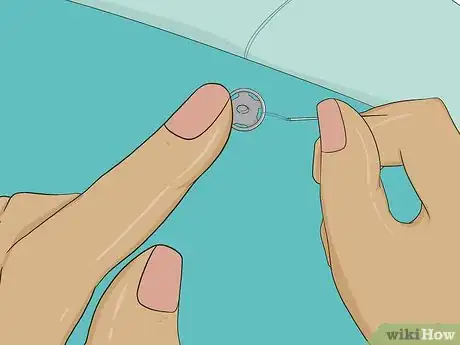
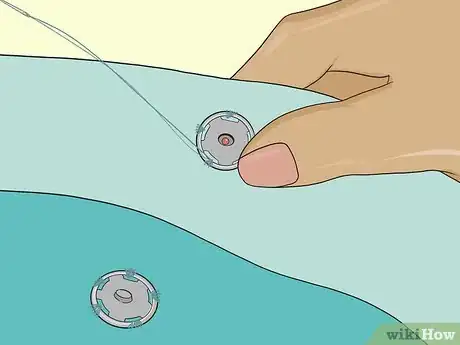
3Bring the needle up from under the fabric through one of the holes. Keep the snap in place while you hold the needle in the other hand and pull it from under the fabric. Bring the needle up and out through one of the holes in the snap.[5]
- It doesn't matter which hole you begin with since you'll eventually sew through all of the holes.
Tip: Try not to poke your fingers as you bring the needle through the snap! You may want to wear a thimble to protect your finger.
-
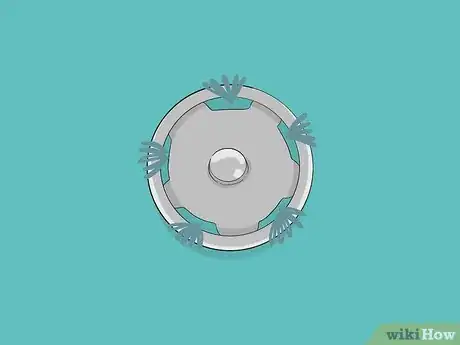
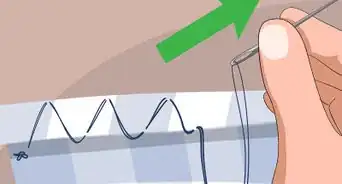
4Stitch around the hole 5 times. Bring the needle over the edge of the snap and push it down through the fabric. Then, pull the needle back up through the same hole. Repeat this at least 5 times to secure this part of the snap to the fabric.[6]
- If your snap will be decorative and you won't be pulling on it very much, you could sew the hole 3 times instead of 5.
-
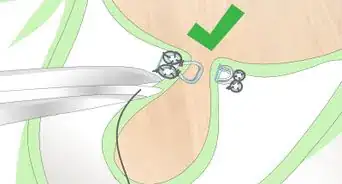
5Sew through each hole to secure the snap. Once you've sewn through 1 of the holes, begin sewing the opposite hole. Remember to stitch up and around the edge at least 5 times. Then, sew the remaining holes so the snap doesn't slide around at all.[7]
-
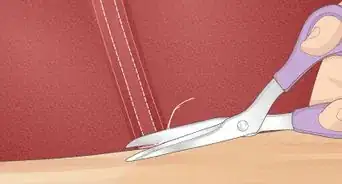
6Turn the fabric over and tie a knot on the back of the snap. Flip the piece over so you can see the back of the snap that you just sewed in place. Slide your needle under one of the stitches and pull until the thread forms a loop. Then, insert your needle through the loop and pull it tightly to make a knot before you cut the excess thread.[8]
- If you'd like the snap to be more secure, make an extra knot on the back.
Sewing the Socket Piece
-
1Position the upper layer of fabric. Pay attention to how the fabric will be folded once your project is done and look for the mark you made earlier. For example, if you're making a shirt, you'll be sewing the socket piece onto the top layer of fabric, but you'll need to do it on the underside of the fabric so it can come into contact with the bottom of the snap.[9]
- To make a pouch with an opening that folds over, unfold the opening so you can find the mark and attach the upper snap piece to the underside of the fabric.
-
2Place the socket piece of the snap on the mark and push a pin through it. Since the socket piece is a little wobblier than the ball-sided piece, you'll want to insert a sewing pin through the tiny hole in the very center. This will keep the piece from sliding around while you sew.[10]
- You'll still want to hold the socket piece in place as you stitch through each hole.
-
3Sew 5 loops through each hole across the socket piece. You'll sew the socket piece to the fabric just like you did for the bottom piece. Bring your needle under the piece so it comes out through one of the holes. Then, sew it over the side and down through the fabric. Do this 5 times for each hole so the piece is secure.[11]
Tip: To test if your snap is in the right place, fold the upper fabric over the bottom and snap the pieces together. The fabric should be where you want it for your project.
-
4Flip the fabric over and tie a knot in the back. Turn the upper fabric piece over and you should see the stitches you just made. Insert your needle under a stitch and pull it until the thread becomes a loop. Bring the needle through the loop and pull tightly. This will make a knot and you can trim the end of the thread.[12]
- Make another knot if you'd like the upper snap to be even more secure.
Things You'll Need
- Fabric pen or pencil
- Sewing pin
- Needle
- Thread
- Scissors
- Snaps
- Fabric
References
- ↑ https://youtu.be/Lex2hrL96Po?t=33
- ↑ https://youtu.be/Lex2hrL96Po?t=111
- ↑ https://www.dritz.com/sites/default/files/tutorials/dritz-tutorial-how-sew-snap.pdf
- ↑ https://chickenscratchny.com/how-to-thread-a-needle-tie-a-knot/
- ↑ https://youtu.be/Lex2hrL96Po?t=225
- ↑ https://youtu.be/Lex2hrL96Po?t=295
- ↑ https://www.dritz.com/sites/default/files/tutorials/dritz-tutorial-how-sew-snap.pdf
- ↑ https://youtu.be/Lex2hrL96Po?t=414
- ↑ https://youtu.be/Lex2hrL96Po?t=452

