This article was co-authored by wikiHow Staff. Our trained team of editors and researchers validate articles for accuracy and comprehensiveness. wikiHow's Content Management Team carefully monitors the work from our editorial staff to ensure that each article is backed by trusted research and meets our high quality standards.
This article has been viewed 95,947 times.
Learn more...
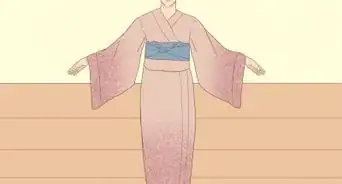
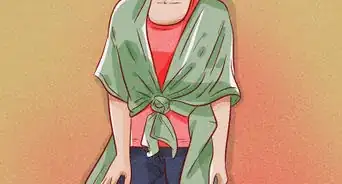
Kimonos make stylish, romantic substitutes for traditional cardigans or other types of top layers. You can wear a kimono with a t-shirt and jeans, as a chic accessory to a simple dress, as a cover-up for a bathing suit, or as a sexy lingerie item. Kimonos can be expensive, but making your own kimono is an easy, money-saving alternative. Try making your own custom kimono as a gift for a friend or for yourself!
Steps
Measuring and Marking the Fabric
-
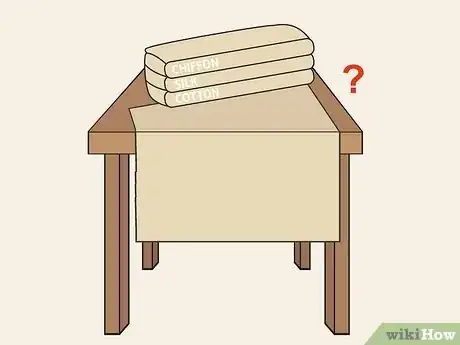
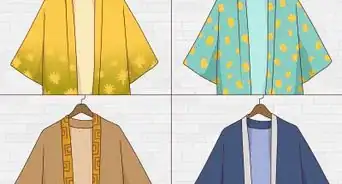
1Choose your fabric. Technically, you can use whatever fabric you want to create your kimono. However, lightweight fabrics will look best with this open and easy design. Try using a fabric like chiffon, silk, lightweight cotton, or a knit blend for the best results. You may choose a solid color or a print fabric for your kimono.
- Your fabric piece will need to measure 40” (107 cm) by 55” (140 cm). To save time, you might consider asking the store associate to cut your fabric to these exact dimension. If you cannot get this exact measurement from a fabric store, then measure and cut your piece to these dimensions when you get it home.
- This size fabric piece will create a kimono that falls around or just below your hips. If you want your kimono to be longer, then get a piece of fabric that is longer than 55” (140 cm), such as a 40” (107 cm) by 65” (165 cm) piece.
- The 40” size piece will result in sleeves that are about 3/4 length. If you want longer or short sleeves, then adjust the width of your fabric piece. For example, if you want longer sleeves, then you might go with a piece of fabric that is 48” (122 cm) by 55” (140 cm).[1]
-
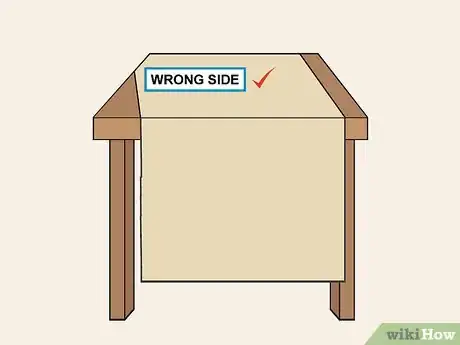
2Fold your fabric piece in half with the wrong side facing out. To get started, you will need to fold your fabric in half so that the 40” (107 cm) edges of your fabric are lined up evenly and the wrong sides (back side of the fabric) are facing out. Make sure that the edges are all evenly lined up.[2]
- Chiffon and silk are slippery fabrics, so you might find it helpful to pin the edges together in a few places. This will help to prevent the fabric from moving as you work.
Advertisement -
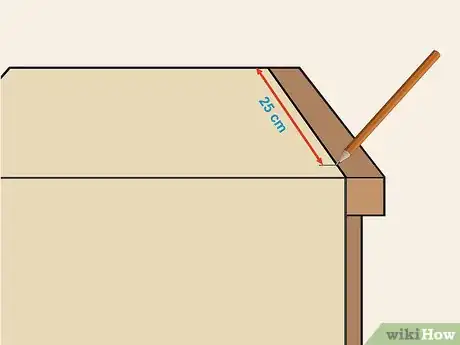
3Measure 10” (25 cm) from the fold and mark the fabric. Measure from the top fold of your fabric along the outer raw edge of the fabric. Use a piece of chalk to mark the spot on the edge of your fabric that is 10” (25 cm) from the top fold.[3]
- You may make the first mark on either side of the fabric. You will be repeating the marking process on the opposite side after you make the first set of marks.
-
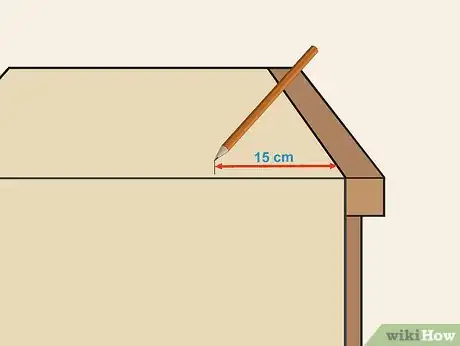
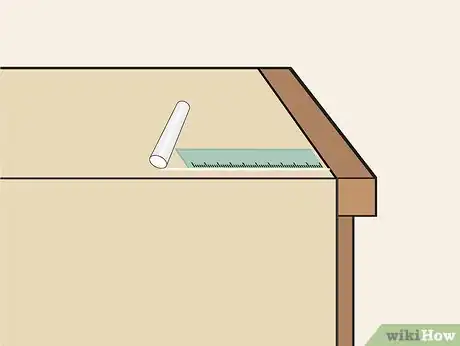
4Measure 6” (15 cm) in from the edge at the 10” (25 cm) mark. Next, measure 6” (15 cm) in from the mark you just made on the edge of your fabric. Mark this location with chalk as well.[4]
- If you have decided to make longer sleeves and have chosen a larger piece of fabric, then you will need to add to the length that you measure. For example, if you are using a piece of fabric that is 48" (122 cm), then you might mark the fabric at 9" (23 cm) in from the edge on each side instead.
-
5Connect the marks with a chalk line. Use a ruler or other straight edged object to draw a line from the 6” (15 cm) mark to the 10” (25 cm) mark. This line indicates where the underside of your first sleeve will be.[5]
-
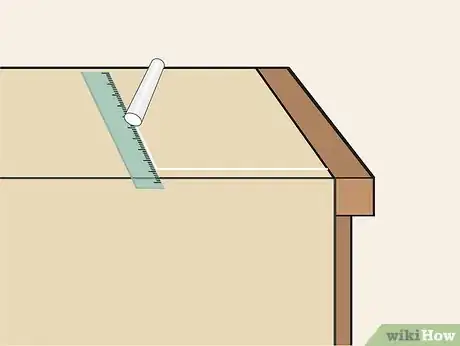
6Draw a chalk line from the 6” (15 cm) mark down to the bottom edge. Next, use your chalk and ruler to draw a line from the 6” (15 cm) mark to the bottom edge of the fabric. Make sure that this line goes straight down from the 6” (15 cm) mark.[6]
- To ensure a straight line, measure 6” (15 cm) in from the outer edge at the bottom of the fabric and make a mark with your chalk. Then, connect the two 6” (25 cm) marks you have made in a line.
-
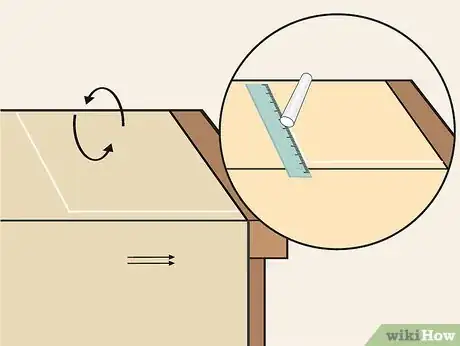
7Repeat the measuring and marking process on the opposite side. After you finish making the first set of marks, you should have what looks like an upside down “L” shape on your kimono fabric. You will need to make another mark on the opposite side of your fabric to indicate where the other sleeve will be, so repeat the process on the opposite side of your folded fabric. When you are done, you should have two upside down chalk “L” shapes that are facing away from each other.[7]
Cutting the Kimono Fabric
-
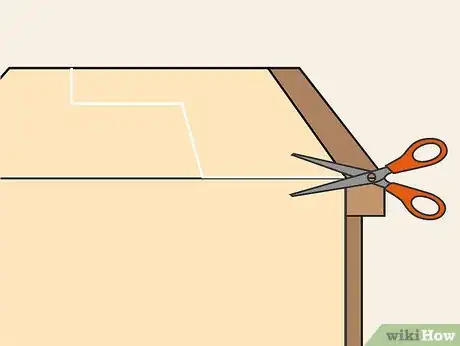
1Cut along the “L” shapes. After you have finished marking your fabric with the “L” shapes, cut along the lines you have drawn. Cut slowly and carefully to ensure that your lines are straight and even. This will give your folded fabric the look of a kimono.
- You may want to place a few pins along the inside of each of the lines to keep your fabric from moving while you cut it.
-
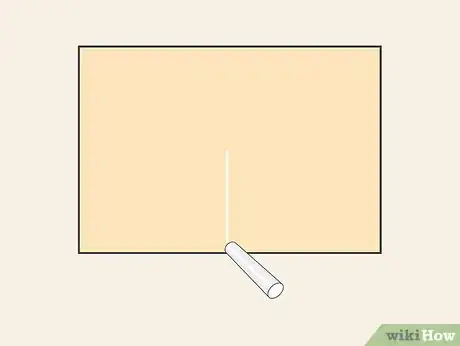
2Draw a chalk line down the center of the rectangle. After you have removed the fabric from the corners of your folded fabric piece, draw a line going straight down from the center of your folded edge to the bottom edges of your folded fabric. This line will indicate where the opening of your kimono will be.[8]
- Use a ruler or straight edge to draw the line.
- To ensure a straight line, you may want to measure and mark from the edge of your fabric to the center in a few places. Then, you can connect these marks into one long line that goes down the middle of your fabric.
-
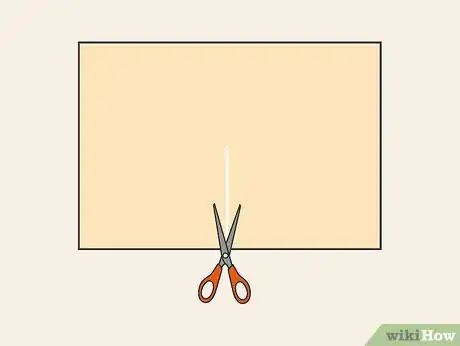
3Cut along the line on the top layer of the folded fabric. After you have marked your fabric, you will need to cut along the line to create the opening for your kimono. Make an even cut down the center of the layer you have marked.[9]
- Make sure that you only cut through the layer of fabric that you have drawn your line on. Do not cut through both layers of fabric!
-
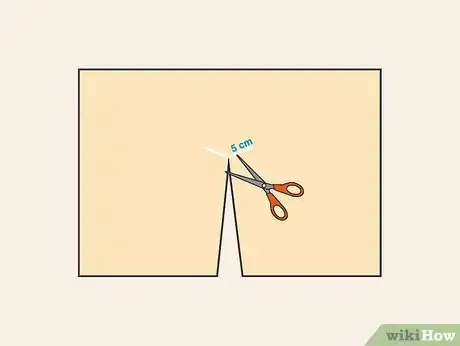
4Create a softer neckline opening if desired. You do not need to cut anything for the neckline, but you may cut two curved lines extending from about 2” (5 cm) below the top fold and running into the center line. To do this, mark the center line about 2” (5 cm) from the top fold and then draw a slightly curved line extending up towards the fold.
- Extend the curving line out from the center fold on both sides. This should look something like an ellipses or crescent moon shape.[10]
- The curved line should be about 3” (7.5 cm) long on either side of the central line.
- Keep in mind that creating this opening is optional, but it will result in a softer, more open neckline.
Sewing the Kimono
-
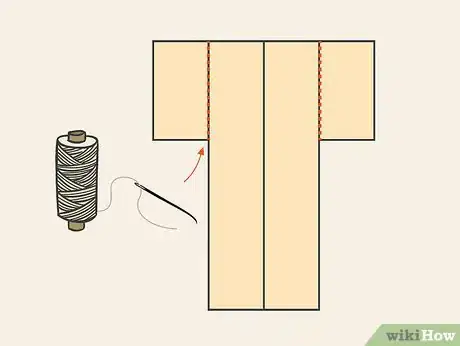
1Sew the sleeves and sides. With the fabric still folded and the wrong sides facing out, pin along the areas where you cut out the “L” shapes. Make sure that the edges of the fabric are lined up evenly. Then, sew a straight stitch about ½” (1.3 cm) from the raw edges of the fabric in these areas. This will secure your sleeves and the sides of your kimono.
- Remove the pins as you sew.
-
2Pin along the raw edges of the kimono fabric to create a hem. If you used a knit blend, then you will not need to hem because this type of fabric does not fray.[11] However, other fabrics will require a hem to prevent fraying. After you have finished cutting your kimono fabric, pin along all of the raw edges to hem your kimono. Pin the fabric so that about ½” (1.3 cm) is folded over and so that the raw edges will be hidden on the wrong side of your fabric.[12] You will need to pin along all of the raw edges on your kimono including the:
- sleeve openings
- bottom of the kimono
- kimono opening
- neckline (if you have decided to soften the neckline)
-
3Sew a straight stitch along the edges to secure the hem. After you have pinned the areas where you need to sew a hem, begin sewing. Sew along all of the pinned areas slightly over ¼” (0.6 cm) from the fold to secure the hem.[13]
- To hem the kimono bottom and opening, start at one of the bottom corners of the kimono and sew all the way around the edges of the fabric to secure your hem. Go all the way around the bottom edges, and then sew up and around the kimono opening.
- Then, sew the edges of each of the sleeve openings to secure the hems here as well.
- Remove the pins as you sew.
-
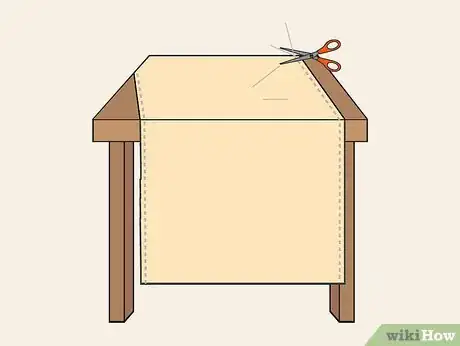
4Trim the excess threads when you are finished sewing. After you have hemmed all of the raw edges of your kimono, use your scissors to trim off the excess threads. Discard the excess threads and turn your kimono right-side out. It is now ready to wear!
Community Q&A
-
QuestionCan I use a sewing needle?
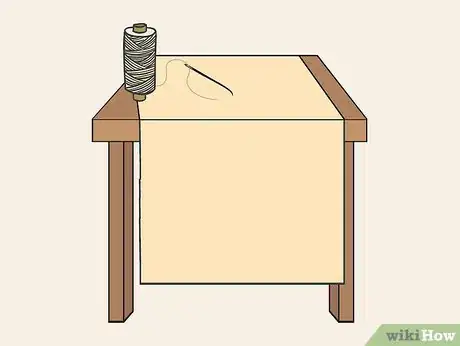
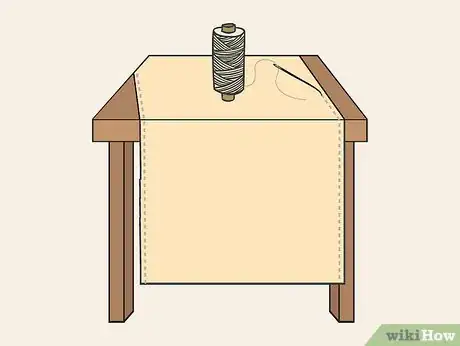
 Community AnswerYes, but it will take a lot longer than a sewing machine. Make sure to firmly secure your stitches so that it doesn't come undone. (I've made this mistake myself.)
 -
QuestionWhat if I don't have a sewing machine?
 MinimitiiCommunity AnswerYou can use a needle and thread, but try to keep your stitches even and straight, and plan ahead, as this will take much longer to sew by hand.
 -
QuestionI don't understand your measurements, why cm?
 CageyCatTop AnswererThe metric system is most commonly used worldwide; the USA still uses inches, feet, yards. You can convert to inches, though, if inches/feet /yards feels more comfortable to you.
Things You'll Need
- Lightweight fabric (about 1.5 yards)
- Chalk
- Ruler or measuring tape
- Scissors
- Pins
- Sewing machine
- Thread
References
- ↑ https://www.babble.com/style/easy-handmade-kimono/
- ↑ https://www.brit.co/diy-kimono-tutorial/
- ↑ https://www.brit.co/diy-kimono-tutorial/
- ↑ https://www.brit.co/diy-kimono-tutorial/
- ↑ https://www.brit.co/diy-kimono-tutorial/
- ↑ https://www.brit.co/diy-kimono-tutorial/
- ↑ https://www.brit.co/diy-kimono-tutorial/
- ↑ https://lollyjane.com/diy-kimono-cardigan-tutorial/
- ↑ https://lollyjane.com/diy-kimono-cardigan-tutorial/
About This Article
Kimonos can be a stylish substitute for cardigans, cover-ups, or lingerie items. While they can be expensive to buy, making your own kimono is easy and inexpensive. All you’ll need is a piece of lightweight fabric, like cotton or a knit blend, scissors, and a needle and thread. Once you have your fabric, you’ll want to measure a piece that will fall around your hips and have ¾ length sleeves. After cutting your fabric, you’ll need to sew your sleeves and sides as well as add a hem to the sleeve openings, bottom, and neckline to ensure that the fabric doesn’t fray. To learn how to make a soft neckline for your kimono, keep reading!
