This article was co-authored by wikiHow staff writer, Janice Tieperman. Janice is a professional and creative writer who has worked at wikiHow since 2019. With both a B.A. and M.A. in English from East Stroudsburg University, she has a passion for writing a wide variety of content for anyone and everyone. In her free time, you can find her working on a new crochet pattern, listening to true crime podcasts, or tackling a new creative writing project.
This article has been viewed 56,685 times.
Learn more...
A Pack ‘n Play is a convenient, portable piece of equipment that allows babies to play safely in most locations. While the packaging may seem intimidating, this item is simple to set up, use, and put away. To assemble, pull apart the 4 legs until you hear a double clicking sound. To make it compact again, push the legs of the Pack ‘n Play into the center of the equipment. Within minutes, you can quickly and efficiently set up a safe place for your baby to play and nap.
Things You Should Know
- Tear away the Velcro straps securing the pad and set the pad aside for now.
- Pull the 4 legs apart from the center until they click twice. Then, push down on the center of the crib to flatten and secure it.
- Tuck the pad into the bottom of the crib, pull the Velcro tabs through the slots, and secure the tabs to the fasteners under the crib.
Steps
Assembling the Equipment
-
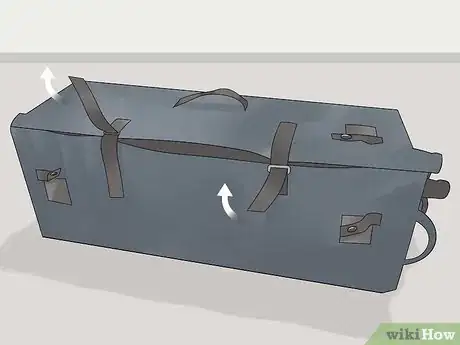
1Rip away the velcro straps securing the Pack ‘n Play to remove the pad. Lay the compact Pack ‘n Play down on its side so that the wheels are at the bottom. To open up the equipment, tear away the velcro straps along that are holding the Pack ‘n Play in place. As you do this, keep in mind that the straps may be secured in opposite directions. Once you’ve removed and separated the soft pad from the rest of the Pack ‘n Play, set it aside for later.[1]
- When it’s packed up, the Pack ‘n Play resembles a folding chair.
Did you know? Many models keep the padding for the equipment wrapped around the outside of the Pack ‘n Play.
-
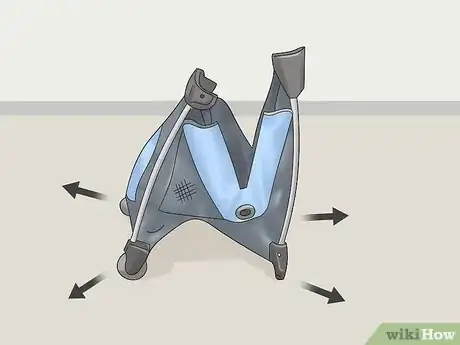
2Pull all 4 legs apart from the center to set up the crib. Set your hands on the center of each plastic bar and extend them until they click twice into place. To make the assembly process easier, grab and push on the bars that are opposite of one another.[2]
- Make sure that all 4 bars click twice before continuing with the set-up.
Advertisement -
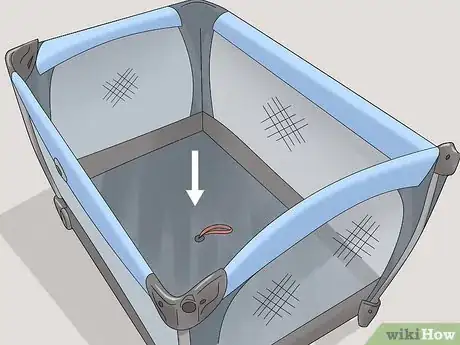
3Press down on the center of the crib to secure it in place. Look for the red tab in the center of the crib, and push it down to flatten out the bottom of the crib. Listen for a double clicking sound to confirm that the bottom of the Pack ‘n Play is secure. If you’re having trouble locating the tab, look at the manufacturer’s instructions to double check where it is.[3]
- At this point, your Pack ‘n Play should be resembling a portable crib.
-
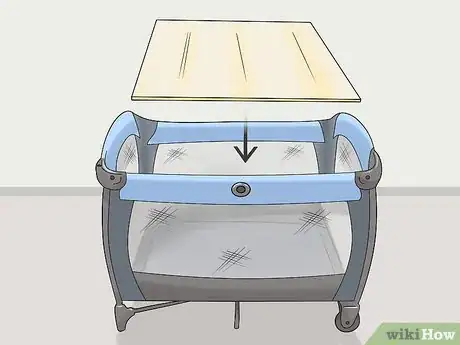
4Lay and tuck the pad into the bottom of the Pack ‘n Play with velcro. Take the soft pad that you set aside earlier and fit it snugly into the bottom of the equipment. Pull the velcro tabs through the accompanying slots at the bottom of the Pack ‘n Play. Finally, secure the tabs to the fasteners beneath the equipment.[4]
- Once the pad is in place, you’re ready to go!
Putting It Away
-
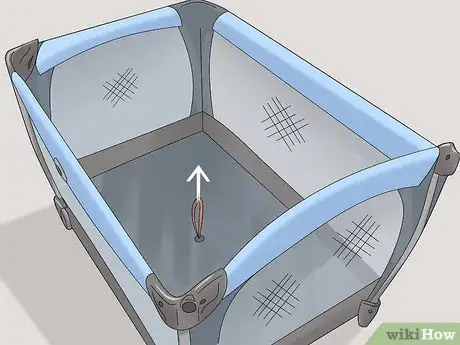
1Tug on the tab in the center of the crib to start disassembling. Detach the velcro tabs and remove the pad to find the red tab dangling from the center of Pack ‘n Play. Pull on this to bring the crib upwards, and to start bringing the 4 corners of the equipment together. At this point, switch your focus to the plastic bars that make up the edge of the Pack ‘n Play.[5]
- As you put away the Pack ‘n Play, try to reverse the assembly process.
-
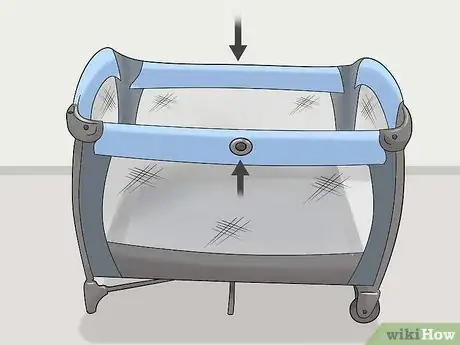
2Push on the 2 buttons opposite of each other on the longer bars. Find the 2 buttons on the outside of the longest, horizontal bars and press them simultaneously. At this point, make sure that the 2 longer, parallel bars are bending and folding upwards.[6]
- Picture the top of the Pack ‘n Play like a rectangle. When you disassemble the equipment, be sure to fold up to 2 longer sides first.
-
3Press both buttons on the shorter bars simultaneously. As you did with longer bars, find the buttons on the outside of the 2 shorter bars and press them into place at the same time. Watch and make sure that the shorter bars are bending and folding as well. During this process, make sure that the longer bars don’t re-lock into place.
- If the equipment locks again, you’ll have to start the disassembly process over from the beginning.
-
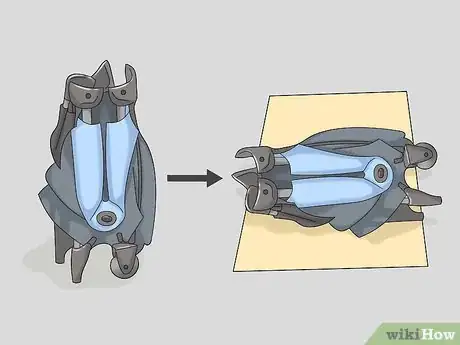
4Condense the bars and place the compact crib back in its carrier. Pull the bars all the way up so that the Pack ‘n Play is completely disassembled. Once these bars are up, slide the equipment back into the carrying case it came in. If necessary, re-velcro any straps on the outside of the case.[7]
- If your Pack ‘n Play originally had the pad wrapped around the outside of the equipment, be sure to re-wrap it at this point.
References
- ↑ https://www.familyeducation.com/pregnancy/how-assemble-graco-pack-n-play
- ↑ https://www.familyeducation.com/pregnancy/how-assemble-graco-pack-n-play
- ↑ https://www.familyeducation.com/pregnancy/how-assemble-graco-pack-n-play
- ↑ https://temperandtantrum.com/how-to-set-up-pack-n-play/
- ↑ https://temperandtantrum.com/how-to-set-up-pack-n-play
- ↑ https://temperandtantrum.com/how-to-set-up-pack-n-play/
- ↑ https://temperandtantrum.com/how-to-set-up-pack-n-play/
