This article was co-authored by Julie Matheney, MS, CCC-SLP, CLEC, IBCLC. Julie Matheney is an International board certified Lactation Consultant (IBCLC) and the Founder of The LA Lactation Lady, her lactation consulting business based in Los Angeles, California. She has over eight years of lactation consulting experience. She earned her MS in Speech-Language Pathology from Miami University and has earned a Certificate of Clinical Competence for Speech-Language Pathologists (CCC-SLP). She also earned her Certified Lactation Educator Counselor (CLEC) certificate from the University of California, San Diego.
There are 7 references cited in this article, which can be found at the bottom of the page.
This article has been viewed 21,592 times.
Although it isn't a common condition, having an excess of the lipase enzyme in your milk can turn it soapy or metallic tasting during storage.[1] If your baby still drinks the milk willingly, there’s no problem; it’s perfectly safe. However, if your baby is rejecting your milk stash, you may need to take action. Luckily, there is a solution: scalding your milk while it's still fresh will slow down the lipase activity and keep your milk tasting fresh longer.[2]
Steps
Knowing if You Need to Scald
-
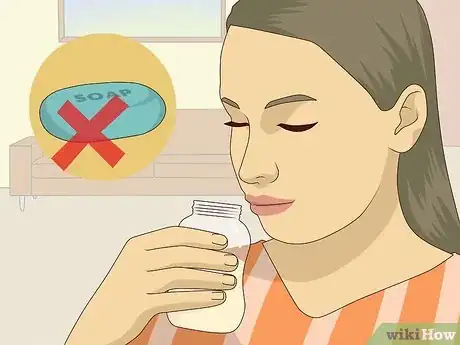
1Check for a metallic or soapy taste.[3] High lipase affects milk even if it's been stored properly in the fridge or the freezer; the process of breaking down the fats to the point where it tastes nasty can happen within a couple of hours for some mothers, or take a couple of days for others.[4] Try some expressed milk that's fresh, some that's a few hours old, and some that's a day or two old, and see if you can taste the difference. Milk that's been broken down by lipase tends to taste soapy or metallic.
- If your milk tastes fine, your baby might be rejecting the bottle for other reasons. Try different bottles, different nipple shapes, and different settings/caregivers; don't give up.
-
2Eliminate any other possible issues. There are other reasons your milk might taste off. Explore those possibilities before you decide that lipase is your main concern; the other issues are easier to fix!
- Use suitable storage containers: glass or food-grade polypropylene or polybutylene plastic are best. Generally, bottles and breast milk bags marketed specifically for breast milk storage are a safe bet.[5] However, you may want to try different brands, just to make sure some don't leave your milk tasting worse than others.
- Make sure you're within safe storage timelines. Milk can be kept in the fridge for up to five days fairly safely.[6] In some cases, you might even go up to eight days.[7] If you don't plan to use the milk by then, freeze it as soon as possible. Frozen milk can typically be stored for up to a year, although using it within six months is preferable.[8]
- Troubleshoot your storage situation. Make sure you put milk in the back of the freezer, not near the door, and make sure it's cold enough (if your ice isn't frozen solid, you need a colder setting). Also close any other food containers nearby to prevent the milk from absorbing smells of other frozen items.[9]
Advertisement -
3Figure out how long you have before you need to scald your milk. If you've tried everything and are pretty sure high lipase levels are the cause of your milk issues, the next step is to figure out what your timeline looks like. How often will you need to scald?
- Express an ounce or two of milk and keep it on the side at room temperature. Taste it every hour after you pumped it, and take note of when it starts to taste bad.[10]
- Unfortunately, some women will have to scald their milk right away after pumping, because it goes bad within an hour or two. Others have it a little luckier and can scald their milk in a larger batch every evening or even every day or two, if it tastes fine until that point.
-
4Don't worry about scalding if your baby takes the milk fine. High lipase and the resulting breakdown of fats is, in itself, not a problem. If your baby likes the milk as is, don't worry about it! Continue feeding them your expressed milk without hesitation.[11]
-
5Don't worry about scalding if you're going to use the milk before it tastes bad. If your milk doesn't taste off quickly, you're in luck. There's no need to scald the milk that you're going to offer your baby before it reaches that point of no return.
- Many mothers may find that it takes a day or more for their milk to taste bad enough for their baby to reject it. If this is the case for you, plan to pump each day what you will feed the baby the next day. You'll only need to scald any excess milk that you plan to store for longer.
Scalding with a Bottle Warmer
-
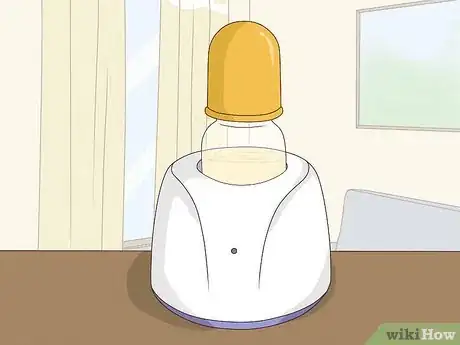
1Buy a bottle warmer. You'll want to make sure the bottle warmer can get hot enough for scalding, since that temperature is much greater than what a baby would drink. Avoid models that have a safety shut-off feature; they won't get hot enough.[12]
- The models on the market vary, but if you're buying a warmer online from a site with a Q&A section, you can often read existing answers, or ask a new question, to determine if the bottle warmer will be suitable for scalding.
-
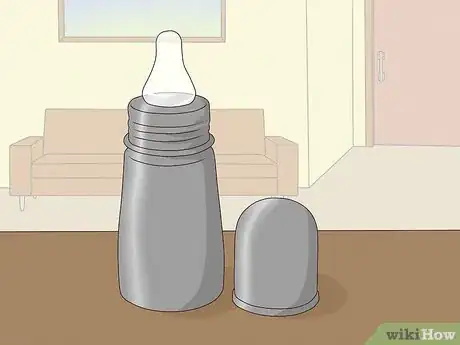
2Buy a stainless steel bottle. Putting hot glass into an ice bath may cause it to shatter, and many people caution against heating up plastic. Opt for a stainless steel bottle to avoid both issues.[13] Just make sure it fits in your bottle warmer!
-
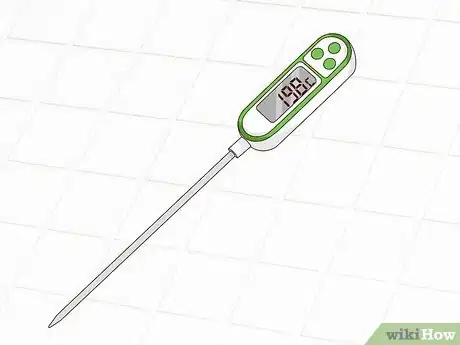
3Get an instant-read thermometer. To scald this way, you'll need a thermometer so you know when the milk reaches the right temperature. You can get accurate ones for very cheap online, through Amazon or kitchen supply stores.
-
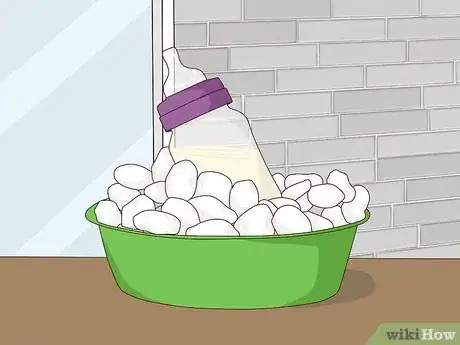
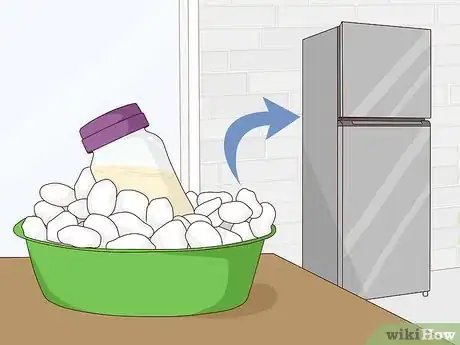
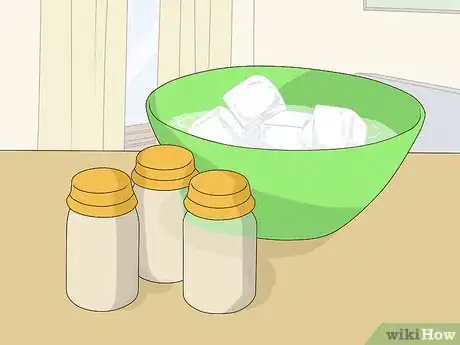
4Ready an ice bath. After you heat your milk, you're going to need to cool it down quickly, to stop the milk from overheating and becoming less nutritious for your baby. Prepare a tub or jug of water and ice that will fit your bottle.[14] [15] A glass measuring jug works well.
- Prepare this ice bath before you heat the milk, so that you can cool it quickly once it gets to the right temperature.
-
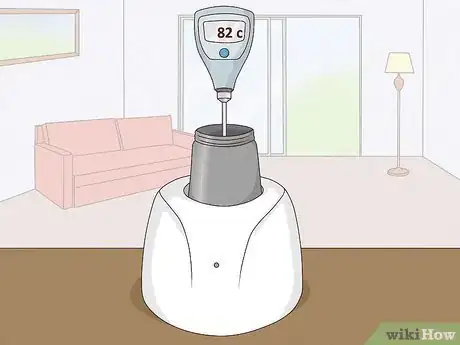
5Put your milk in the stainless steel bottle in the bottle warmer. Keep the bottle open with the thermometer in it. Stir it a little as the milk heats, to ensure it's heating evenly.[16]
- Depending on your bottle warmer, you may need to experiment with settings. Start with 5 minutes and go up or down from there as needed.[17] Once you know how long it takes with your typical quantity of milk in your warmer, you'll be able to set the timer to match those needs every time.
-
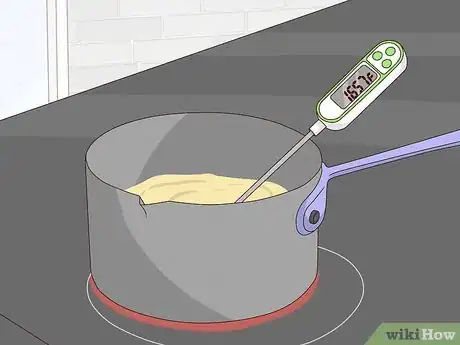
6Watch as the temperature rises. You don't want it to go too high. There are three different temperatures and timelines you can choose between:[18] [19]
Temperature and Time Options
Heat the milk to 180 °F (82 °C) and cool immediately.
Heat the milk to 163 °F (73 °C) and keep it there for 15 seconds before cooling.
Heat the milk to 144.5 °F (62.5 °C) and keep it there for 1 minute before cooling. -
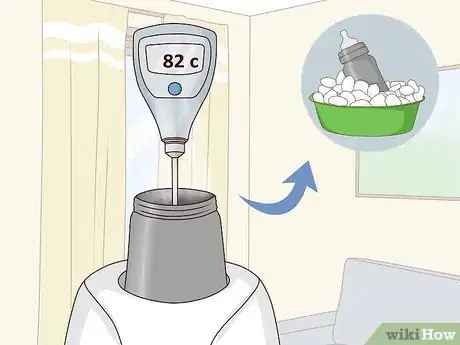
7Cool the milk quickly once it's scalded. To avoid any loss of nutritional value, you want to make sure your milk doesn't stay hot for much longer.[20] Put the steel bottle in your ice bath to cool it down quickly. Once the milk has cooled a little, cap it and move the ice bath to the fridge. Let it cool the rest of the way there, and then transfer to your storage bottles or bags.
-
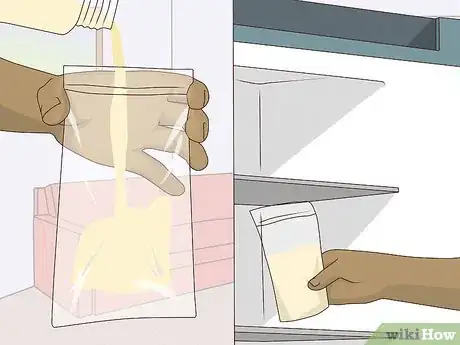
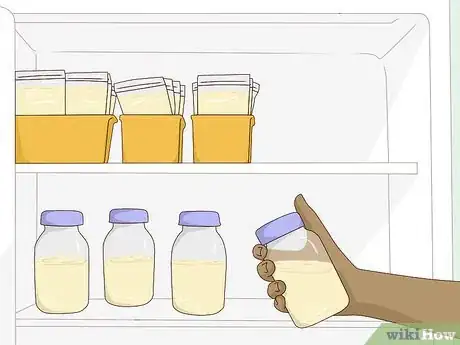
8Freeze it soon, if you're not going to use it in the next few days. Scalding slows down the lipase reaction, but it doesn't totally stop the process, nor will it prevent regular spoilage. If you're not going to use the milk within a few days, freeze it in breast milk storage bags as soon as possible.
- Follow regular freezing and thawing procedures, and the milk should be ready for your babe when they need it.
Scalding on the Stove
-
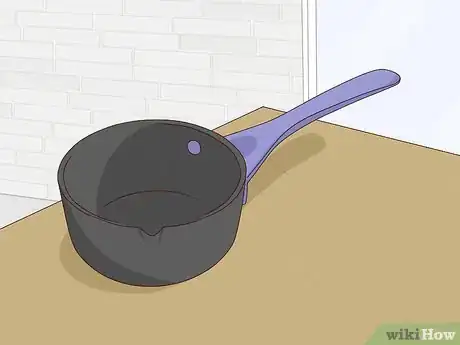
1Get a suitable pot. You might want to buy a small saucepan especially for this purpose; get one with a spout on the side so that you can pour the hot milk out quickly when the time comes.
- If you only use it for scalding, you'll also know it's not contaminated by other food products.
-
2Buy an instant-read thermometer. Some moms just heat their milk until they see bubbles form, but for a more foolproof process, get a cheap but accurate thermometer. Then you'll enjoy the peace of mind of knowing you got the milk hot enough. You can buy a cheap but accurate thermometer from Amazon or a kitchen supply store.
-
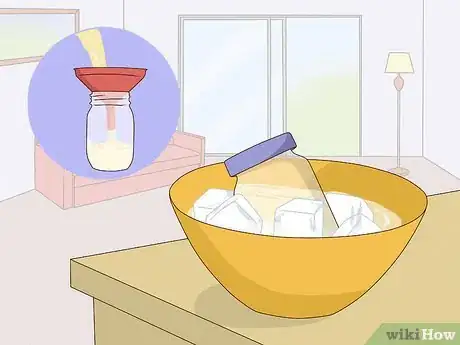
3Prepare a storage container and an ice bath. After you heat your milk, you're going to need to cool it down quickly, to avoid the milk losing any nutritional value from overheating. You can place the pot directly on ice, but you may want to pour the milk into a bottle first (a funnel comes in handy), and then place that in a tub or jug of water and ice.[21] [22]
- Putting hot glass into an ice bath may cause it to shatter. Some women also fear heating up plastic. If you're worried about this, opt for a stainless steel baby bottle or stainless steel water bottle.[23]
- A glass measuring jug will fit most baby or breast milk storage bottles, so it makes a good ice bath container. If you're scalding a big batch and using a bigger bottle, try an ice bucket.
- Prepare this ice bath before you heat the milk, so that you can cool it quickly once it gets to the right temperature.
-
4Heat your milk gently in the saucepan. Keep the thermometer in the milk and watch the temperature rise; you don't want it to go too high. Stir it every now and then to ensure even heating. There are three different temperatures and timelines you can choose between:[24] [25]
Temperature and Time Options
Heat the milk to 180 °F (82 °C) and cool immediately.
Heat the milk to 163 °F (73 °C) and keep it there for 15 seconds before cooling.
Heat the milk to 144.5 °F (62.5 °C) and keep it there for 1 minute before cooling. -
5Cool the milk quickly once it's done. You don't want your milk to keep getting warmer for long, or it may start to lose nutritional value.[26] Use a funnel to pour the milk into a bottle, and then put that in your ice bath to cool down quickly.
- Once the milk has cooled a little, you can put a cap on your bottle and move the ice bath to the fridge. Let it cool the rest of the way before transferring to other bottles or bags as needed for storage.
-
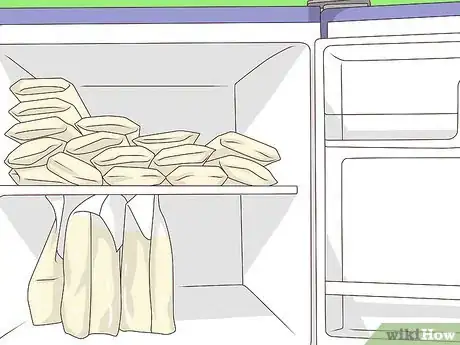
6Freeze it soon, if you're not going to use it in the next few days. The scalding process slows down the lipase reaction, but it doesn't totally stop it, nor will it prevent regular spoilage. If you're not going to use the milk quickly, freeze it in breast milk storage bags as soon as possible.
- Follow proper freezing and thawing procedures, and milk should be ready and tasty for your baby when they need it.
Warnings
- Some moms find that scalded milk doesn't last quite as long as regular milk. You can determine this by trial and error; just sniff your milk and maybe give it a taste before you offer it to your baby, if it's more than a day or two old.[28] If it tastes fine, it should be fine for your baby. Read How to Know when Expressed Breast Milk is Spoiled for more information.⧼thumbs_response⧽
- Once your milk tastes bad, there isn't any way to turn it fresh again. However, you might experiment with offering your baby bottle of milk that are half fresh and half older milk. If the strength of the bad taste is reduced, they may drink it willingly.[29]⧼thumbs_response⧽
- Your milk may appear separated or take on a funny color. This is not a problem. Just swirl the solids and liquids back together gently before offering it to your baby.[30]⧼thumbs_response⧽
References
- ↑ https://kellymom.com/bf/pumpingmoms/milkstorage/lipase-expressedmilk/
- ↑ http://www.sdbfc.com/blog/2012/9/4/battling-and-resolving-excess-lipase-in-breastmilk.html
- ↑ Julie Matheney, MS, CCC-SLP, CLEC, IBCLC. International Board Certified Lactation Consultant. Expert Interview. 20 February 2020.
- ↑ http://www.sdbfc.com/blog/2012/9/4/battling-and-resolving-excess-lipase-in-breastmilk.html
- ↑ https://kellymom.com/bf/pumpingmoms/milkstorage/lipase-expressedmilk/
- ↑ https://www.mayoclinic.org/healthy-lifestyle/infant-and-toddler-health/in-depth/breast-milk-storage/art-20046350?pg=2
- ↑ https://kellymom.com/bf/pumpingmoms/milkstorage/lipase-expressedmilk/
- ↑ https://www.mayoclinic.org/healthy-lifestyle/infant-and-toddler-health/in-depth/breast-milk-storage/art-20046350?pg=2
- ↑ https://kellymom.com/bf/pumpingmoms/milkstorage/lipase-expressedmilk/
- ↑ http://www.sdbfc.com/blog/2012/9/4/battling-and-resolving-excess-lipase-in-breastmilk.html
- ↑ http://breastfeedingtoday-llli.org/soapy-milk/
- ↑ http://www.sdbfc.com/blog/2012/9/4/battling-and-resolving-excess-lipase-in-breastmilk.html
- ↑ http://www.sdbfc.com/blog/2012/9/4/battling-and-resolving-excess-lipase-in-breastmilk.html
- ↑ http://breastfeedingtoday-llli.org/soapy-milk/
- ↑ http://www.sdbfc.com/blog/2012/9/4/battling-and-resolving-excess-lipase-in-breastmilk.html
- ↑ http://www.sdbfc.com/blog/2012/9/4/battling-and-resolving-excess-lipase-in-breastmilk.html
- ↑ http://www.sdbfc.com/blog/2012/9/4/battling-and-resolving-excess-lipase-in-breastmilk.html
- ↑ http://www.sdbfc.com/blog/2012/9/4/battling-and-resolving-excess-lipase-in-breastmilk.html
- ↑ https://kellymom.com/bf/pumpingmoms/milkstorage/lipase-expressedmilk/
- ↑ http://www.sdbfc.com/blog/2012/9/4/battling-and-resolving-excess-lipase-in-breastmilk.html
- ↑ http://breastfeedingtoday-llli.org/soapy-milk/
- ↑ http://www.sdbfc.com/blog/2012/9/4/battling-and-resolving-excess-lipase-in-breastmilk.html
- ↑ http://www.sdbfc.com/blog/2012/9/4/battling-and-resolving-excess-lipase-in-breastmilk.html
- ↑ http://www.sdbfc.com/blog/2012/9/4/battling-and-resolving-excess-lipase-in-breastmilk.html
- ↑ https://kellymom.com/bf/pumpingmoms/milkstorage/lipase-expressedmilk/
- ↑ http://www.sdbfc.com/blog/2012/9/4/battling-and-resolving-excess-lipase-in-breastmilk.html
- ↑ https://www.hmbana.org/about-hmbana
- ↑ http://www.sdbfc.com/blog/2012/9/4/battling-and-resolving-excess-lipase-in-breastmilk.html
- ↑ http://breastfeedingtoday-llli.org/soapy-milk/
- ↑ https://www.breastfeedingbasics.com/qa/color-breast-milk
