This article was co-authored by wikiHow staff writer, Travis Boylls. Travis Boylls is a Technology Writer and Editor for wikiHow. Travis has experience writing technology-related articles, providing software customer service, and in graphic design. He specializes in Windows, macOS, Android, iOS, and Linux platforms. He studied graphic design at Pikes Peak Community College.
There are 7 references cited in this article, which can be found at the bottom of the page.
This article has been viewed 3,406 times.
Learn more...
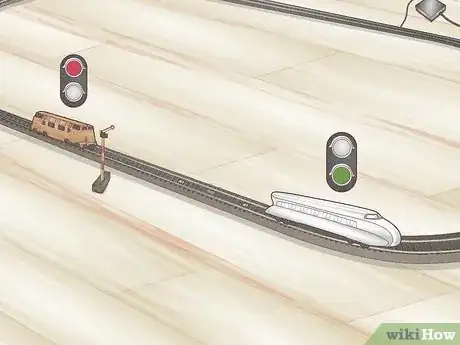
Do you want to run more than one model train on a classic Marklin M track system? To run multiple trains at once on a single track, you'll need to set up a block system. This wikiHow article will teach you how to set up a block system for running multiple trains on a Marklin M track, and answer common questions about digital and analog Marklin trains and tracks.
Steps
Setting Up a Block System
-
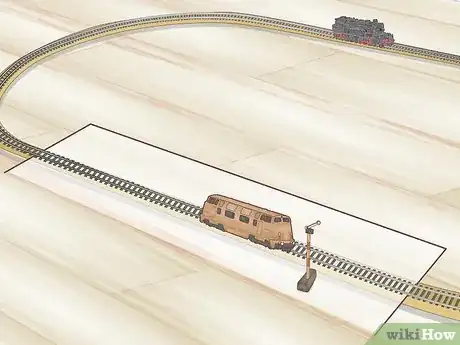
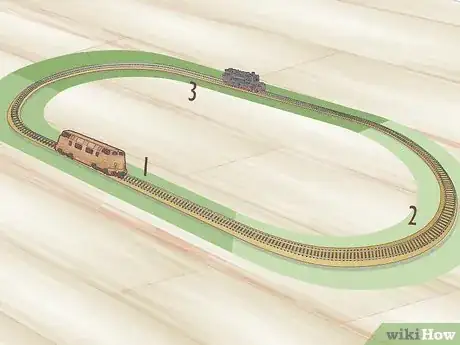
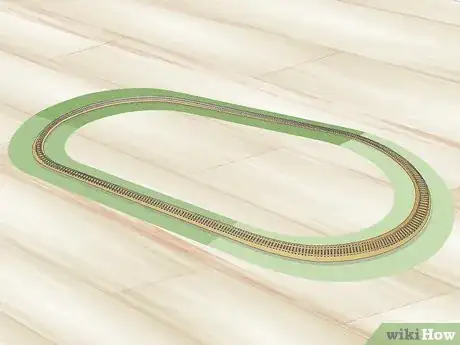
1Plan your track layout. You need to know where each block is going to be. Make sure each block is long enough for a train to go and stop.
-
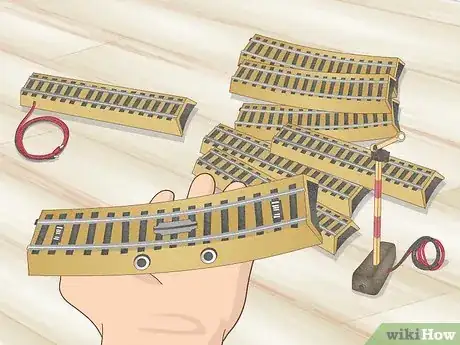
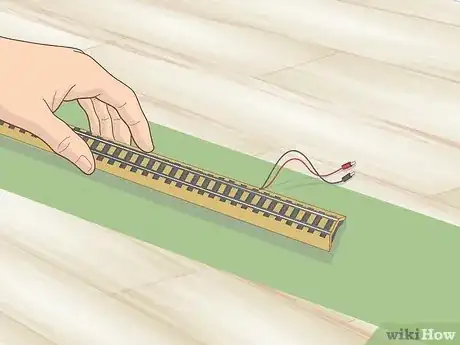
2Place a feeder track on each block. This is where each block is going to get it's power from.
-
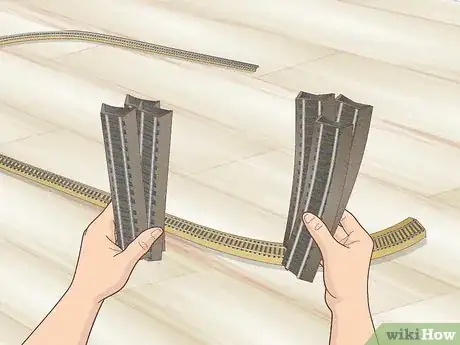
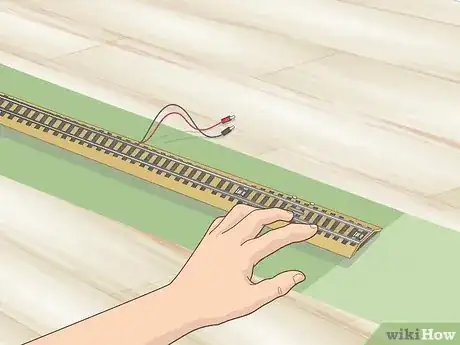
3Place a switch track at the end of each block. This will be used to stop trains when they reach the end of the block.
- If your trains are overshooting the block, you can place a breaking module after the switch track.
-
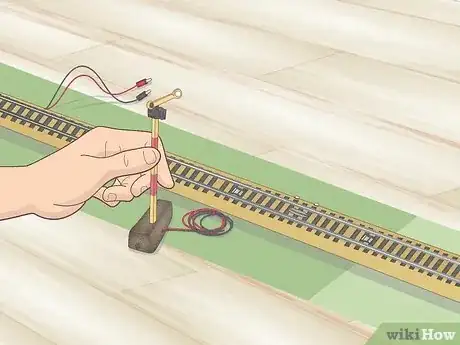
4Place a signal or relay just before the switch. This will be used to start and stop the train on the current block.
-
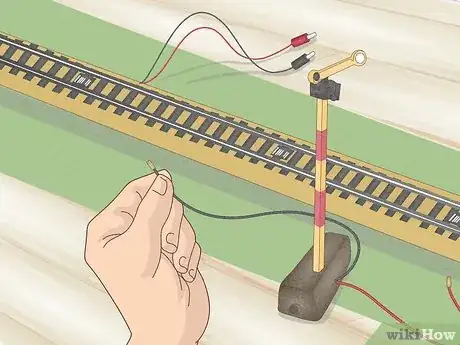
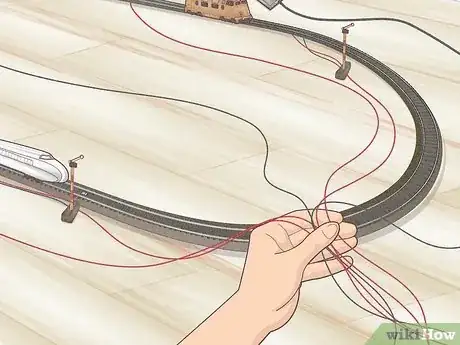
5Connect the signal or relay to the feeder track. Use wires to connect the signal or relay to the feeder track. It should be able to start or stop the train that is sitting next to it.
-
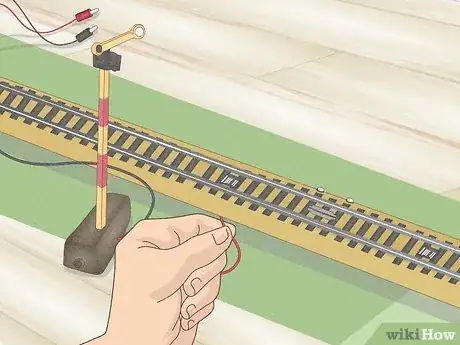
6Connect the switch track to the signal or relay in the block. This should cause the train to stop when it reaches the end of the block.
-
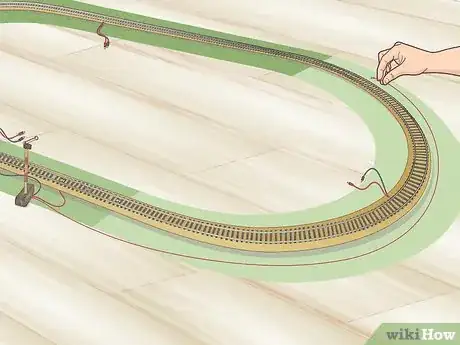
7Connect the switch track to the signal or relay in a different block. Connect the same switch track to the signal or relay of either the next block (the Push method) or the preceding block (the Pull method). This should create a cascading effect whereby the train comes to a stop at the end of the block and signals the train in the next (or previous) block to start.[3]
How do I pair two locomotives with a digital power station?
-
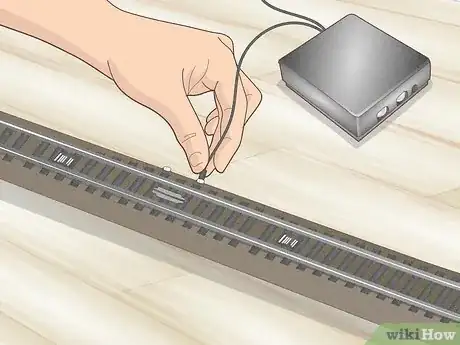
1Connect the connector box to the track. Connect the wires from your connector box or transformer to the feeder track.
- If you are unable to connect the wires to a M track feeder, you can connect them to any C track, which is compatible with M tracks.
-
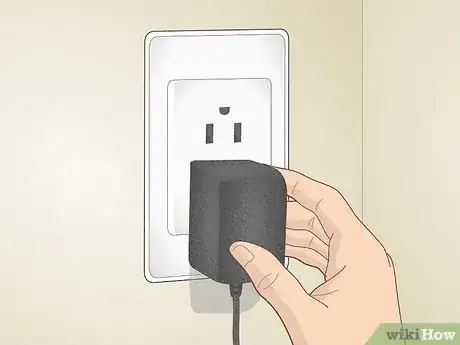
2Plug in the connector box. Use the AC adapter that came with mobile station to plug in the power connector.
-
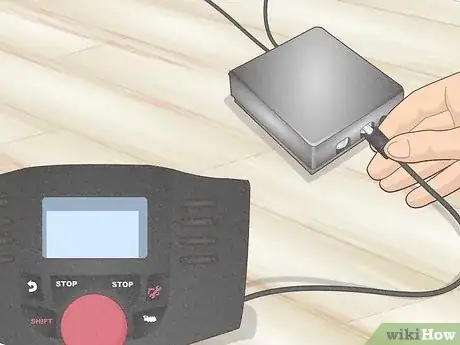
3Connect the mobile station to the power connector. The connector box should have two ports for the mobile station. Connect the primary mobile station to the port on the right.
-
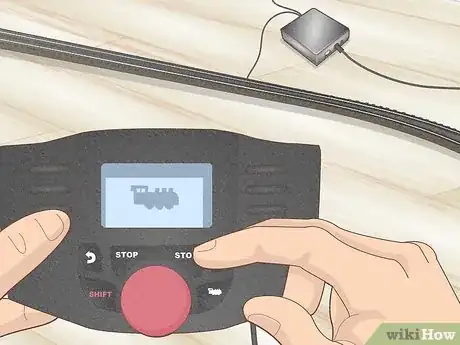
4Press ■ Stop on the mobile station. This cuts all power to the track. Before mounting a new train, it's a good idea to cut all power to the track to prevent shot circuits.
-
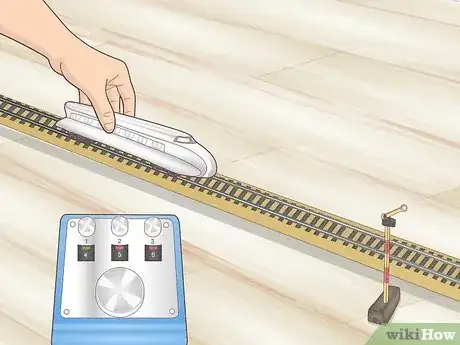
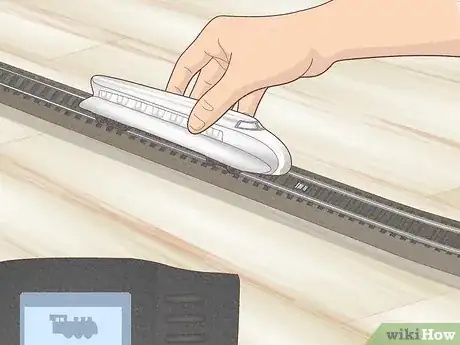
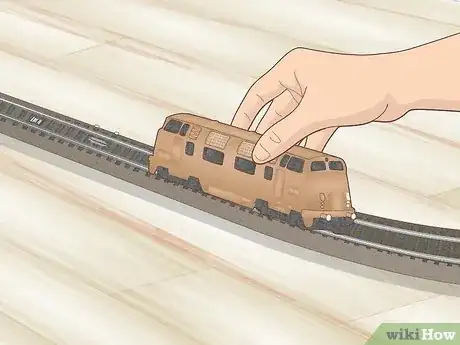
5Place the train on the track. Make sure the wheels are placed correctly on the track with the wheels on each rail and the center probe on the middle rail.
-
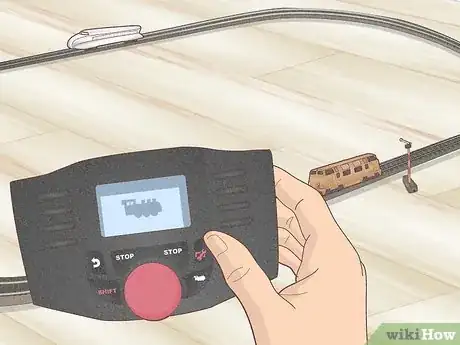
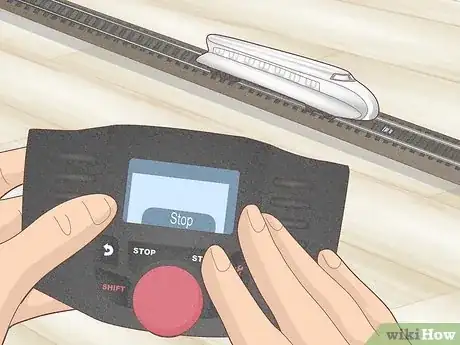
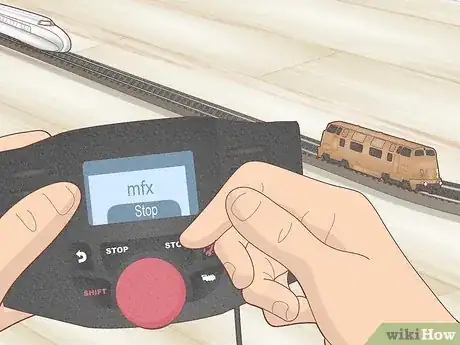
6Press ■ Stop on the mobile station. This restores power to the track. Once there is power to the track, the locomotive should pair with the mobile station automatically. When you see the initials "mfx" display on the mobile station display screen, that indicates that it is pairing with the locomotive. Once the locomotive pairs with the mobile station, you should see the train model appear on the screen along with a symbol that resembles a train.
- The default language for the mobile station is German. If you need to change the language on the mobile station, hold Shift and press the button that resembles a red wrench. Then select Sprache. Then select your language of choice. To navigate the menus, use the buttons to the right of the display screen to scroll up and down the menu. Press the button next to the option you want to select on the left side of the display screen.
- Once the train pairs with the mobile station, turn the red knob to make the train move forwards or backwards. Use the buttons to the side of the display screen to activate any other functions that train may have (lights, horns, etc.).
- If the train symbol or name on the screen doesn't match your locomotive, hold Shift and press the button that resembles a red train with a wrench over it. Select Change Loco. Use this menu to change the name of your locomotive and select a new symbol for your locomotive.
-
7Press ■ Stop on the mobile station. Before adding a second go ahead and cut power to the track. This will stop all your other locomotives and prevent short circuits when mounting the second train.
-
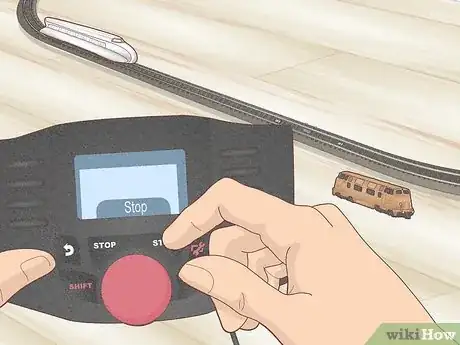
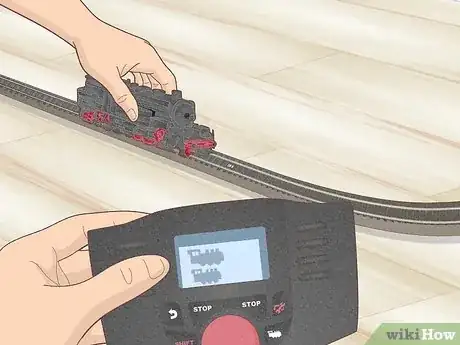
8Place the second locomotive on the track. Once again, make sure the locomotive is placed correctly on the track with the wheels on each rail, and the center probe on the middle rail.
-
9Press ■ Stop on the mobile station. Once power is restored to the track, it should pair with the second locomotive, just like it did with the first train.
-
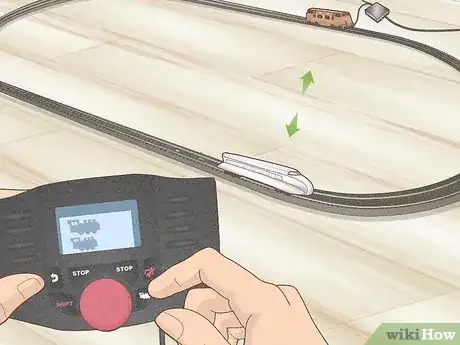
10Press the button that resembles a train to switch trains. To switch controls from one train to another, press the button that resembles a train on the mobile station. It's in the lower right corner.
- You can add as many trains to your track as your power transformer is able to power. The mobile station supports up to 40 trains.[7]
References
- ↑ https://www.building-your-model-railroad.com/model-railroad-wiring.html
- ↑ https://www.maerklin.de/en/lp/2020/beginners-help
- ↑ https://www.youtube.com/watch?v=GPWcYW4xZNA
- ↑ https://marklinstop.com/2018/01/marklins-00ho-track-system-1935-present/
- ↑ https://www.youtube.com/watch?v=WDBS4a08aUE
- ↑ https://www.youtube.com/watch?v=slJZoMWZ248
- ↑ https://www.youtube.com/watch?v=IR6udIoRJso
