This article was co-authored by Ikaika Cox. Ikaika Cox is the Shop Director at the Salt Lake City branch Bicycle Collective in Salt Lake City, Utah. He has been a bike mechanic since 2012, beginning as a volunteer with the Provo Bicycle Collective, and growing and honing his skills as a bicycle mechanic and educator in multiple Bicycle Collective locations over the years. He now leads the Salt Lake City branch of the Bicycle Collective.
There are 14 references cited in this article, which can be found at the bottom of the page.
This article has been viewed 20,556 times.
If you love riding your bike all year round, you may want to get a fat bike. Fat bikes are specially designed with bigger tires that can grip offroad trails or snowy ground better than traditional mountain bikes. While riding a fat bike is similar to riding other mountain bikes, some distinct differences occur when purchasing, using, and staying safe on a fat bike. Make sure that you do your research and learn how to handle snowy or mountainous trails so that you can safely and efficiently ride your fat bike.
Steps
Purchasing the Right Bike
-
1Determine where you'll be biking. Before you get a fat bike, you'll need to make sure that the bike you get is designed to deal with biking on the intended terrain. Decide if you'll be taking paved paths down trails or whether you'll be going offroad and have to bike over larger rocks and stones. If you are planning on biking over hazardous winter terrain, make sure that you get a bike that's durable enough to handle it like a mid to top tier bike.[1]
- If you are biking down paved paths or easy trails, you can get a beginner or mid-tier bike.
- If you don't plan on going on trails at all and will be biking on flat land or the bike is for someone younger, consider getting an affordable bike.
-
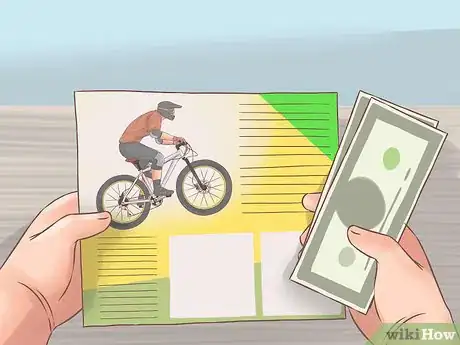
2Consider your budget and how much you'd like to spend. Fat bikes can range in cost from around $100 to over $3,000. Evaluate your biking skill. If you're a beginner, consider buying a cheaper bike so that you can determine if you like riding fat bikes. If you're a veteran mountain biker and are taking on harder trails and more hazardous terrain, consider upgrading to a more durable model. You can pick up your fat bike at bike and outdoor stores, online, or at select department stores.
- Affordable models range from $100 to $900.
- Mid-range models range from $1,000 to $2,000.
- High-end bikes cost anywhere from $3,000 to $5,000.[2]
-
3Test ride different brands of fat bike. If you have a bike shop near you, you can test out different fat bikes and determine which brands will suit your needs the best. Search online for bike shops in your area and give them a call to see if they have fat bikes that you can try out. Each bike will handle and weigh differently, so take note of which ones you like before making your final decision.
Getting to Know Your Fat Bike
-
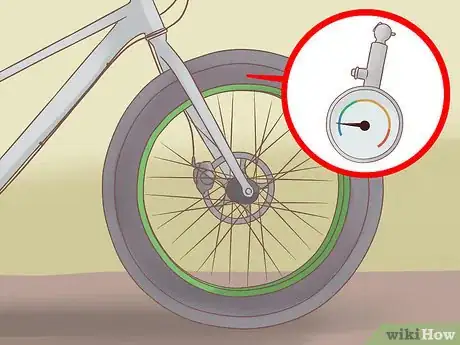
1Adjust your tire pressure. Fat bikes typically have a tire pressure of 8-10 PSI. A lower PSI allows the tires to absorb some of the shock and increases the surface area of your tires to the ground. This is what makes fat bikes superior when riding over bumpy terrain.
- Do not overfill your tires with air.
- If you notice that the tire pressure is too high, release some of the pressure from your tires before riding it.[5]
-
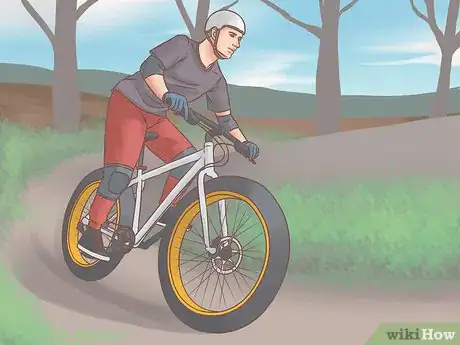
2Lean the bike as you turn. Stay low and absorb the bumps you go over as you turn. Drop your outside foot in a relaxed state and point your inside knee into the apex of the turn while turning your handlebars into the direction you want to turn. Lean the bike by cranking the handlebars as you turn. Practice by taking fast turns on flat ground before trying it on a hill or trail.[6]
- It may seem counter-intuitive to take hard turns while on snow, but being decisive will prevent you from wiping out.
- Exaggerate everything you'd do on flat land when riding down a snowy path.
- Your back tire against the snow will help balance you and prevent you from falling.
-
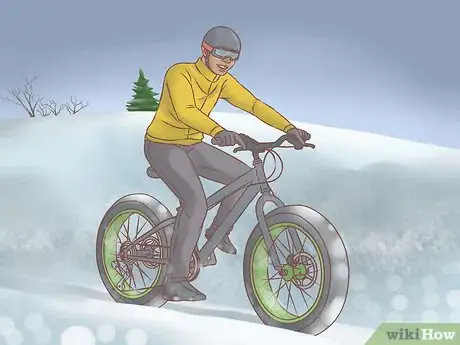
3Practice riding the bike in snowy conditions. The only way to become acclimated to riding your fat bike in the snow is to practice. Start slowly, and start to build speed over time. Practice riding in a safe, level area with soft snow, like a parking lot or lawn.
- Practice gaining your balance on the slippery ground and try to get more used to the physics of the bike.
- Once you feel more comfortable riding in the snow, practice turning and riding your fat bike fast.
- Soft snow will help break your fall and minimize the potential for injury.
-
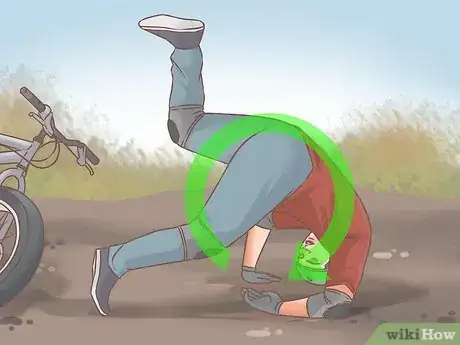
4Learn how to break your fall. Breaking your fall on a fat bike is different than breaking your fall while you run or jog. Instinctively, you may want to put out your arm to break the fall, but on a fat bike, this increases the likelihood of a broken limb. When falling on your side, hold and tuck your knee into the bike on the side that you're falling. This allows the handlebar and pedal to take the brunt of the impact.
- When going over the handlebars, tuck in your chin and upper body into a ball and try to roll. Avoid landing on your head, neck, or chest as these are the most vulnerable places on your body.[7]
Staying Safe
-
1Stay alert and reactionary at all times. When traveling fast down a snowy path, it's important that you keep your eye out for potential obstructions in the road ahead. Keep your eyes on the trail in front of you and avoid things like large rocks, tree branches, tight turns, or cliffs. If you do notice an obstruction, make sure that there is a safe path around it and slow down your speed.[8]
- Turn well in advance and be ready to come to a full stop.
- Never ride with headphones or an earpiece in. Use your vision and your hearing to anticipate potential dangers as you ride.[9]
- Try to minimize distractions as much as possible.
-
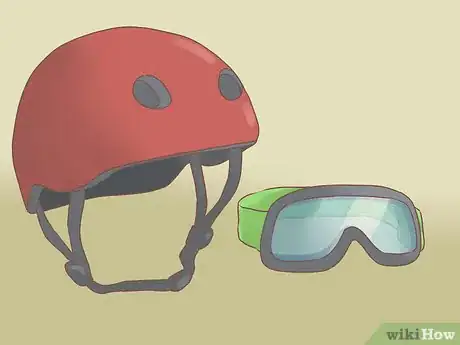
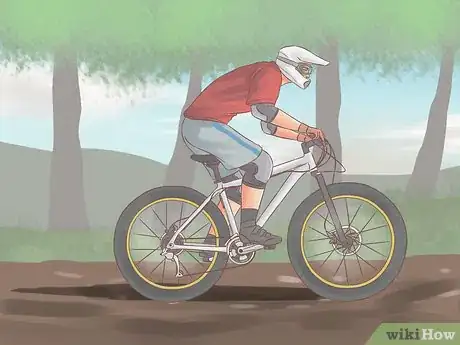
2Wear a helmet and headgear. Riding a bike in snowy conditions can sometimes be hazardous, especially if you don't bring the right gear. Make sure to wear a helmet that can cover the front of your face. If you don't have one, then you can wear goggles and a facemask with a regular helmet instead.[10]
- Get a helmet that is specifically designed for mountain biking, as these models often have additional head and neck protection for riders.
- Popular mountain bike helmets range anywhere from $40 to $200 in cost on average.[11]
-
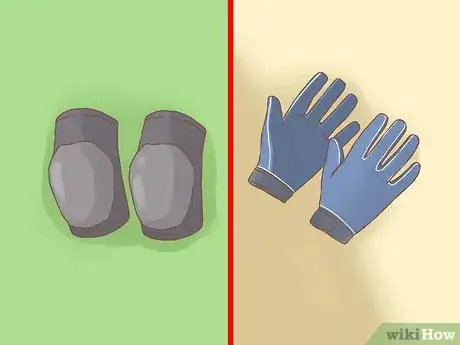
3Wear other critical safety gear. You'll need knee pads and high-quality gloves to protect your hands from the blistering cold. Other pieces of equipment that you should get include shin guards and elbow pads in case you fall while riding.[12] Wearing this gear will help protect your body if you crash and will help insulate it from the cold.
-
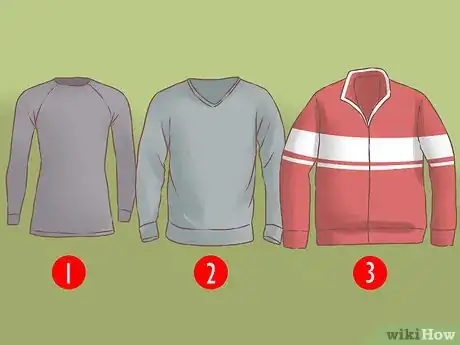
4Layer warm clothes when riding in the cold. It's important that you layer your clothes to prevent hypothermia while you bike. Typically bikers will wear a thermal protective underlayer close to their skin made of a synthetic material like polyester. This fabric will allow your body to breathe while keeping you warm. On top of that layer, you should wear sweatshirts, vests, or pullovers. The final layer, or protective layer, should be a larger water-resistant shell, like a heavy snow jacket, that protects you from the elements.[13]
- You can purchase these clothes at some department stores and a variety of winter sport and activity stores.
- Popular winter brands include Campmor, Land's End, L.L. Bean, and Sierra Trading Post.[14]
-
5Choose the trail that's right for you. Don't choose a path that is above your current skill level. While it's productive to challenge yourself, using a trail that's more advanced than your skill could get you hurt. Look at each trail and the difficulty that's designated for it before starting to bike.
- Talk to someone that manages the trails and talk to them about your experience level. Ask them which trail is best for you.
- You can say something like "I'm new to mountain biking. Can you tell me which trail would be best for a novice like me?"
-
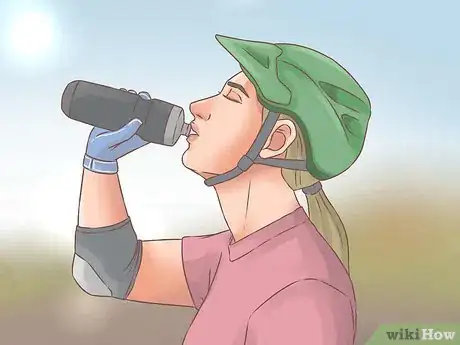
6Drink water and stay hydrated. You may forget that you're thirsty as you ride, but it's important that you stay hydrated when you're physically active. When biking in cold areas, make sure to pack warm water that is well-insulated to prevent it from freezing.[15]
- Stock up on fluids before and after you take a long trip, especially at higher elevations.
- You can keep your water warm by putting hot water in a thermos or insulated mug with a cover.
-
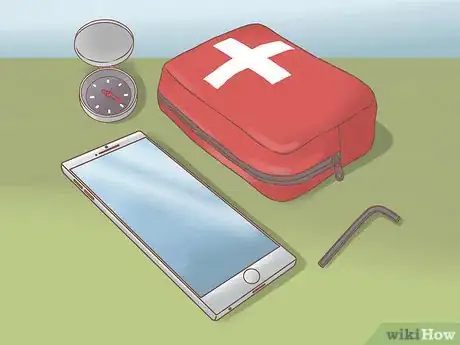
7Bring emergency items. It's important to keep emergency items when taking longer trails that will last the day. Essential things that you should pack include a compass, cell phone, and basic first aid kit in a backpack that you bring with you.
- Also, remember to bring bike tools like hex key that you can use to replace bike parts in case it breaks down while you're on the trail.
-
8Have fun! After staying safe, the most important part about riding a fat bike is to enjoy it. Take in the fresh air and beautiful scenery around your neighborhood or bike trail. Ride solo or get a group of friends together and cruise around.
References
- ↑ http://www.popularmechanics.com/adventure/outdoors/a10040/should-you-buy-a-fat-bike-16492959/
- ↑ https://www.singletracks.com/blog/mtb-gear/fat-bike-buyers-guide-high-end-models/
- ↑ https://www.singletracks.com/blog/mtb-gear/fat-bike-buyers-guide-budget-models/
- ↑ https://www.singletracks.com/blog/mtb-gear/fat-bike-buyers-guide-mid-range-models/
- ↑ https://bendtrails.org/tips-for-riding-in-snow/
- ↑ http://www.bikeradar.com/us/gear/article/how-to-ride-in-the-snow-24521/
- ↑ https://bikenoob.com/2011/04/17/youre-going-to-fall-heres-how/
- ↑ http://www.bikeradar.com/us/gear/article/how-to-ride-in-the-snow-24521/
- ↑ http://www.safewise.com/blog/biking-safety-tips-31-ideas-for-staying-safe-while-biking/
- ↑ http://www.outdoorgearlab.com/Mountain-Bike-Helmet-Reviews/Buying-Advice
- ↑ http://www.outdoorgearlab.com/Mountain-Bike-Helmet-Reviews
- ↑ http://www.huffingtonpost.com/max-gladwell/cheating-death-essential-_b_8197432.html
- ↑ https://weather.com/sports-recreation/ski/news/dress-for-snow-sports-20120329#/1
- ↑ https://midwestweekends.com/plan_a_trip/outdoors_recreation/winter_play/warm_winter_clothes.html
- ↑ https://www.singletracks.com/blog/uncategorized/fat-biking-101-10-things-you-need-to-know-before-biking-in-the-snow/

