X
wikiHow is a “wiki,” similar to Wikipedia, which means that many of our articles are co-written by multiple authors. To create this article, volunteer authors worked to edit and improve it over time.
This article has been viewed 137,692 times.
Learn more...
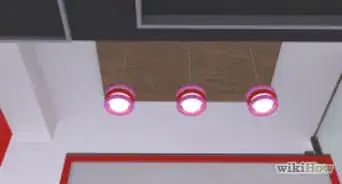
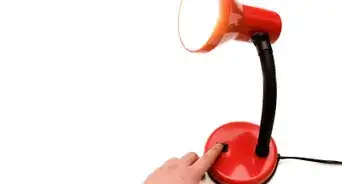
How many Halogen lamps do you have kicking around your house? How many bulbs have you bought, only to find that new bulbs didn't fix the problem?
Steps
-
1Please read all steps, tips and warnings completely before attempting.
-
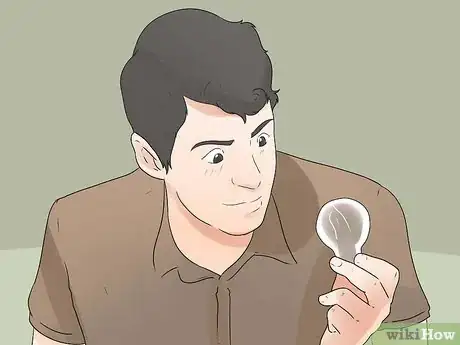
2Identify the reason that a lamp (lighting fixture) won't function. The most common are:
- Bulb burned out.
- Bulb socket oxidized, burned, corroded, or otherwise broken so as to prevent proper electrical connection with the bulb contacts.
- Transformer has overheated and a winding has "shorted" out or "opened" up.
- The control (on / off or dimmer switch) if present, has failed.
- The cord cap (plug), cord set (that which brings voltage from the wall receptacle to the fixture), or wiring between the control and the transformer or transformer to lamp socket has open, or shorted. Look for wire and insulation that is discolored, burned off, broken, etc.
Advertisement -
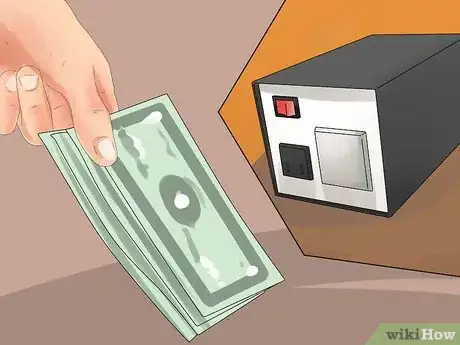
3Determine value of the fixture or cost of replacement. The time and / or cost of the repairs may not warrant repair. Warnings below should also be reviewed before attempting.
-
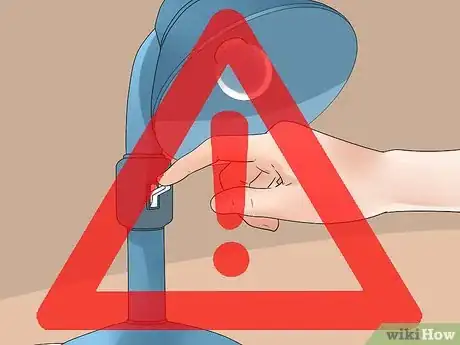
4Use extreme care to prevent burns. Allow plenty of time for a lamp to cool before troubleshooting. The lamps, while hot, can cause significant burns. The lamp operating temperature can be about 1,000 °F (538 °C).
-
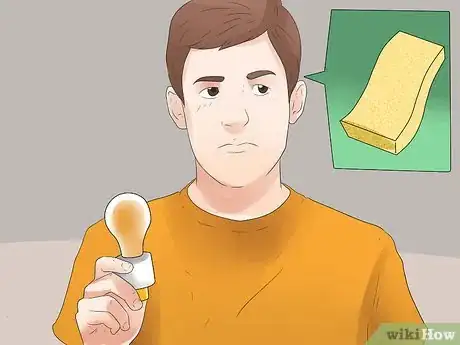
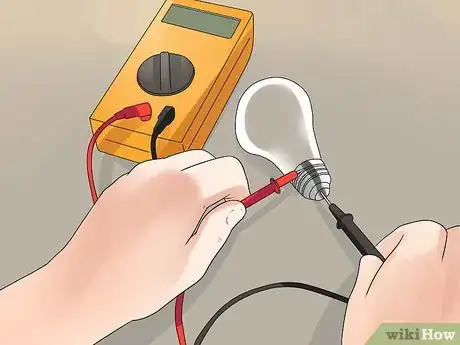
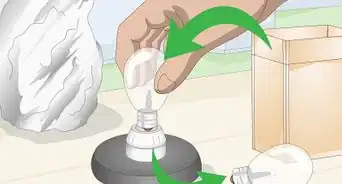
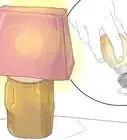
5Test the bulb(s) in known a working lamp to determine if they are "good". Never handle the glass of the lamp with bare hands. Use a cloth or wear gloves when handling the bulb to avoid contact with skin. The oils from the skin that would be left on the lamp will result in early lamp failure. If unable to test by swapping, assume the lamp is good.
-
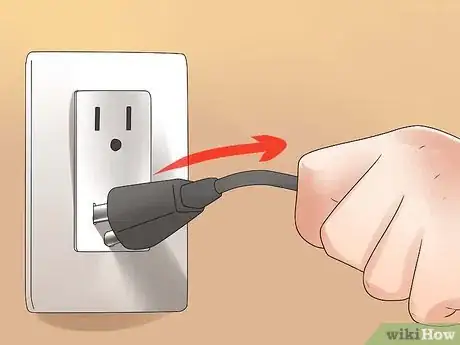
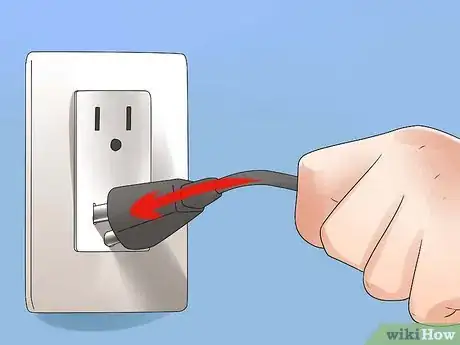
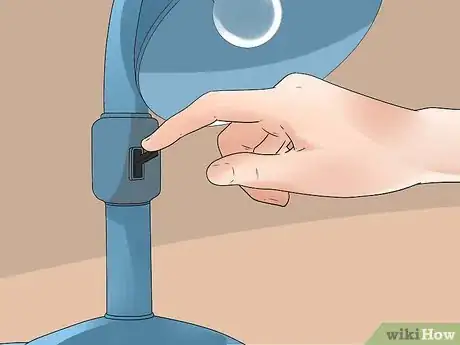
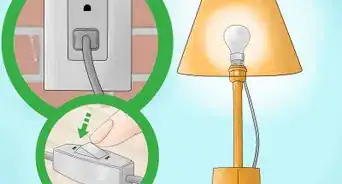
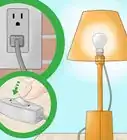
6Unplug (or otherwise disconnect) the fixture from the power source. Shutting it off with a wall switch is NOT considered "disconnected".
-
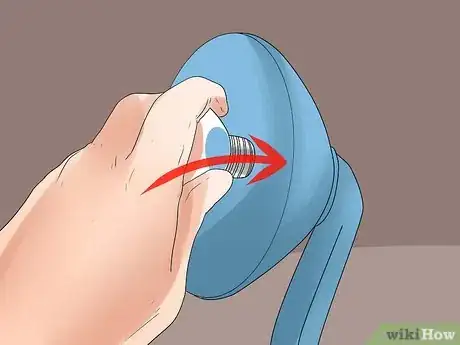
7Remove the lamp (if not already out) from the socket or holder. Examine the socket or holder electrical contacts. If they appear burned, discolored, oxidized, etc., gently scrape the contacts slightly until shiny metal becomes visible.
-
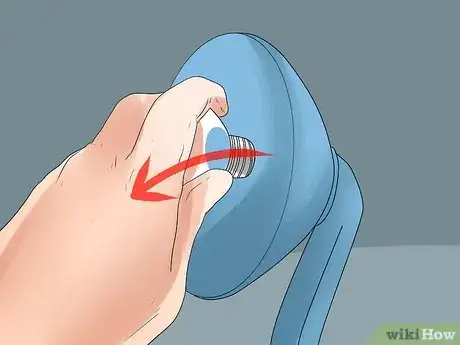
8Install the lamp. Inspect the socket or holder contacts where they touch the lamp. If they appear loose, you can try to tighten them by squeezing them together (gently) with needle nose pliers (after removing the lamp). Check that any area of the contact previously cleaned of discoloration, etc., is aligned with the points of contact to the lamp.
-
9Test the recent adjustments / cleaning. With a good bulb in the fixture, plug it in to power to see if functions.
-
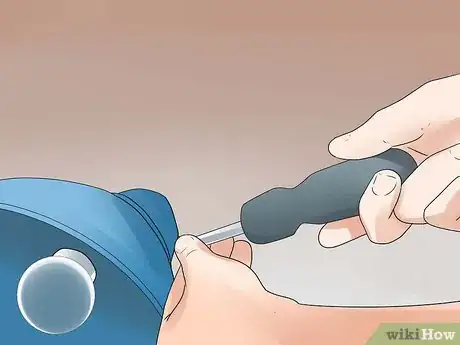
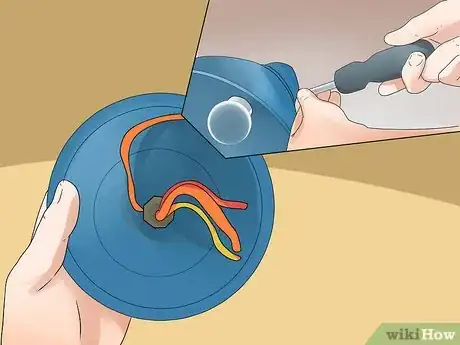
10Remove the base of the fixture or other area to access the wiring compartment or switch. Unplug (or otherwise disconnect) the fixture from the power source. Shutting it off with a wall switch is NOT considered "disconnected". Accessing the wiring compartment depends on the fixture. Some require a plate, screws, or other protective barrier to be removed. Sometimes it may be a simple piece of cardboard glued to the bottom of the fixture base. Try to remove it causing a minimal amount of damage, as it will be needed to be reinstalled when done. Under the base cover (cardboard) you will find one or more of the following: transformer, power cord and the control switch (unless you are working with a pole lamp Torchiere type where the on/off/dimmer switch is in the pole).
-
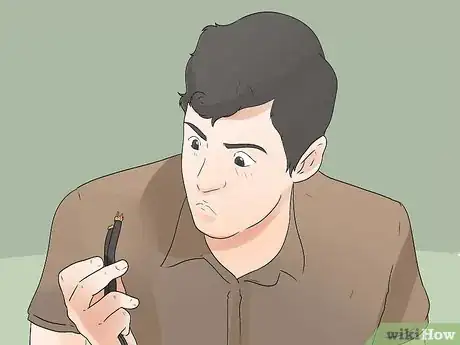
11Inspect for burned, broken, or loose wires. Splice, solder or wire-nut together to make repairs. Test as outlined previously above.
-
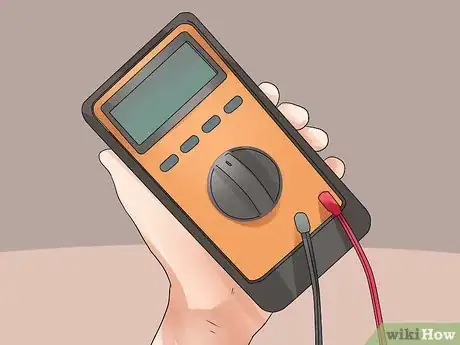
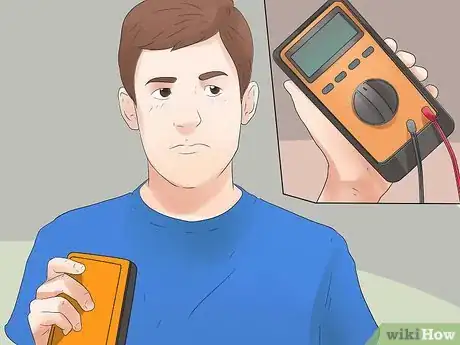
12Use a Multimeter or VOM (Volt-Ohm Meter) for additional testing if the fixture still does not function. At this point if you haven't found the problem, additional tests Use-a-Multimeter will be needed. If this term (multimeter) is not familiar to you, and you don't have a clue as to how to measure voltage and continuity, it may be best to turn the work over to a repair shop (if the fixture is important to you).
-
13If you can use a VOM and have one, then (with the fixture plugged in) measure the transformer output usually 12volts, if nothing there, then measure the transformer input 120 volts, if you have the 120 volts, then the transformer is bad most likely.
-
14You must take the on/off switch into consideration and with POWER OFF test it for continuity.
-
15If no 120 at the transformer input, then your power cord or plug is the cause and you have to examine it and test it for continuity (unplugged of course)
-
16You can purchase transformers, and bulb sockets from your local electrical supply store, maybe even Radio Shack, or you can search the web and there are many places that handle these parts.
Advertisement
Community Q&A
-
QuestionWhat is a CFL type fixture?
 Community AnswerCFL stands for Compact fluorescent light. It is the same size as a regular light bulb but it is fluorescent and less expensive to operate.
Advertisement
Warnings
- Be very careful when trouble shooting these lamps, the hot lamps can cause severe burns in a fraction of a second.⧼thumbs_response⧽
- WARNING!!UNPLUG THE FIXTURE FROM THE WALL OUTLET, DO NOT WORK ON THESE STEPS WITH FIXTURE PLUGGED INTO AC POWER. Except for testing, and performing the voltage measurements with the Multimeter / VOM.⧼thumbs_response⧽
- These fixtures, when inside homes are notorious for starting fires. They burn extremely hot and can readily reduce drapes, etc. to "kindling" in a very short period time.⧼thumbs_response⧽
Advertisement
About This Article
Advertisement
