This article was co-authored by Marc Sigal and by wikiHow staff writer, Kyle Hall. Marc Sigal is the Founder of ButlerBox, a dry cleaning and shoe care service based in Los Angeles, California. ButlerBox places custom-designed, wrinkle-resistant lockers in luxury apartment buildings, class A office buildings, shopping centers, and other convenient locations so you can pick up and drop off items 24 hours a day, 7 days a week. Marc has a BA in Global and International Studies from the University of California, Santa Barbara.
This article has been viewed 66,387 times.
You can save yourself money and a trip to the shoe store by repairing your old shoes instead of buying new ones. With the right tools, you can repair loose shoe soles, holes in your shoes, and unsightly scuffs and stains. By putting in a little time and effort, you can hold onto your favorite shoes for years to come!
Steps
Reattaching a Loose Sole
-
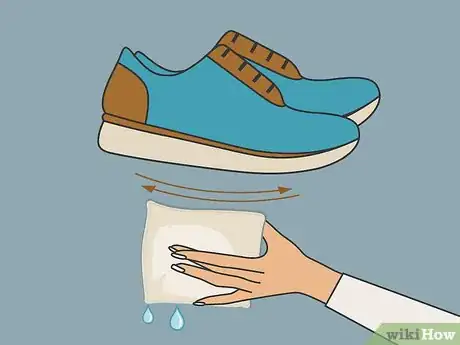
1Wipe down the bottom of your shoe and the loose sole with a wet rag. Clear away any dust or dirt that’s gotten lodged in between the sole and the bottom of your shoe. After cleaning your shoe, let it dry completely.[1]
- If there's old glue from the sole stuck to the bottom of your shoe, dip the rag in acetone nail polish remover and scrub at the glue until it comes off.
-
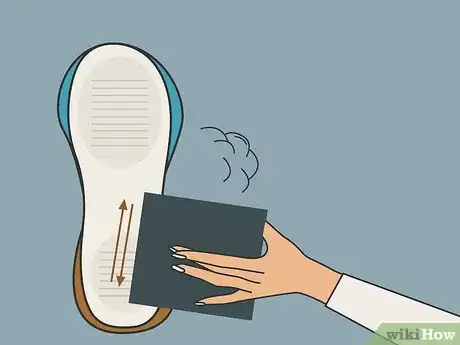
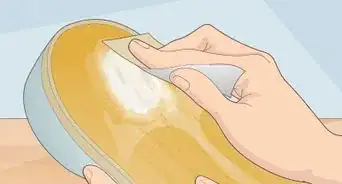
2Scratch the loose sole and the bottom of your shoe with sandpaper. Use a coarse sandpaper that’s between 40-60 grit. The scratches will give the shoe repair glue something to stick to. [2]Advertisement
-
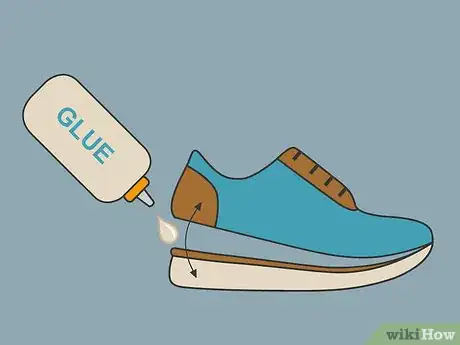
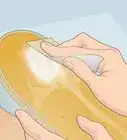
3Apply shoe repair glue to the loose sole and the exposed bottom of your shoe. Apply the glue with a 1 centimetre (0.39 in) round paint brush. Paint the glue on with the brush so there’s an even layer over the whole top surface of the loose sole and the exposed bottom of your shoe.[3]
- You can find shoe repair glue online or at your local shoe store.
- Read the label on your shoe repair glue for specific application instructions. Some shoe repair glues require you to let them dry for 5-10 minutes after you apply them.
-
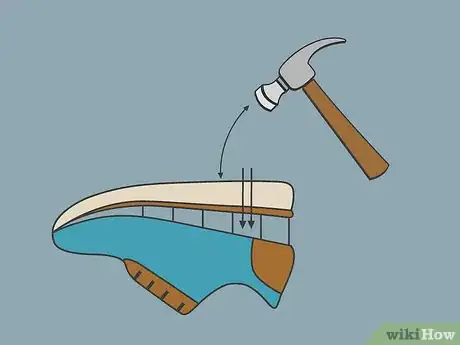
4Press the sole into the bottom of your shoe and hammer it into place. Turn your shoe upside down and hit the hammer down onto the area of the sole you’re attaching. Hit the bottom of the sole several times with the hammer, moving the hammer slightly each time so you get the entire section of the sole you're reattaching. [4]
-
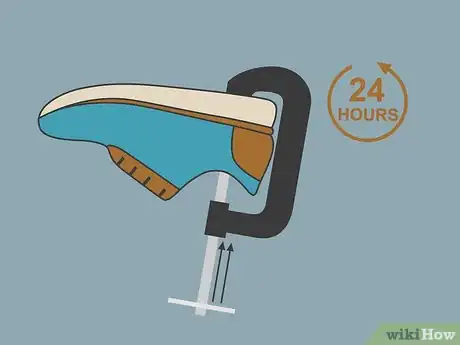
5Use a clamp to hold the sole in place for 24 hours. Use more than 1 clamp if you’re reattaching a large section of the sole. Attach the clamp to your shoe so one end is pressing down on the top of your shoe and the other end is pressing up on the bottom of the sole.[5]
-
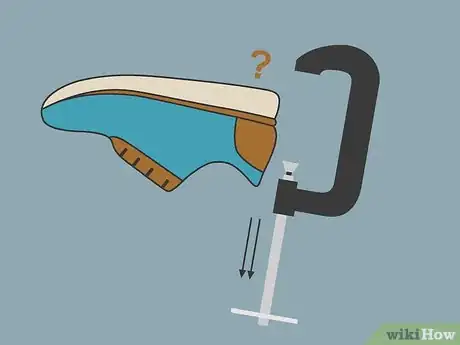
6Remove the clamp from your shoe after 24 hours. Check to see if the sole is completely glued to the bottom of your shoe by gently pulling at the edges of the sole with your fingers. If the sole doesn't budge, your shoe is fixed and ready to wear.
Patching Holes with Shoe Goo
-
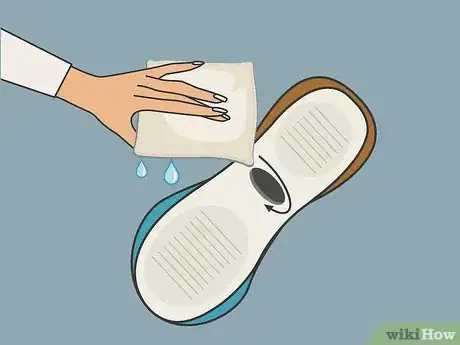
1Clean the area around the hole in your shoe with a wet rag. Wipe off any dirt and grime near the hole. Once the area around the hole is clean, dry the area with a dry rag or paper towel.[6]
- Shoe Goo works best for holes in the soles of shoes. If you want to repair a hole in the top of your shoe with Shoe Goo, keep in mind the hole will still be noticeable even after you fill it in.
-
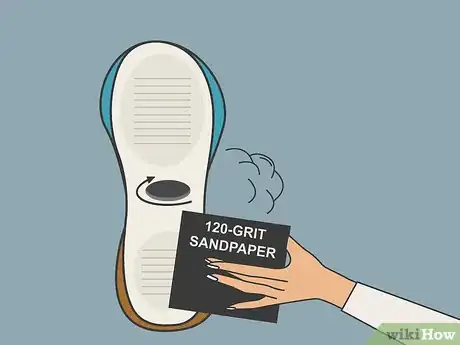
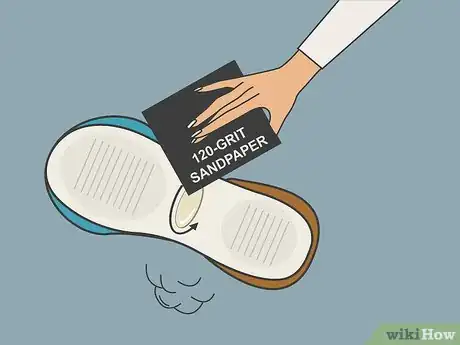
2Use 120-grit sandpaper to scratch up the area around the hole. Rub the coarse side of the sandpaper back and forth over the hole until you see scratches starting to form. The scratches on the sole will help the Shoe Goo stick to the sole.[7]
-
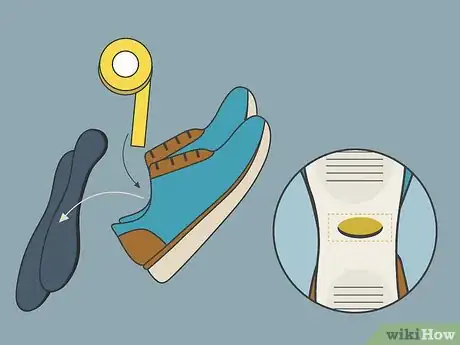
3Remove the insole and apply a piece of duct tape over the hole. Use a piece of duct tape that’s large enough to cover the entire hole. The duct tape should go on the inside of your shoe. The duct tape will prevent the Shoe Goo from getting inside your shoe when you apply it.[8]
-
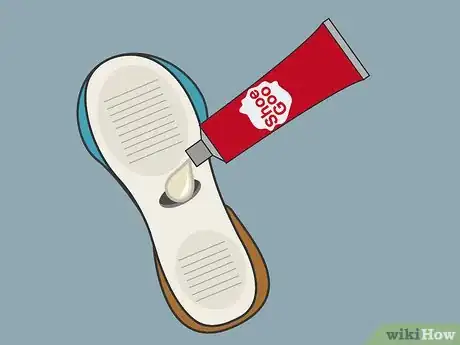
4Turn your shoe over and cover the hole with Shoe Goo. Shoe Goo is a thick, clear adhesive that hardens when it dries. Squeeze the tube of Shoe Goo and slowly move the tube across the hole as the Shoe Goo comes out. Stop squeezing once the entire hole is covered with Shoe Goo.[9]
- You can find a tube of Shoe Goo online or at your local shopping center.
-
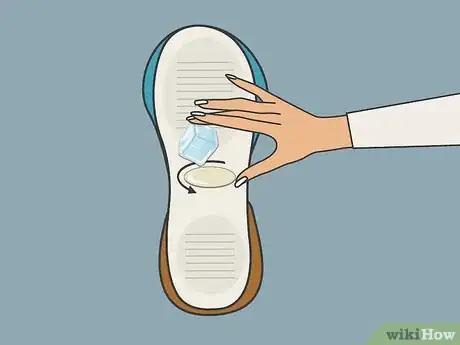
5Use an ice cube to spread the Shoe Goo in an even layer over the hole. Shoe Goo doesn’t stick to ice. If you missed any spots, cover them with Shoe Goo using the ice cube. Spread the Shoe Goo with the ice cube until it’s in a flat, even layer over the hole.[10]
-
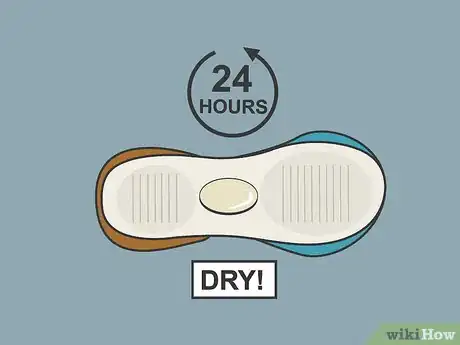
6Let the Shoe Goo dry for 24 hours. Don’t rush the drying process or the Shoe Goo may not adhere properly. Place your shoe in a safe spot where nothing will disturb it for 24 hours.[11]
-
7Sand down the Shoe Goo with 120-grit sandpaper. Brush the sandpaper back and forth over the Shoe Goo until it’s flush with the rest of your shoe sole. Make sure there aren’t any bumps in the Shoe Goo or you’ll be able to feel them when you’re walking in your shoes.[12]
Fixing Scuffs and Stains
-
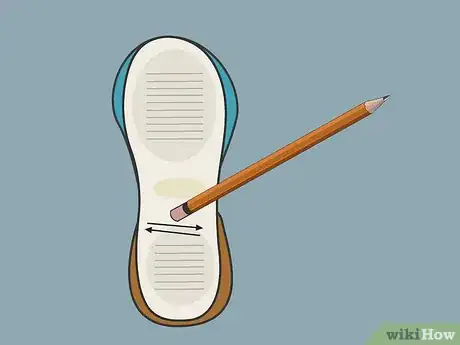
1Use a pencil eraser to remove scuffs on your suede shoes. Make sure the pencil eraser has never been used before. Place the eraser on the scuff mark on your shoe and gently rub it back and forth until the scuff is gone.[13]
-
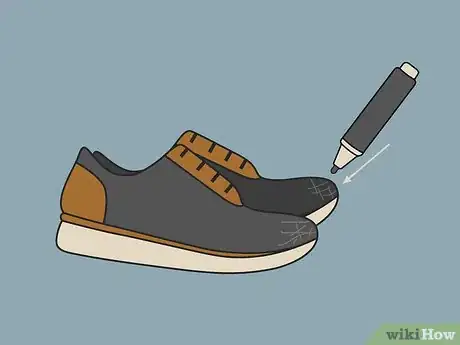
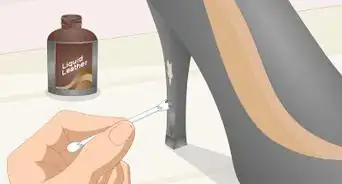
2Fill in small scratches on your leather shoes with a felt-tip marker. If your leather shoes are black, use a black felt-tip marker. If your leather shoes are brown or another color, find a felt-tip marker that matches. Place the tip of the marker on the scratch and carefully color it in so you don’t get marker on the rest of your shoe.[14]
-
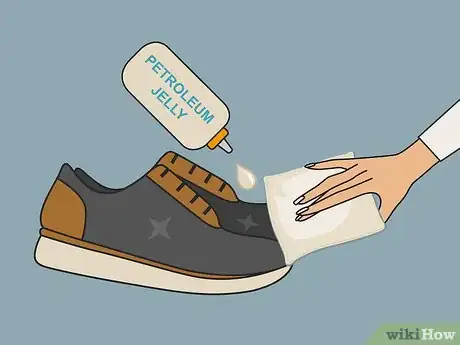
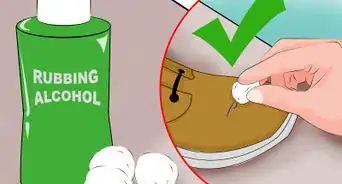
3Remove scuffs on your patent-leather shoes with petroleum jelly. Dip the end of a cotton swab in petroleum jelly. Gently rub the petroleum jelly into the scuff on your shoe until it fades away.[15]
-
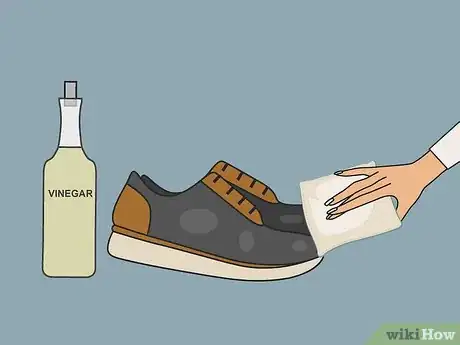
4Use white vinegar to remove salt stains on your leather shoes. Dip the corner of a wet rag into a bowl of white vinegar. Rub the soaked rag onto the salt stains on your shoes until they’re gone.[16]
Expert Q&A
-
QuestionWhat should I do if I wore my suede shoes out in the rain?
 Marc SigalMarc Sigal is the Founder of ButlerBox, a dry cleaning and shoe care service based in Los Angeles, California. ButlerBox places custom-designed, wrinkle-resistant lockers in luxury apartment buildings, class A office buildings, shopping centers, and other convenient locations so you can pick up and drop off items 24 hours a day, 7 days a week. Marc has a BA in Global and International Studies from the University of California, Santa Barbara.
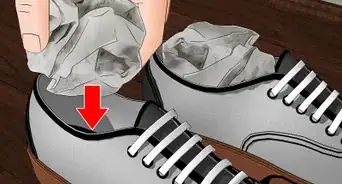
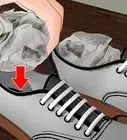
Shoe Care Specialist First, put a shoe tree or some crumpled-up newspaper in the shoes so they maintain their shape while you dry them off. Blot your shoes with a microfiber towel to soak up as much water as possible. Then, use a suede brush or clean toothbrush to gently brush the suede back and forth for several minutes, which will help restore the nap. Place your shoes next to a fan to help them air dry faster.
 -
QuestionHow can I fix my shoes at home?
 Marc SigalMarc Sigal is the Founder of ButlerBox, a dry cleaning and shoe care service based in Los Angeles, California. ButlerBox places custom-designed, wrinkle-resistant lockers in luxury apartment buildings, class A office buildings, shopping centers, and other convenient locations so you can pick up and drop off items 24 hours a day, 7 days a week. Marc has a BA in Global and International Studies from the University of California, Santa Barbara.
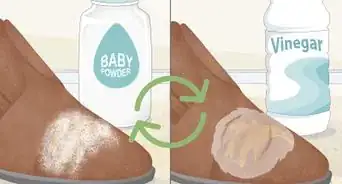
Shoe Care Specialist If your tennis shoes are scuffed, use a Magic Eraser to remove the scuffs. To remove stains from velvet shoes, sprinkle chalk or talcum powder on the stains and let it sit overnight. The powder will absorb the stains, then you can brush it off with a soft-bristle brush.
Things You’ll Need
Reattaching a Loose Sole
- Rag
- Coarse sandpaper
- Shoe repair glue
- Hammer
- Small round paint brush
- Clamp
Patching Holes with Shoe Goo
- Rag
- 120 grit sandpaper
- Shoe Goo
- Duct tape
- Ice cube
Fixing Scuffs and Stains
- Pencil eraser
- Felt-tip marker
- Petroleum jelly
- White vinegar
References
- ↑ https://www.theguardian.com/lifeandstyle/2014/jun/09/how-to-mend-old-shoes
- ↑ https://www.theguardian.com/lifeandstyle/2014/jun/09/how-to-mend-old-shoes
- ↑ https://www.theguardian.com/lifeandstyle/2014/jun/09/how-to-mend-old-shoes
- ↑ https://www.theguardian.com/lifeandstyle/2014/jun/09/how-to-mend-old-shoes
- ↑ https://www.theguardian.com/lifeandstyle/2014/jun/09/how-to-mend-old-shoes
- ↑ https://www.ifixit.com/Guide/How+to+Repair+a+Hole+on+the+Shoe+Sole/50518
- ↑ https://www.ifixit.com/Guide/How+to+Repair+a+Hole+on+the+Shoe+Sole/50518
- ↑ https://www.ifixit.com/Guide/How+to+Repair+a+Hole+on+the+Shoe+Sole/50518
- ↑ https://www.ifixit.com/Guide/How+to+Repair+a+Hole+on+the+Shoe+Sole/50518
- ↑ https://www.ifixit.com/Guide/How+to+Repair+a+Hole+on+the+Shoe+Sole/50518
- ↑ https://www.ifixit.com/Guide/How+to+Repair+a+Hole+on+the+Shoe+Sole/50518
- ↑ https://www.ifixit.com/Guide/How+to+Repair+a+Hole+on+the+Shoe+Sole/50518
- ↑ https://www.pastemagazine.com/articles/2015/11/15-ways-to-fix-your-shoe-problems.html
- ↑ https://www.pastemagazine.com/articles/2015/11/15-ways-to-fix-your-shoe-problems.html
- ↑ https://www.pastemagazine.com/articles/2015/11/15-ways-to-fix-your-shoe-problems.html
- ↑ https://www.pastemagazine.com/articles/2015/11/15-ways-to-fix-your-shoe-problems.html
- ↑ Marc Sigal. Shoe Care Specialist. Expert Interview. 15 January 2020.
