This article was co-authored by Chad Zani. Chad Zani is the Director of Franchising at Detail Garage, an automotive detailing company with locations around the U.S. and Sweden. Chad is based in the Los Angeles, California area and uses his passion for auto detailing to teach others how to do so as he grows his company nationwide.
This article has been viewed 220,431 times.
Unlike the badges installed by your vehicle's manufacturer, dealership logos don't always compliment the style of your car. Fortunately, they're easy to remove. Whether your dealership logo is a three dimensional plastic badge or a simple decal, removing it can be done in just a few minutes with a few common tools.
Steps
Heating the Adhesive
-
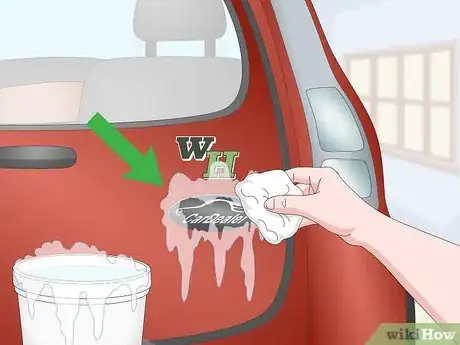
1Clean the logo and the area around it with soap and water. Be sure to rinse the area first, then use a car wash specific soap to scrub the dealership logo and surrounding area before rinsing it off again.[1]
- Dirt or grime could create tiny scratches in the paint as you work the logo off of the car.
- Be sure to clean an area that's at least a few inches bigger around than the logo is itself.
-
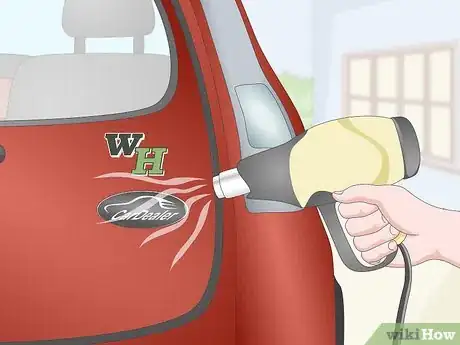
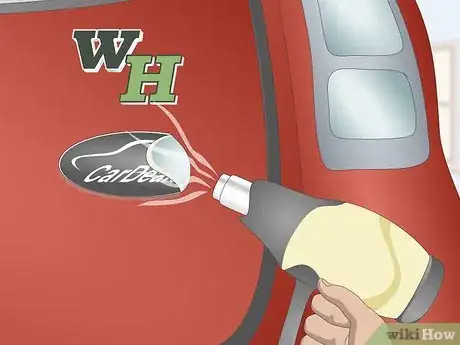
2Use a hair dryer to warm up the logo. Run the hair dryer over the logo from side to side for a few minutes while on its hottest setting. Whether the dealership logo on your vehicle is a decal or a badge, the adhesive used to secure it will soften as its warmed up.[2]
- Keep heating the logo until a decal becomes slightly tacky to the touch or a badge can wiggle slightly under your finger.
- Be very careful if you use an industrial heat gun instead of a hair dryer. Heating up the paint too much could create a haze in the clear coat.
Advertisement -
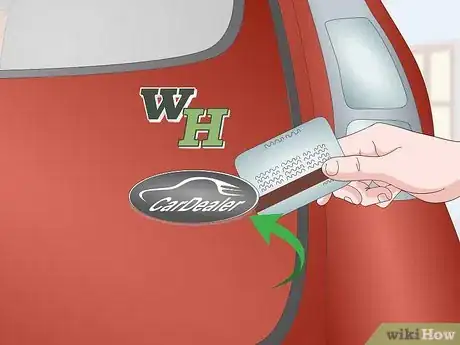
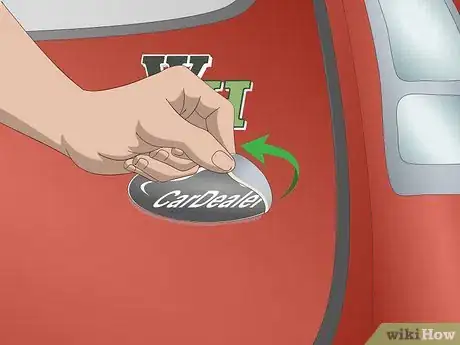
3Use a plastic card to scrape under the corner of a decal. With the dealership logo still warm, pick a corner and press your plastic credit card or scraper under the edge. If the logo is on a window, you can use a razor blade, but do not use one if the logo is applied to paint.[3]
- A razer blade can damage the paint and even ruin the paint's seal, leading to rust.
- If you have trouble getting under the corner of the badge, try coming at it from a different angle.
-
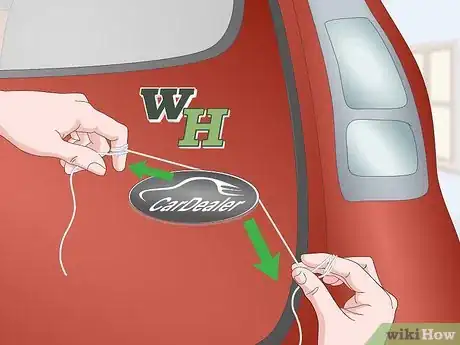
4Cut through the adhesive on a badge with fishing line. If your dealership logo is a plastic badge, the easiest way to remove it may be to wrap both ends of a piece of fishing line around your fingers, then working the line through the glue beneath the badge.[4]
- Work the line back and forth by pulling it with each hand as you slide through the adhesive beneath the badge.
- If the line gets stuck, use the hair dryer to warm up the adhesive again.
Separating the Logo from the Adhesive
-
1Scrape decals or adhesive away slowly. Whether the dealership logo is a decal or a badge, it may come apart as you scrape at it. Work slowly, applying pressure to the edge of the card or scraper to keep it as flat against the vehicle as possible as you press into the logo.[5]
- A badge will need to have all the of adhesive holding the plastic in place separated. Then you may need to repeat the process to remove the last bits of adhesive that remain.
- A decal will need to be scraped off entirely.
-
2Reheat the logo as necessary. If it's taking you a little time to scrape the logo off of the vehicle, it may begin to cool, allowing the adhesive to re-harden. Avoid this by using the hair dryer to heat it up again every few minutes as you work.[6]
- If you feel the adhesive start to give you more resistance, heat it up again.
- If you've heated the logo up enough, most can be removed without reheating again.
-
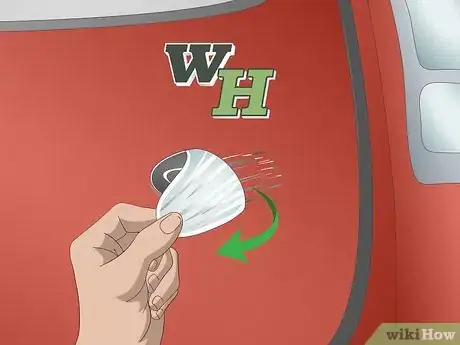
3Use your fingers to remove large portions of the logo. As you scrape beneath the logo, enough material may become loose for you to just grab it with your fingers and pull it away. With decals, it's best to peel the logo off, but with badges, you can just pull it off as you scrape.[7]
- Badge style logos may break as you remove them.
-
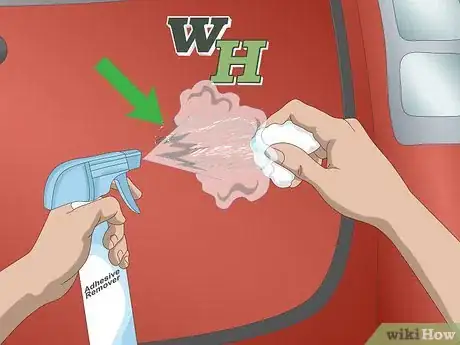
4Use adhesive remover on any leftover glue. If the dealership logo was a plastic badge secured with glue, it may come off and leave an adhesive residue behind. Spray on an adhesive remover, then use a rag to wipe it and the leftover adhesive away.[8]
- Read the directions on the adhesive remover before applying it to the vehicle.
- You can buy adhesive remover at any auto parts or hardware store.
Protecting the Paint that was Under the Logo
-
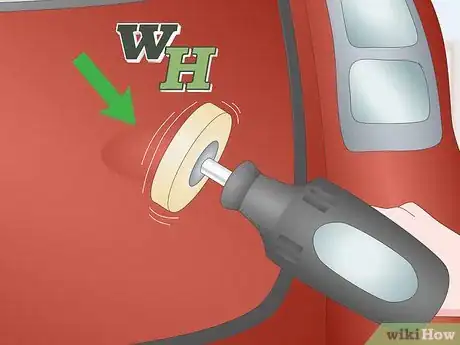
1Use a stripe off wheel on particularly stuck on adhesive. If some of the adhesive on the car is proving too difficult to remove, you can use a “stripe off wheel” attached to a power drill to safely remove the adhesive without damaging your paint. Simply attach the wheel like any other drill bit and then lightly touch it to the adhesive with the drill spinning. Use both horizontal and vertical movements with the wheel to remove any remaining bits of adhesive. [9]
- If your drill has adjustable settings, set it to spin at fewer than 4,000 RPMs for best results.
- You can buy stripe off wheels at most hardware or auto parts stores.
-
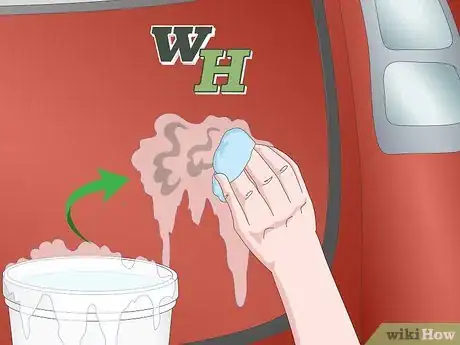
2Wash the area where the logo used to be. Once the dealership logo has been completely removed, wash the area with soap and water to remove any debris leftover from the logo as well as any adhesive remover that may still be on the paint.[10]
- Adhesive remover can ruin your paint if left on too long.
- Make sure you don't leave any bits of decal or adhesive at all on the paint or else you'll be waxing over it.
-
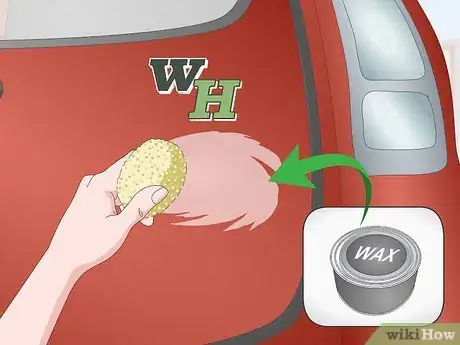
3Apply a fresh coat of wax where the logo used to be. Because dealership logos are applied after the vehicle leaves the factory, the clear coat beneath the logo should be intact, but the combination of scraping and adhesive remover has likely removed all of the wax on the paint. Apply a thin layer of wax using the supplied applicator in a swirling motion.[11]
- You may want to wax the entire vehicle to keep the paint looking uniform.
- Be sure to wax your vehicle in the shade, as direct sunlight can bake it onto the paint.
-
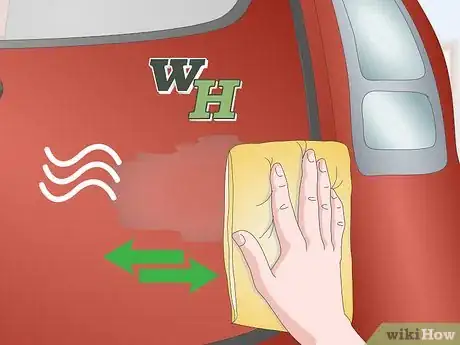
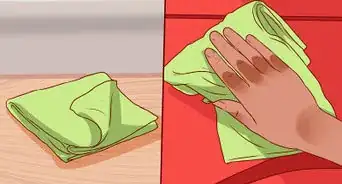
4Wait for the wax to dry before buffing it off with a chamois cloth. It may take several minutes for the wax to dry entirely, but you'll know when it begins to turn white or grey. Touch the wax gently with your finger; if it comes off under light pressure, it's ready to be buffed off with the cloth.[12]
- Use a clean cloth to ensure dirt or grime already on the cloth doesn't scratch the newly applied wax or the paint underneath.
- Buff the wax off in a circular motion for best results.
Things You'll Need
- Hair dryer
- Adhesive remover
- Credit card or plastic scraper
- Car wash and wax
References
- ↑ http://www.carwash.com/5-smart-ways-apply-remove-car-decals/
- ↑ https://www.mensjournal.com/gear/how-to-remove-your-volkswagen-tdi-badge-20151021/
- ↑ https://www.expert-mobile-car-detailing.com/removing-car-emblems.html
- ↑ https://www.autoblog.com/article/how-to-remove-car-emblems-autoblog-details/
- ↑ https://www.expert-mobile-car-detailing.com/removing-car-emblems.html
- ↑ http://www.carwash.com/5-smart-ways-apply-remove-car-decals/
- ↑ http://www.trucktrend.com/how-to/paint-body/1404-how-to-remove-factory-badges-and-decals-in-ten-easy-steps/
- ↑ https://www.mensjournal.com/gear/how-to-remove-your-volkswagen-tdi-badge-20151021/
- ↑ https://www.expert-mobile-car-detailing.com/removing-car-emblems.html
About This Article
To remove a dealership logo from your car using heat, start by cleaning the logo sticker and the area around it with car-safe soap and water. Then, hold a blow dryer a few inches away from the logo sticker, and turn it on high. Move it from side to side across the logo until it becomes slightly tacky or wiggles under your finger. Slide a plastic card under the logo if it's a sticker, which will help to scrape it off. If the logo is a badge, work a piece of fishing line behind the plastic to cut through the adhesive. For tips on scraping the logo off and protecting your paint, scroll down!
