This article was co-authored by wikiHow Staff. Our trained team of editors and researchers validate articles for accuracy and comprehensiveness. wikiHow's Content Management Team carefully monitors the work from our editorial staff to ensure that each article is backed by trusted research and meets our high quality standards.
The wikiHow Tech Team also followed the article's instructions and verified that they work.
This article has been viewed 152,010 times.
Learn more...
This article will discuss the removal of a sender’s contact information from forwarded mail on both desktop and mobile clients. Making sure that the names and addresses of previous senders are removed before passing it on is a matter of security, privacy, and courtesy. These instructions allow you to easily protect personal information no matter what platform you are emailing from.
Steps
Removing Names on a Mobile Device
-
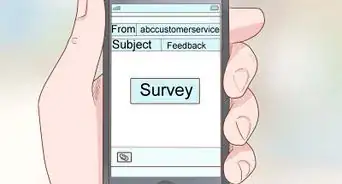
1Access your mail on mobile. The Mail app for iOS and Gmail app for Android are the two most popular mobile mail clients. Setting them up is as easy as entering in the address and password.
- On iOS, the Mail app can be accessed from the button on the home screen. By default it is displayed in the static dock at the bottom.
- On Android, the interface will vary between device brands, but Gmail can always be found listed in All Apps. The typical the home screen button to access this is a grid icon.
-
2Tap the forward button in an open email. The forward email is created with new formatting. The content of the email is now part of the text in your email composition.Advertisement
-
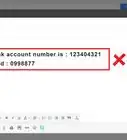
3Select the desired text to remove. Tap and hold around the area you wish to highlight. After a moment a text selector appears. Tap and drag each end of the selector until the the text you wish to remove is highlighted.
-
4Delete the undesired names and emails. Tap the delete key to remove the text.
- If you are having trouble using touch to highlight, you can instead tap the screen at the location of the last letter of the name/address you want to remove and hold the delete key until all of the desired text is removed.
-
5Forward your email. Enter your recipients, add personal message to the email and press “Send”.


Removing Names on a Desktop
-
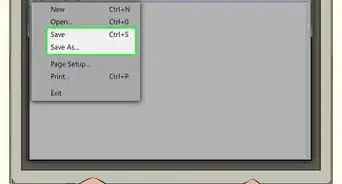
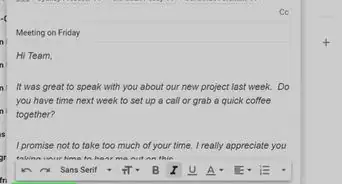
1Click the “Forward” button in the email. The forward email is created and the content of the previous email is now formatted into text in your composition.
-
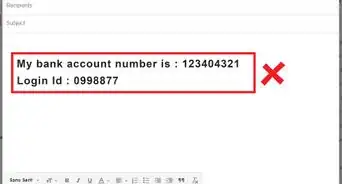
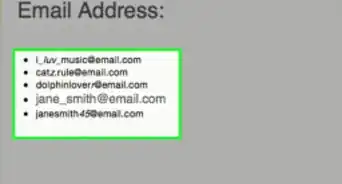
2Select the text you want to remove. Click and drag the mouse cursor to highlight the names and email addresses you wish to remove.
-
3Remove the undesired text. Press ← Backspace or Delete or go to Edit > Cut to remove whatever text is highlighted.
- Keep in mind when forwarding a conversation or a previously forwarded email that names and addresses may be displayed on multiple lines of the forwarded text.
-
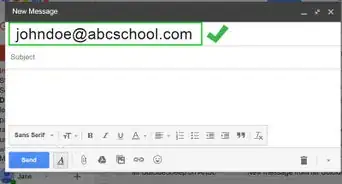
4Personalize and send the email. Add your own message above the forwarding text, enter your recipient(s), and press “Send”.
- If this message has been forwarded to you from someone else, you may want to clean up the subject line. A “Fwd” tag is added every time the message is forwarded, which can make the subject line look cluttered.


Community Q&A
-
QuestionHow do I remove the senders' names from emails on my Kindle Fire?
 Community AnswerEmail clients on Kindle should function like other mobile devices. Launch the email client, highlight the emails you want to remove, and delete them from the forward email body.


About This Article