This article was co-authored by Ryaan Tuttle. Ryaan Tuttle is a Home Improvement Specialist and the CEO of Best Handyman, Inc. in Boston, Massachusetts. With over 17 years of experience, he specializes in building home service businesses, focusing on creating scalable and efficient brands. With the help of his global team, the companies have achieved over 10+ million in sales and received recognition through magazine features, and enjoy partnerships with wikiHow and Jobber field service software. Boston Magazine and LocalBest.com have named Best Handyman Boston the Best Handyman in Boston. Ryaan holds Construction Supervisor and Home Improvement Contractor Licenses.
There are 11 references cited in this article, which can be found at the bottom of the page.
wikiHow marks an article as reader-approved once it receives enough positive feedback. In this case, several readers have written to tell us that this article was helpful to them, earning it our reader-approved status.
This article has been viewed 638,264 times.
Epoxy is a permanent adhesive used on many types of surfaces, from plastic to metal. Once epoxy has hardened, removing it can be tricky. Epoxy starts in a liquid state. As it is mixed, the substance’s temperature heats up until it starts to cool off and harden. You can remove epoxy by getting it back to a liquid, or at least gel-like, state so that you can scrape it from the surface. Removing epoxy can be accomplished relatively easily, as long as you take the proper safety precautions and are patient.
Steps
Using Heat to Remove Epoxy
-
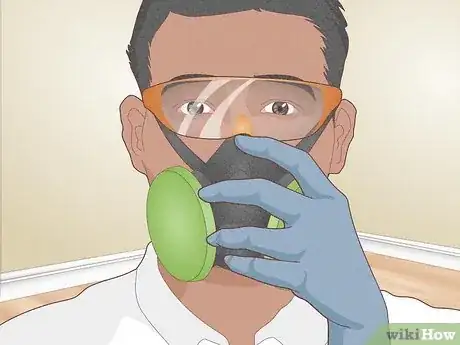
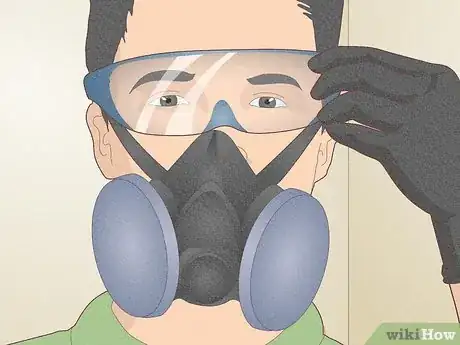
1Put on gloves, goggles, and a respirator with gas and vapor cartridges. When you heat epoxy, it produces vapors that can irritate your eyes, lungs, and mucus membranes. To protect yourself, put on sealed safety goggles and a respirator that can filter out gases and vapors.[1] You should also wear rubber gloves that extend at least 3 inches (7.6 cm) past your wrist to protect your skin, preferably with elastic bands to help create a seal.
- The best type of respirator cartridge will depend on what your epoxy is made of. Check the Material Safety Data Sheet (MSDS) for your product to find out what type of respirator cartridge and other protective equipment you need.
- Make sure your goggles completely cover your eyes and sit flush against your skin, with no openings to let in air. Alternatively, you can use a PPE respirator mask with a built-in eye shield.[3]
- Always test the mask for proper seal and fit. If you’re having trouble getting a good seal, you may need to trim any facial hair or get a better-fitting mask.
- If you smell any strong chemical odors while wearing your respirator, the respirator may not be working correctly or it may be time to replace the cartridge. Leave the area immediately so that you can inspect your respirator and make any necessary adjustments.
Tip: Respirator cartridges are color-coded according to what kind of filtration they provide. For example, if your epoxy contains organic vapors, use a cartridge that is coded black, yellow, or olive.[2]
-
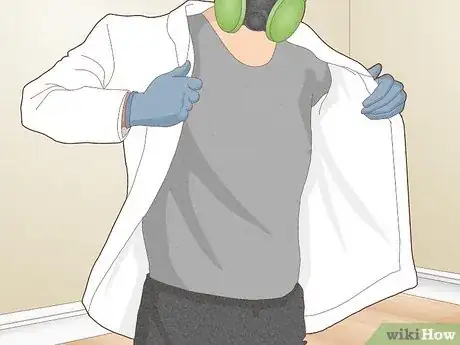
2Wear clothes that cover your skin. Find a pair of tight pants and a tight fitting, long-sleeved shirt. If the shirt is a button-up, make sure all of the buttons are secure. This is meant to protect your skin from reacting to any vapors that may arise from heating the epoxy.Advertisement
-
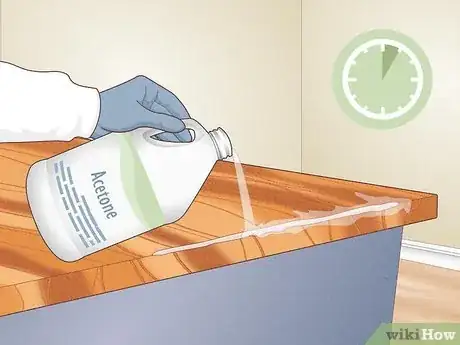
3Soak the surface in acetone for at least 1 hour. If the epoxy is attached to a wooden surface, soak the area in acetone for an hour or more before using heat to soften the epoxy. You can either place the object in acetone or drip acetone onto the surface where the epoxy is set in. Acetone will only soak into a wooden surface.[4]
- When dealing with epoxy on plastic, marble, cement, vinyl, or metal, any chemical will interact with the top of the surface, but they will not penetrate down into the layers like they do with wood.
-
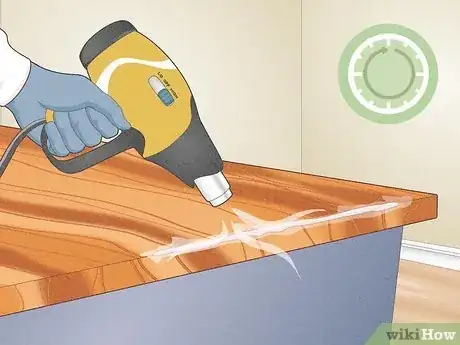
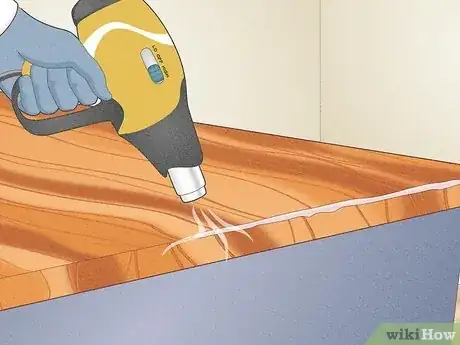
4Aim a heat gun at the epoxy for several minutes. The objective is to raise the epoxy’s temperature to over 200 °F (93 °C), its softening point. Work the heat gun in small strokes rather than letting it stay at the same position for minutes at a time. If the epoxy is on a plastic or wooden surface, keep an eye on the surface so you don't warm it up too much and burn it.[5]
- As an alternative to using a heat gun, you can use a soldering iron. After the iron is heated, apply it directly to a specific area of the epoxy bond line. This will soften the epoxy.
- If the epoxy you are seeking to heat is located on an object rather than the floor tiling, you can place the object on a hot plate. This will accomplish the same thing as the heat gun, and is more frequently available.
-
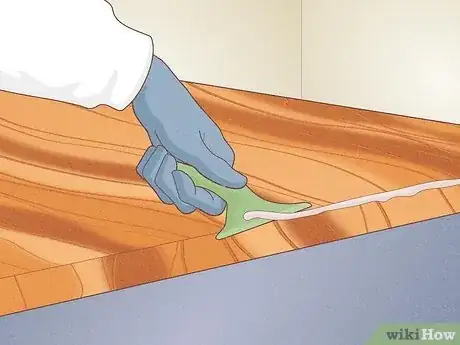
5Heat small areas at a time. Don’t heat the entire bond line of epoxy at once or you won’t be able to keep the epoxy hot for long enough. Instead, work on segments that are about 2–3 inches (5.1–7.6 cm) in length. After you have one segment done, work on the segment right next to the first. It will be easier to scrape off with a now open edge.[6]
-
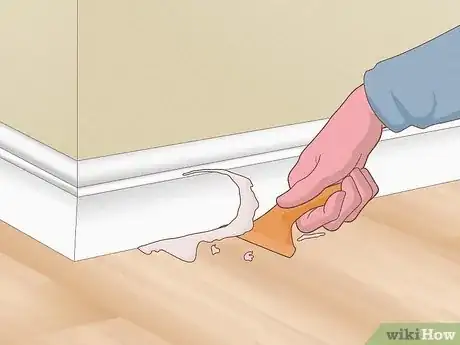
6Scrape off the heated epoxy with a plastic scraper. Use a strong, plastic scraper to remove the epoxy from the surface. You may notice that the heat did not penetrate all the way down into all of the layers of epoxy. In this case, keep reheating the area and scrape until all the epoxy has been removed.[7]
- Do not heat an area again right after you have already heated it. Wait a few minutes for the epoxy to cool off before you go back and reheat. Otherwise, you could cause the area to catch on fire.
- Do not use scrapers made of metal because they can easily cause damage to the surface you’re working on.
Freezing the Epoxy
-
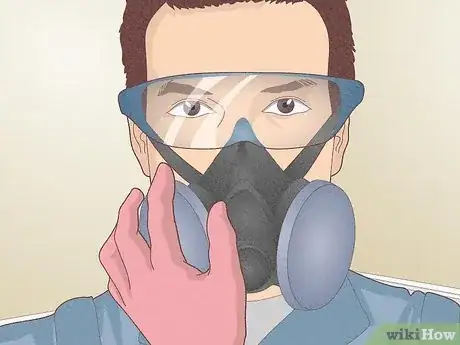
1Wear safety gloves, goggles, and a respirator mask with gas and vapor cartridges. Like the epoxy itself, refrigerants contain harmful vapors that can irritate your eyes, lungs, skin, and mucus membranes. Wear a pair of tight-fitting safety goggles that don’t let in any air, as well as a sealed respirator mask with gas and vapor cartridges. Put on a pair of rubber gloves that extend at least 3 inches (7.6 cm) past your wrists to protect your skin.[8]
- Refer to the Material Safety Data Sheets (MSDS) for your refrigerant and the epoxy. These sheets will provide instructions on how to safety handle the materials and what kinds of protective equipment you need, including respirator cartridges.
- Consult a respirator guide, such as the 3M Cartridge and Filter Guide, to determine the correct color code for the type of respirator you need.[9]
- Always research whether the refrigerant you plant to use is legal in your area. Some refrigerants are illegal to release due to environmental concerns!
-
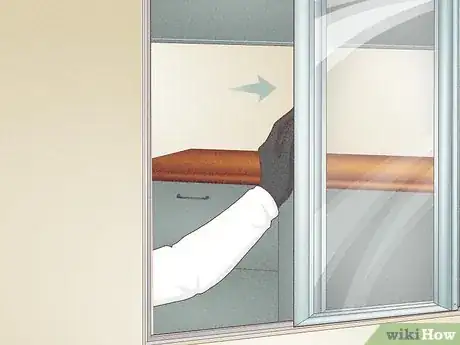
2Open your windows and doors. This allows air to move freely and carry vapors from the refrigerant outside. If you don't open your doors and windows, the fumes can build up and make it very dangerous to breathe the air. As the airflow is moving, you should place any kids and pets in a safe room with the door closed. This will prevent them from breathing in fumes.
- Make sure to turn your air conditioning or heating unit off so that it doesn’t pull the vapors in.
-
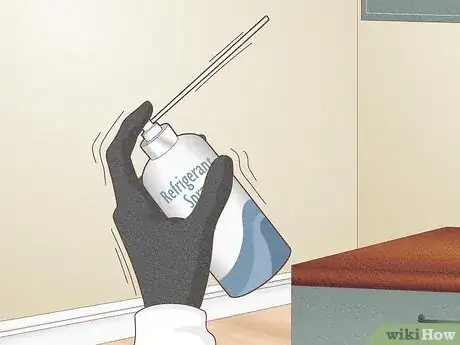
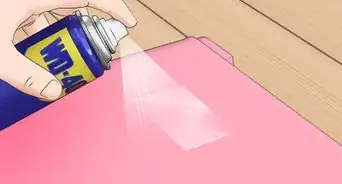
3Shake your can of refrigerant. Refrigerant sprays can be found in multiple brands at most hardware stores. When you purchase a can, you will want to shake it before using it, just like any other spray can. Then hold it about 1 foot (30 cm) away from the epoxy you want to spray. Make sure you are holding the can upright, otherwise the liquid will leak out.
-
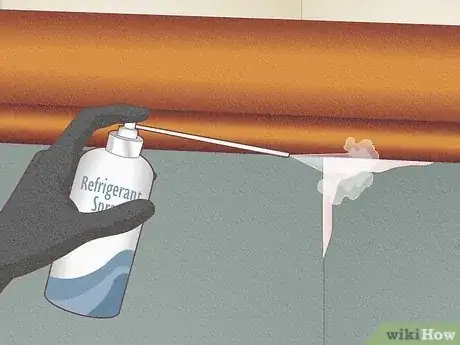
4Spray your refrigerant on the epoxy. The spray will quickly drop the temperature of anything it touches. The epoxy will freeze and turn brittle. Do NOT put your hands near the area you are spraying. Make sure that your gloves and goggles are secure before you begin spraying. If you have children or pets, do not let them near the area.[10]
-
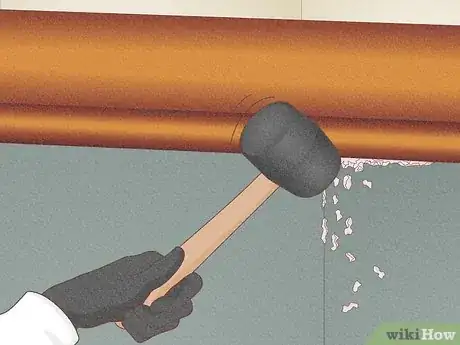
5Chip away the brittle epoxy. Use a plastic putty knife or hit the epoxy with a rubber mallet or hammer. The epoxy should be cold enough that it turns to crystals and breaks off easily. You will then want to sweep the crystals up into a dustpan and immediately dump them into the trashcan. You can use a vacuum cleaner to make sure that you get rid of all of the remaining microscopic crystals.
- Be careful not to damage your surface by putting too much pressure on the epoxy. If it doesn't break apart easily, try adding more spray cooler to chill the resin even more.
Preparing Chemicals to Remove Epoxy
-
1Put on goggles, safety gloves, and a respirator mask with gas and vapor cartridges. Before working with any chemical agents that can dissolve or soften epoxy, it’s vital to put on safety equipment that will protect your eyes, lungs, mucus membranes, and skin. Put on a pair of goggles that cover your eyes completely and sit flush against your skin, without any openings where air can get through. You’ll also need a respirator with appropriate cartridges for the chemicals you’re using, as well as rubber gloves that extend at least 3 inches (7.6 cm) past your wrists.[11]
- Consult the Material Safety Data Sheets (MSDS) for your chemical solvents and epoxy so that you know what type of respirator cartridges you need.
-
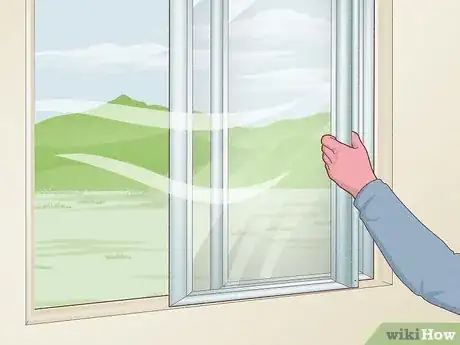
2Open up the windows and doors. This is incredibly important because you need airflow and ventilation. Air circulation through the open doors and windows will carry the harmful vapors of the chemicals towards the outside of your house. If your windows and doors remained closed, you will likely breathe in chemical agents which are hazardous to your health.[12]
- Make sure to turn your air conditioning or heating unit off so that the fresh air doesn’t pull the vapors in.
-
3Choose a chemical that will soften epoxy. It is also critical that the chemical agent does not damage the surface that the epoxy is stuck on. Chemicals may damage certain surfaces such as cloth, plastic or vinyl. The strong chemicals may actually eat away at surfaces before they soften the epoxy glue.[13] Always reference the Material Safety Data Sheets (MSDS) for all chemicals you are using! The MSDS will include handling instructions and list the correct Personal Protective Equipment (PPE) to use.
- Stay away from Class 3 and 4 oxidizers. These agents can cause spontaneous combustion or catch on fire down the road.
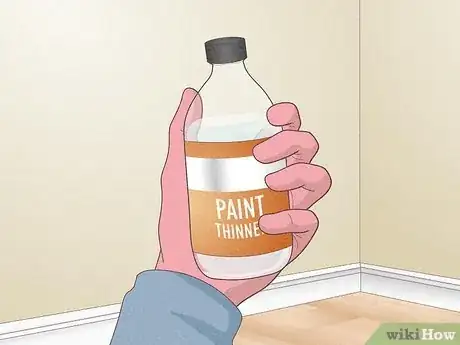
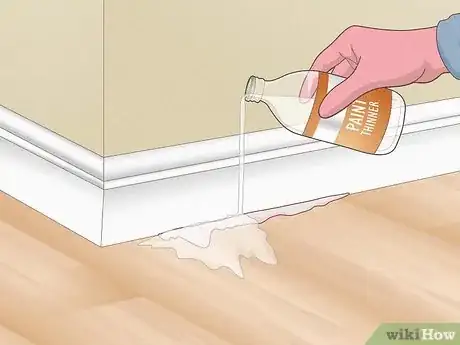
- Try a paint thinner. The acetone in most paint thinners can soften up hardened epoxy, but be prepared to let the epoxy and the object to which it is stuck soak for at least an hour.
- Use a commercial stripping agent. These are available at most hardware stores.[14]
-
4Apply the stripping agent. You can either drip some of the agent directly onto the epoxy or put some on a washcloth and dab the epoxy. Either way, make sure that enough agent makes its way onto the epoxy. After the agent has been applied, wait at least 1 hour before you come back to it.[15]
- Work in small steps, 2–3 inches (5.1–7.6 cm) at a time. If the area is too wide, the chemical agent will likely not work as effectively.
- Make sure that children and pets are not around when you are applying the chemical agent.
-
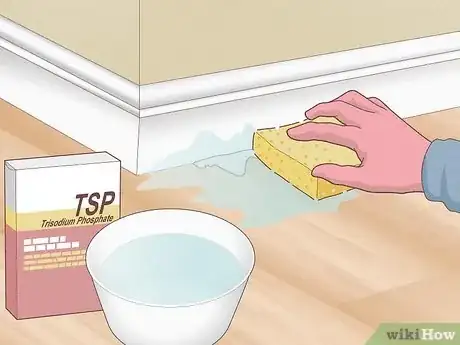
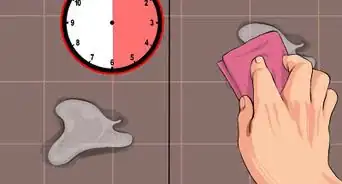
5Mix a cleaning solution. After the chemical stripping agent sits for an hour, you will need to neutralize it before you scrape it off. In a medium sized bucket, mix together 2-3 tablespoons (50-75 g) of trisodium phosphate and 1 gallon (3.8 L) of hot water. You can either pour the mixture onto the stripping agent or dab it on with a sponge. Let it sit and neutralize the agent for at least 5 minutes.[16]
-
6Scrape the epoxy resin from the surface. Scrape the resin off with a sharp, strong, plastic scraper. You will want to immediately place the epoxy in a paper towel and throw it away in a trash can. The goal is to not let the chemical agents get anywhere near you. If some epoxy is still stuck to the surface, soak the remaining epoxy in the chemical for a while longer before trying to scrape it off.
- When you have scraped the epoxy off, wash the area down with a rag soaked in warm water and soap. You do not want the chemicals to linger around, especially with children and pets in the house.
Expert Q&A
Did you know you can get expert answers for this article?
Unlock expert answers by supporting wikiHow
-
QuestionHow do I remove epoxy from my outdoor patio?
 Mark SpelmanMark Spelman is a General Contractor based in Austin, Texas. With over 30 years of construction experience, Mark specializes in constructing interiors, project management, and project estimation. He has been a construction professional since 1987.
Construction Professional
-
QuestionHow can I remove hardened epoxy from a glass window?
 Community AnswerYou could try using a razor blade, but make sure it's one with a strong metal backing (a hobby blade) or you could get badly cut.
 -
QuestionHow can I remove a light switch that has been super-glued to painted plaster?
 Community AnswerUse as sharp a chisel as possible, or a flat razor blade, and try to cut the glue from the plaster. Go slow and easy, cutting away from you. Be prepared to repair the plaster, as cracks or pits are likely.
Warnings
- Keep your pets and children in a safe place as you are applying chemicals to the epoxy.⧼thumbs_response⧽
- Allow for air to move freely throughout the house and turn off your air conditioning or heating unit. You do not want to bottle up vapor from dangerous chemicals.⧼thumbs_response⧽
- Make sure your gloves, goggles, and mask are secure. You do not want some of the fumes to make contact with your skin, mouth or eyes.⧼thumbs_response⧽
Things You'll Need
- Respirator with gas and vapor cartridges
- Safety goggles that form a seal against your skin
- Rubber safety gloves
- Heat gun
- Scraping tool
- Refrigerant spray
- Acetone or methylene chloride
- Trisodium phosphate
Expert Interview

Thanks for reading our article! If you'd like to learn more about using epoxy, check out our in-depth interview with Ryaan Tuttle.
References
- ↑ https://www.bobvila.com/articles/how-to-remove-epoxy/
- ↑ https://www.ncagromedicine.org/pdf/respiratory/Respirator-101-GC-Oregon-OSHA.pdf
- ↑ https://www.ncagromedicine.org/pdf/respiratory/Respirator-101-GC-Oregon-OSHA.pdf
- ↑ http://forum.woodenboat.com/showthread.php?8405-thinning-epoxy-with-acetone
- ↑ http://www.crosslinktech.com/support/tips-and-tricks/how-to-remove-cured-epoxy-or-polyurethane.html
- ↑ http://www.lakesidepottery.com/Pages/Pottery-tips/How-to-remove-epoxy-glue-cement-from-ceramic.htm
- ↑ http://www.westsystem.com/ss/clean-up-removing
- ↑ https://www.ncagromedicine.org/pdf/respiratory/Respirator-101-GC-Oregon-OSHA.pdf
- ↑ https://multimedia.3m.com/mws/media/565214O/3m-cartridge-filter-guide-and-brochure.pdf
- ↑ http://www.fishmancorp.com/remove-cured-epoxy/
- ↑ https://www.ncagromedicine.org/pdf/respiratory/Respirator-101-GC-Oregon-OSHA.pdf
- ↑ http://homeguides.sfgate.com/remove-epoxy-grout-tile-36336.html
- ↑ http://www.ccohs.ca/oshanswers/chemicals/oxidizing/oxiziding_hazards.html
- ↑ http://homeguides.sfgate.com/remove-epoxy-grout-tile-36336.html
- ↑ https://www.doityourself.com/stry/8-tips-for-removing-epoxy-adhesive#b
- ↑ http://homeguides.sfgate.com/remove-epoxy-grout-tile-36336.html
About This Article
To remove epoxy, aim a heat gun at the epoxy for several minutes, which will soften it so it's easy to scrape off. If you're trying to remove a large amount of epoxy, you may need to work on small sections at a time. You can also remove epoxy by spraying it with a can of refrigerant. The refrigerant will cause the epoxy to freeze, and then you can just chip it away with a putty knife. To learn how to remove epoxy using chemicals, scroll down!
