This article was co-authored by wikiHow Staff. Our trained team of editors and researchers validate articles for accuracy and comprehensiveness. wikiHow's Content Management Team carefully monitors the work from our editorial staff to ensure that each article is backed by trusted research and meets our high quality standards.
There are 7 references cited in this article, which can be found at the bottom of the page.
wikiHow marks an article as reader-approved once it receives enough positive feedback. In this case, several readers have written to tell us that this article was helpful to them, earning it our reader-approved status.
This article has been viewed 367,079 times.
Learn more...
By simmering a braise, soup, or other liquid, you can thicken the consistency and end up with a more concentrated and intense flavor. The main trick to reducing in cooking is to give your liquid enough time to simmer in an uncovered pan. Reducing in cooking is an easy way to make delicious gravies, syrups, and stocks.
Steps
Adhering to General Rules
-
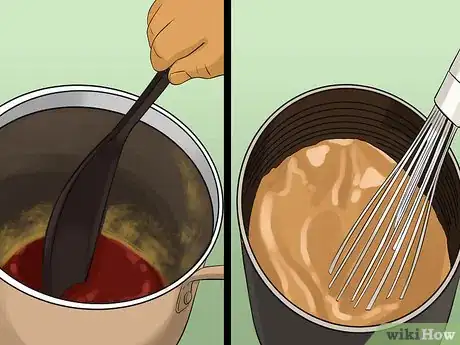
1Select the ingredients you wish to reduce. Some reductions require only one ingredient. Nape, for instance, is a reduction of red wine. Other reductions like gravy will require multiple ingredients such as salt, spices, flour, and milk or water.[1]
- There’s no one right way to decide what ingredients you want to reduce. You can reduce any liquid you want in cooking.
- If you’re unsure of what you want to reduce, just wait until you encounter a recipe that requires a reduction and follow the directions.
- Anything with a high moisture content can be reduced, including soups, alcohol, and dairy beverages.[2]
-
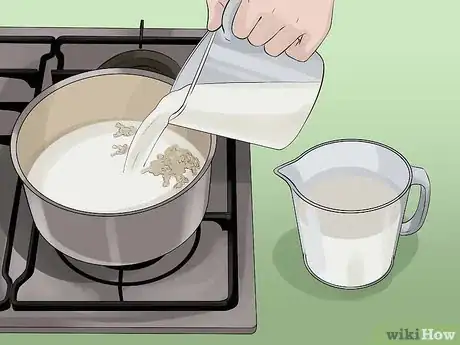
2Discard excess liquid before beginning. If you want 2 cups (473 milliliters) of sauce, there’s no need to start with 2 litres (0.53 US gal) of liquid. Generally, you can start your reduction with about 1.5 to 2 times your desired volume of liquid.[3]
- For instance, if you want 2 cups (473 milliliters) of a particular sauce, start your reduction with 3 or 4 cups (709 to 946 milliliters) of liquid.
- The precise amount of liquid you’ll need to reduce in order to achieve a sauce with the consistency you wish depends on the contents of the liquid you reduce, as well as the conditions under which you reduce it.
Advertisement -
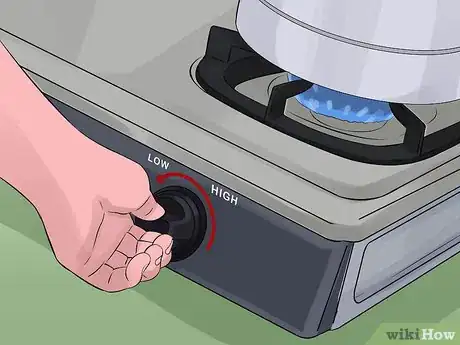
3Boil your liquid, then reduce heat to a simmer. If you continue to boil your ingredients, it might burn or stick to the sides of the pan. Excess heat might also cause the sauce to reduce too quickly or leave it with a bitter taste.[4]
-
4Don’t cover the pan. The purpose of a reduction is to allow excess liquid to evaporate. If you cover the pan, evaporation becomes impossible.[5]
- Place the lid to the side of the pan so that you’ll be prepared to cover the reduction when it reaches your desired consistency.
-
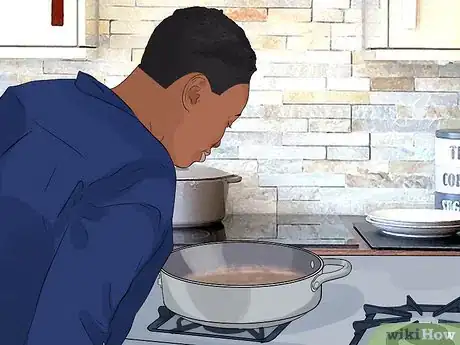
5Monitor your reduction closely if it requires a small amount of liquid to start. Some reductions take a long time and won’t need a lot of attention while they bubble away. Others, however, reduce quite quickly. If you’re reducing less than 1 cup (236 milliliters) of liquid, stand by and keep an eye on it as it reduces.[6]
- The precise amount of time necessary to achieve a reduction with your desired consistency depends on the type of liquid you’re reducing, the volume of liquid you begin with, and the conditions under which you cook it. Most reductions require 15-30 minutes.[7]
- If you’re working from a recipe, the recipe should provide estimates for how much time the reduction requires.
-
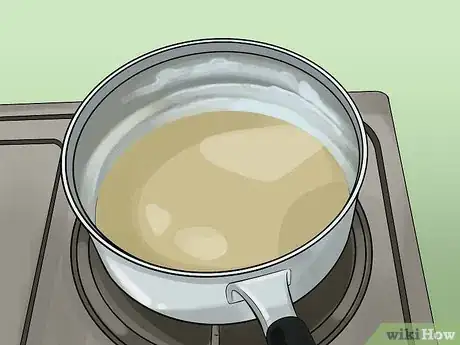
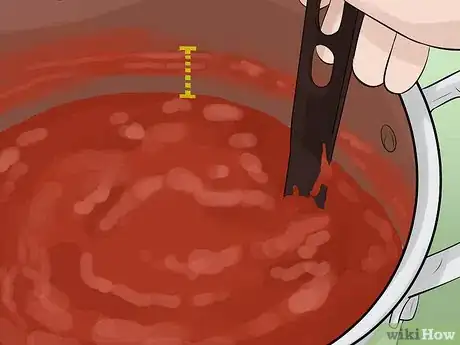
6Use the starting level of your reduction to track how much it has reduced. As your reduction evaporates, it will leave behind a residue line that marks how much liquid was in the pan before you began reducing it. To easily figure out how much the liquid has reduced, subtract the current elevation of the liquid from the level it was at when you began the reduction.[8]
- If your recipe tells you to reduce by 1/4, for instance, reduce the liquid until the final volume of your sauce or cooking liquid is at 3/4 the depth it was when you began.
- If you wish to track your reduction more accurate, pour it into a large measuring cup periodically to determine how much it has reduced, then return it to the pan if you wish to continue reducing it.
Accelerating the Reduction
-
1Remove meat from your reduction. Meat chunks and slices will prevent a high-quality reduction. If you’re working with a braise, remove meat pieces to another pan or a plate when they’re done cooking, then add them back into your reduction when it has reached the consistency you desire.[9]
-
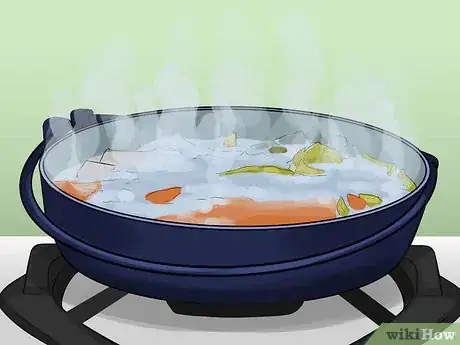
2Use the widest possible pan. A larger surface area will allow your sauce to reduce more quickly. A wide sauté pan or a Dutch oven are your best options. You can reduce using a small sauce pot, too, but it will take longer.[10]
-
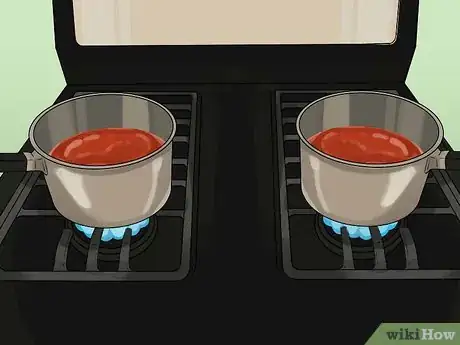
3Divide your reduction to complete the process more quickly. If you’re short on time (or just really hungry), place half of your sauce into a second pan and cook both pans simultaneously. Cook both pans under identical heat settings. This will reduce the amount of sauce per pan you’ll have to reduce.[11]
- Combine both pans when they reach the desired consistency.
Perfecting Your Reduction
-
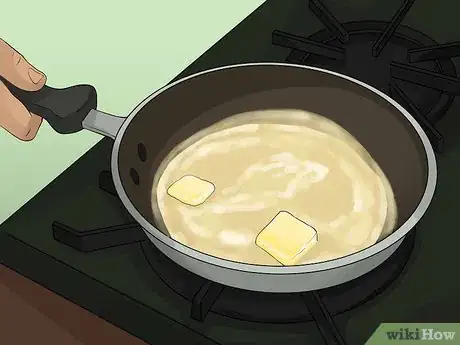
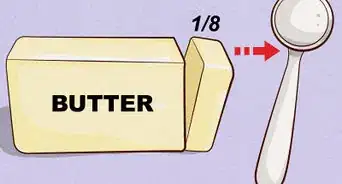
1Add a tablespoon or two of butter after the reduction is done. Butter will thicken the reduction and give it a pleasing appearance. Do not add the butter until the reduction is finished, since adding the butter too soon can cause the reduction to separate.[12]
-
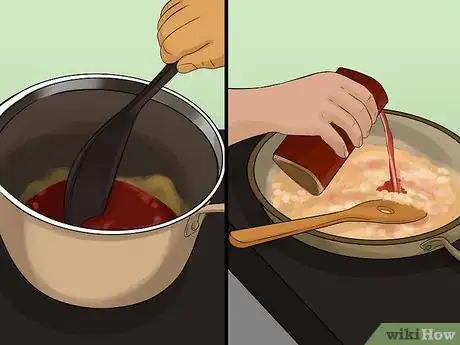
2Reduce alcohol separately. If you’re making a sauce, braise, or other reduction that requires alcohol, always reduce the alcohol separately, then combine it with the other ingredients later. If you don’t, you’ll end up with a more boozy flavor than you would otherwise.[13]
- Reducing wine will cut down on its overall acidity.
-
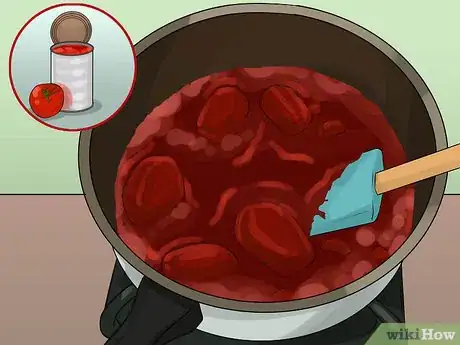
3Simmer canned tomatoes from the start to concentrate flavor. Canned tomatoes have already been processed with heat, so if you’re trying to reduce a sauce with canned tomatoes, there’s no need to bring them to a boil beforehand. If you’re using fresh tomatoes, on the other hand, heat them rapidly at the start of the reduction, then reduce heat to a simmer to bring out the best flavor.[14]
-
4Strain out solids if you want a smoother reduction. Some people like their reductions chunky, with bits of tomato or other vegetable solids in them. If you prefer a reduction without these bits, however, pour the reduction through a strainer after it reaches your desired consistency.[15]
-
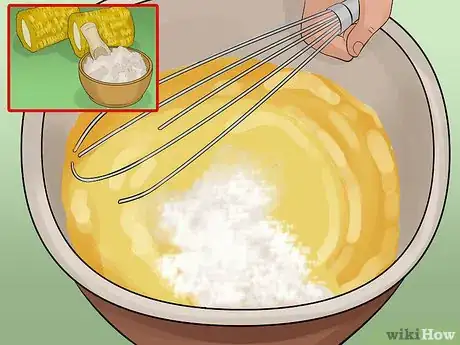
5Use a thickener if you’re having trouble getting your sauce to reduce. Sprinkling some potato starch, cornstarch, arrow root, or even flour can help your reduction become thicker. Place a few spoonfuls of your thickener in a sieve and sprinkle it in a light layer over your reduction. Mix it in using a mixing spoon and add more if necessary.[16]
- Don’t add too much thickener at once or your reduction will end up with chunky bits of flour or starch in it.
Community Q&A
-
QuestionWhat do I do if my consistency is not reducing to a syrup?
 Community AnswerIf there is only a small amount of liquid left (around half an inch), turn the heat down. It will take a bit longer but it will require less maintenance and is less likely to burn. Also, if your sauce doesn't contain enough fat or sugar, it might take a long time to reduce.
 -
QuestionMy consistency is not reducing and it has been on the heat for an hour. What can I do?
 Community AnswerTry using cornflour. Put one or two teaspoons of cornflour into a normal glass (more if you are cooking a very large amount) and add about four finger widths of water. Mix together briefly and add to your dish. I find it helps to add it in small amount first and stir between additions, just in case it ends up being too thick.
 -
QuestionHow do I correctly calculate reductions for a sauce?
 Community AnswerThis depends on which liquids are being used as the velocity changes for each liquid.
References
- ↑ http://www.foodrepublic.com/2011/05/16/how-to-make-a-reduction/
- ↑ https://spoonuniversity.com/how-to/why-you-should-reduce-your-chicken-stock-every-time-you-cook
- ↑ https://www.bonappetit.com/test-kitchen/cooking-tips/article/how-to-make-a-reduction
- ↑ https://www.bonappetit.com/test-kitchen/cooking-tips/article/how-to-make-a-reduction
- ↑ https://www.bonappetit.com/test-kitchen/cooking-tips/article/how-to-make-a-reduction
- ↑ http://www.foodrepublic.com/2011/05/16/how-to-make-a-reduction/
- ↑ https://www.bonappetit.com/test-kitchen/cooking-tips/article/how-to-make-a-reduction
- ↑ http://www.foodrepublic.com/2011/05/16/how-to-make-a-reduction/
- ↑ https://www.bonappetit.com/test-kitchen/cooking-tips/article/how-to-make-a-reduction
- ↑ https://www.bonappetit.com/test-kitchen/cooking-tips/article/how-to-make-a-reduction
- ↑ https://www.bonappetit.com/test-kitchen/cooking-tips/article/how-to-make-a-reduction
- ↑ https://www.bonappetit.com/test-kitchen/cooking-tips/article/how-to-make-a-reduction
- ↑ http://www.seriouseats.com/2013/04/ask-the-food-lab-do-i-really-need-to-reduce-w.html
- ↑ http://www.seriouseats.com/2013/04/ask-the-food-lab-do-i-really-need-to-reduce-w.html
- ↑ http://www.cookinglight.com/cooking-101/techniques/how-to-make-red-wine-reduction#strain-wine-stock-mixture
- ↑ https://www.bonappetit.com/test-kitchen/cooking-tips/article/how-to-make-a-reduction
About This Article
To reduce in cooking, start by boiling your liquid in an uncovered pan and reducing the heat to a simmer. As it simmers, monitor the liquid closely until it reaches the consistency you desire. If you’re having trouble getting your liquid to reduce, sprinkle in a few spoonfuls of a thickener, like cornstarch or flour. However, make sure to place your thickener in a sieve and sprinkle it in gradually to avoid chunks of cornstarch or flour in your reduction. After the reduction is finished, add 1-2 tablespoons of butter to thicken it and give it a pleasing appearance. For more tips, like how to track the amount you’ve reduced, read on!
