This article was co-authored by wikiHow Staff. Our trained team of editors and researchers validate articles for accuracy and comprehensiveness. wikiHow's Content Management Team carefully monitors the work from our editorial staff to ensure that each article is backed by trusted research and meets our high quality standards.
The wikiHow Tech Team also followed the article's instructions and verified that they work.
This article has been viewed 94,941 times.
Learn more...
This wikiHow teaches you how to change the latency settings on your Twitch account to reduce the stream delay in your live broadcasts. You can change your latency settings on any desktop browser, or open the Twitch website on a mobile internet browser and request the desktop version of the website.
Things You Should Know
- Switching your stream to Low Latency Mode should significantly reduce audio and video delay.
- Test the speed of your internet connection to rule out connectivity issues.
- If fixed delay is enabled in OBS Studio or other streaming software, try disabling it.
- Lower your encoding and video quality settings any time your internet connection slows down.
Steps
Enabling Low Latency
-
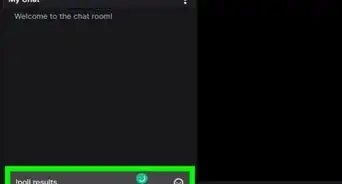
1Open Twitch in your internet browser. Type https://www.twitch.tv into the address bar, and press ↵ Enter or ⏎ Return on your keyboard.
- If you're not automatically signed in, click the Log In button on the top-right corner of the page, and log in to your streamer account.
-
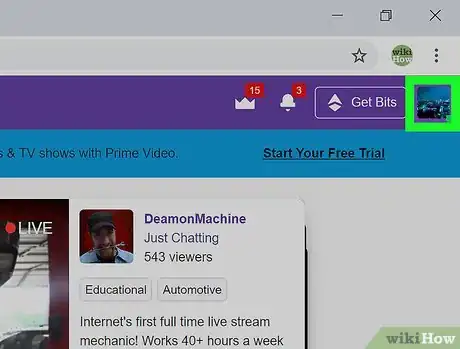
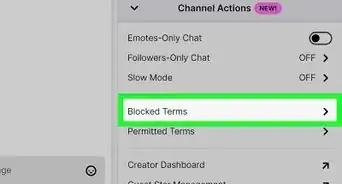
2Click your profile picture on the top-right. You can find a thumbnail of your profile picture in the upper-right corner of the page. It will open a drop-down menu.Advertisement
-
3
-
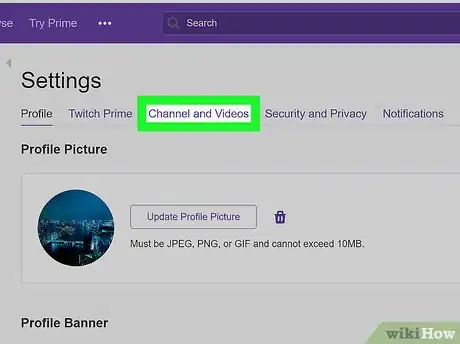
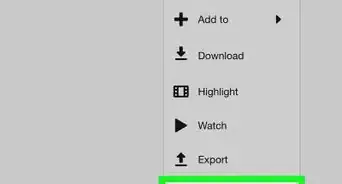
4Click the Channel and Videos tab. You can find it below the "Settings" heading at the top. It will open your Channel settings on a new page.
-
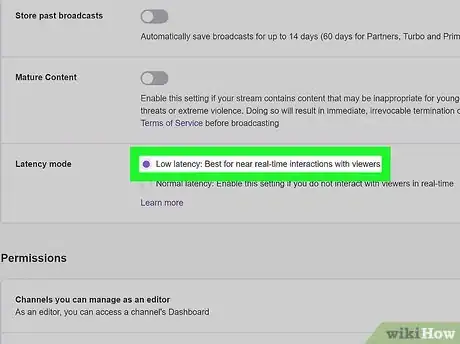
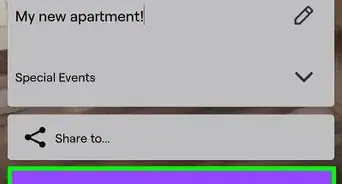
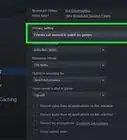
5Select Low latency next to "Latency mode." You can find this option at the bottom of the "Stream Key & Preferences" section in your Channel settings.
- This option automatically reduces stream delay on average by 33.
- The changes will take effect next time you start a live broadcast.[1]
- Your changes are saved automatically.
Troubleshooting
-
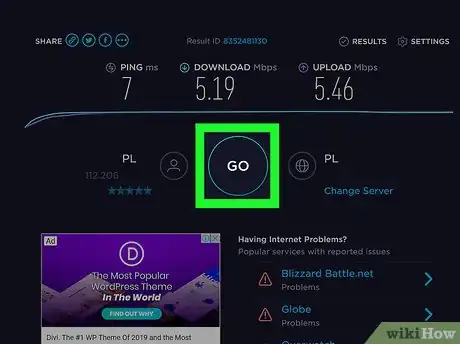
1Check the upload speed of your internet. You need a relatively high upload speed in order to broadcast high-quality streams with low delay.
- You can use https://www.speedtest.net to see your average upload speed.
- To make sure about your upload speeds, you can also go to https://testmy.net/upload, and select something around 6MB in the Manual Test Size section. This will upload random data that amounts up to the selected file size, and give you your constant upstream numbers, which live streams usually rely on.
- Usually, 1500kbps (1.5mbps) is the recommended minimum for a decent 720p stream at 30fps, and you need closer to 2mbps or higher for better streams at this quality.
-
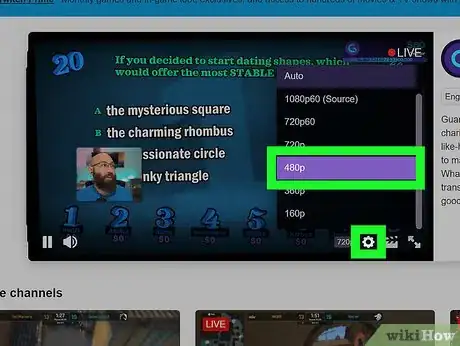
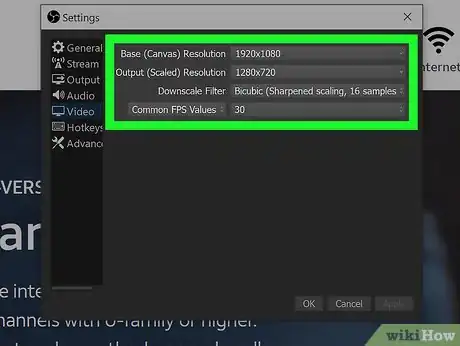
2Change the encoding and quality options in your streaming software. Depending on your internet connection and hardware, you may simply need to lower your encoding and video quality settings to get less stream delay.
- Make sure to check out Twitch's encoding guidelines at https://stream.twitch.tv/encoding to choose the best encoding and quality options for your streams.
-
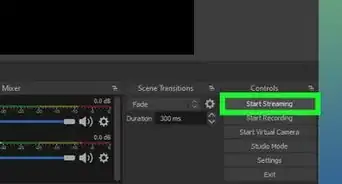
3Check if you have a fixed delay set in your streaming software. Most streaming software like OBS Studio will allow you to set a constant delay in your stream.
- Make sure to check your streaming software's settings, and disable any fixed delay option set for your streams.
- If you're using OBS Studio, you can check out this article to see the detailed instructions on how to set it up for Twitch.
-
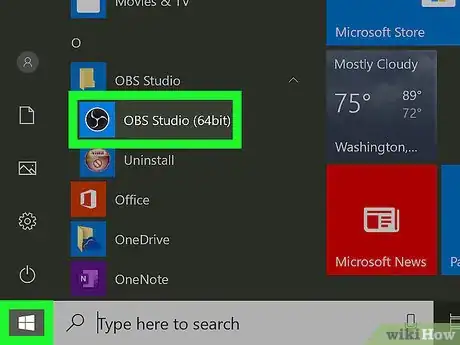
4Try different streaming software. You can check out some of the most popular streaming software like OBS Studio, XSplit, and Bandicam to see which one works the best for your system. You can get:
- OBS Studio at https://obsproject.com
- XSplit at https://www.xsplit.com
- Bandicam at https://www.bandicam.com
-
5Disconnect some of your extra hardware like cameras and microphones. Having multiple pieces of hardware set up and routed through various software may hog your upload rates, and increase your stream latency.
-
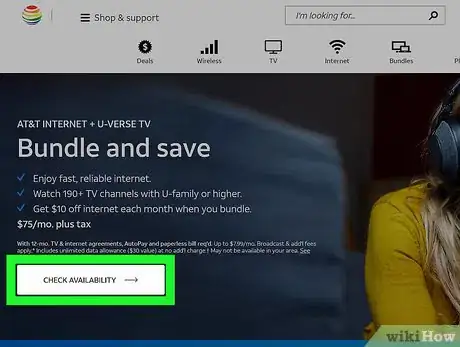
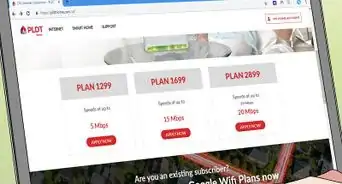
6Look into changing your internet service provider (ISP). If your upload speeds are too low for streaming, you may want to look into different ISP options in your area, or different data plans offered by your ISP.
- Make sure to talk to your ISP's customer representative about online streaming. They may suggest a new data plan that will help increase your upload speeds, and allow higher quality streams with low latency.
Warnings
- Twitch's mobile app does not give an in-app option to change your latency settings. If you're using a phone or tablet, you will have to open the Twitch website in your mobile internet browser, and load the desktop version of the page.⧼thumbs_response⧽
About This Article
1. Open Twitch.
2. Click your profile picture on the top-right.
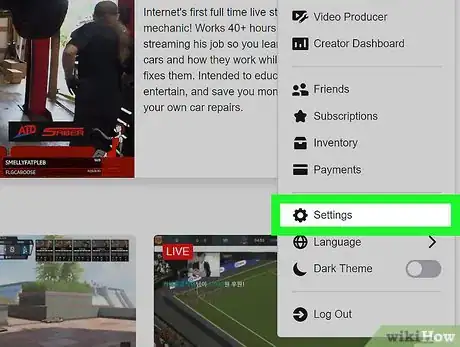
3. Click Settings on the menu.
4. Click the Channel and Videos tab.
5. Select Low latency next to "Latency mode."

