This article was co-authored by Kathryn Kellogg and by wikiHow staff writer, Hunter Rising. Kathryn Kellogg is the founder of goingzerowaste.com, a lifestyle website dedicated to breaking eco-friendly living down into a simple step-by-step process with lots of positivity and love. She's the author of 101 Ways to Go Zero Waste and spokesperson for plastic-free living for National Geographic.
There are 9 references cited in this article, which can be found at the bottom of the page.
This article has been viewed 35,276 times.
Shoeboxes can easily become clutter if you keep them in your closet, but they could look great in other places of your home. If you're not ready to send them to off to your municipal recycling service, you can use them for personal storage, keep them in a children's playroom, or decorate your walls.
Steps
Making Storage Containers
-
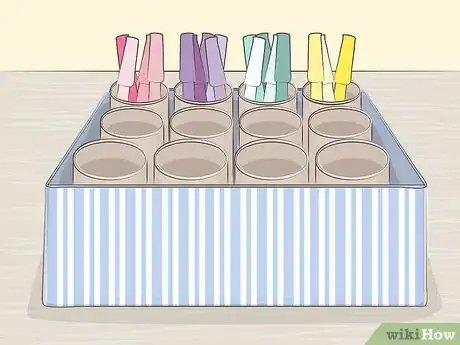
1Organize pens and markers with a shoebox and cardboard tubes. Fill an open shoe box with vertical toilet paper tubes or cut-down paper towel tubes. Put specific pens or pencils in each of the tubes to hold them upright in an easy-to-reach place on your desk.[1]
- If you’re an artist, this is a great way to store and dry paint brushes!
-
2Hang jewelry from the lid with push pins. Wrap the lid of a shoe box with burlap or another material that matches the look of your bedroom. Hang the lid on the wall with nails near a dresser or jewelry case. Stick clear push pins through the fabric and lid to make hangers for necklaces or bracelets.[2]Advertisement
-
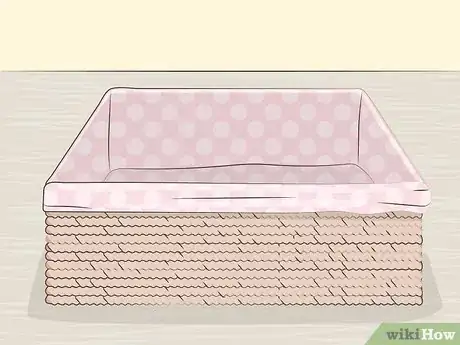
3Craft a storage basket with twine and canvas. To give your shoe box a classier look, wrap the exterior of the box with twine or jute rope. Attach the rope with hot glue or tacky glue. Once the rope has dried and set, line the inside of the box with white canvas for a simple and elegant look.
- Keep the box in a dry area. Humidity may cause the cardboard in the box to grow mold.
-
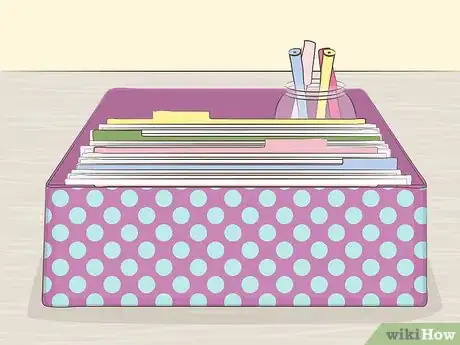
4Use the box as a small filing cabinet. If you need to sort mail, greeting cards, or any other small paper goods, keep your shoeboxes for filing. Create dividers using cut pieces of posterboard to keep your different items organized. Use filing tabs to label each section.[3]
- If you have extra space in the box, keep a jar of pens and pencils so you have everything you need in one small package!
-
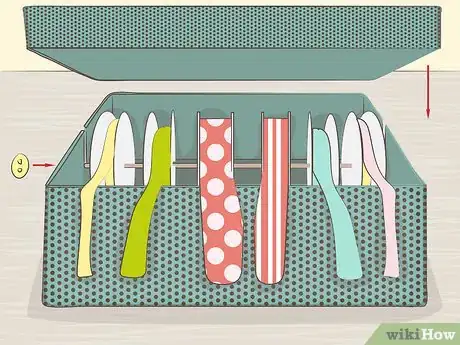
5Store spools of ribbon in the box. If you want to keep your craft supplies more organized, cut slots on the short sides of the box so that a thin wooden dowel can fit snugly. Put the dowel through the center holes on ribbon spools and push it into the slots. When you’re finished, put the lid back on so the ends of the ribbon are held tight and they’re easy for you to pull out.[4]
- Glue buttons on the end of the dowel so it does not slip out of the slots you’ve cut.[5]
- Keep a pair of scissors in the box so you have everything you need in one tiny package!
Building Children’s Toys
-
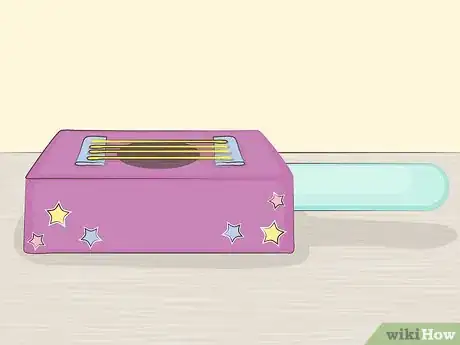
1Build a shoebox guitar. Cut a hole in a shoe box and string rubber bands across it using strips of cardboard to secure the ends. Attach a cardboard tube to one of the short ends of the guitar to make the neck of the guitar.[6]
- Use paint, glitter, or colored paper to decorate the guitar like a rock star!
-
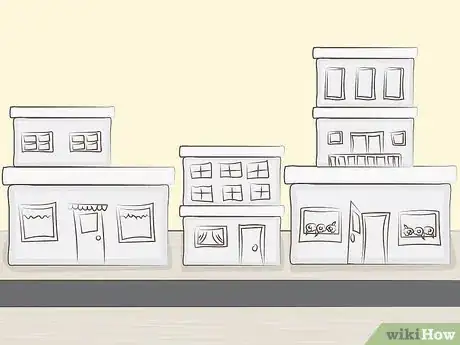
2Create a town made of boxes. Paint the outside of shoeboxes a variety of colors to make a colorful city of boxes. Draw windows on with a marker or cut out black pieces of construction paper and glue them to the sides of the box. Stack boxes on top of one another to make skyscrapers.[7]
- Build roads for toy cars to drive on by using black construction paper on the floor.
-
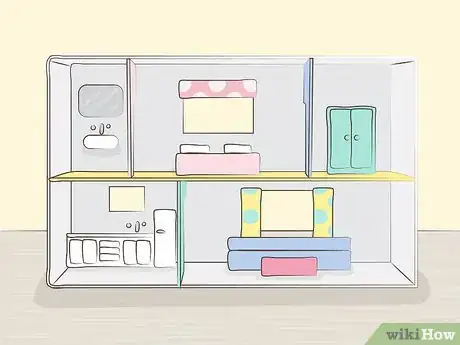
3Construct a house for your dolls. Cut a portion from the lid of the shoebox so it fits inside the box and is flush with the edge. Place it in the center of the box to create a “second floor.” Continue to cut pieces of the lid to make walls for additional rooms. Use paper or paint to decorate the interior walls and the outside.
- Use a craft knife to cut windows out of the box so you can see into the rooms of the dollhouse.
- Populate the inside of the dollhouse with doll furniture you already own or make new furniture with the extra cardboard pieces.
- Use multiple shoeboxes to build a mansion for your dolls.
-
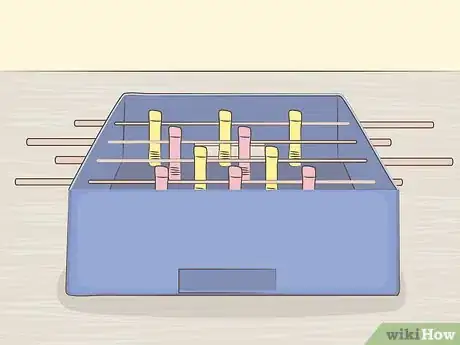
4Make a homemade foosball game. Using a standard hole punch, put 4 holes in each long side of the shoe box so they are across from one another. Run wooden dowels through the holes, making sure they extend out from the sides so that you can hold onto them. Cut out small rectangles from the short sides of the box along the bottom.[8]
- Attach clothespins to the dowels to use as the players for the game. If you’re feeling creative, draw players on a piece of paper or poster board and attach them to the clothespins.
Decorating Your Home
-
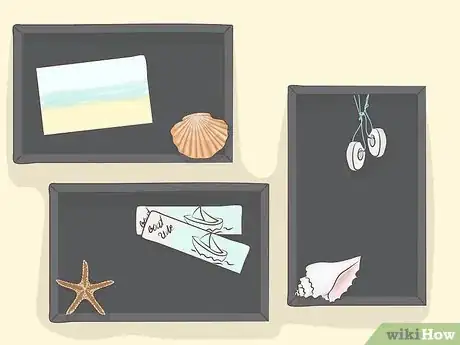
1Hang shadow boxes on your wall. Paint the interior of the shoebox black or attach black construction paper with glue. Glue keepsakes to the bottom to display them. Make sure the items are light enough so the shoebox does not break under the weight. Nail the shadowbox into the wall in each corner.[9]
- Decorate the outside of the box with paint to match the room you’re displaying it in or with scrapbook paper.
-
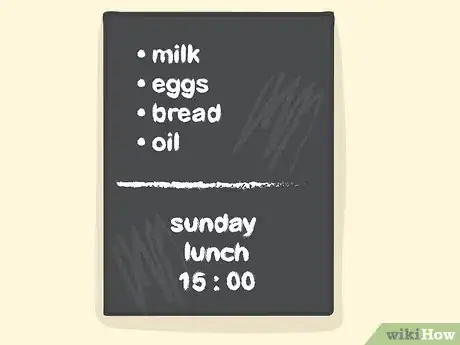
2Make a cheap chalkboard. Use chalkboard paint on the lid of the shoebox to make a mini writing board. Let the lid dry before testing chalk on the surface. Hang the chalkboard in the kitchen as a way to communicate with your family or leave yourself notes.[10]
-
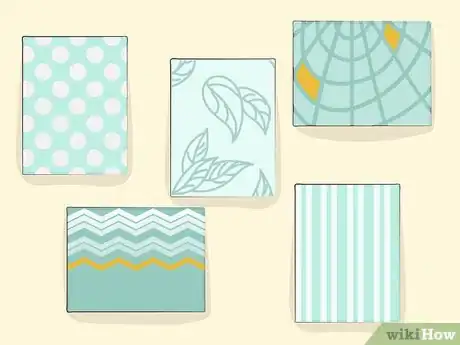
3Wrap the lid in scrapbook paper for wall art. Find a fun design of wallpaper or scrapbook paper and glue it to the lid of the shoebox. Use multiple lids to make a cluster of artwork that you can hang on your wall for an accent piece.[11]
Expert Q&A
-
QuestionHow can I reuse old boxes?
 Kathryn KelloggKathryn Kellogg is the founder of goingzerowaste.com, a lifestyle website dedicated to breaking eco-friendly living down into a simple step-by-step process with lots of positivity and love. She's the author of 101 Ways to Go Zero Waste and spokesperson for plastic-free living for National Geographic.
Sustainability Specialist Use old shoe boxes as tiny trays to hold things like photos and mementos. You can even make a label so you know exactly what's inside.
References
- ↑ https://www.diys.com/projects-made-with-shoe-boxes/
- ↑ https://www.diys.com/projects-made-with-shoe-boxes/
- ↑ https://www.diys.com/projects-made-with-shoe-boxes/
- ↑ http://www.justcraftyenough.com/2012/05/iron-craft-challenge-9-shoebox-ribbon-organizer/
- ↑ http://www.justcraftyenough.com/2012/05/iron-craft-challenge-9-shoebox-ribbon-organizer/
- ↑ https://www.education.com/activity/article/Make_Shoe_Box_Guitar/
- ↑ http://www.hallmarkchannel.com/home-and-family/how-to/diy-shoebox-city
- ↑ http://www.u-createcrafts.com/diy-mini-foosball-tableperfect-for-kids/
- ↑ https://ourpastimes.com/how-to-make-a-shoe-box-shadow-box-12170315.html
