wikiHow is a “wiki,” similar to Wikipedia, which means that many of our articles are co-written by multiple authors. To create this article, 26 people, some anonymous, worked to edit and improve it over time.
wikiHow marks an article as reader-approved once it receives enough positive feedback. In this case, 89% of readers who voted found the article helpful, earning it our reader-approved status.
This article has been viewed 656,119 times.
Learn more...
Rebuilding an engine is a big job, but planning smartly for a successful rebuild project can help eliminate the possibility of costly mistakes, saving you time, energy, and frustration. Learn to remove and reinstall your engine block, as well as how to disassemble and inspect the components to restore your engine to like new condition, or to customize it for maximum performance.
Steps
Removing the Engine
-
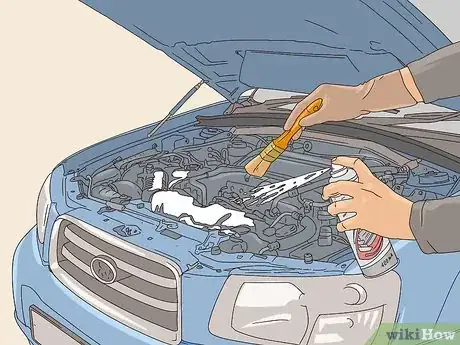
1Thoroughly clean the engine before beginning if possible. Accumulated dirt, grime, grease, and sludge will make removing bolts and disconnecting components a messy job.
-
2Position the vehicle near your hoist. You'll need to be able to work on an even and well-lit surface, with enough room to position your hoist and maneuver around. If you've got a big enough garage, all the better.
- It's a good idea to take close-up pictures of as many components in the engine as possible, from different angles. As you get to working, these can be invaluable. You might even print them out and label them for a reference.
Advertisement -
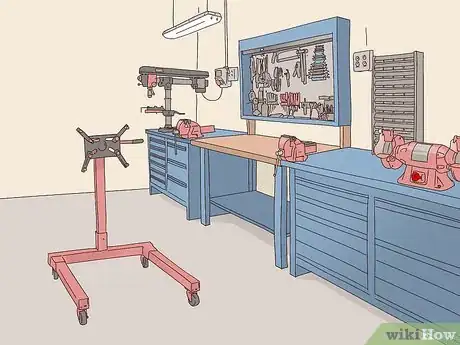
3Organize your work area before you begin. Having tubs to hold bolts, clamps, and fasteners to sort these, a workbench or table to lay out tools on, and a parts soaking and cleaning bucket will make handling these items easier.
-
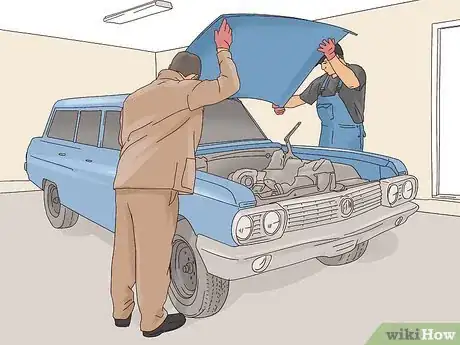
4Remove the hood. Mark the hinge bolts so you'll be able to find them later. Loosening them carefully, have a helper assist as you slide it off and store it while you complete the job. Note that some hoods have electrical connections for an underhood courtesy light or for headlamps, signal lights, and fog lights that are mounted on it. These should also be disconnected.
-
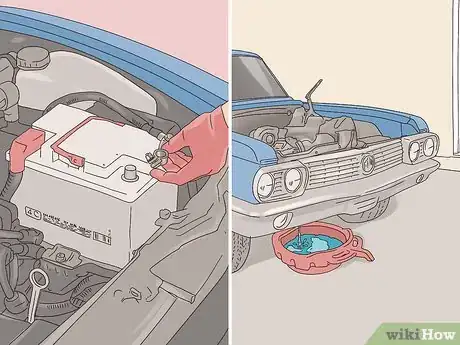
5Start disconnecting the external engine components. It's important to disconnect the ground cable on the battery before you do anything else, then start draining the coolant and radiator hoses to do the job safely. Be very careful not to damage the metal clamps, which are more difficult to replace than the rubber hoses, which you might have to cut or break.
- Remove the radiator and fan shroud (if applicable). Be gentle with it, the aluminum cells are delicate, and can easily be damaged.
- Next, loosen the alternator, the tension assembly, cooling fan(s), and belts. Disconnect the intake air supply and the fuel lines. Some vehicles have a fuel system which is pressurized even when the engine is not running, so be prepared to drain the fuel and relieve the pressure before disconnecting them. When you unbolt the power steering pump and air conditioning compressor, do it without disconnecting the hoses to save yourself some time in reassembly.
- It's a good idea to make drawings and take close photos, as well as labeling the hoses and wires with tape and marker. Do not depend on memory. Some wires and hoses will only plug into place in one way, but some are not obvious. You'll likely still need a chart, diagram/drawing, and pictures to ease the reassembly process.
-
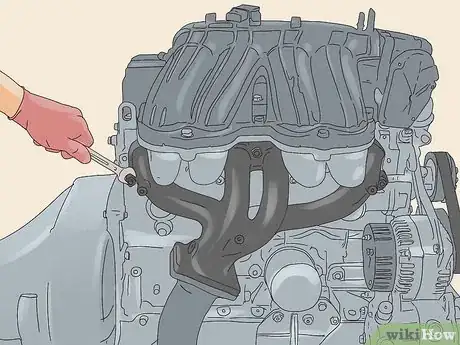
6Remove all electric connections to the motor. You can leave the spark plug wires for later, but start disconnecting the exhaust manifold and unbolt all visible electric connections to the transmission in preparation of disconnecting the transmission.
-
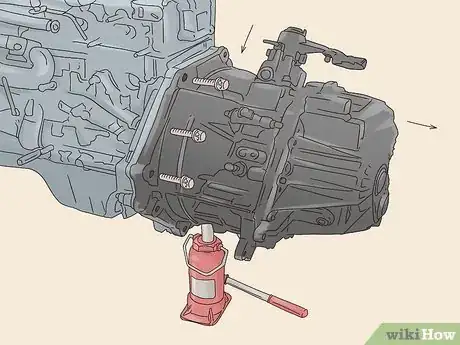
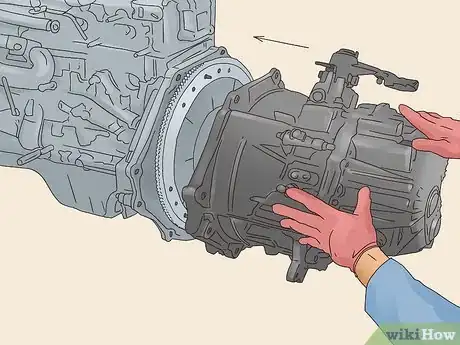
7Remove the bolts that attach the transmission's bell housing to the engine. Jack up the car and put it on jack stands, then support the transmission from underneath with other jack stands. It's very important to use jack stands, or some other support under the transmission before you disconnect the bolts. Once you loosen them, there won't be anything supporting the transmission and it will fall unless it's being held up by something. For vehicles with an intermediate cross member, this won't be an issue.
- In most cases, the transmission itself doesn't need to be removed from the vehicle, as long as it can be safely supported when the engine is removed.
-
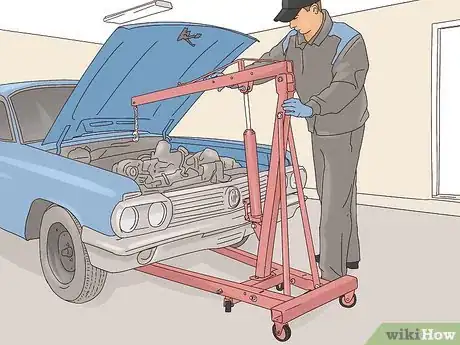
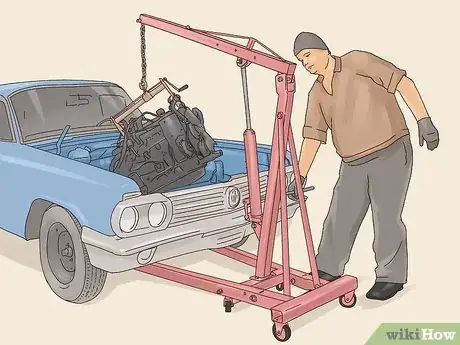
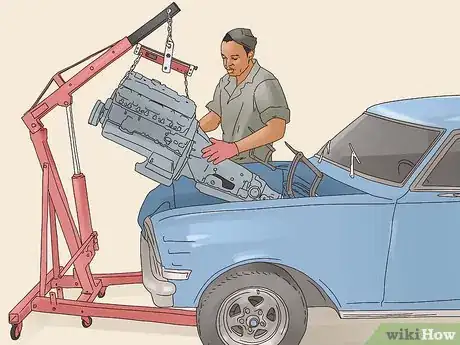
8Use the hoist to remove the engine. Connect the hoist to the lifting points on the cylinder heads, or the biggest bolts near the top of the engine and adjust the leveler slowly to start lifting the front.
- Be extremely careful. Swing motor free of car to avoid hitting the car and lower the engine onto your work surface, or the ground to start disassembly and inspection.
Inspecting and Disassembling the Engine Block
-
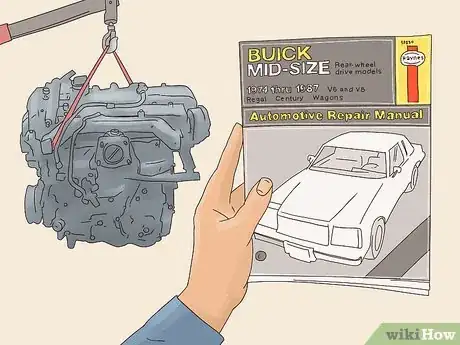
1Get the shop manual for your vehicle. No overview could offer all the specifics necessary to rebuild every kind of engine, making it essential that you refer to the manufacturer's instructions for every make and model. Get a hold of one, read it, and keep it on hand.
- Even if you've got an older model, shop manuals are on eBay all the time for relatively cheap, and are often available at the public library for free. If you're going to invest in the project, it's absolutely essential that you get the shop manual so that you can learn the proper specs and particularities of the engine you're dealing with.
-
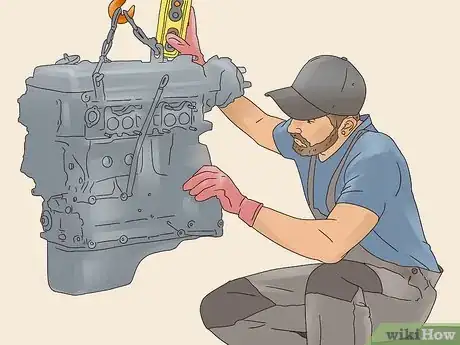
2Perform a visual inspection of engine. Inspect fluid sweeping out of the many plugs, sending unit connections, and joints between components. Inspect the Harmonic balancer for signs that the isolation rubber is cracking, which may suggest it needs to be replaced. Check for any signs of overheating, cracking and scorching on the block. Also check for any excessive gasket sealer left behind from previous work.
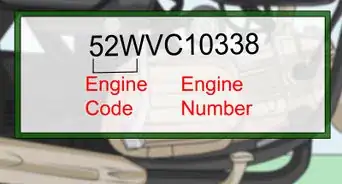
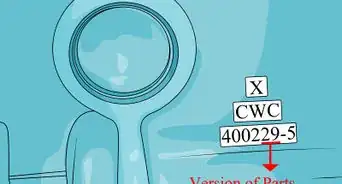
- Also, check the ID and casting numbers to ensure that the engine you think you are working on is actually the engine you are working on. Engine swaps are not uncommon and each engine has different specifications.
-
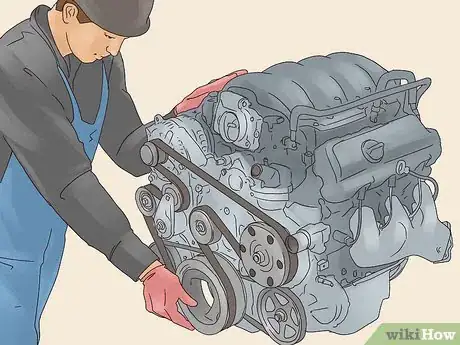
3Inspect the external components on the engine. Inspect the distributor for signs of looseness by putting some pressure on it. Inspect the alternator belt for signs of wear by spinning the pulley and listening for any unusual noise. Inspect the clutch assembly for wear.
-
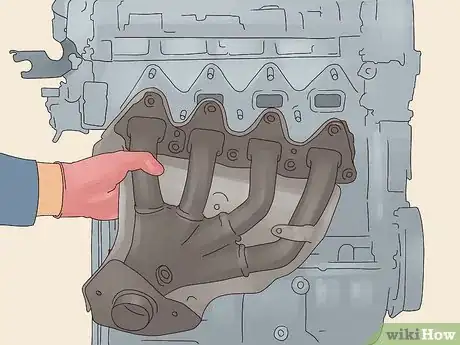
4Remove the exhaust manifold if it was not removed earlier to facilitate removing the engine the engine compartment. The exhaust manifold bolts or studs may be very corroded, take care to break them loose without damaging them. Using special lubricants for this may help, and extremely stubborn bolts may require heat to loosen.
-
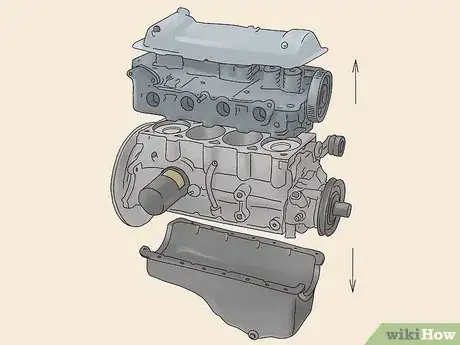
5Begin disassembling the rest of the engine. Start by removing the oil pan and the valve covers, then the cylinder heads. Be sure to protect the lifter rods when lifting the cylinder head(s), if they are bent or damaged, they will need to be replaced.
-
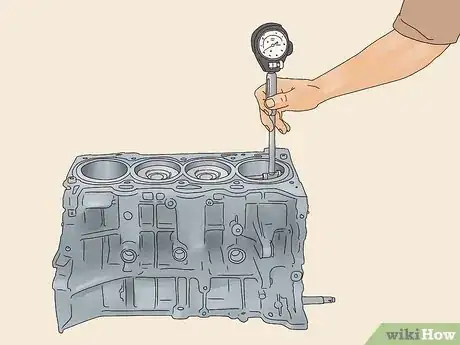
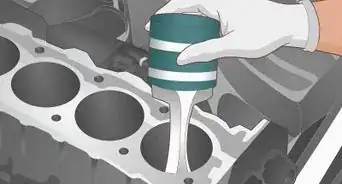
6Check the cylinder bores. You may want to use a micrometer to determine the bore diameter, very worn cylinders may be too far gone to allow a successful rebuild. If you know the engine hasn't been rebuilt previously, you can get a good idea of the wear to the cylinder walls by looking at the cylinder ridge. This is the point where the piston rings top out, the surface below the ridge is worn down the contact of the cylinder rings as they travel up and down, the tops isn't worn, so it indicates the original bore diameter. Generally, if the wear is less than 20/1000 of an inch, the original pistons can be reused, over 20/1000s will require the engine to be bored and oversized pistons to be used.
-
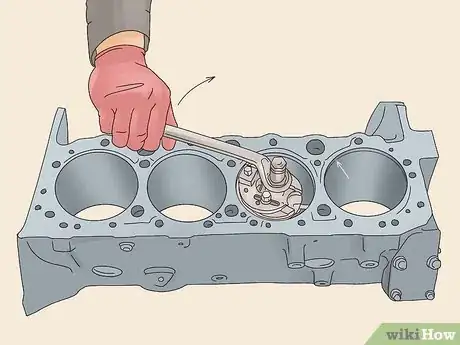
7Remove the ridge on the cylinders near the top of the bore with a cylinder reamer (rimmer). The ridge is the point where metal of the cylinder did not wear because the rings do not rise that high in the bore. The cylinder wear should be below this point, but the ridge must be reamed out before removal to allow pistons to be removed and without damage and to make re-installation of the pistons with new rings possible.
-
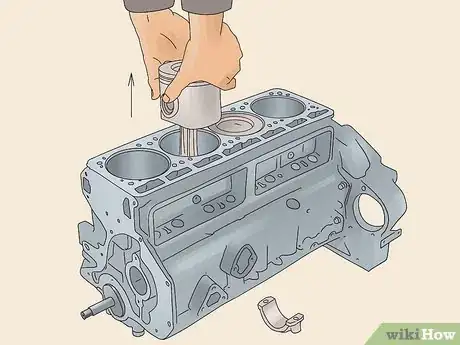
8Remove piston and rod assemblies. After removing the rod caps from the rods, place rod journal protectors (protective covers) on the rod ends and protect bolts to prevent them from striking, scraping and scoring the engine block or from bolt threads being damaged during removal and handling. Rubber fuel hose can be cut to slip over the bolt threads in this case. Once removed replace the same rod cap back on the matching rod, keep them as numbered paired/matched sets. Keep the parts marked or in order for return to the same cylinder from which they were removed. This to assure balance and fit; and consistent "break" in.
-
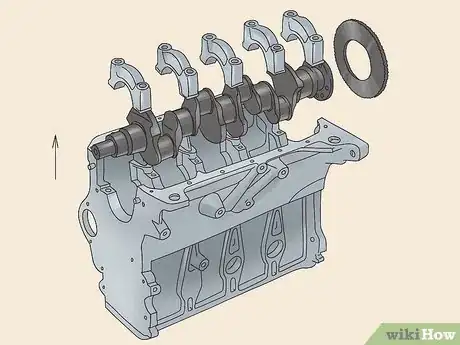
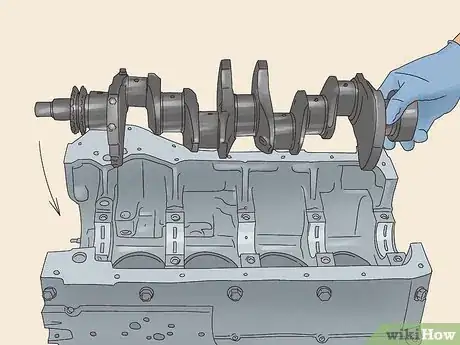
9Remove and inspect the crankshaft. Once removed store in a safe place, preferably use crank mounting plates so that you can accurately measure the crankshaft. Keep old main bearings in order, inspect them for wear and excess dirt. With the crank removed and stored correctly place the main caps back on the engine block and torque to specification.
- Remove the camshaft, balancer shafts, and auxiliary drives. Pay attention to end play shims and spacers, keep these organized you will need to put these back in the correct order. Remove the cam bearings, paying attention to their position.
-
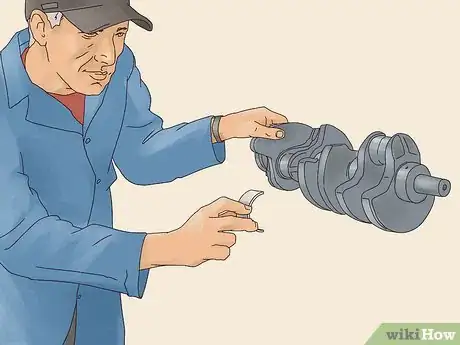
10Perform a visual inspection of the crankshaft. Inspect for cracks and any signs of overheating. Measure different crankshaft dimensions. These dimensions include journal diameter, out of round, taper, and run out. Compare this to the dimensions listed in the shop manual.
- If the crank is out of spec, mark it for identification and have it sent to a machine shop you trust with the necessary machinery for resurfacing or turning to return the bearing journals to round. If the crank is turned, make a note of the cut, bearings will need to be ordered to match the new journal diameter.
- Once the machine shop has reground the crank, you can use a rifle brush to remove the excess debris from the oil passages. Then measure the crankshaft again so that you can replace the bearings to get the crank to bearing clearance within specification.
-
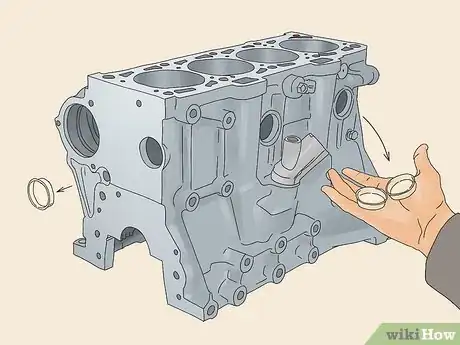
11Finish disassembly. Remove the core plugs, brackets, guide pins, and everything else still attached to the outside of the engine block. Perform a visual inspection of the engine block itself for any cracks.
- If you want to, it might be a good idea to Magnaflux the engine block to look for leaks. Magnaflux should only be used to find leaks on cast iron. Use dye penetrant to find cracks on aluminum blocks. Most machine shops will perform these inspections, and may also pressure test engine blocks and cylinder heads. You may have them hot tank the engine block and cylinder head to clean it while you are at it.
-
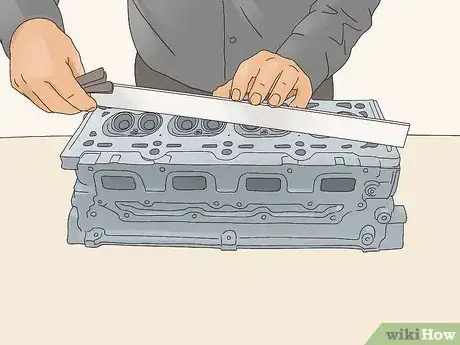
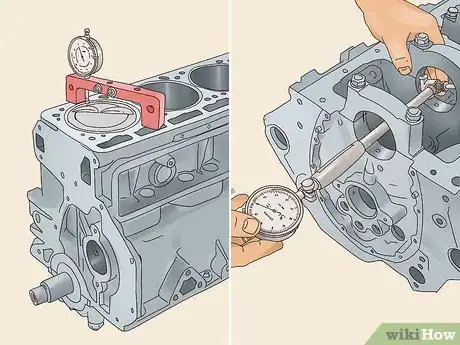
12Measure the specs. It's probably best to have this done at the machine shop, but if you've got the necessary tools yourself, you can use a straight edge and a set of feeler gauges to check the deck surface for flatness. Measure the both diagonally and horizontally. If the deck surface exceeds the specification for flatness resurface the block. Use caution when resurfacing not to remove too much material. If too much material is removed you risk having the pistons collide with valves.
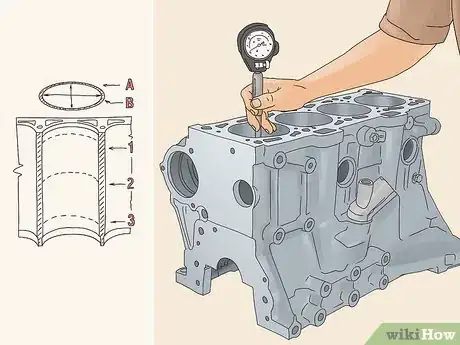
- Using a dial bore gauge measure each cylinder bore’s taper and for out of round. Inspect each cylinder for discoloration and washboard. Use a rigid stone hone to identify washboard. Check alignment and out of round of the main bearing bores with a dial bore gauge.
Disassembling and Inspecting the Cylinder Head
-
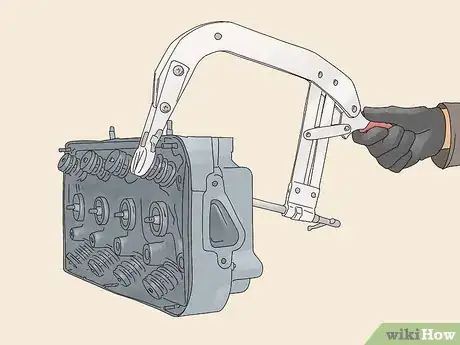
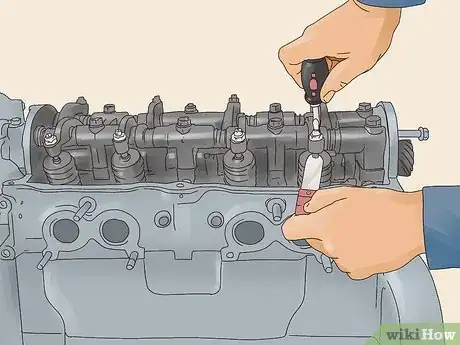
1Use a valve spring compressor to compress the valve springs. With the spring compressed, remove the valve keepers and slowly release the valve spring out of compression. Once you can remove the compression tool, remove the valve springs and shims. Keep these components in order.
-
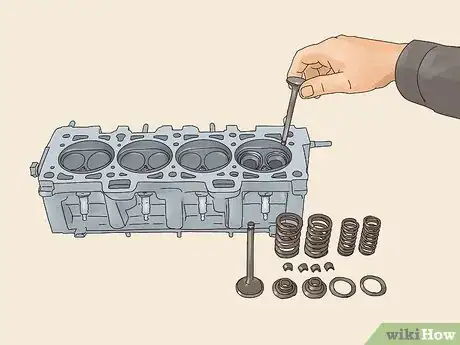
2Remove the valve from the head. Try not to force it out, which can scratch the guides. For each valve, you need to remove any carbon buildup or dirt from valves and valve head. If possible have the head shot peened or glass beaded at the machine shop, or use Magnaflux or dye penetrant to find any cracks.
-
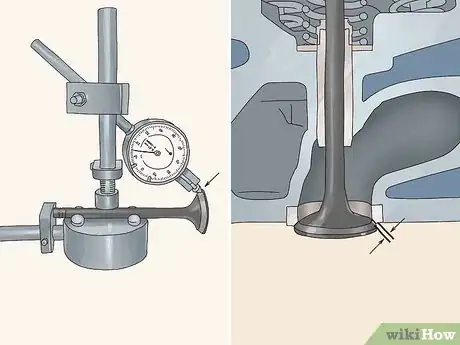
3Check each valve head for flatness. Note any flatness which is out of specification so that it can be corrected at the machine shop after inspection. Inspect the guides for excess wear using a dial indicator and check for recession of the valve seats. It's also essential to check for:
- Worn valve stems. Use a micrometer and replace any valves whose stems exceed specification.
- Worn keeper grooves. Replace any worn keepers.
- Thin margins. Margins should be thinner on intake valves than exhaust valves. Replace valves with excessively thin margins.
- Length, tension, and squareness. Replace any springs which are worn beyond specification.
-
4Recondition the worn valve guides. Replace the recessed valve seats and reface all valves which are not going to be replaced. Machine the valve seats. Lubricate the valve stems with engine oil. Install valve seals.
- The valve seals come in 3 different types: band, umbrella, or PC type. Pay attention to the order of assembly. Assemble valve heads. Check for leaks using either a liquid test or a vacuum test, or have them perform this at the machine shop.
Reassembling the Block
-
1If the block was machined, recheck all the dimensions. Machine shops do make mistakes, but its your job to double-check their work. Check that the oil channels and openings of the oiling system in the block are free and clear of all metal shavings, dirt and debris.
- Wash block using hot soapy water, then blow dry thoroughly to remove any moisture from the engine. Blow out all bolt holes using compressed air to remove any debris prior to installing fasteners.
-
2Oil the components thoroughly. Install oil gallery plugs and core plugs using hardening sealer. Never use silicone sealer in these areas, which can dissolve and also could form into rubbery debris in the oiling system.
- Prepare to lubricate main bearings by cleaning and drying the main bearing bores and the backs of the bearings. Lubricate the inside of all the main bearings and the lip on rear main seal with the recommended OEM oil/grease. Then install main bearings and rear main seal, keeping sure install in the correct position.
-
3Install crankshaft and main caps. Grease the camshaft bearings with high pressure grease, then install the camshaft. Since the caps are sensitive to position and direction, snug the caps and then torque them onto the block from the center moving out.
- Rotate crank to see if it binds up. If the crank rotates smoothly, then next check the end play.
-
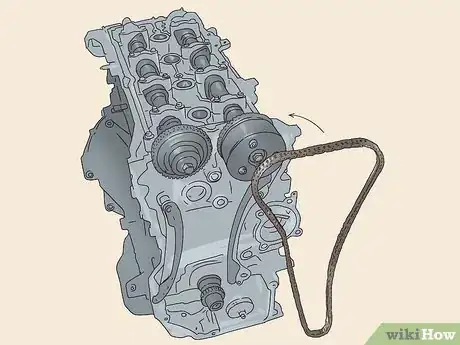
4Install the timing chain or belt to specification. Be sure to align the timing marks correctly during reassembly and degree the cam.
- To degree the cam and set the timing, aligning the timing marks at Top Dead Center and set the degree wheel correctly on the cam, with the crankshaft/piston timing and proper valve timing sequences for intake, compression, power, and exhaust strokes of the engine.
-
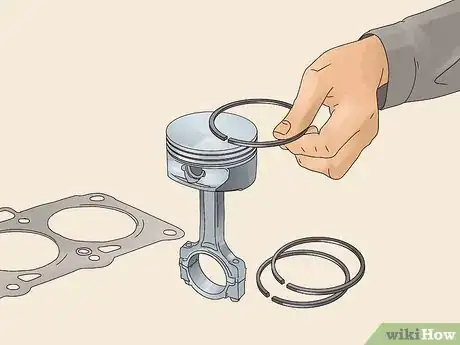
5Install new pistons, rings, gaskets, and seals. Check piston ring end gaps for OEM clearances. You may need oversize rings. If the rings are too small in diameter they'll have excessive end gap, but if they're too large then they'll be too tight and can bind, perhaps even breaking when the engine heats up.
- When you're installing, you should stagger the ring end gaps on the pistons. The tiny gap at the end of each ring are turned 180 degrees apart around the piston, compared to the next ring, reducing what's sometimes called "blow-by". Be sure the oil expander ring is fitted/butted properly.
-
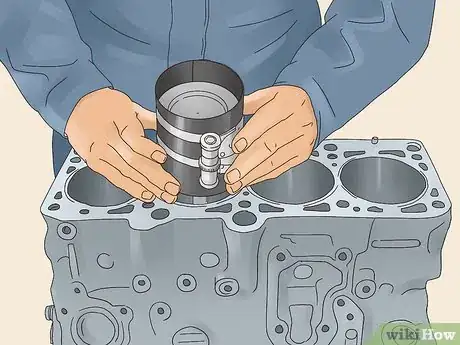
6Install the piston and rod assemblies. Use rod journal protectors and lubricate the rod inserts, then install and torque rod caps. While you are installing the rods, first barely snug and then torque these gradually in 3 stages to ensure that they all seat evenly and properly.
- Continue rotating the crankshaft after installing each piston and torquing the rod caps to make sure it still rotates freely. If gets too hard to turn, you'll know the last piston in that cylinder or the rod inserts are binding--insert halves must snug up without the end of one insert slipping under the other half. Spin test crank after each bearing is installed.
-
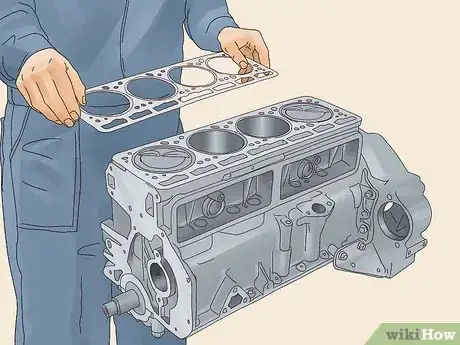
7Install head gasket. The gasket may be directional, so be sure to install in the correct direction. Remember to put in the head to block bolt or the OHC belt will never run true and then shred. Only use "gasket cement" if the manufacturer instructs you to.
-
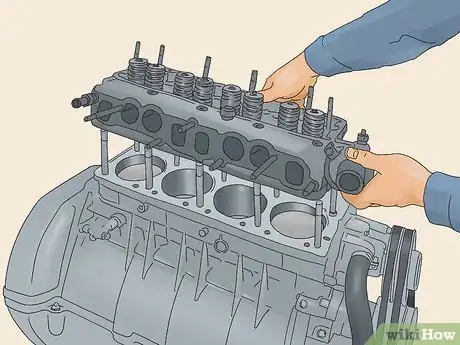
8Install new valve heads. Lube the bolt threads and washers with Original Equipment Manufacturer (OEM) lubricant or sealer, then torque the bolts down in 3 stages using the OEM specified pattern. Pay close attention to both the length and the location of the bolts.
-
9Install a new valve train. Be sure to lubricate the parts as you install them and adjust the valves as necessary. Use a minimum of up/down motion, and then torque using 1 round of preload
Reinstalling the Engine
-
1Complete other projects which might be necessary in the rebuild. If you're doing a complete overhaul, it's likely you'll want to do other jobs at the same time while you've got the chance. Likewise, it's usually inadvisable to hook up your freshly-rebuilt engine to a transmission with 200,000 miles (320,000 km) on it. You might want to:
- Install a transmission
- Replace the air conditioner
- Change out the radiator
- Get a new starter
-
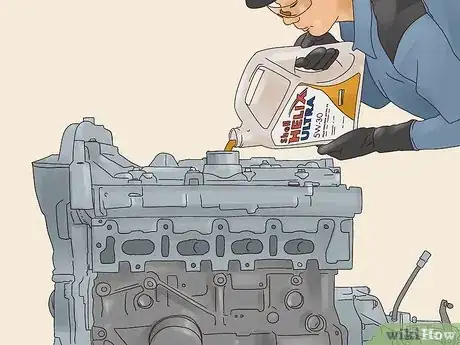
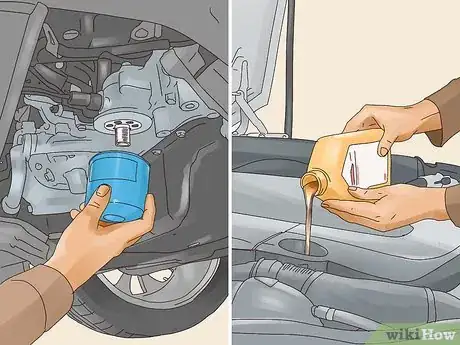
2Prep the engine. Fill the new oil filter with motor oil before installing, and with break-in oil recommended by the engine rebuilder. Prime the oiling system by manually operating the oil pump. Fill the cooling system with a 50/50 mixture of new antifreeze coolant and distilled water.[1] You'll also probably need to install:
-
3Lower the engine with the hoist. It's important to keep the engine level while lowering it into place. Use caution, and help. Fasten it to the mounting brackets and reconnect all the hoses, pipes, and wires, having ensured that they're all compatible with any new parts you've installed. Reinstall the radiator and hood, being sure to keep anything meltable clear of the exhaust headers.
-
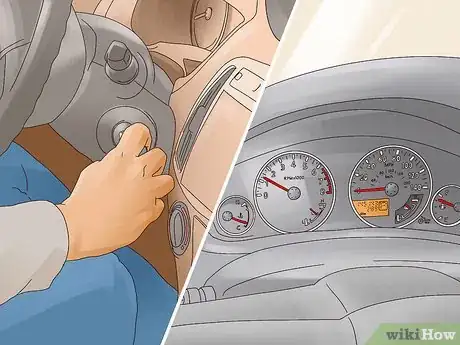
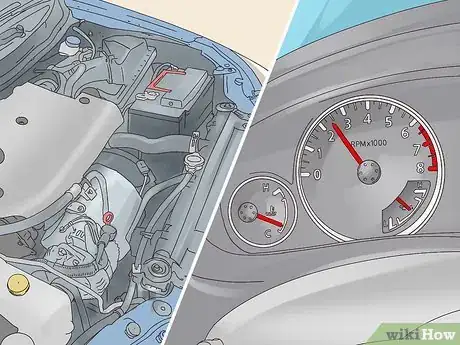
4Go through a careful initial start-up. Set the emergency brake and block up the wheels before you start the ignition.Turn the ignition. If the engine doesn't start, check the fuel delivery system.
- Make sure to monitor the oil pressure gauge and the temp gauge. If you notice full oil pressure, cut the engine immediately and check for fluid leaks. If you notice anything unusual, stop the engine immediately.
-
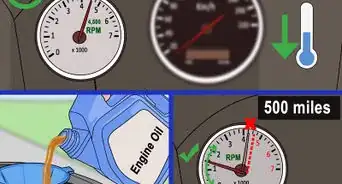
5Break it in. After you get the engine running reliably, rev it to 2000 rpm to thin out any oil on the camshaft. You'll want to run the engine at various speeds between 1800 and 2500 rpm for at least 20 minutes.[2]
- Pull the radiator cap to check for adequate flow or leaks before it gets too hot. Check that the battery is charging.
-
6Change the oil and filter after your first 100 miles (160 km). It's important to ease the engine into its life, and it's common to change the oil after about 100 or 200 miles (160 or 320 km) initially, then every thousand miles for at least the first three months of use.
Community Q&A
-
QuestionIf one cylinder needs to be bored to a larger size piston, do all the other cylinders/piston need to match that bore?
 DangerBoyceCommunity AnswerYes. Boring a cylinder changes its volume and other factors like compression ratio. If all cylinders are not very close to the same size, the engine will run unevenly. At best, this will mean it sounds odd and behaves a little strangely, at worst it can cause the engine to destroy itself.
 -
QuestionHow long will it take for me to do this?
 Community AnswerIt will probably take you anywhere from two weeks to a month, depending on your level of experience. It's not a quick project!
 -
QuestionHow can I tell what size motor I have?
 Community AnswerBy looking at the tag, which usually is located in your engine bay. It should list the CC rating.
Warnings
- Do not attempt to rebuild an engine without the proper tools and knowledge. There are no specification numbers listed here because every manufacturer designs their engine differently with different specifications. It's essential that you obtain the shop manual for your vehicle if you want to rebuild the engine.⧼thumbs_response⧽
- Never assemble any engine without at least using "plastic type gauge" on reassembly to see if there are any errors.⧼thumbs_response⧽
- A real pro uses Micrometers and dial bore gauges and does the math on clearance. Do not skip one of these 2 choices.⧼thumbs_response⧽
- Never just throw in a cheap bearing set on any engine. Most engines have color coded bearings and pistons, and each bearing shell and piston is a different size. Read the factory Service manual for details.⧼thumbs_response⧽
- If buying new bearings do not use standard bearings in place of factory odd size bearings or you will seize the crank. If one journal is bad, it is best to regrind the crank and put in .25mm typical , bearings end to end.⧼thumbs_response⧽
Things You'll Need
- Dial bore gauge
- Rifle brush
- Magnaflux
- Dye penetrant
- Straight edge
- Feeler gauge
- Dial bore gauge
- Rigid stone hone
- Round straight edge
- Valve spring compression tool
- Solvent
- Dial indicator
- Micrometer
- Spring compressor
- 90 degree straight edge
- Stones or cutters
- Engine oil
- Scrub brush
- Hardening sealer
- Pry bar
- Piston ring compressor
- Rod protectors
References
About This Article
To rebuild an engine after the engine is removed from your car, start by looking at the shop manual for your car. Inspect the engine block and oil the components thoroughly before installing the crankshaft and the timing chain or belt. Then, install new pistons, rings, gaskets, and seals, as well as the piston and rod assemblies and the head gasket. Replace the valve heads and a new valve train before installing the engine. Scroll down for tips on disassembling and safely reinstalling the engine!




-Step-13.webp)
