This article was medically reviewed by Shaune Wallace, OD. Dr. Wallace is an Optometrist in Nevada with over 14 years of optometry experience. He received his OD from the Southern California College of Optometry in 2006 and is a member of the American Optometric Association.
There are 8 references cited in this article, which can be found at the bottom of the page.
This article has been viewed 80,724 times.
Colored contact lenses are an easy way to simultaneously adjust your eye color and improve your vision. There is no medical reason to change the color of your eyes, and clear lenses are just as effective as improve your vision as are colored lenses. However, many people enjoy colored lenses for aesthetic purposes. Colored lenses can be obtained as either prescription lenses, or “plano” lenses. The latter are simply colored plastic lenses that change your eye color but do not adjust your vision.[1] Putting colored contact lenses into your eye is a safe procedure and no different than putting in clear lenses.
Steps
Putting in Your Contact Lenses
-
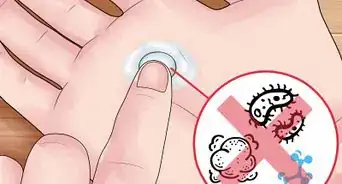
1Wash your hands thoroughly. Before you insert your contact lenses, it’s important to clean your hands to remove any dirt, hair, great, or bacteria that may have accumulated on them.[2] If these contaminants are put into your eyes, they may cause serious irritation.
- You should also put down a towel on your bathroom counter. This will help keep the area dry, and will give you a clean space to set out your contacts before you put them in your eyes.
-
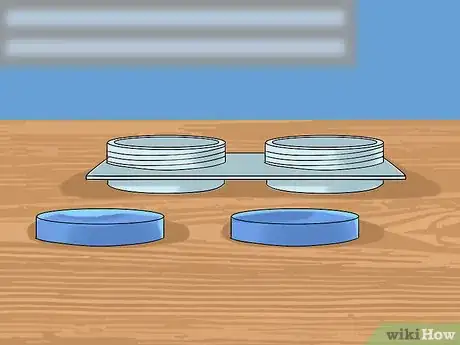
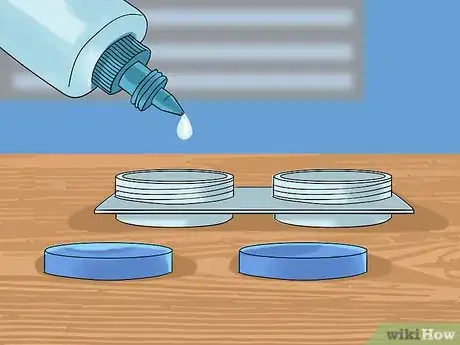
2Open the contact lenses case. You should always leave your colored contact lenses in their storage case overnight, and the case should be filled to the proper volume with contact-lens solution.
- Make sure the contacts are still wet with the cleaning solution before you put them in your eyes. Dry lenses can crack, and will be harmful if applied directly to your eye.
Advertisement -
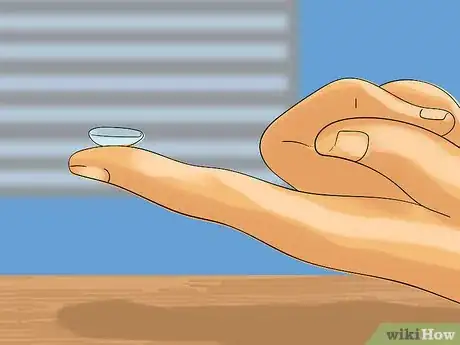
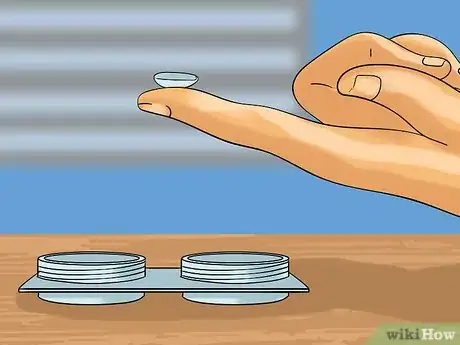
3Place one lens on your index finger. Both your lens and your finger should be wet with contact-lens solution at this point. Make sure that the lens is balancing in the central part of your finger, with the outside (the colored/printed side) pointed downward.
- The lens will be soft and malleable. If part of the lens’s circular edge folds down, gently push it back up with your other index finger.
- To make sure the lens is right side out, pay careful attention to the edges. If the edges turn up like a bowl it is correct. It the top edges flare out then it is inside out.
-
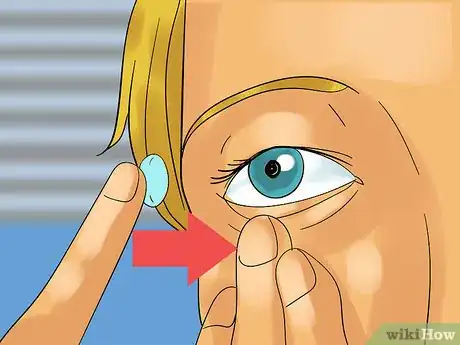
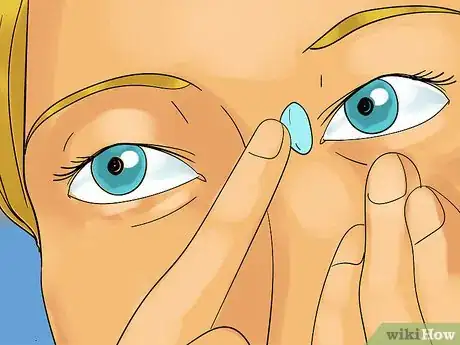
4Hold your eyelids open with your fingers. Your eyelids will need to be wide open for you to insert the contact lens. It’s most effective to use the thumb and index finger on your non-dominant hand to hold the lenses open, so that your dominant hand can place the lens over your eye.
- For example, if you’re using your right hand to put the lens in your eye, hold the eyelids open with your left hand. Place your thumb on your lower lid and index finger on your upper lid, and gently pull your fingers apart.
-
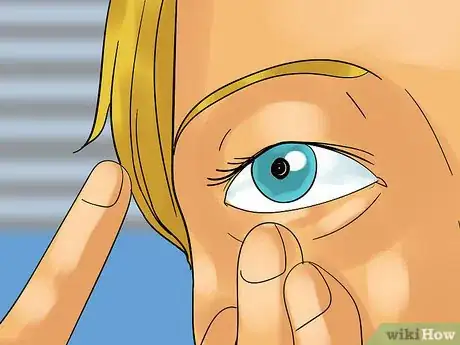
5Place the contact lens on your eye and release your lower lid. The lens should be centered in your eye at this point, and should have adhered itself to your eye due to its wet surface and concave shape. Blink your eye to adjust and center the lens.
- If you find it difficult to look straight ahead while placing the lens in your eye (if you flinch when your finger gets close to your eye, for example), try looking up or to the side. Make sure that the lens is centered after you blink.
-
6Repeat the procedure with your other eye. It’s common practice to put the lens in your right eye first, using your left hand to hold your eyelids apart. Once the first lens is in, use your right hand to put the second lens in your left eye.
- If you are left-handed, you may find it easier to put in the left lens first.
Storing Contact Lenses Overnight
-
1Clean the lenses after wearing them. When you take your colored contacts out after wearing them all day, rinse them with contact lens solution before storing them for the night. Place the lenses into their case and then fill each one with contact lens solution. Swirl the lens in the contact solution, and then drain the used solution. Repeat if necessary.[3]
- If sticky particles (for example, bits of make-up) are stuck to the lenses, squirt a little contact-lens solution on the lens and gently rub the spot.[4] Never use your finger nails to clean the lens.
-
2Keep the lenses in the contact-lens case. This lens case should have been provided to you by your optometrist when you first purchased the colored contact lenses. The lens case is specifically designed to protect the lenses. Whenever you’re not wearing your colored contacts, keep them in the case.
- Store the case in a safe location where it won’t get lost or damaged, such as your medicine cabinet.
- If you lose or damage the protective case, a replacement can be bought at any pharmacy.
-
3Immerse the lenses in contact-cleaner solution. The lenses should be completely covered in the contact solution (usually a type of saline solution) when stored overnight.[5]
- This solution will cleanse the contact lenses, and also prevent them from drying out.
- Never fill the lens case with water. Water will damage the lenses, and can be painful to your eyes when you insert the contacts.[6]
Selecting a Color of Contact Lens
-
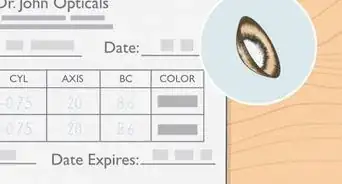
1Consult with your optometrist. Before you purchase any type of contact lenses—including colored lenses—you’ll need to visit your optometrist and sit through an eye exam. This will let the doctor measure your vision and write a proper prescription. Let the doctor know that you’re interested in purchasing color contact lenses—they may have recommendations concerning which brands to avoid.[7]
- Let your doctor know that you’re interested in contact lenses specifically, as there may be additional tests that will need to be performed, that the doctor wouldn’t perform if you were only getting a prescription for eyeglasses.[8]
- Never purchase colored contact lenses from a mall kiosk or other informal vending location. These are illegal, cheaply made, and could seriously damage your eyes.[9]
-
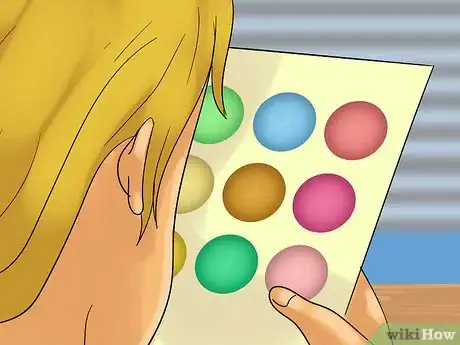
2Decide which type of colored lens you’d like. Colored lenses come in 3 different types, and each has its own advantages. Before you select a lens type, you’ll need to decide to what extent you want to mask or change the natural color of your own eyes.[10]
- Visibility tint lenses are nearly clear, but with a slight green or blue tint added. The coloration is largely to make the lenses easier to see during insertion and removal.
- Enhancement tint lenses are translucent, and meant to enhance and deepen your natural eye color. These lenses are recommended if you have light-colored eyes (light blue or green), and wish to deepen your eye color.
- Opaque tint lenses are not translucent and are used to entirely mask your natural eye color. If you want to change your eye color completely, you’ll need to use opaque lenses.
-
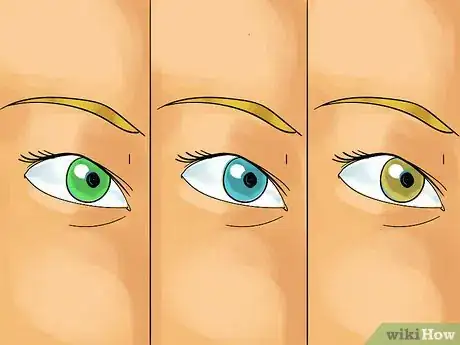
3Select a lens that complements your existing eye color. Many people choose to change their eye color to 1 of the other 3 main eye colors: blue, brown, and green. If you have lighter-colored eyes naturally, consider a lens that slightly darkens your eye color.[11]
- If your eyes are naturally dark, choose an opaque-tint lens; otherwise, the lens color will be ineffective to mask your natural eye color.
- Colored contacts are also available in gray. This color will mute and darken your natural color, but shouldn’t erase it altogether.
- If you’d like to have a deliberately dramatic look, choose a colored lens dissimilar to your natural color.
-
4Pick a lens that fits with your natural skin tones. This will help your colored lenses appear more natural and flattering. If you have warmer skin tones (yellow or gold undertones), and lighter brown or blonde hair, consider lenses that are light brown, hazel, or honey colored. If your skin tones are cooler (blue undertones) and your hair is darker as well, choose a blue or violet lens.[12]
- If you’re going to be changing your appearance by wearing a colored contact lens, consider where you’ll be wearing the contact lens. While wearing a bright-yellow cat’s eye lens may be appropriate for your social life, wearing one in a conservative workplace would be discouraged.
References
- ↑ http://www.allaboutvision.com/contacts/colors.htm
- ↑ https://www.aao.org/eye-health/glasses-contacts/how-to-put-in-contact-lenses
- ↑ https://www.aao.org/eye-health/glasses-contacts/contact-lens-care
- ↑ https://www.aao.org/eye-health/glasses-contacts/contact-lens-care
- ↑ https://www.aao.org/eye-health/glasses-contacts/contact-lens-care
- ↑ http://www.allaboutvision.com/contacts/caresoftlens.htm
- ↑ http://www.allaboutvision.com/eye-exam/contact-lenses.htm
- ↑ http://www.allaboutvision.com/eye-exam/contact-lenses.htm
- ↑ http://www.medscape.com/viewarticle/773106

