This article was co-authored by Aaron Asghari and by wikiHow staff writer, Jennifer Mueller, JD. Aaron Asghari is a Professional Guitarist and the lead guitarist of The Ghost Next Door. He received his degree in Guitar Performance from the Guitar Institute of Technology program in Los Angeles. In addition to writing and performing with The Ghost Next Door, he is the founder and primary guitar instructor of Asghari Guitar Lessons.
There are 14 references cited in this article, which can be found at the bottom of the page.
This article has been viewed 27,943 times.
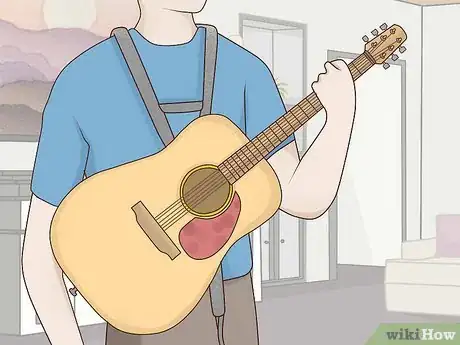
Most classical guitars don't have pegs for a strap like electric and acoustic guitars do because they're not designed to be played standing up. However, if you prefer to play your classical guitar standing, you'll benefit from having a strap to help keep your guitar stable. You can install strap buttons (or have a guitar tech do it for you) if you plan to play your guitar with a strap frequently. However, if you're reluctant to drill holes in your guitar, you might also buy a no-drill strap that's specifically designed for classical guitars or try attaching a standard guitar strap with suction cups.
Steps
Attaching a Classical Guitar Strap
-
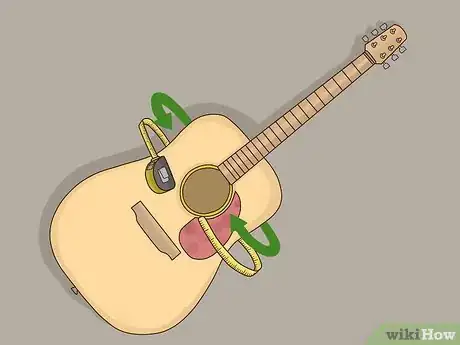
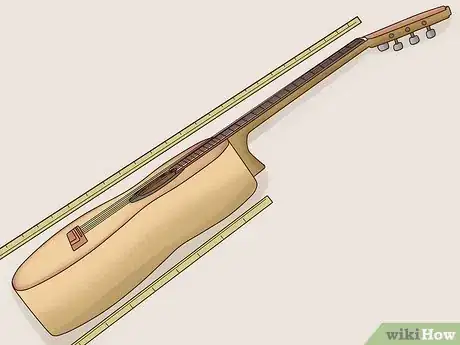
1Measure your guitar from the bottom of the soundhole to the top of the back. Place a measuring tape at the bottom of your guitar's soundhole in the middle, or waist, of your instrument. Run the tape down to the edge and wrap it around and up the back of your instrument to get this measurement.[1]
- Most straps that are designed for instruments without strap buttons will accommodate either a classical guitar or a ukulele, so this measurement is important to have an accurate understanding of the size of your instrument.
-
2Add the length of strap necessary to hold your instrument properly. To get the second measurement, you might need a friend to help you. Stand and hold your guitar at the level where you'd be comfortable playing it. Then, measure straight down from the back of your neck to the top of the guitar.[2]
- The two measurements together give you the minimum length of guitar strap you need for your guitar. You'll likely want a guitar strap that has a maximum length of about 6 inches (15 cm) longer than that, so you have room to adjust it as necessary.
Advertisement -
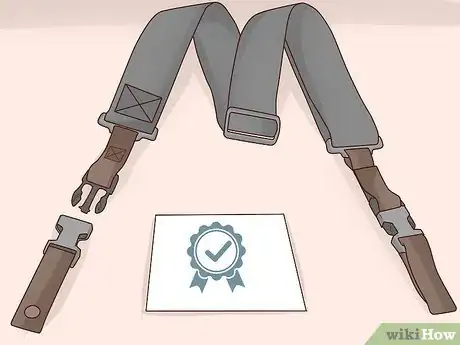
3Buy a strap designed for classical guitars. Several major guitar strap companies make straps that are designed for classical guitars and other instruments that don't have strap buttons. You can definitely find these in your favorite music store, but they're also available from larger online retailers.[3]
- If you're buying a strap in person in the store, try it on first and see how it feels around your neck. If it's not comfortable, try a strap of a different material or thickness.
- If you order your strap online, make sure you can return it if it doesn't fit or you don't like the way it feels.
Tip: If you're concerned about protecting the finish of your guitar, look for a cloth strap without any rivets, buttons, buckles, or other hard edges that might scratch the back or side of your guitar.
-
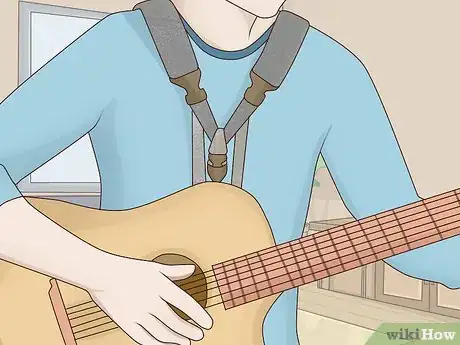
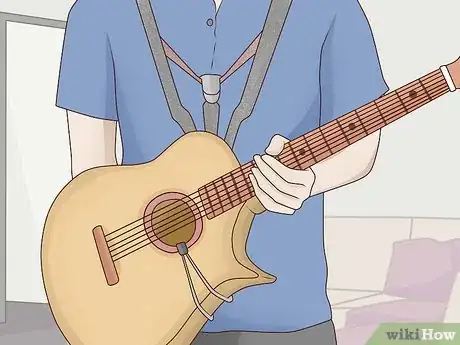
4Place the loop of the strap around your neck. The typical classical guitar strap has a loop that you wear around your neck. The loop joins in the center to make a single strap that anchors your guitar. Adjust the portion of the strap that goes around your neck so that it's comfortable and lays flat. Pull on it to mimic the weight of your guitar and make sure it isn't going to dig into your skin.[4]
- You can also adjust the strap so that it's over one shoulder and under the opposite arm (typically your right arm, if you're a right-handed player) for additional comfort and support.[5]
-
5Run the strap behind the middle of your guitar. Hold your guitar by the neck and position it so that the strap hanging down from your neck falls along the guitar's waist. Make sure there's enough strap hanging below the guitar to wrap it around the bottom of the guitar and hook it into the bottom of the soundhole.[6]
- If you have a hard time doing this with the strap around your neck, you might want to take the strap off to attach it to your guitar initially. If you do this, make sure you keep the strap taut behind your guitar or the hook will fall out.
-
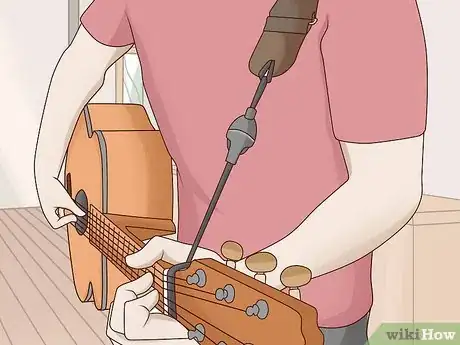
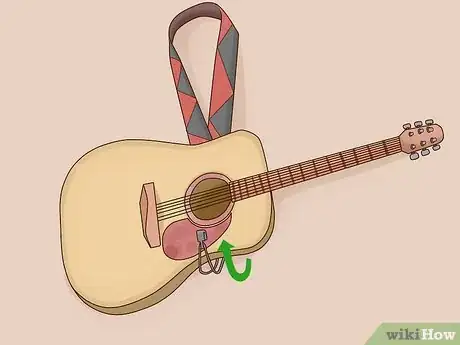
6Hook the strap to the bottom of the soundhole. Once you've got the strap around the back body of your guitar, reach down to grasp the hook underneath and guide it around your guitar. Then, hook it just on the bottom edge of your guitar's soundhole.[7]
- You might want to give it a short tug downward to make sure it's secured in place on the soundhole. Then you can adjust the strap as needed to achieve your desired playing position.
-
7Keep at least one hand on your guitar while using the strap. While you're playing, your strumming arm will keep your guitar upright. However, if you don't keep a hand on it while you're not playing, it'll tip forward and might fall out of the strap.[8]
- Holding your guitar in position can take some getting used to, especially if you're used to playing while sitting down. You might want to practice for a few weeks before you use the strap during a performance.
Using a Standard Guitar Strap with Suction Cups
-
1Measure the thickness of your guitar body. You'll be affixing your suction cups to the top and bottom of your guitar's body. Determine how thick these spaces are, then buy suction cups that are slightly smaller so they'll fit and create a strong seal.
- You can also use standard classical guitar measurements. Typically, a classical guitar will be 11 and 1/16 inches (282 mm) wide at the top and 14 and 1/2 inches (367 mm) wide at the bottom.[9]
-
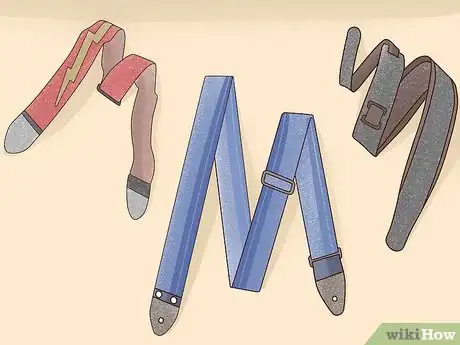
2Choose a standard guitar strap. You can find guitar straps online or at any music store where guitars are sold. The style of strap you choose depends primarily on your personal preference. Any standard guitar strap that is designed to be placed on a guitar with strap buttons will also work with suction cups.[10]
- A cloth strap might be better than a leather strap since leather straps tend to have metal buckles and grommets that can scratch your guitar's finish as you're playing.
-
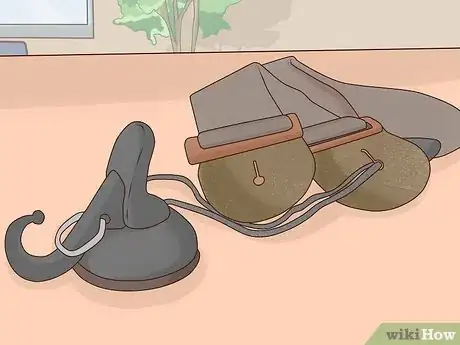
3Buy suction cups with hooks that fit the top and bottom of your guitar. Suction cups with hooks are available at craft stores, major discount stores, or online. Make sure the hook is large enough to accommodate the strap you've chosen.[11]
- Suction cups like this may come in pairs. However, keep in mind that you'll need a slightly smaller one for the top of your guitar than for the bottom.
-
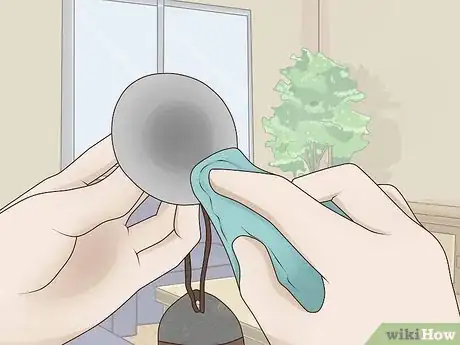
4Clean the suction cups before putting them on your guitar. Wash your suction cups with soap and warm water, then dry them thoroughly. Clean off your guitar as well, paying special attention to the spots where you plan to place the suction cups.[12]
- Use a guitar-specific oil or cleaner to dust your guitar before you put the suction cups on and after you take them off.
- Keeping both surfaces clean and dry is the key to maintaining a strong grip with the suction cups. A bit of dust can break the seal and cause the suction cup to fail.
Tip: Many more traditional guitar supports that are designed to stabilize your guitar while you're sitting use suction cups to keep them in place. Properly used, a suction cup won't damage the finish of your guitar.
-
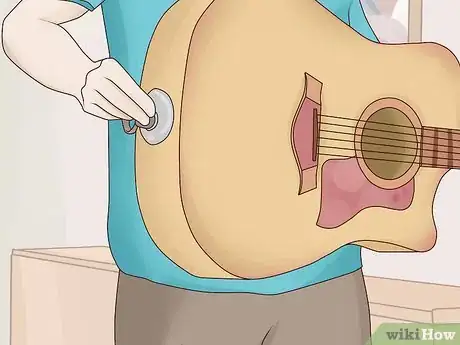
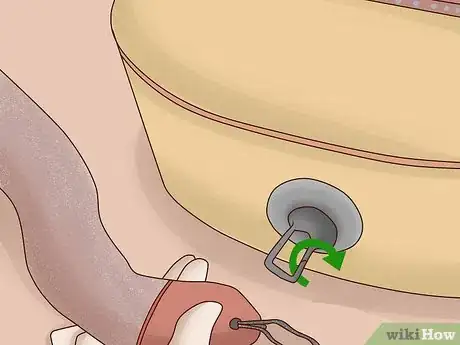
5Affix the suction cups where strap buttons would be. Turn the hook of the suction cup so that it's at a slight angle. The strap (when you put it on the hooks) should be pulling in the same direction that the suction cup is pointed. This will keep the suction cup more secure.[13]
- Press down on the suction cups evenly to secure them in place. You might want to pull on the hook a little to test their seal before you test the seal with the weight of your guitar.
-
6Attach your strap to the hooks on the suction cups. Once you have the suction cups affixed to your guitar, you can hang the strap on the hooks just as you would hang them on strap buttons. Put the strap over your shoulder and adjust the length of the strap as necessary.[14]
- This type of strap will keep your guitar more stable than a classical guitar strap that hooks along the bottom of the soundhole. However, you still need to keep a hand on your guitar while wearing it with the strap to make sure it doesn't get damaged.
Drilling Holes for Strap Buttons
-
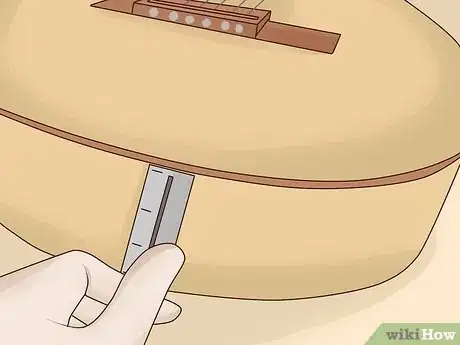
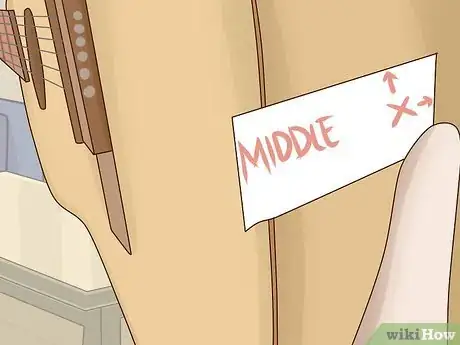
1Measure to locate the horizontal and vertical middle of the bottom of your guitar. Place your tape measure along the bottom of your guitar and mark the middle. Then place the tape measure across the thickness and find the middle again. Mark the exact middle with a piece of tape for reference.[15]
- You don't want to drill in the exact middle because it could cause the joint of your guitar to split. Marking the middle will help you avoid doing this.
-
2Mark a spot to drill just below the middle and towards the front of your guitar. Start tapping the bottom of your guitar around the middle until you find a spot that makes a dull thump rather than a hollow sound. Use a piece of tape to mark that spot as your drill spot.[16]
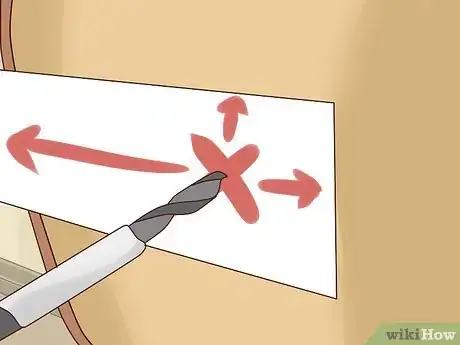
- You might want to make an "X" on your tape with a marker. Tap the center of the "X" to make sure that's still a spot with wood behind it. Don't use the marker directly on the guitar — you could damage the guitar's finish.
-
3Drill slowly and gently through the spot you've marked. Put your drill bit in your drill and line up your drill with the spot you've marked on the bottom of your guitar. Turn your drill on and allow your drill to do the work — don't push it or force it to go deeper.[17]
- Pause frequently to check the depth of your hole with the screw to make sure you don't drill too deeply.
Tip: If you don't want to keep pausing your drilling, hold the screw up to your drill bit and mark the spot where the screw ends with a piece of tape or a permanent marker.
-
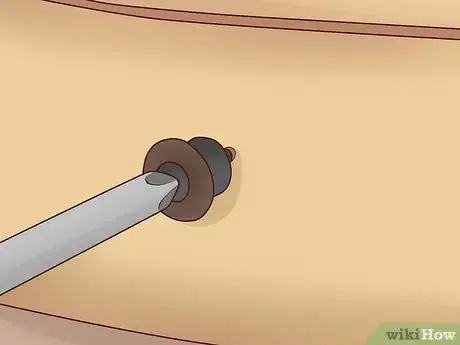
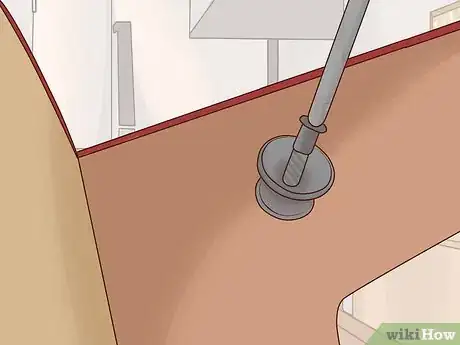
4Screw your strap button into the bottom of your guitar. You might want to use your screwdriver to clean out the hole you've made a little. Then, set your screw over the hole and use the screwdriver to slowly and carefully screw the button into the hole.[18]
- Continue screwing the button in until it's tight and the bottom of the button sits flush with your guitar. Be careful not to over-screw it or you could damage your guitar's finish or cause the wood to split.
-
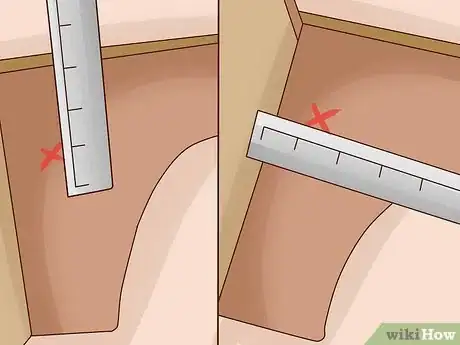
5Measure the location for the strap button on the neck heel. If you're also installing a strap button on the top of your guitar, put it on the treble side of the neck heel (the side next to the thinnest string on your guitar). Choose a spot that will keep your guitar from leaning away from you as you play. Take two measurements: the length down from the fretboard and the distance away from the body of the guitar.[19]
- If you hold the strap with your finger where the button would be, you can figure out if that's the best location for your strap button without having to take to many measurements. Simply attach the strap to the bottom strap button, then use your thumb or forefinger to hold the strap in place along the neck heel. If the guitar tips away from you, adjust the location of the strap.
- Once you've found the best location for your strap button, use the strap button screw to make a tiny indention in the neck heel.
-
6Drill your hole to insert the strap button in the neck heel. Even though the neck heel is a bit more stout than the bottom of your guitar, you still want to drill with care. Let the drill do the work without pushing it.[20]
- If you marked your drill bit before drilling the hole in the bottom of your guitar, the depth will be the same for this hole. Stop before you reach the mark.
- When you're done drilling your hole, screw in the strap button the same as you did for the bottom hole. Now your guitar will be ready for you to attach a strap.
Expert Q&A
-
QuestionHow do you adjust a guitar strap?
 Aaron AsghariAaron Asghari is a Professional Guitarist and the lead guitarist of The Ghost Next Door. He received his degree in Guitar Performance from the Guitar Institute of Technology program in Los Angeles. In addition to writing and performing with The Ghost Next Door, he is the founder and primary guitar instructor of Asghari Guitar Lessons.
Professional Guitarist & Instructor Put the strap on the guitar and slide it over your shoulder. Then, pull one end through the buckle to tighten or loosen the strap. Stop pulling the strap when the guitar is hanging at your preferred height.
Warnings
- If you don't have any experience working with guitars, take your guitar to a guitar tech to have strap buttons installed rather than trying to do it yourself. If you drill into your guitar's body in the wrong place, you could destroy the instrument.⧼thumbs_response⧽
- Installing strap buttons on a classical guitar will cause the instrument to lose value. Choose another method to attach a strap or support your guitar if you have a classical guitar that is unique or valuable.[22]⧼thumbs_response⧽
Things You'll Need
Attaching a Classical Guitar Strap
- Measuring tape
- Classical guitar strap
Using a Standard Guitar Strap with Suction Cups
- Measuring tape
- Standard guitar strap
- Suction cups with hooks
- Soap
- Guitar cleaner
Drilling Holes for Strap Buttons
- Strap buttons and screws
- Power drill and drill bit (slightly smaller than the strap-button screws)
- Regular screwdriver with a head that matches the strap-button screws)
- Measuring tape
- Tape
- Permanent marker
References
- ↑ https://www.gearank.com/guides/guitar-straps#classical-straps
- ↑ https://www.gearank.com/guides/guitar-straps#classical-straps
- ↑ http://www.guitarsite.com/Acoustic-Guitar-Strap/
- ↑ Aaron Asghari. Professional Guitarist & Instructor. Expert Interview. 15 February 2019.
- ↑ https://www.levysleathers.com/how-to-attach-a-guitar-strap/
- ↑ http://www.guitarsite.com/Acoustic-Guitar-Strap/
- ↑ http://www.guitarsite.com/Acoustic-Guitar-Strap/
- ↑ http://www.guitarsite.com/Acoustic-Guitar-Strap/
- ↑ https://www.traphagenguitars.com/guitars/dimension.html
- ↑ https://youtu.be/t3H0V_qhzEA?t=126
- ↑ https://youtu.be/t3H0V_qhzEA?t=191
- ↑ https://youtu.be/t3H0V_qhzEA?t=257
- ↑ https://youtu.be/t3H0V_qhzEA?t=188
- ↑ https://youtu.be/t3H0V_qhzEA?t=191
- ↑ https://youtu.be/i_n0xw7lMEg?t=105
- ↑ https://youtu.be/i_n0xw7lMEg?t=105
- ↑ https://youtu.be/i_n0xw7lMEg?t=121
- ↑ https://youtu.be/i_n0xw7lMEg?t=173
- ↑ https://www.premierguitar.com/articles/20399-guitar-shop-101-how-to-install-standard-and-locking-strap-buttons
- ↑ https://www.premierguitar.com/articles/20399-guitar-shop-101-how-to-install-standard-and-locking-strap-buttons
- ↑ https://www.thisisclassicalguitar.com/ergonomic-guitar-rests-support-ergoplay/
- ↑ https://www.premierguitar.com/articles/20399-guitar-shop-101-how-to-install-standard-and-locking-strap-buttons
