This article was co-authored by wikiHow Staff. Our trained team of editors and researchers validate articles for accuracy and comprehensiveness. wikiHow's Content Management Team carefully monitors the work from our editorial staff to ensure that each article is backed by trusted research and meets our high quality standards.
This article has been viewed 11,634 times.
Learn more...
Overlock sewing machines, also known as sergers, have a reputation for being difficult to thread. This is mainly because overlock machines hold multiple spools of thread, so you have to make sure to pass each thread through the correct threading path. Don’t worry if you’re feeling intimidated by the prospect of threading your overlock machine. With a little patience and practice, you can learn how to do it. Soon enough, you’ll be happily sewing away on your overlock machine!
Steps
Loading Thread into the Machine
-
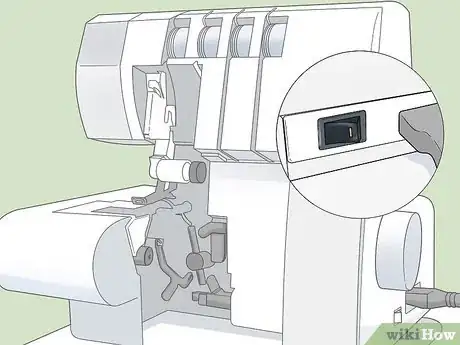
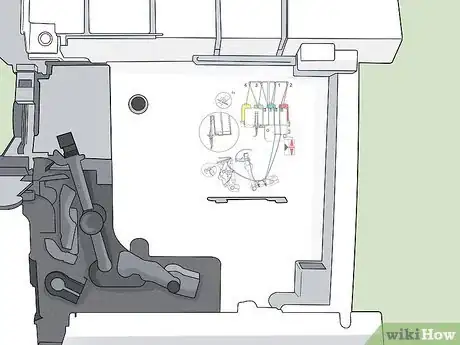
1Turn off and flip open the cover on your overlock machine. Make sure the machine’s power switch is set to the off position. Flip the looper cover door down, which is the door in the bottom right-hand corner of the front of the machine, to expose the threading pathway loops and hooks.[1]
- The threading pathway loops and hooks are what you have to pass the thread through to set up your machine.
- Some overlock machines have handy tools on the inside of the looper cover door that you can use to help you thread it. For example, you might find a pair of tweezers, a screwdriver, and a needle threading tool.
-
2Raise the machine’s presser foot using its lever. The presser foot is the foot-shaped metal piece that holds the fabric flat while you feed it through the machine to keep your sewing on track. Lift this foot up by raising the lever beside it to release tension on the tension disks and make the machine easier to thread.[2]
- You can also remove the presser foot entirely to expose the threading path at the stitching plate and make it even easier to thread. There is usually a button at the back of the foot that you can press to take it off.
Advertisement -
3Turn the handwheel to set the needles in the highest position. Move the machine’s handwheel until the red line on the wheel lines up with the arrow on the needle position window. This lets you know that the machine’s 2 needles are in the highest position.[3]
- Some overlock machines stop with the needles automatically in the highest position. If this is the case for your machine, you don’t have to go to the trouble of manually raising the needles.
-
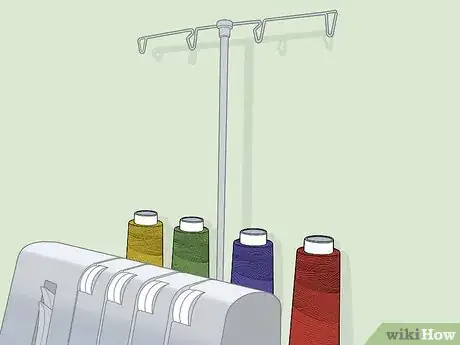
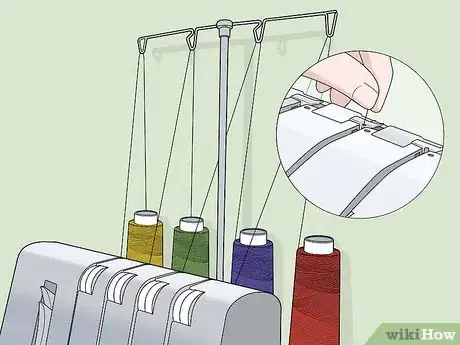
4Place your selected thread spools on the thread stand spool holders. Lift up the retractable thread stand at the back of your overlock machine. Put a spool of thread on each one of the spool holders on the thread stand. Pull the end of the thread from each spool into the thread guide on the top of the thread stand.[4]
- Overlock machines can hold from 3-5 thread spools, depending on the make and model. You don’t necessarily have to fill all the thread stands, but use at least 2 spools of thread.
- It’s always best to use the same type of thread on all the spools of an overlock machine, so you get the same size of stitch from each thread.[5]
- If you just want to practice using your overlock machine, try using a different color of thread for each spool. That way, you can see clearly which spool creates which part of the stitch.[6]
Passing Threads through the Looper Paths
-
1Slip the threads through the pre-tension guides and the tension disk grooves. Slide the end of each thread into the corresponding pre-tension guide like you’re sliding dental floss between your teeth. Pull each thread down through the groove in front of the pre-tension guide and down into the tension disk.[7]
- The pre-tension guides look like little hooks or clips on top of the sewing machine, right in front of each spool holder.
- The tension disks are round knobs on the front of the machine, directly opposite each spool holder on the back of the machine.
-
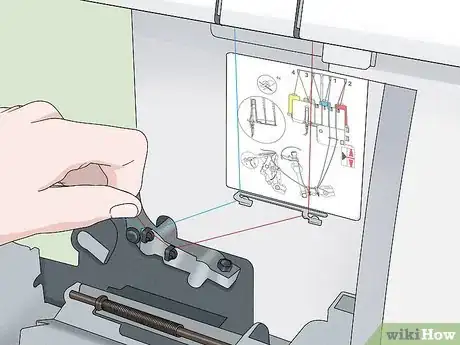
2Pull each thread through the color-coded guides for that spool. Most overlock machines have a handy color-coded diagram and colored dots that show you where each thread is supposed to pass through. Follow this diagram and pass each thread through the color-coded hooks and loops for that spool of thread.[8]
- You can use a pair of tweezers to make it easier to pass the thread through all the holes. This is especially helpful for the final holes underneath the presser foot.
-
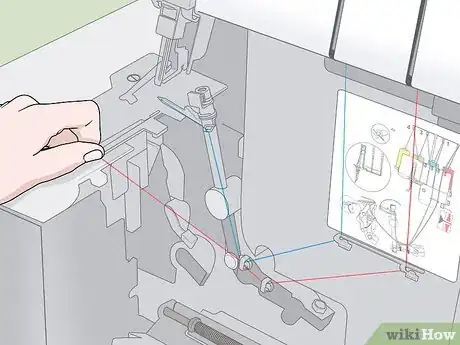
3Pass the ends of the threads behind the presser foot. Pull the end of each thread underneath the presser foot and towards the back of the machine. Do this for each thread after you pass it through the final hole near the presser foot.[9]
- This will allow you to thread the needles correctly.
-
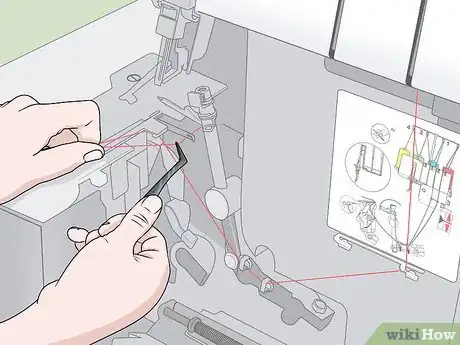
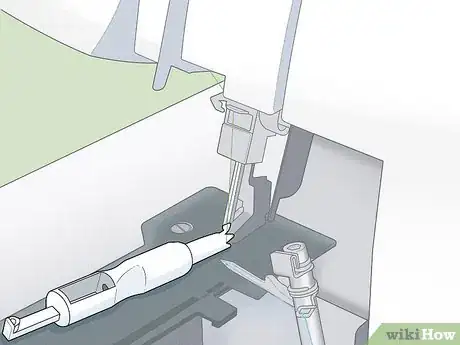
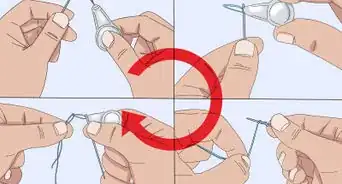
4Slide the threads onto the needles using a needle threading tool. Pass the end of the thread horizontally through the slit in the needle threading tool. Slide the tool down the shaft of the needle until the end of the thread is close to the eye of the needle.[10]
- There are 2 needles on an overlock machine. If you’re only using 2 spools of thread, you might only use 1 of the needles. If you’re using 4 spools, you will need to thread both needles.
- The color-coded diagram on your machine will show you which thread goes to which needle.
- If you are only using 1 needle, remove the other needle. Otherwise, you can end up with an ugly stitch.
-
5Use the threading tool’s hook to pull the thread through the eye of the needle. Carefully pull the threading tool away from the needle. Grab the end of the thread with the tool’s hook and pull it through the eye of the needle to finish threading your overlock machine![11]
- You don’t have to tie the thread once it’s through the eye of the needle.
- Remember to repeat this for each needle if you are using both of them.
Getting Started Sewing
-
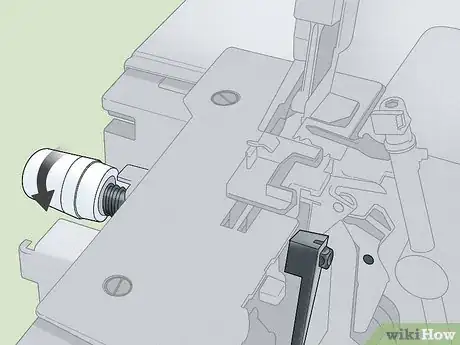
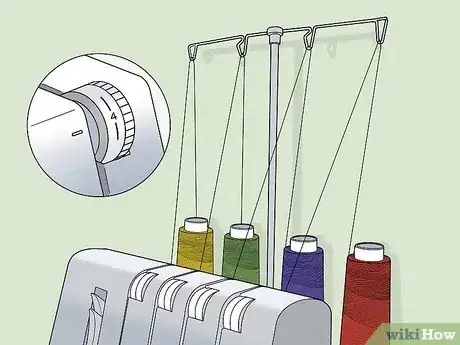
1Set the tension disks to position 4 for a starting default tension setting. Make sure each tension disk for each spool of thread you’re using is turned to the number 4. This is the default tension setting for most sewing purposes and a good place to start, unless you already know you want to use a different tension setting.[12]
- With practice, you might choose to increase the tension when you’re sewing heavier materials or decrease it when you’re sewing more fine materials.
- Feel free to experiment with the tension to find which tension settings give you a quality of stitch that you’re happy with.
-
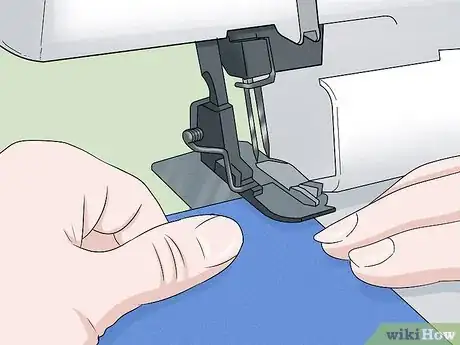
2Position your fabric under the pressure foot. Slide a piece of fabric that you want to sew onto the pressure plate underneath the pressure foot. The pressure foot must still be raised in order for you to slide your fabric under it.[13]
- It’s a good idea to practice sewing on a scrap piece of fabric first. That way, you can check the quality of the stitch and make adjustments to the thread or tension if you want to.
-
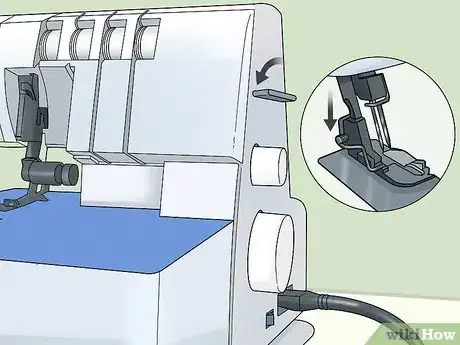
3Lower the pressure foot back down by moving its lever. Press the lever next to the pressure foot all the way down to lower it. This will put tension on the thread and hold your fabric in place on the pressure plate.[14]
- If you don’t remember to lower the pressure foot back down, there won’t be enough tension on the threads and you won’t be able to guide your fabric well, so you’ll end up with a messy stitch.
-
4Sew and check the stitch chain to see that it is neat and uniform. Turn the needle hand wheel towards you 2-3 times to get the stitch started, then use the foot pedal to keep sewing. Guide your fabric underneath the needle, then look at the stitch once it’s long enough to see and check for quality.[15]
- If the stitch is not uniform or is messy, double-check that you threaded the machine properly and set the tension disks correctly.
- If you passed the threads through the wrong threading paths, you will immediately see that you are not getting a proper chain stitch.
Warnings
- Always follow the color-coded diagram for each spool of thread to pass it through the correct threading pathway in your machine. Otherwise, it won’t work when you try to sew something.⧼thumbs_response⧽
Things You’ll Need
- Overlock sewing machine
- Thread spools
- Tweezers
- Needle threading tool
- Fabric
References
- ↑ https://weallsew.com/how-to-thread-an-overlocker/
- ↑ https://weallsew.com/how-to-thread-an-overlocker/
- ↑ https://weallsew.com/how-to-thread-an-overlocker/
- ↑ https://www.youtube.com/watch?v=MrqHC2CNjVI&feature=youtu.be&t=165
- ↑ https://aces.nmsu.edu/pubs/_c/C219/welcome.html
- ↑ https://aces.nmsu.edu/pubs/_c/C219/welcome.html
- ↑ https://www.youtube.com/watch?v=MrqHC2CNjVI&feature=youtu.be&t=252
- ↑ http://download.brother.com/welcome/doch100696/884-b02_b03_om01en.pdf
- ↑ https://www.youtube.com/watch?v=MrqHC2CNjVI&feature=youtu.be&t=457
- ↑ https://weallsew.com/how-to-thread-an-overlocker/
- ↑ https://weallsew.com/how-to-thread-an-overlocker/
- ↑ http://download.brother.com/welcome/doch100696/884-b02_b03_om01en.pdf
- ↑ http://download.brother.com/welcome/doch100696/884-b02_b03_om01en.pdf
- ↑ http://download.brother.com/welcome/doch100696/884-b02_b03_om01en.pdf
- ↑ http://download.brother.com/welcome/doch100696/884-b02_b03_om01en.pdf
