This article was co-authored by wikiHow Staff. Our trained team of editors and researchers validate articles for accuracy and comprehensiveness. wikiHow's Content Management Team carefully monitors the work from our editorial staff to ensure that each article is backed by trusted research and meets our high quality standards.
There are 9 references cited in this article, which can be found at the bottom of the page.
wikiHow marks an article as reader-approved once it receives enough positive feedback. In this case, 90% of readers who voted found the article helpful, earning it our reader-approved status.
This article has been viewed 91,492 times.
Learn more...
Record enthusiasts know the importance of protecting and maintaining their vinyl records. While vinyl offers several advantages over other listening media, it carries a few disadvantages including the tendency to wear over time. Learning how to properly care for your vinyl records is essential to guarantee their longevity.
Steps
Storing Them Properly
-
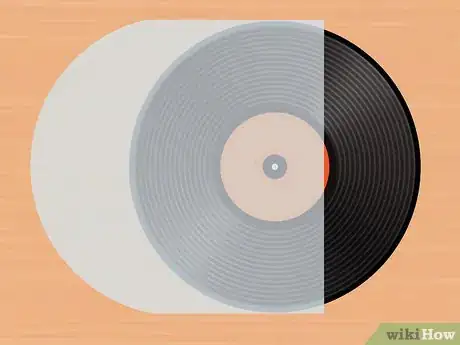
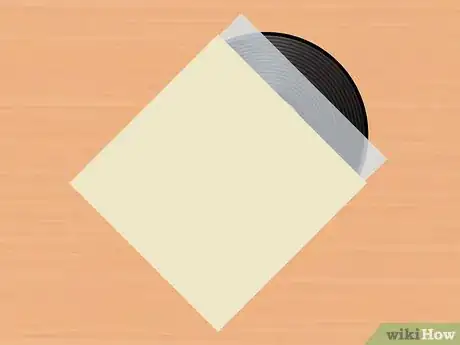
1Use an inner sleeve. The inner sleeve is the only storage item that should regularly come into contact with the record. The best sleeves are composed of either a plastic liner within a paper inner, or as a round-bottomed plastic-only sleeve. Storing your record in one of these sleeves is essential to protect it from scratches and debris. These can be purchased both online and in local music stores.[1]
- Most records come with paper sleeves.[2] Avoid using these because as you slide your records in and out over time, the paper acts as fine grain piece of sandpaper that will add scratches to your vinyl.
-
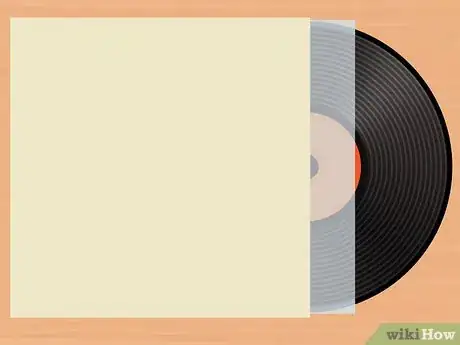
2Store in an outer sleeve. The outer sleeve covers the vinyl’s card sleeve, and it also prevents dust from gathering on the vinyl itself. Opt for the softer, roomier sleeves to avoid peeling off the record’s artwork. These can be purchased both online and in local music stores.[3]
- Avoid the heavy gauge plastic sleeves. Over time, these can compress and stick to the record sleeve. When removed, they may damage the artwork.
- You can also use a vinyl bag that fits like a normal sleeve but has a large flap and adhesive strip on the outside to fully enclose the record.
Advertisement -
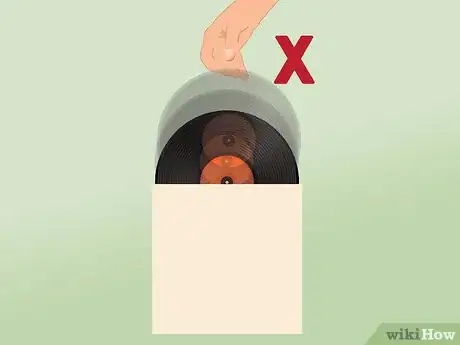
3Don’t drop a record into its sleeve. Avoid carelessly dropping a record into its jacket or sleeve. This can not only split the cover but it can also cause damage to your record including scratches and abrasions. Gently put away your records by slowly sliding the vinyl into the jacket or sleeve.
-
4Invest in a shelving system. Once your records are properly encased, you’ll need a shelving system that is sturdy enough to hold your records in an organized manner. Opt for a shelving system that has built-in square shelves or inserts that will hold baskets or boxes. You can purchase inexpensive shelving systems from local furniture stores.[4]
- Be sure to strengthen the system by adding L-shaped metal brackets to avoid having your shelving system lean to one side.
- Use dividers to help catalog your records for easier access. You can find record dividers online which allow you to write in categories, genres, or the alphabet.
- Never lay your records flat as this will cause them to warp. Store them vertically instead.[5]
-
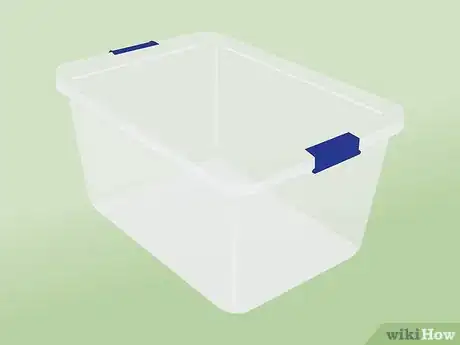
5Choosing containers for archive storage. Opt for stronger materials that will support the weight of lots of records and avoid cardboard which can weaken over time. Avoid containers that won't retain a static charge (wood over metal#, and loosely stack your records in an upright position.
- Try a heavy-duty, top down, plastic container with handles for easy transport.[6]
-
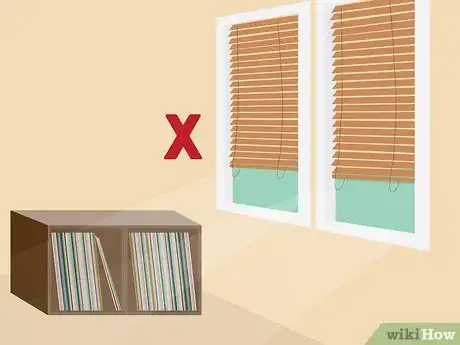
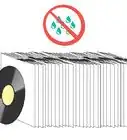
6Ensure proper environmental conditions. Vinyl records should always be stored in a dry, cool environment. Avoid storing them in direct sunlight, as the light and heat can fade the jacket artwork and warp the record. In addition, avoid storing in areas where the record will be exposed to a lot of dust or airborne particles.[7]
- Avoid areas like basements that tend to have leaks and environmental extremes.
- Proper storage temperature is between 46-50 degrees° F, with 30-40% relative humidity.
Handling Your Records
-
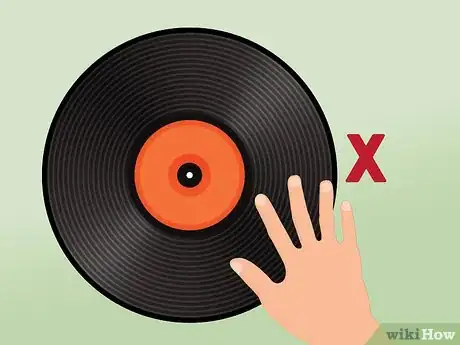
1Don’t touch the surface. Avoid touching any part of the record that contains stored information such as the grooves of the album. Instead, handle carefully by touching only the edges and the inner label. Dirt and prints can affect the sound quality and playback of your record. If you happen to come in contact with the record, use a fibre brush to remove surface dust and clean prints.<
-
2Minimize contact with air. Limit the amount of time records are in contact with the air to avoid accumulation of dirt and debris. When albums are not in use, they should immediately be stored in sleeves. If your turntable has a lid, be sure to close the lid during playback to limit contact with airborne dirt.
-
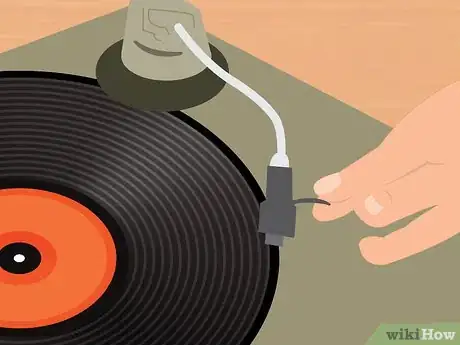
3Use a steady hand when cueing a record. If you have a manual turntable, you will have to manually lift the arm and place the needle on the record for playback. If you don’t have a steady hand, you can easily scratch the record. Avoid shaking hands and also use the cueing lever on your turntable to raise and lower the needle. Additionally, you can purchase a turntable with an automatic system.[8]
-
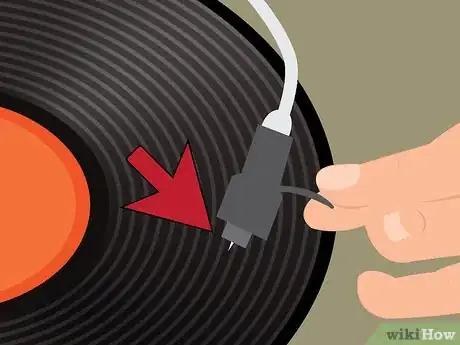
4Be careful when removing the needle. When a record has played to completion, wait for the platter to stop spinning before removing the needle. This helps to avoid scratches on your record. If you are trying to skip to another song, it is not necessary to stop the turntable. However, it is important to avoid applying downward pressure to the arm. After picking up the arm, lower it to the dead space before the song.[9]
- The dead space is visually distinctive from the parts of the record which contain music. You can also use the track list as a guide to avoid scratching information on the record.
Cleaning Records
-
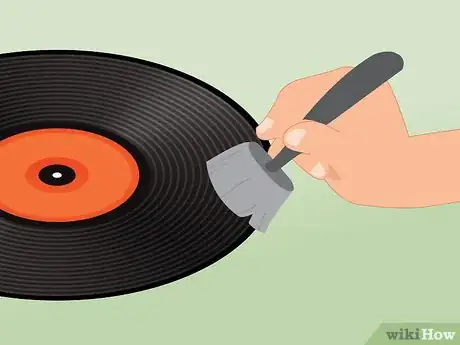
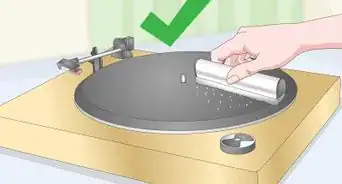
1Use a carbon fiber brush. A fiber brush is useful because it can easily enter the grooves of the record to remove dirt. Additionally, the type of fiber easily drains static electricity which is responsible for attracting dust. To use, spin the record slowly while holding the brush over the vinyl. Special brushes can be purchased at your local music store or online.[10]
- Use the brush to clean your records both before and after each record use.
- Don’t forget to clean the dust off of the brush between uses too.
- Avoid using a T-Shirt or towel as this can damage the surface of your vinyl.[11]
-
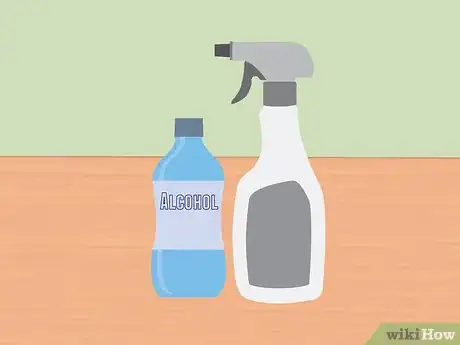
2Try using a cleaner. There are pre-formulated cleaning products available both online and at local music stores, but you can also make a safe and affordable cleaner at home. Combine distilled water, isopropyl alcohol, and a couple drops of laundry detergent #without fragrance or dyes#, spray onto the vinyl, and use a microfiber cloth to wipe in a circular motion until the vinyl is dry.[12]
- Combine 12 oz distilled water, 2 oz alcohol, 2 drops free and clear laundry detergent, into a spray bottle.
- It’s important to use distilled water because it doesn’t have any minerals that could be harmful to the record.
-
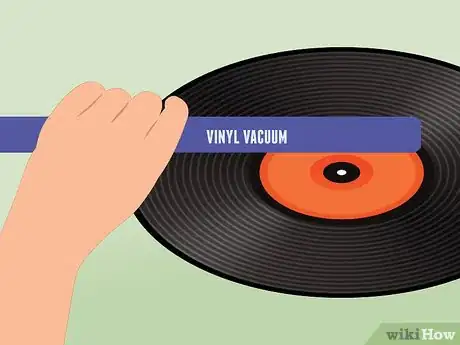
3Purchase a vinyl record vacuum cleaner. Vinyl record vacuums provide a deeper clean than brushing and cleaning products alone. The vacuum sucks the debris out of the grooves with as little friction as possible. In addition, vacuums are able to apply a thin layer of cleaning fluid which dissolves oils and further protects the record.
- Each record vacuum is different so consult included with the device to learn to operate the device correctly.
- As an added bonus, the vacuum also helps to dry the record in an even fashion.
Community Q&A
-
QuestionHow do I grab it without touching the tracks?
 Community AnswerYou can grab the record without touching the tracks by using your three middle fingers on the label, and your thumb on the edge of the record to keep it steady. Never touch the grooves.
 -
QuestionIs storage in a cold environment harmful to vinyl records?
 Community AnswerAs long as it is not damp and not extremely cold, it should be fine. Same goes for extremely hot areas.
 -
QuestionHow do I restore warped vinyl records?
 Community AnswerYou can restore warped records by either buying a machine online or at a local music shop, or you could put them in between two glass sheets in an oven for 5-10 minutes on a low heat. There are very limited ways to restore a badly warped record.
Warnings
- Coating a record with water before playing it #"wet playing"#, a method sometimes purported to reduce popping and hissing sounds, can actually damage your record by further driving dust and dirt into its grooves# The water can also loosen the glue holding the stylus to its cantilever#⧼thumbs_response⧽
- Avoid cleaning your records with tap water, rubbing alcohol, or lighter fluid, as the additives and impurities in these substances can damage the vinyl#⧼thumbs_response⧽
Things You'll Need
- Inner sleeves
- Outer sleeves
- Record cleaning brush
- Microfiber cloth
- Record cleaning machine #optional#
- Record cleaning kit
References
- ↑ http://www.thevinylfactory.com/vinyl-factory-releases/how-to-store-your-record-collection-in-8-steps/
- ↑ http://forums.stevehoffman.tv/threads/beware-of-the-poly-lined-paper-inner-sleeve.332130/
- ↑ http://www.thevinylfactory.com/vinyl-factory-releases/how-to-store-your-record-collection-in-8-steps/
- ↑ http://www.thevinylfactory.com/vinyl-factory-releases/how-to-store-your-record-collection-in-8-steps/
- ↑ https://www.lifesavvy.com/13851/collecting-vinyl-records-heres-how-to-store-them/
- ↑ http://www.thevinylfactory.com/vinyl-factory-releases/how-to-store-your-record-collection-in-8-steps/
- ↑ https://blog.discogs.com/en/how-to-store-vinyl-records/
- ↑ www.discomusic.com/101-more/15029_0_7_0_C/
- ↑ http://www.ebay.com/gds/How-to-Operate-a-Vintage-Record-Player-/10000000177630661/g.html
