This article was co-authored by Melissa Nelson, DVM, PhD. Dr. Nelson is a Veterinarian who specializes in Companion and Large Animal Medicine in Minnesota, where she has over 18 years of experience as a veterinarian in a rural clinic. She received her Doctor of Veterinary Medicine from the University of Minnesota in 1998.
This article has been viewed 28,107 times.
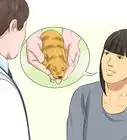
An older dog is more likely to experience dangerous complications during whelping, even if it was previously in good health. To be safe, avoid breeding a dog over the age of six. Have your female dog spayed to prevent accidental pregnancy and its complications, which include mammary tumors and life-threatening uterine infections. If your older dog does become pregnant, be sure to consult its vet throughout the process. Ask the vet if your dog is up to the challenge of labor and whelping, and if a planned C-section is the best option. If your dog delivers pups at home, make sure you're thoroughly prepared to help it through labor, and be prepared to get help if complications arise.
Steps
Taking Extra Precautions
-
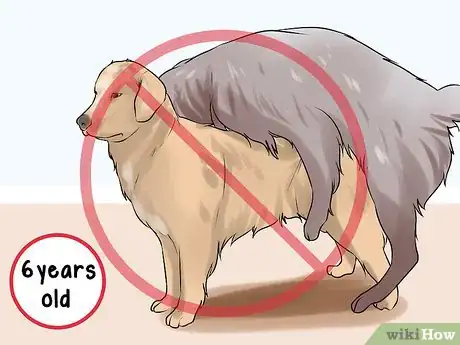
1Avoid breeding a dog over six years old. Depending on breed, it's best to mate your dog between the ages of two and six. A pregnancy after age six can pose significant health risks to both the mother and pups, even if the mother was in good health before the pregnancy. If your dog is pregnant at an older age, you will need to stay in close contact with its vet throughout the pregnancy.[1]
- It's always wise to take your dog to the vet for a pre-breeding exam before mating it, regardless of age.
-
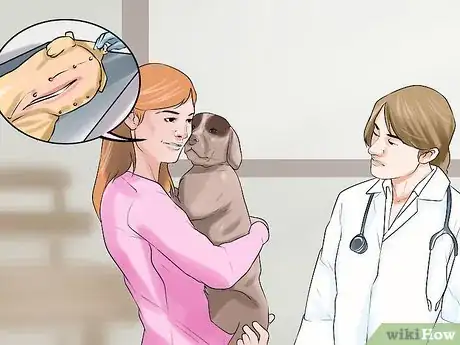
2Go to the vet regularly. Ask your vet how often your dog should come in to get checked on. Regular check-ups can help you make sure that your dog's pregnancy is on track, and that no complications have arisen. You should also schedule an ultrasound or a radiograph for your dog, which can help you estimate the number of puppies she's carrying.Advertisement
-
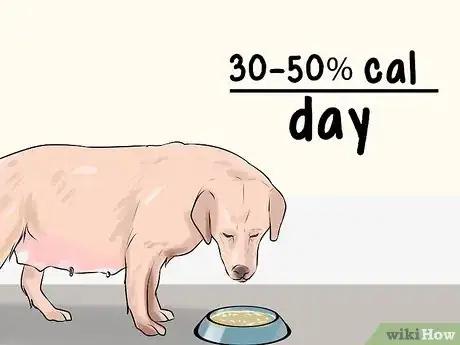
3Maintain a healthy diet for your older pregnant dog. An older dog's digestive system is more sensitive to abrupt changes in diet, so you should be cautious about modifying what you feed it. After about six weeks, or two-thirds into the pregnancy, it will need to start eating about 30 to 50% more calories per day.[2]
- Be sure to feed your dog several small meals per day, rather than one large meal. It doesn't have as much room for its stomach to expand after meals. This is all the more important for older dogs, whose internal tissues can't stretch as much as younger dogs.
- Higher calorie puppy food can be a good option, but keep in mind your older dog might not tolerate the switch.
-
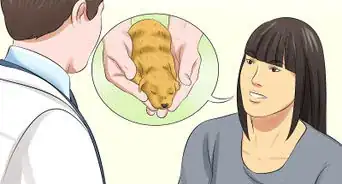
4Talk to your dog's vet about a Cesarean section. Your dog will need close veterinarian attention throughout the pregnancy. One major point you'll want to discuss with the vet is whether to get a Cesarean section when labor occurs. If this is the first time your dog has been pregnant, your vet will most likely recommend a C-section.[3]
- A planned C-section might be costly, but it is cheaper and safer than an emergency C-section.
-
5Save money in case an emergency C-section is necessary. Emergency C-sections can cost over $1000, but you never know when your dog might need one. Ask your local vet or emergency clinic for a cost estimate and begin setting money aside. If your dog ends up needing this surgery, you'll be glad that you were prepared.
-
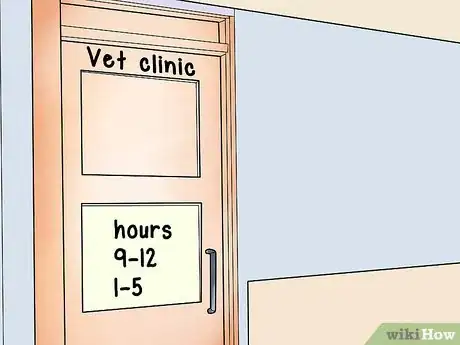
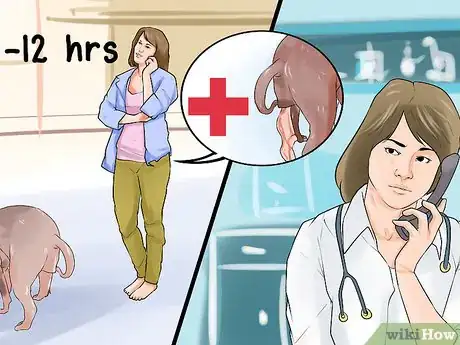
6Familiarize yourself with the hours of your vet and emergency clinic. Prepare an emergency contact sheet with your vet's number and, if your vet isn't open 24 hours a day, contact information for the nearest emergency veterinary clinic. Complications are more likely to arise when an older dog gives birth. Even if your vet authorizes a home birth, you'll want to be prepared to contact them or get assistance in the event of an emergency.[4]
- Contact your vet or emergency clinic when your dog goes into labor to let them know they should be on call if you need assistance.
Preparing for Delivery
-
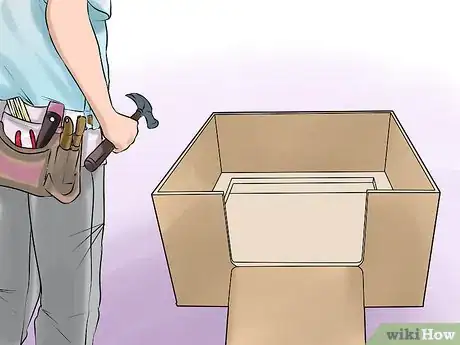
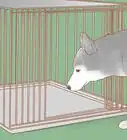
1Build a whelp box for your older dog. Using a box is preferable to just designating a whelp area, since older dogs might require emergency care. You'll need to choose a box large enough for the dog to stretch out and nurse the pups, but one that you can lift and put in a car if you have to bring the dog to the clinic. Line the floor with paper before birth, since it can easily be swapped out when soiled.[5]
- After birth, switch from paper to matting, such as bath mats, for better traction for the newborn pups.
- Include a shelf or roll away area in the box to provide the pups with protective shelter if the mother rolls over.
-
2Have necessary supplies handy. Prepare a labor kit in advance with a thermometer, scissors, unwaxed dental floss, and gentle or 1% iodine. You'll need floss to tie the umbilical cords and scissors to cut them if the mother doesn't do so. You'll then use the iodine to sanitize the pup after cutting.[6]
-
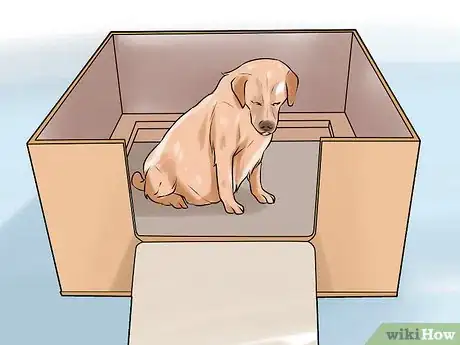
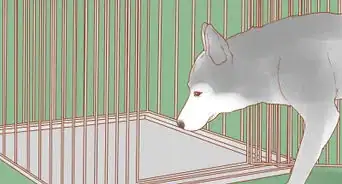
3Accustom your dog the whelping box or area before labor. A few days before the approximate due date, build a whelp box or designate a whelp area. This is especially vital if it's the dog's first pregnancy. Build the box or prepare the area, bring your dog to it, and allow her to inspect and lay in it.[7]
- Without a designated whelp box or area, your dog might try to seclude itself by hiding in a closet or other undesirable area.
- It is essential that you or a veterinarian be present when your older dog gives birth, so getting it accustomed to a whelp area beforehand is essential.
Helping Your Dog Whelp
-
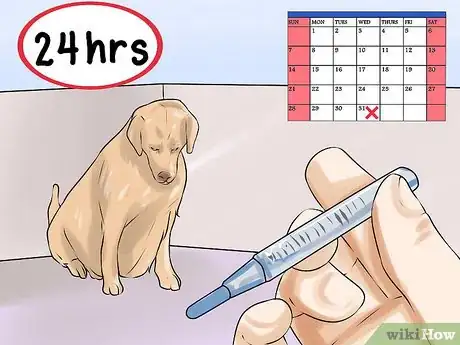
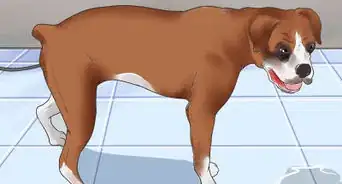
1Notice when your dog begins to go into the first stage of labor. Mark the expected due date on a calendar, and try to commit it to memory. A few days prior, start taking your dog's temperature every few hours. Within 24 hours of whelping, its temperature will drop under 100 degrees Fahrenheit (or 37.8 degrees Celsius). Take the dog to the vet if you've arranged a C-section, or prepare for a home birth.[8]
- After its temperature drops, signs of labor include restlessness, plump or dripping nipples, panting, and the start of abdominal straining.
- The first stage of labor lasts up to 12 hours. Prior to and during labor, your dog won't want to eat and may even vomit, but you should still make sure to offer plenty of cool water.
-
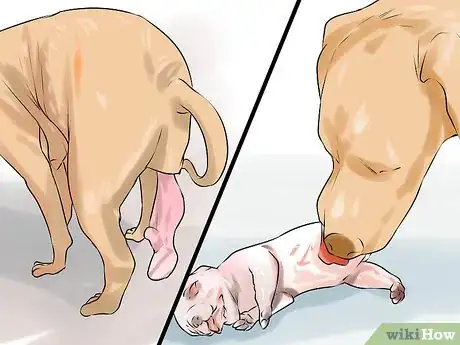
2Allow the dog to deliver and clean the pups. When the second stage of labor begins, your dog will begin having regular contractions, which are clearly visible as waves across the belly. Provided you haven't arranged a C-section, monitor the birth closely from several feet away to avoid hovering, as your dog will want privacy before delivering.
- Your dog will deliver, on average, one pup every 45 to 60 minutes. Prior to delivering a pup, it will pass fetal fluid. If more than 2 hours go by after passing fluid without delivering a pup, call the vet.
- After delivering each pup, your dog will remove its birth membrane and clean it by licking, which also encourages the pup to breathe.
- Keep track of each pup delivered, and keep in mind the number your vet observed on ultrasounds so you know how many more to expect.
-
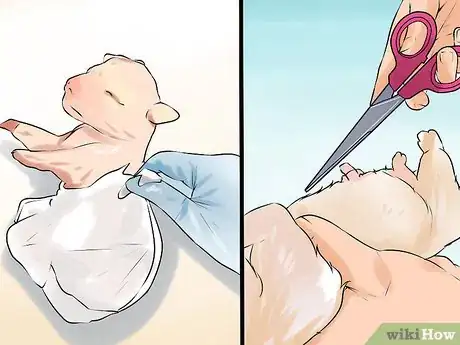
3Tear the birthing sac and cut the umbilical cord if necessary. If the mother doesn't do so, you must promptly tear the birth sac, or membrane, around the pup's head. Failure to do so could cause suffocation. Use a towel to clean off the pup, taking special care to remove mucous and fluid from its mouth and nose.[9]
- Then, tie the cord off about two inches from the abdomen and cut it on the far side of the tie. Paint the cut end promptly with iodine to prevent infection.
-
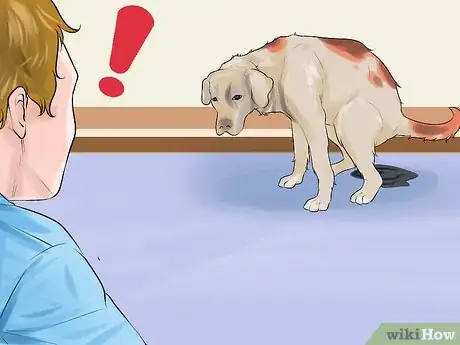
4Get help right away if any complications arise. Call the vet if the second stage of labor lasts more than twelve hours. Prepare to bring your dog to the clinic if it is in obvious extreme pain, if a puppy is stuck in the birth canal, or if there's a fetal discharge but no puppy delivered two or three hours after the discharge.
-
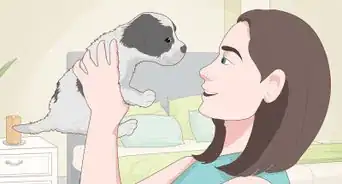
5Continue to monitor your dog and pups after delivery. Schedule a vet visit for your dog and the pups for three days after whelping, provided there are no complications.[10] Older dogs are, however, more likely to experience post-whelping issues, such as mastitis, an infection of the mammary glands that causes the glands to be hot, firm, and painful. Reddish brown discharges are normal in the days after whelping, but black discharges with a odor might indicate a uterine infection, which requires immediate veterinary care. In addition, check for these symptoms, and bring your dog to the vet as soon as possible if it shows any of them:
- Disinterest in or ignoring the puppies.
- Muscle spasms or abdominal swelling.
- Refusing food or water after whelping.
References
- ↑ http://www.dogbreedinfo.com/breedingdogs/whelpingpuppiebreedingage.htm
- ↑ https://www.petcarerx.com/article/what-to-feed-a-pregnant-dog/797
- ↑ https://www.vetinfo.com/vets/answers/can-ten-year-old-dog-have-puppies
- ↑ http://www.akc.org/dog-breeders/responsible-breeding/#pregnancy
- ↑ http://www.akc.org/dog-breeders/responsible-breeding/#pregnancy
- ↑ http://www.akc.org/dog-breeders/responsible-breeding/#pregnancy
- ↑ http://www.akc.org/dog-breeders/responsible-breeding/#pregnancy
- ↑ http://www.canismajor.com/dog/hvpup1.html
- ↑ http://www.akc.org/dog-breeders/responsible-breeding/#pregnancy
About This Article
To promote safe whelping for your older dog, first talk to your vet to make sure it's healthy enough to deliver puppies, since delivery can be more dangerous for dogs over 6 years old. If your pup is already pregnant, ask your vet if they recommend a C-section delivery instead of a natural birth, which can be safer for older dogs. As you prepare for the whelping, build a whelping box large enough for your dog to lie in, but portable enough that you can place it in the car in case you need to take your dog to the vet. Just make sure you line the bottom of the box with paper before the birth so you can swap it out when it gets soiled. To learn how to check for complications during delivery, read more from our Veterinary co-author.
