wikiHow is a “wiki,” similar to Wikipedia, which means that many of our articles are co-written by multiple authors. To create this article, 18 people, some anonymous, worked to edit and improve it over time.
This article has been viewed 67,941 times.
Learn more...
A great project for any lover of astronomy with even a hint of artistic ability is to process the raw images taken by the Hubble Space Telescope (HST) into the coloured wonders we're used to seeing in print.
Hubble data is presented in grey scale but with a free application download and any graphics editor you can turn the right combination of images in to either a close approximation of reality or a fantastical work of art.
Steps
Searching the Hubble Legacy Archive (HLA) for images
The Hubble Legacy Archive[1] was unveiled in 2006 with the primary aim of making Hubble observations accessible in a user-friendly way. At first glance the archive can be a little daunting but with a bit of practice it becomes surprisingly easy to navigate.
-
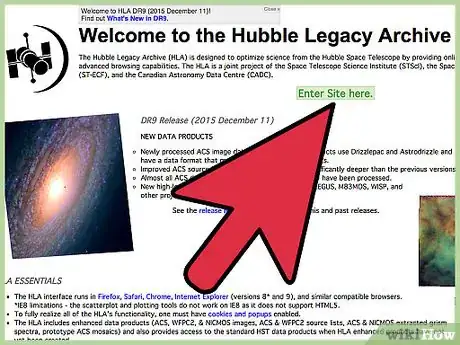
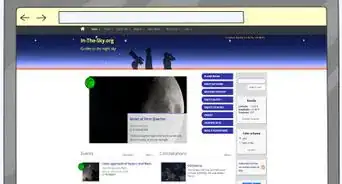
1Open the Hubble Legacy Archive at http://hla.stsci.edu/. Click "Enter Site".
-
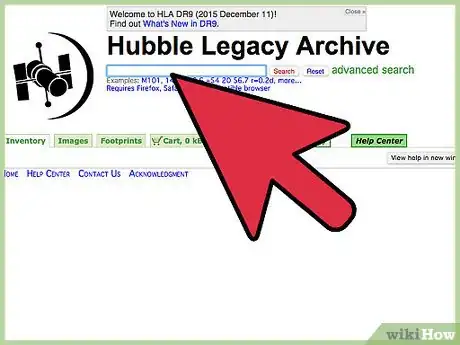
2Locate the search box and the list of example searches below it.Advertisement
-
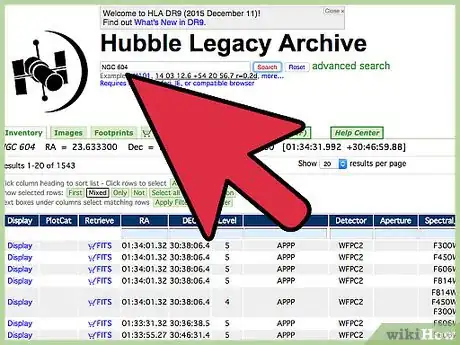
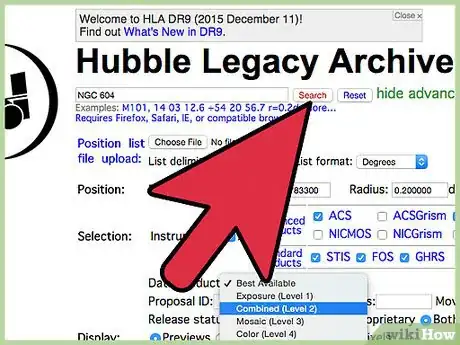
3For this guide, enter "NGC 604" in to the box, which is the New General Catalogue identification number for the "The Triangulum Emission Garren Nebula".
-
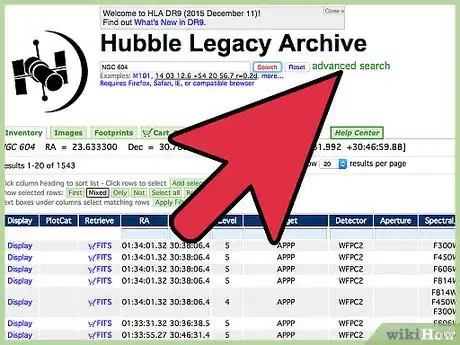
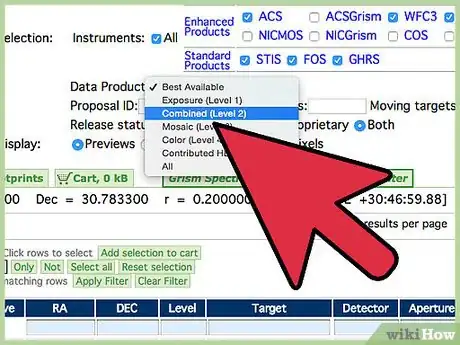
4Click the advanced search link and select only the WFPC2 (Wide Field and Planetary Camera 2), WFC3 (Wide Field Camera 3), and ACS (Advanced Camera for Surveys) under Instruments. These cameras give the best images for compositing into coloured final products.
-
5Change the Data Product to "Combined (Level 2)".
-
6Click Search. This should return 62 results.
-
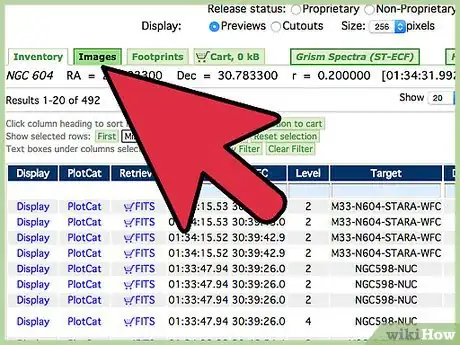
7Locate the "Images" tab to sort the data as thumbnails for easy viewing.
-
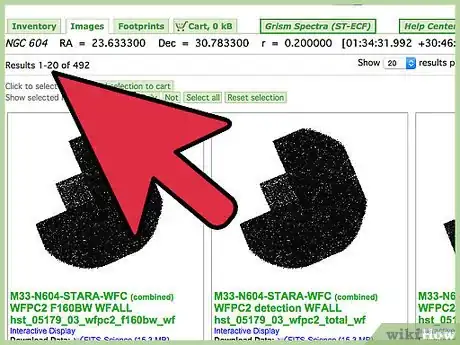
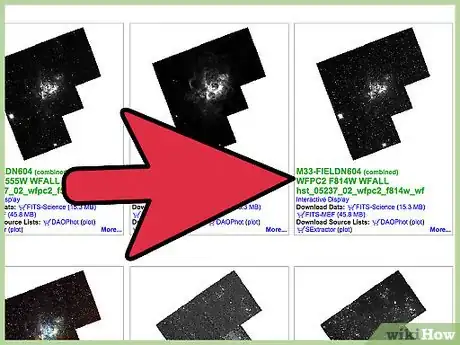
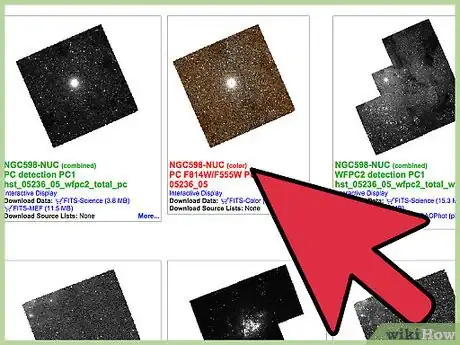
8Explore the results to get a feel for the data in the HLA. You can expand an image by clicking "Interactive Display" under a thumbnail.
Find a list of other objects you may wish to search for below.
Selecting the best images for processing
The Hubble Space Telescope uses a number of different filters when taking images of objects. The best wideband filters for the production of colour images are F435W, F439W, F450W, F555W, F606W, F675W, F702W, F791W, and F814W. Narrowband filters used include F437N, F502N, F656N, F658N, and F673N. The numerical value designates the central passband of the filter measured in nanometres (F435W for example is a 435 nm wideband filter.)
-
1Locate the fourth image in the result for the search of NGC 604 above and you will find the file name "hst_05237_02_wfpc2_f814w_wf" below it. The second last item in the name (f814) is the filter used to take the image. The item directly before it (wfpc2) designates it was taken with the Wide Field and Planetary Camera 2.
-
2Locate three separate filtered images to create your composite. The three images will later be combined to each represent one of the three colours in an RGB (Red, Green Blue) image.
- An example of a good set of filters would be WFPC2 F450W (Blue), WFPC2 F555W (Green), and WFPC2 F814W (Red).
-
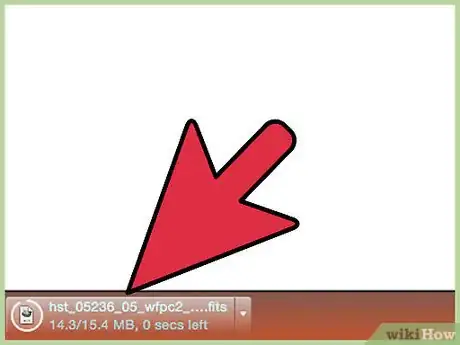
3To download your images, right click the "FITS-Science" link and "Save As" or you can click it to add the items to your "Cart" and download them in a batch by clicking the "Cart" tab at the top of the search results.
For this guide, download hst_05237_02_wfpc2_f814w_wf, hst_05237_02_wfpc2_f555w_wf, and hst_05237_02_wfpc2_f336w_wf. F814W will your be red, F555W green, and F336W blue. Note that the files are quite large and may take a few minutes to download
Converting flexible image transport system files into workable images
You will likely notice as soon as you get your files that they have an extension of .fits and that no programs on your computer are able to open them. FITS stands for Flexible Image Transport System and is a format used to store and allow manipulation of scientific and other images.
-
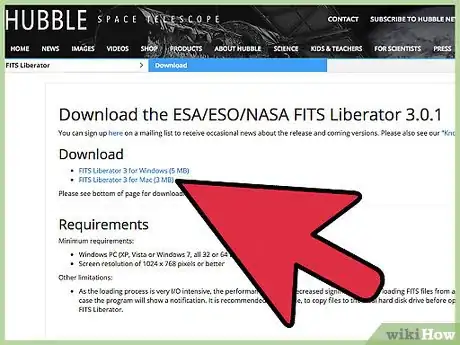
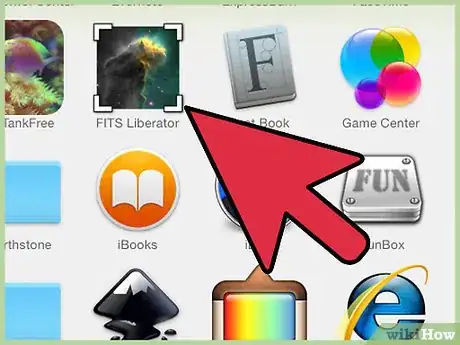
1To work with FITS files you will need a small free application called FITS Liberator.[4] This can be downloaded from http://www.spacetelescope.org/projects/fits_liberator/download_v301/. Download and install either the Windows or Mac version depending on your operating system.
-
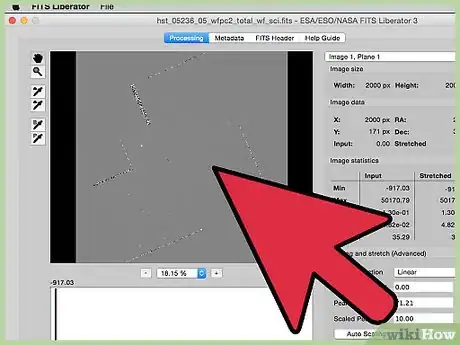
2Open FITS Liberator and navigate to one of the files downloaded earlier. For now, select hst_05237_02_wfpc2_f814w_wf_drz.fits.
-
3Take a look around the software at the information and the different changes you can make. Play with some of the buttons and notice the changes to the image preview.
-
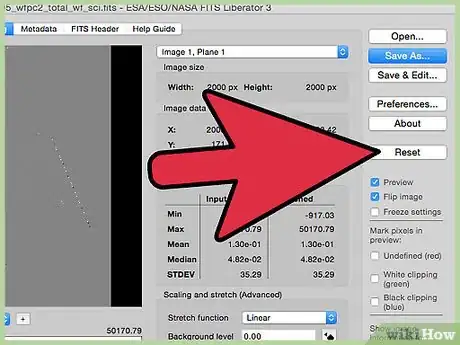
4Click the "Reset" button on the left to return the image to its native form.
-
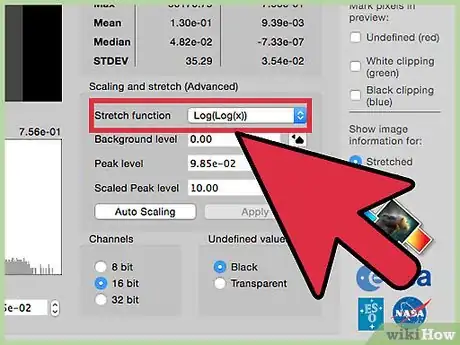
5For now, you are just going to use a simple stretch on the images before you save them. Find the "Stretch" drop-down which contains a number of pre-sets and select Log(Log(x)).
-
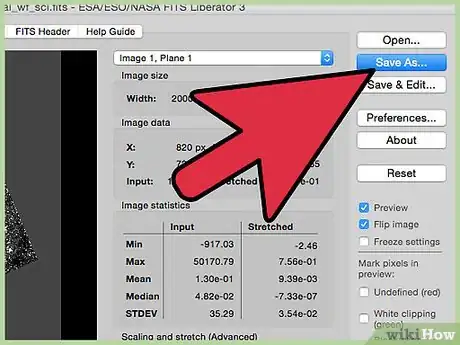
6Click "Save File" and save the TIFF file to an easily accessible location. Change the file name to match the filter (for example, save hst_05237_02_wfpc2_f814w_wf_drz.fits as f814.tif).
-
7Do the same thing for the other two FITS images.
The ArcSin(h) function also works well and sometimes you will want to adjust the levels by hand. This tutorial will keep it simple.
Scaling and aligning the images
Because Hubble images are composed of long exposure and everything in space, including the telescope, is moving, your three images will likely not line up perfectly. You will need to use a graphics editor to line everything up to ensure that when you create your colour image, there are no fuzzy lines. This article uses Adobe Photoshop CS6 but you can use GIMP or any other editor that works with layers.
-
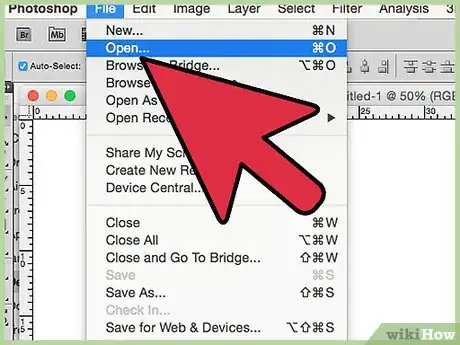
1Open your first image in your editor ensuring the layer is named the same as the file. For now, use f814w.tif and call the layer f814w.
-
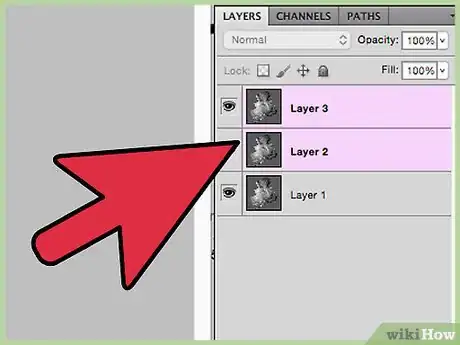
2Place your second and third images above the first in their own layers; again, ensure the layers are named for the files. In Photoshop you can use File -> Place to accomplish this easily (be sure to rasterize the placed images).
-
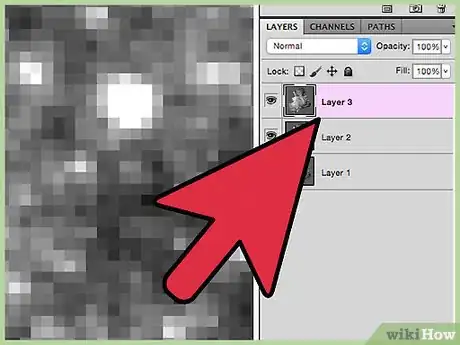
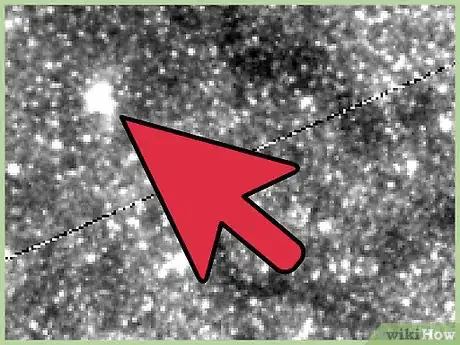
3Select your top layer and zoom in on an area with a number of stars.
-
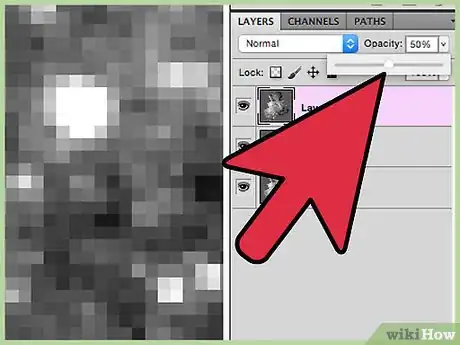
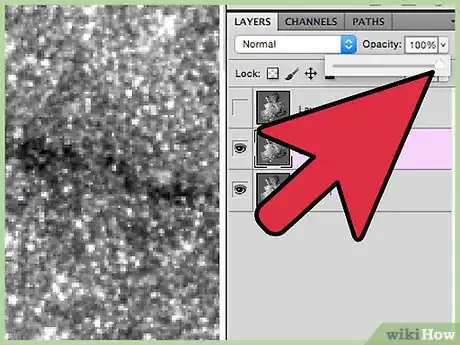
4Lower the opacity to between 50% and 60% so that you can see stars from the layer below.
-
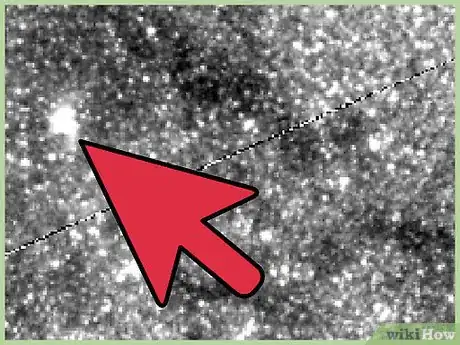
5Look for stars that appear in both layers and nudge the top layer to make things line up.
-
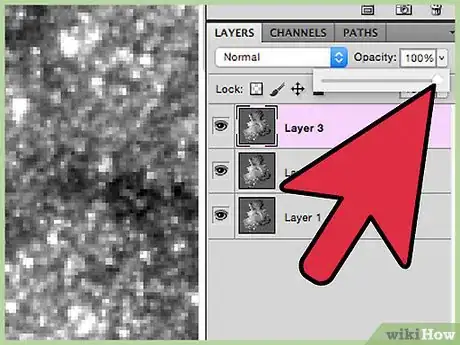
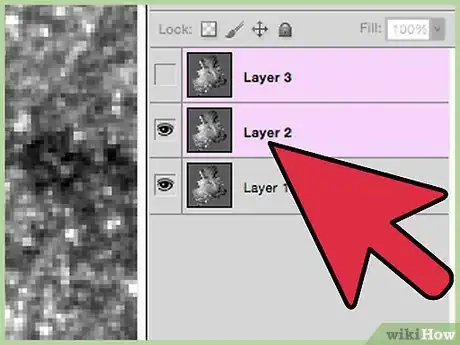
6Return the top layer to 100% opacity. Then hide it by clicking the eye beside the layer name.
-
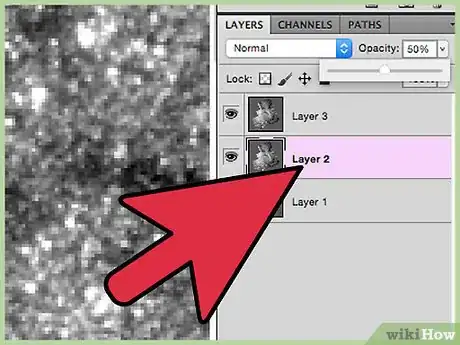
7Select the middle layer and lower the opacity to between 50% and 60%.
-
8Hold the shift key to select both the middle layer and the hidden top layer (these images are now lined up so we want to move them together).
-
9Locate a star that appears in the middle and bottom layers as a reference to line things up.
-
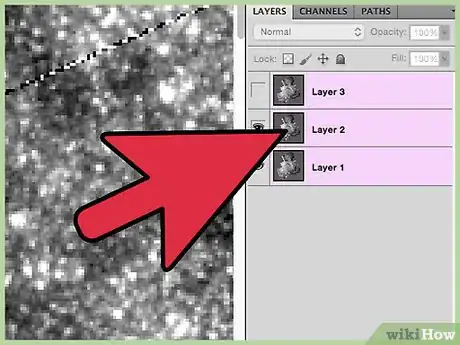
10Return the middle layer to 100% opacity and unhide the top layer.
-
11Use the shift key to select all three layers.
-
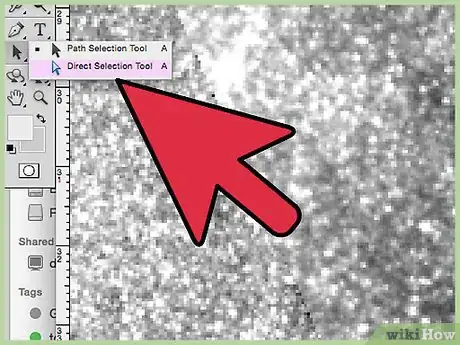
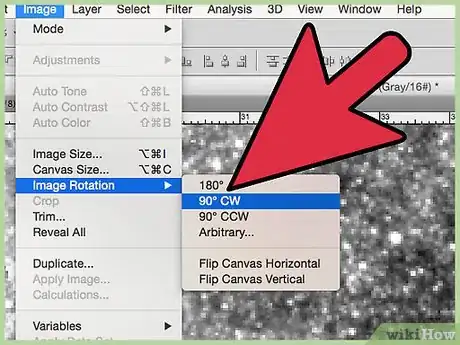
12Use the selection tool to select an area of the image that you want to work with. Then use the crop tool to loose everything else. You may need to rotate your selection or all three layers to get the region you want––just remember that all three layers must remain selected so that you don't undo your work from above.
-
13Rotate the final product however you like.
Bringing out the colour
Finally you want to bring out the colour; it's the whole reason you've done all of this work.
-
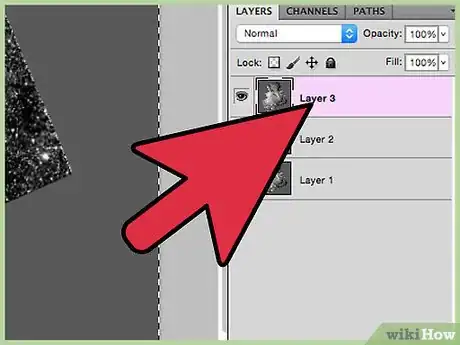
1Select your top layer in Photoshop and click Ctrl+A on your keyboard to select the entire canvas.
-
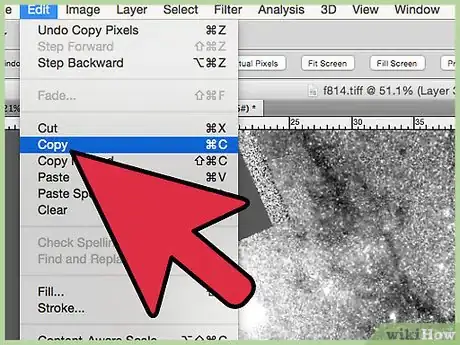
2Click Ctrl+C on your keyboard to copy the entire contents of the layer.
-
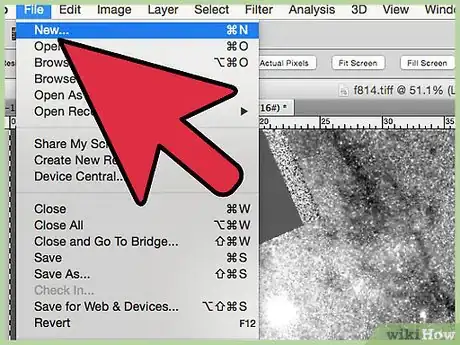
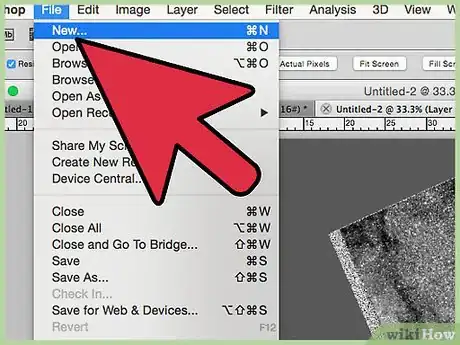
3Click File -> New or Ctrl+N to create a new image. It should automatically set the size to the size of the image you copied; the only thing you need to change is the bit depth of the image from 16bit to 8bit and the name of the image to the name of the layer you copied. (If you copied the layer called f814w, call the image f814w.)
-
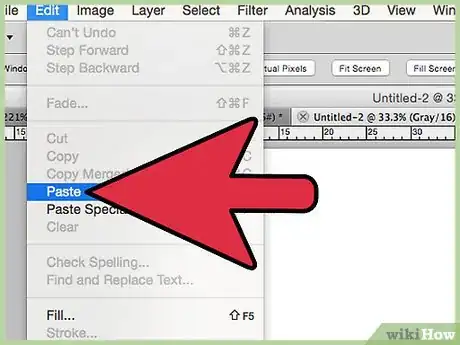
4Paste the copied layer to the new image using Ctrl+V or by going to the "Edit" menu and then "Paste".
-
5Do the same thing for the other two layers until you have three new images, each with one layer. At this point you can close the original three layer image.
-
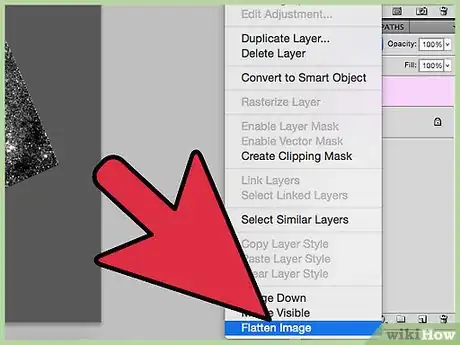
6Flatten each image by right clicking the layer and selecting "Flatten".
-
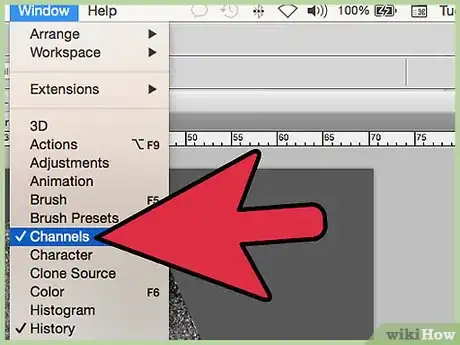
7On your third image, open the "Channels" window from the "Windows" menu.
-
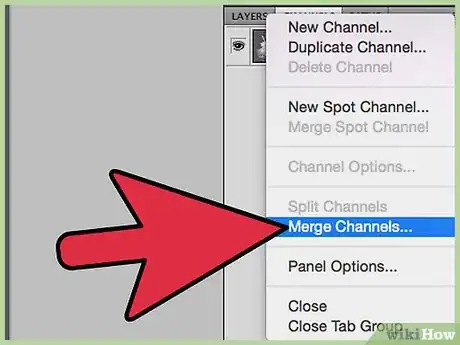
8Click the menu icon in the top right hand corner of the channels window and click "Merge Channels". If the merge option is greyed out, your images are either not flattened or are not 8 Bits. You can fix this in the Image -> Mode menu.
-
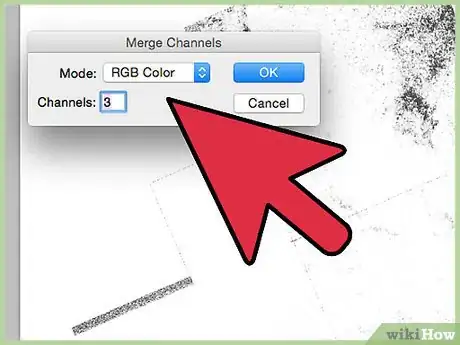
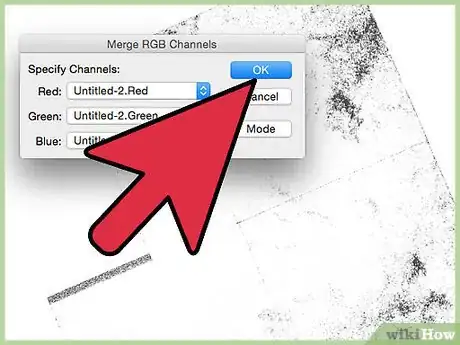
9Select "RGB" for the mode and 3 for the number of channels and click OK.
-
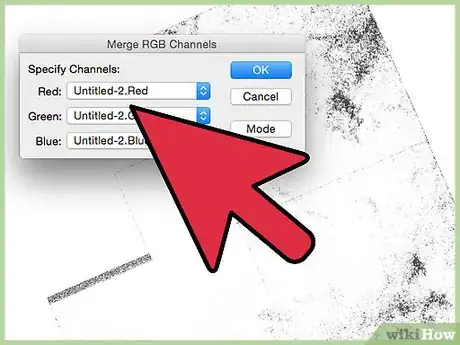
10Set your lowest filter as blue, the middle as green, and the highest as red. For this guide, it should be Red: 814, Green: 555, Blue: 336.
-
11Click OK. You will be instantly presented with a colour image.
- The outcome of the image will be affected by the filters chosen, and the settings used in FITS Liberator.
-
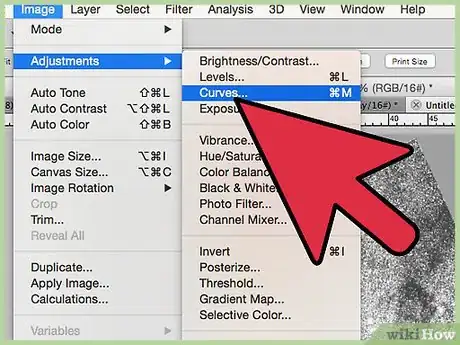
12Use the level and curve adjustments on the various channels and the full image to reach a product you're happy with.
- Play with your results and you can make something truly beautiful. The image to the right is of NGC 6357 and was made using WFC F658N for blue, WFC F660N for red, and an average of the two for green using the same method with heavy post-processing.
Part Six: On "True Colour"
No images done with this process will be true colour in the sense of what the human eye is capable of seeing. If you were actually standing in space looking at one of these objects you wouldn't see much of anything at all. Deep sky objects are very faint. Further, our eyes only evolved to be sensitive to a small range of light specifically filtered through a dense gas (our atmosphere). The visible spectrum for humans is a tiny, tiny, tiny part of the full range of light emissions. The thing is, light emissions don't care about our biology and objects emit lots of light and radiation we cannot see; so, we use technology and processes like these to make things visible.
Most emissions nebulae for example are red as far as the human visual spectrum is concerned; however, due to limitations in how much light we can gather with our eyes they would seem grey or in many cases would be completely invisible to the human eye.
The final product in these compositions is about as real as a toupee in any spectrum but the coloured images serve a scientific purpose, they can colour code the components that make up the object so we can see what it contains.
For more information see "What is a false-color composite" from the NASA JPL.
References
- ↑ http://hla.stsci.edu/
- ↑ http://ned.ipac.caltech.edu/
- ↑ http://simbad.u-strasbg.fr/simbad/
- ↑ http://www.spacetelescope.org/projects/fits_liberator/
- Hubble Legacy Archive http://hla.stsci.edu/ – research source
- FITS Liberator http://www.spacetelescope.org/projects/fits_liberator/ – research source
