This article was co-authored by wikiHow Staff. Our trained team of editors and researchers validate articles for accuracy and comprehensiveness. wikiHow's Content Management Team carefully monitors the work from our editorial staff to ensure that each article is backed by trusted research and meets our high quality standards.
This article has been viewed 41,783 times.
Learn more...
Your iPhone takes amazing photos, so it only makes since that you'd want to be able to print them from your home printer! If your printer is AirPrint-compatible, you'll be able to print directly to it from your iPhone as long as you're on the same network. For printers that don't support AirPrint, you can usually use an app from the printer manufacturer to print your photos. You can even order professional prints straight from your iPhone. Our guide will walk you through how to share and print the photos you take with your iPhone.
Steps
Using an AirPrint Printer
-
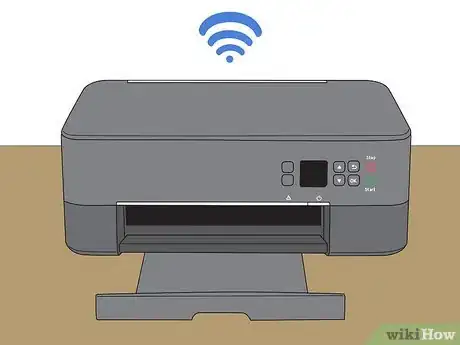
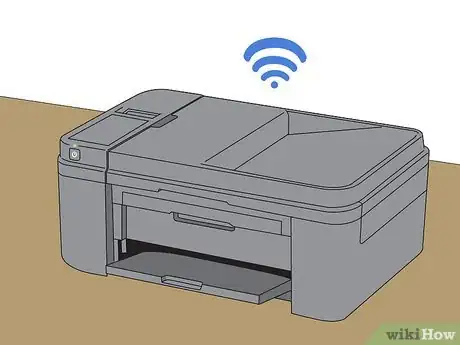
1Connect your AirPrint printer to your wireless network. The process for this will vary depending on your printer. Generally, you'll use the printer's built-in menu to select your wireless network and enter the password.[1]
- You can see if your printer is AirPrint-compatible by checking Apple's support page.
- If your printer does not support AirPrint, see the next section.
-
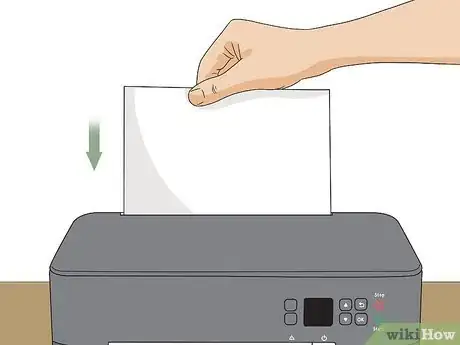
2Put photo paper in your printer. Most modern desktop printers will have a special tray for photo paper. This tray may be adjustable, and the location will vary depending on the printer. Refer to your printer's documentation for instructions on putting photo paper in the tray.
- Your iPhone will automatically send photos you print to your printer's photo paper tray.
Advertisement -
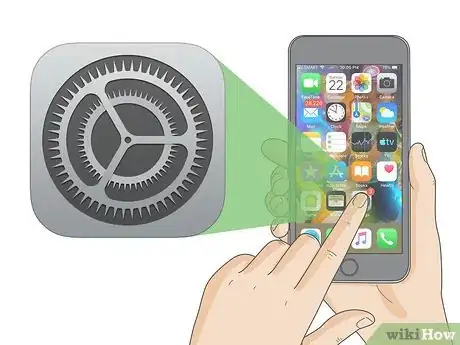
3Tap the Settings app on your iPhone. This may be in a folder labeled "Utilities."
-
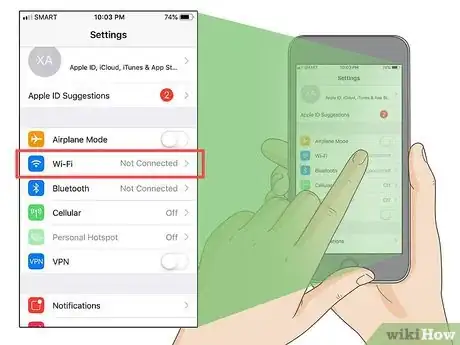
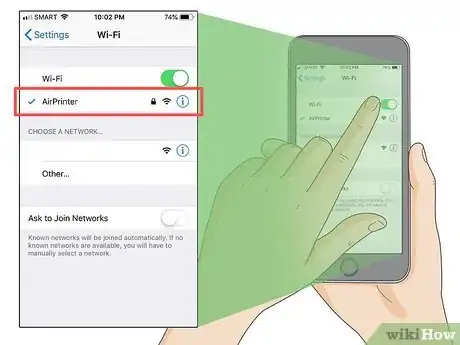
4Tap the "Wi-Fi" option.
-
5Ensure you're connected to the same network as the printer. You'll need to be on the same local wireless network as the AirPrint printer. You cannot print to your AirPrint printer over the internet.
- If you're connected to a different network, tap the correct network in the list and enter the password when prompted.
-
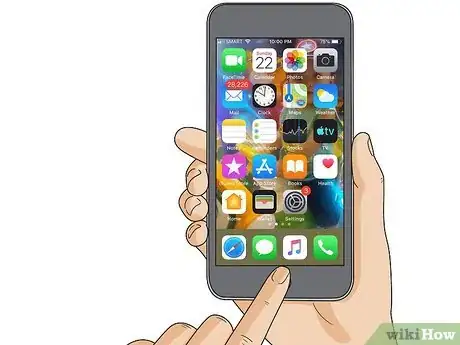
6Press the Home button. This will return you to the Home screen.
-
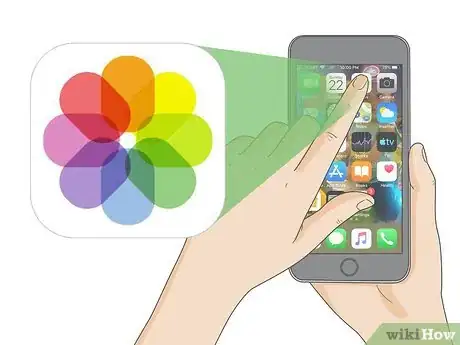
7Tap the Photos app.
-
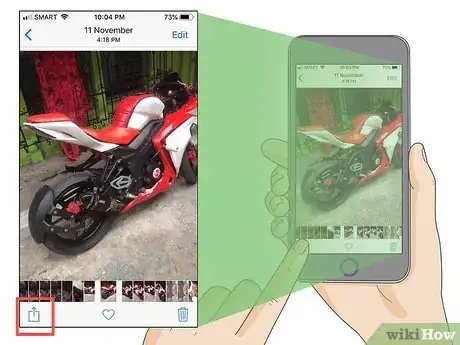
8Tap the Share button. You'll find this in the lower-left corner of the screen.
-
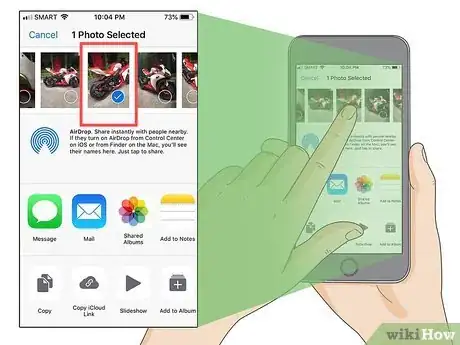
9Tap the photos you want to print. You can select as many photos as you'd like. Make sure you don't select any videos, or you won't be able to access the Print option.
-
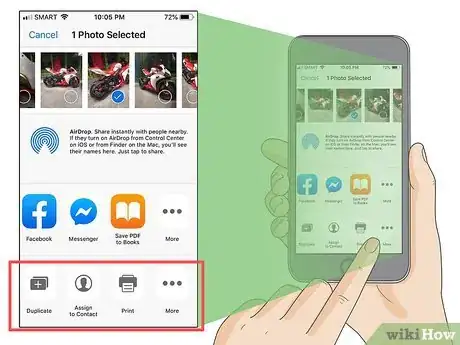
10Tap the "Next" button. This will open the list of sharing options.
-
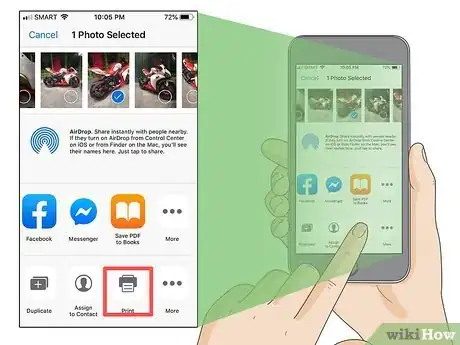
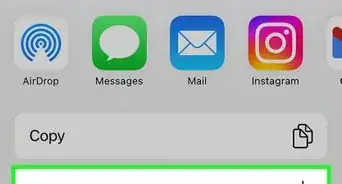
11Tap "Print." You'll find this in the second row of sharing options. You may have to swipe the row from right to left to see it.
-
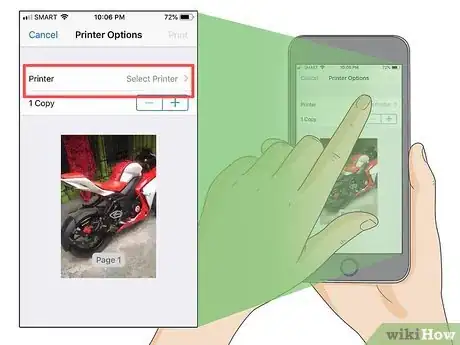
12Tap "Select Printer." A list of available printers will appear.
-
13Tap your printer. If your printer is not on the list, verify that it is connected to the same network as you and that it is AirPrint compatible. Restarting the printer and your router will usually fix connection errors.
-
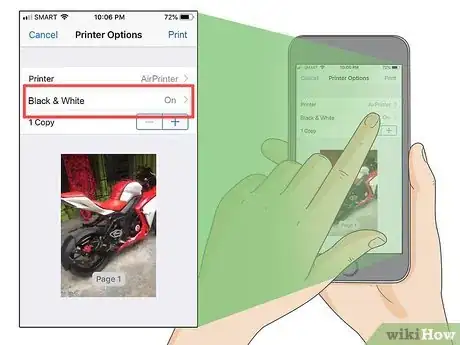
14Toggle "Black & White" on (optional). You can set your photos to print in black and white by toggling it on after selecting your printer.
- If you need more printing options, you may want to try the printing app from your printer's manufacturer. See the next section for details.
-
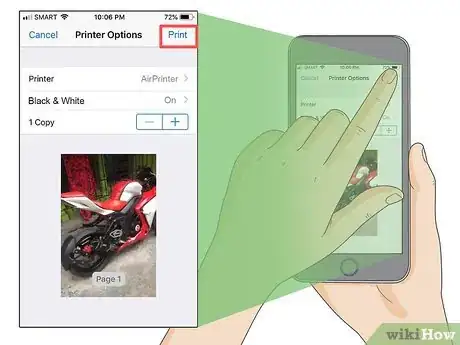
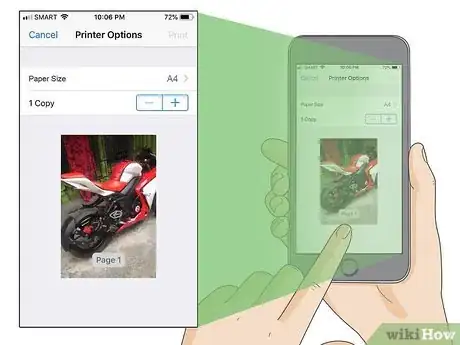
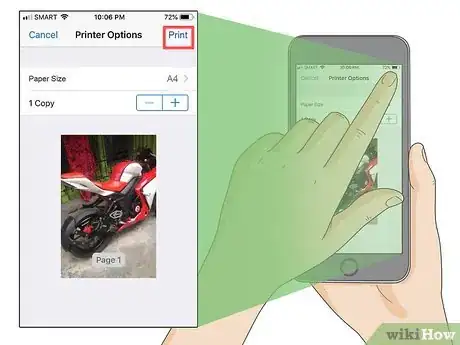
15Tap "Print" to print the selected photos. Your printer will automatically attempt to print from the photo paper tray on your printer.
Using a Non-AirPrint Printer
-
1Connect your non-AirPrint printer to your wireless network. Your printer will need to be connected to your network in order to send photos to print. The process for this varies depending on the printer you're using. See Install a Network Printer for detailed instructions.
-
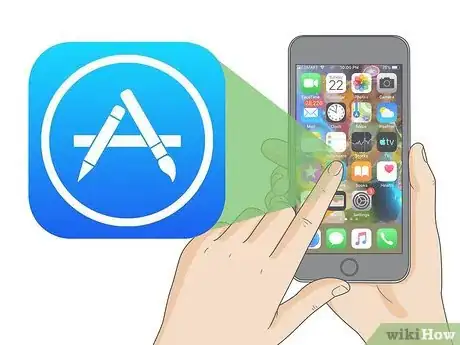
2Tap the App Store on your iPhone.
-
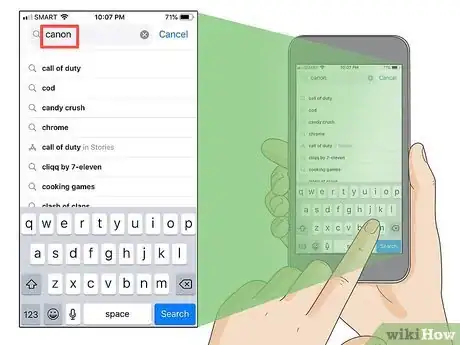
3Search for your printer manufacturer. For example, if you have a Canon printer, search for "canon."
-
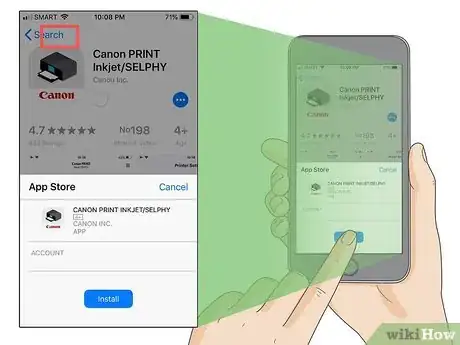
4Download the printer app for your printer. Most printer manufacturers have an app available that will allow you to connect to your printer. Find the app from your printer manufacturer and tap the "Get" button to download and install it.
-
5Tap your newly-installed printer app.
-
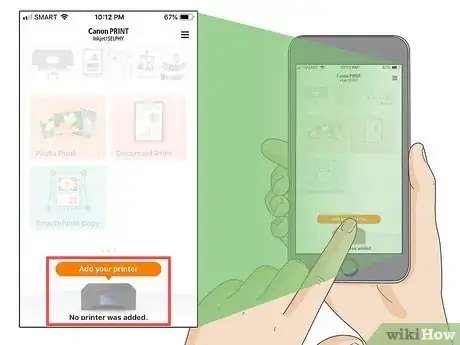
6Tap the "Add Printer" button. The printer registration process will vary depending on the app you're using, but generally you'll need to tap an "Add Printer" button and then search your network for available printers.
-
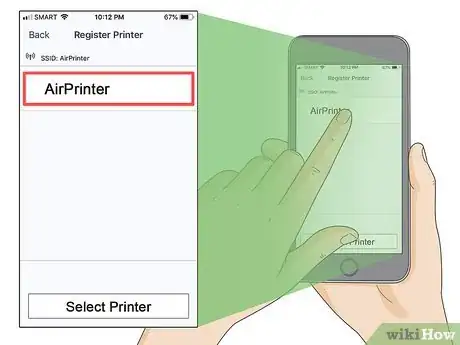
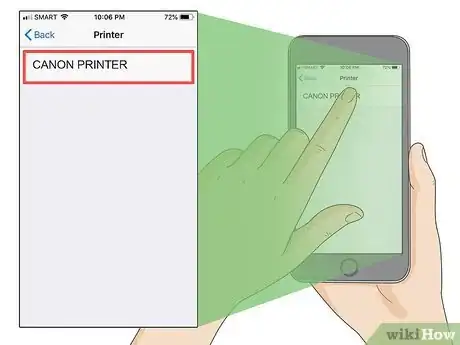
7Tap your printer. If you're using the app from your printer's manufacturer, and the printer is connected to the same wireless network as your iPhone, you should see it in the list of available printers.
- If you don't see your printer, make sure that it is connected to the same network. Restarting the printer and the router may help.
-
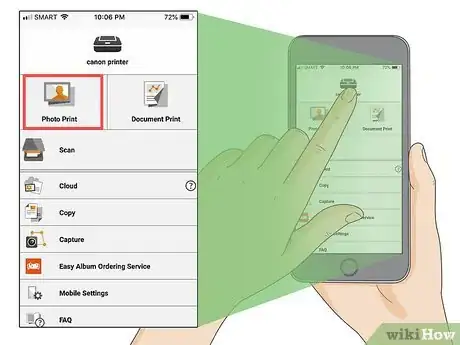
8Tap the Photo Print option. This will vary depending on the app, but you can typically browse the photos on your iPhone and iCloud and choose which you want to print.
-
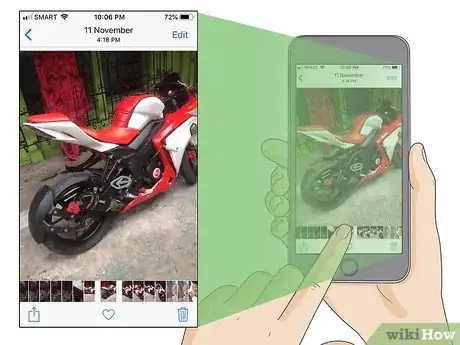
9Tap the photos you want to print. Navigate through your camera roll and select the photos that you want to send to your printer.
-
10Change your print settings. Most printer apps give you more print settings options than AirPrint. You can usually choose the paper size and type, and other options may be available depending on the app.
-
11Tap "Print." The selected photos will be sent to your printer and will print from the photo tray if photo paper is inserted.
Getting Professional Prints
-
1Tap the App Store. There are a variety of printing services available that will allow you to order prints to either be delivered to your house or picked up from popular retail outlets like CVS or Walgreens.
-
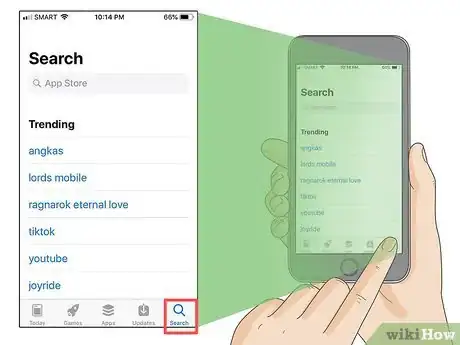
2Tap the Search tab. You'll find this at the bottom of the screen.
-
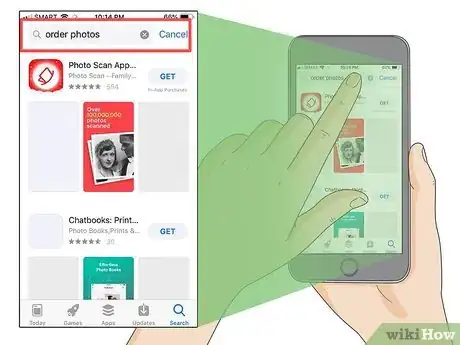
3Search for "order photos." This will return a bunch of apps that will allow you to order prints for delivery or pickup.
-
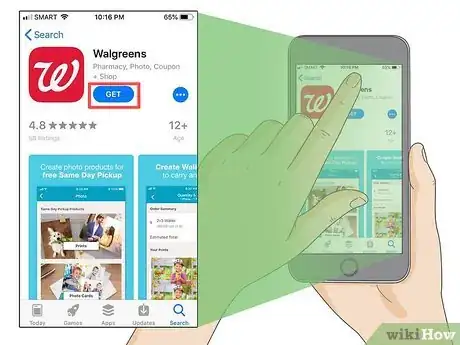
4Tap "Get" for the app you want. Some of the more popular print ordering apps include:
- Walgreens
- Snapfish
- PostalPix
- Shutterfly
-
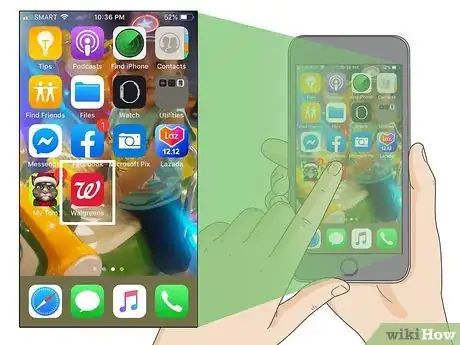
5Tap your newly-installed photo app. The interface will vary a lot depending on the app you're using.
-
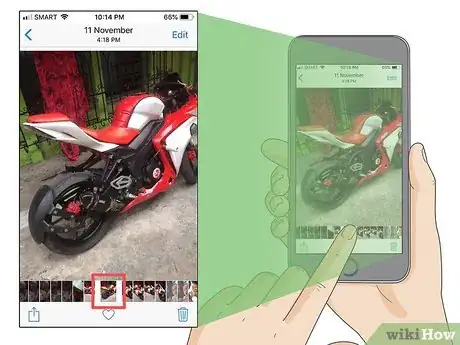
6Choose the photos you want to order. You'll be able to browse the photos on your device's camera roll, and in some apps you can browse your iCloud Photo Library as well.
-
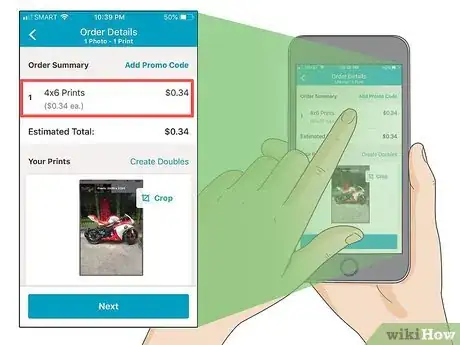
7Tap the size and paper options you want. After selecting your images, you'll be able to choose the print size and paper type you want. Different options will have different costs.
-
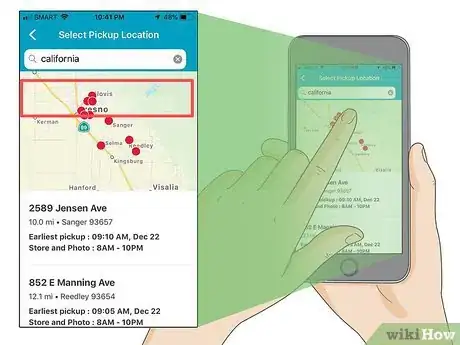
8Select your delivery or pickup options. Depending on the service, you may be able to select your shipping speed, or when you want to pickup the pictures. These options will vary.
-
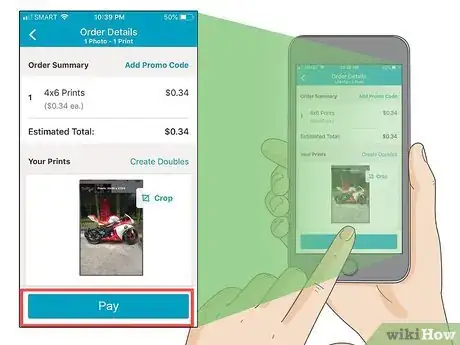
9Enter your payment information. After choosing all of your options, you'll be prompted to pay for your order. Some apps may include support for Apple Pay if you have that set up on your device.[2]
Community Q&A
-
QuestionCan I take my phone to Walmart and have a picture printed from my phone?
 Community AnswerAs of right now, I don't believe this is possible, but you should be able to upload a photo onto Walmart's photo site from your phone.
 -
QuestionWhat if I don't have a printer?
 Community AnswerGo to a library or your school, and ask if you can use one of the printers there. You can also go to a photocopying shop or an office shop. One of your friends may also have a printer that you can use.
References
About This Article
1. Connect to the same network as the printer.
2. Open Photos.
3. Tap the Share icon.
4. Tap the photos you want to print.
5. Tap Next.
6. Tap Print.
