This article was co-authored by wikiHow Staff. Our trained team of editors and researchers validate articles for accuracy and comprehensiveness. wikiHow's Content Management Team carefully monitors the work from our editorial staff to ensure that each article is backed by trusted research and meets our high quality standards.
The wikiHow Video Team also followed the article's instructions and verified that they work.
This article has been viewed 117,275 times.
Learn more...
Pressing pants is always preferable to ironing them. Thankfully this doesn't mean you need any extra special equipment. You can use the same exact steam iron that you use to iron your shirts. The only difference is a matter of technique. Instead of sweeping the iron back and forth across the fabric, pressing your pants bit by bit will help define its creases without the risk of stretching the material.
Steps
Starting at the Top
-
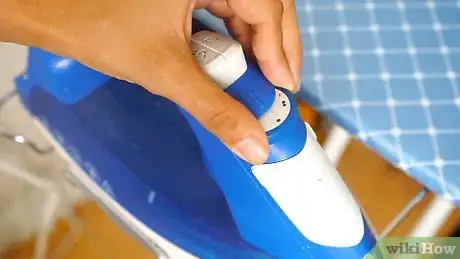
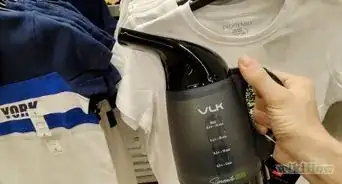
1Set up your steam iron then select the right settings. First, fill the water reservoir before plugging it in to avoid any mishaps or electrical shocks. Next, plug it in and select your desired settings. Then, check the inside tag to your pants. Read the care label. Note the recommendations it gives for which temperatures and settings to use on your iron. Adjust your iron's settings accordingly.
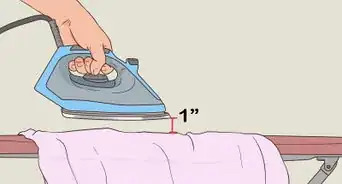
- When pressing pants, all you need to do with the iron is gently press downward for a second or two and give the fabric a squirt of steam as you do so, with none of the back-and-forth movement that comes with regular ironing.[1]
- If the care label is missing, check the tags to any matching articles if it came as part of a set with a jacket or vest.
- If you are unsure of what setting to use, practice on the inside of the pants first, where no one will see any marks (such the waistband or the pockets).[2]
- Start with the lowest temperature possible if you don't know which one to use.
-
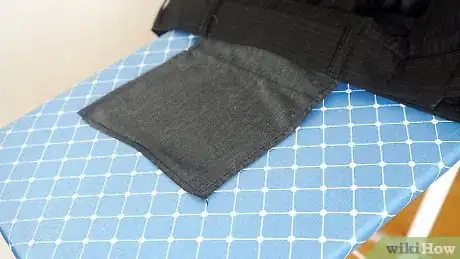
2Start with the pockets. With the fly unzipped, fold the waist of your pants so you can draw the pocket liners clear of the pants' “wrong side” and into the open. Lay one pocket flat on the ironing board. Use your iron to press it flat. Move on to the next pocket and repeat.[3] With each press, give the fabric a squirt of steam.
- The “wrong side” is whichever part of your clothing doesn't see the light of day.[4] In the case of pants, that means the inside of the waist and legs.
- Since pockets are so small, this is a good place to begin practicing “pressing” as opposed to “ironing.”
Advertisement -
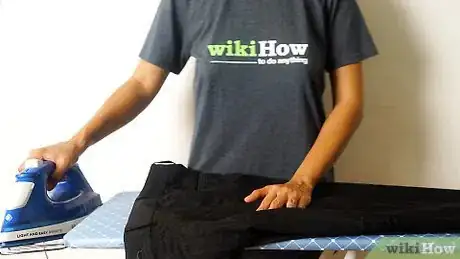
3Move on to the upper pants. Draw the pants over the ironing board, so the edge of the board slips inside the waist, as though you were helping the board to get dressed. Press along the waistband first. Reposition the pants as you go until you complete the full circuit around the band. From there, press the rest of the upper parts (hips, butt, and front) above the crotch seam, repositioning the pants on the board as needed.[5]
- Keep your presses short and sweet. Pressing too hard for too long can result in an imprint of the zipper, seams, or pockets underneath. To be safe, adjust the pockets and fly as needed to keep them out your iron's way.
- If your pants are pleated, don't attempt to press the creases out of existence. Keep them folded as they were originally stitched and press them as is.
- To protect the fabric and prevent it from shining afterward, cover the area that you are about to press with a thin layer of cloth. Make sure that it is clean and free of lint and fluff.
Creasing the Legs
-
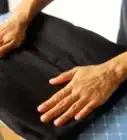
1Find your creases. Lay the pants lengthwise along your ironing board. Lay them on one side, with one leg lying flat on top of the other.[6] Look for the original creases along the front and back of each leg. Make sure the front creases of both legs line up perfectly with each other, then do the same with the back. If the original creases have faded from view:
- Look inside the bottom of each leg to find its seams.
- Pinch the inseam and outseam of one leg together at its hem.
- Lay the leg back down just like that.
- Smooth the hem out while holding the seams together.
- The two farthest points from the seams should mark the bottom of your creases.
- Do the same with the outseams in the waist of your pants to find the tops of your creases.
-
2Start by pressing the front crease of one leg. First, neatly fold whichever leg is on top up and over the waist so you can press the leg underneath.[7] Give the very bottom of the front crease a short press. Then move to the very top of the crease and give that a quick press, too. Now that both ends are clearly marked go back to the bottom and work your way up the crease to its top.
- Don't go all the way up to the waistband. For pleated pants, keep the top of your crease just below the very bottom of the pleats. For non-pleated pants, keep the top of your crease six inches below the waistband.
- Remember to lift the iron off the pants after each press. Don't drag it up along the seam as if you were ironing. Doing so can stretch the material and create an odd fit and/or appearance.
- Unless the care label says otherwise, don't spare the steam since this helps your creases to remain sharp.
- Be mindful of the pockets as you near the top. Fold them out of your iron's path to keep them out the way, so you don't end up with their imprint on the front of your pants.
-
3Move on to the back crease and second leg. Once you have finished your front crease, repeat the process with the back, if desired. Then flip the top leg back down, into its original position. Flip your pants over, so that the leg you just pressed is now lying on top of the other. Carefully fold the top leg up and over the waist, being mindful not to ruin those sharp creases. Repeat the process with the second leg, starting with the front crease and ending with the back.[8]
- If needed, press each leg in between its creases to get rid of any wrinkles there. Just be careful around the seams running up the middle of the leg, since these might create imprints when pressed.
- To keep its creases sharp, give the first leg a chance to cool off before flipping the pants over and pressing the second leg.
Maintaining Creases
-
1Let the pants cool down. After you finish the second leg, flip the first leg back into its proper position so that it lies fully on top of the leg underneath. Then let the pants sit on the ironing board for a little while before removing them. Give them a chance to cool down so that the creases have a chance to stiffen up before being moved.[9]
-
2Apply a vinegar solution. Mix equal parts white vinegar and water. Pour this into a spray bottle so you can mist and dampen a clean, lint-free cloth. Before removing the pants from the ironing board, cover a portion of one crease with this dampened cloth until the crease absorbs all the moisture. Spray the cloth with enough solution to dampen it again, and apply the cloth to the next portion. Repeat until all the creases have been treated.[10]
- Use a spray bottle and cloth to avoid soaking your pants accidentally.
- Keep the pants on the ironing board until they are dry.
-
3Smack them dry. Use a flat piece of unvarnished wood (such as the handle-end of a bristle brush) to draw out lingering steam. With the pants still on the ironing board, smack the bottom of one crease. When you do, hold the wood there for a second, on top of the ironing board, pinching the crease between the two. Then raise the wood again and repeat this process up against the length of each crease.
- The wood needs to be unvarnished to absorb moisture left by the steam.
-
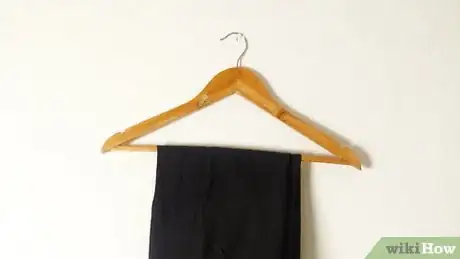
4Hang your pants up. Use hangers specifically designed to secure pants in place, so they don't slip off and ruin their creases or become wrinkled. Hang your pants in the same manner that you laid them out on the ironing board. Drape the outside of one leg over the bar with the other leg lying flat on top of it.[11]
- Your pants may still contain some moisture even after smacking them dry. Allow them to hang for a few hours and air-dry before putting them on.
Things You'll Need
- Steam iron
- Stable ironing board
- The care label to your pants
- Thin, lint-free cloth
- Pants Hanger
- Vinegar (optional)
- Water (optional)
- Spray bottle (optional)
- Flat, unvarnished wood (optional)
References
- ↑ https://www.youtube.com/watch?v=Lhuhb2KNqVM
- ↑ http://www.sewing.org/files/guidelines/11_107_pressing_pants.pdf
- ↑ http://www.sewing.org/files/guidelines/11_107_pressing_pants.pdf
- ↑ https://www.namedclothing.com/sewing-glossary/
- ↑ http://www.sewing.org/files/guidelines/11_107_pressing_pants.pdf
- ↑ http://www.sewing.org/files/guidelines/11_107_pressing_pants.pdf
- ↑ http://www.sewing.org/files/guidelines/11_107_pressing_pants.pdf
- ↑ http://www.sewing.org/files/guidelines/11_107_pressing_pants.pdf
- ↑ http://www.sewing.org/files/guidelines/11_107_pressing_pants.pdf
