This article was co-authored by wikiHow staff writer, Jessica Gibson. Jessica Gibson is a Writer and Editor who's been with wikiHow since 2014. After completing a year of art studies at the Emily Carr University in Vancouver, she graduated from Columbia College with a BA in History. Jessica also completed an MA in History from The University of Oregon in 2013.
There are 7 references cited in this article, which can be found at the bottom of the page.
This article has been viewed 28,443 times.
Learn more...
Bark is beautiful so it's no surprise that you'd want to protect and display it. Preserve circular slices of wood for coasters, ornaments, or platters or treat large pieces to turn them into furniture like tabletops or shelves. Since bark tends to pull away from wood over time, it's really important to treat the entire wooden piece with preservative that removes moisture. Then, you can seal or finish the project any way you like.
Steps
Preserving the Wood
-
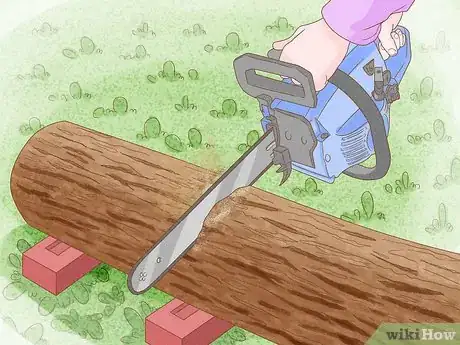
1Cut your wood during the dormant period and measure the thickness. If you cut your tree during the growing season, you'll have a moist, delicate layer between the bark and the wood. This is called cambium and over time, it will pull away from the bark which can cause the bark to fall off. For the best results, wait to cut the wood until the tree isn't putting on growth. Then, measure how thick the piece is.[1]
- The cambium layer between the bark and the wood hardens during the dormant phase, so your bark is more secure.
- Pine and oak are popular wood types to use for projects since the bark isn't as likely to peel away. Avoid using hickory whose bark tends to separate from the wood.
-
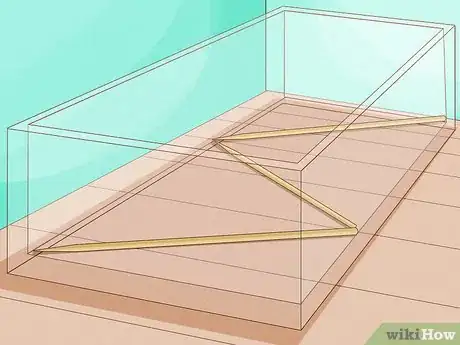
2Find a plastic or fiberglass container and lay wooden skewers on the bottom. Look for a container that's large enough to hold your piece of wood with bark. Since the wood stabilizer product you'll be using can react with metal, it's important to use a plastic or fiberglass container. Lay 2 or 3 wooden skewers across the bottom so the wood won't sit directly on the bottom of the container.
- If you're preserving a really big piece of wood, get creative with the container—you could use a plastic kids pool, for instance.
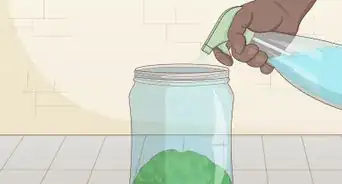
- Can't treat the wood right away? No problem! Spray the surface and bark with water. Then, wrap it loosely in plastic wrap and store it at room temperature for up to 1 week. If you store it longer than this, it can start to grow mold.
Advertisement -
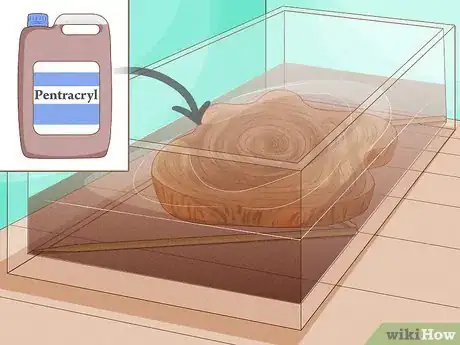
3Put the wood in your container and pour in enough preservative to cover it. Set your piece in the container and pour in wood preservative like Pentacryl. Wood preservatives are also called stabilizers since they contain polymers that prevent the wood from cracking or splitting. It won't change the color of the wood, but it will protect it from UV damage.
- The amount of solution you need depends on the size, thickness, and type of wood you're preserving. For example, if you're preserving soft, open-grained wood with bark, you might need 1 cup (240 ml) of preservative for every 12 inches (30 cm) of wood.
- If the wood you're preserving is too big to fit into your container, stick 1 end of it into the solution. Soak the wood for a few days and then flip it around to submerge the opposite end. The wood wicks up the solution, so the center of the piece will become soaked over time.
-
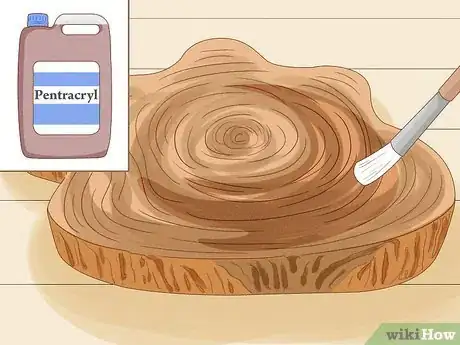
4Brush the wood with preservative if you can't submerge it. Although soaking is the most effective way to preserve wood with bark, it might not be practical if your project is really big. Instead of submerging it, lay the wood on a large plastic tarp and dip a paintbrush into wood preservative. Brush it over the surface of the wood and the bark on the sides. Keep brushing on the preservative until the wood doesn't absorb it anymore.
- Give the wood a day to dry before you flip it over and brush preservative on the other side.
- You can tell if the wood's stopped absorbing the product if you see the preservative sitting on top of the wood.
-
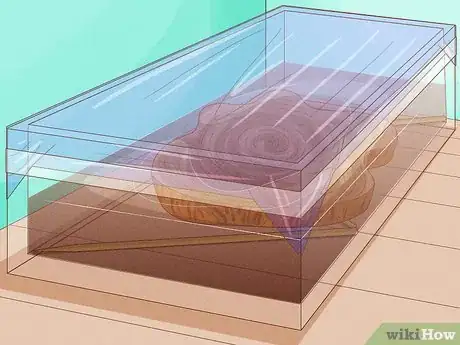
5Cover the container with plastic wrap. Tear off a piece of plastic wrap that's large enough to cover your container and seal it over the top. You don't want the wood preservative to evaporate, especially if you're preserving a thick piece of wood.[2]
- Don't have plastic wrap handy? Use a plastic trash bag instead. You may need to lay several bags or a large plastic tarp over the wood if you're using a giant container.
- If you brushed preservative on the wood, lay plastic wrap directly onto the wood.
-
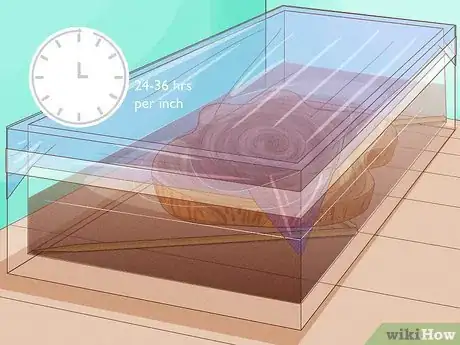
6Keep the wood submerged 24-36 hours for every 1 in (2.5 cm) of thickness. Refer to the thickness of the wood piece with the bark so you know how long to soak the piece. Figure on 24 hours for every 1 inch (2.5 cm) if you're working with a small piece. For a larger piece, like a shelf or tabletop, plan on soaking it for 36 hours per 1 inch (2.5 cm).[3]
- You won't damage the wood by soaking it for longer, so leave it in as long as you can.
Drying and Finishing the Piece
-
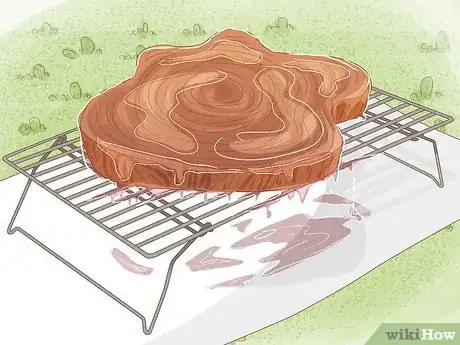
1Place the soaked wood on a wire rack to drain. Put on a pair of thick gloves and remove the wood from the preservative solution. Set the wet wood on a wire rack that's on a rimmed sheet or bucket so it catches the drips.[4]
- Save the wood preservative to use for another project! Pour it through a fine-mesh strainer to catch bits of wood or bark before you store it for later.
- If your wood is too large to set on a wire rack, just remove it from the container and wrap it completely in plain paper to help it dry.
-
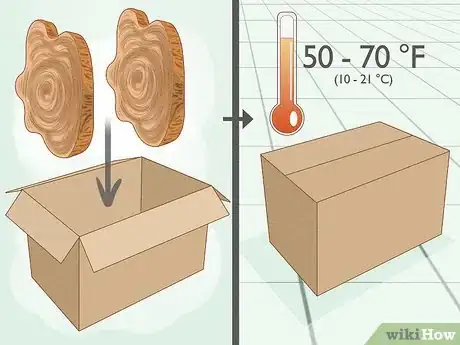
2Set the wood slices vertically in a warm space to dry. Get out a cardboard box and place the wood piece in it. Turn the wood so it's standing vertically and resting on the bark. If you're preserving a log or board, put it into the box if it fits. Close the lid so the wood is loosely covered. Then, put the box in a room that's between 50 and 70 °F (10 and 21 °C) so it dries slowly.[5]
- If your wood or log doesn't fit in a cardboard box, wrap it completely in plain paper and store it somewhere warm.
- Put the wood away from direct heat and sunlight. You don't want the wood to dry out too quickly or it may split.
-
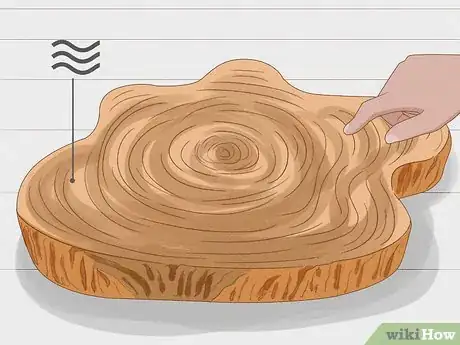
3Dry the preserved piece until it no longer feels wet. If you're preserving a thin or small piece of wood, it may only take a few weeks to completely dry, but plan on a few months for larger pieces of wood with bark. Once the wood is ready, it should feel totally dry, not wet or sticky.[6]
- Drying time depends on the size, thickness, and type of wood as well as your drying conditions. Check your wood every few days to see if it's dry.
- If you're making wooden bark decorations for an event, factor in a long drying time so you'll have them ready in time.
-
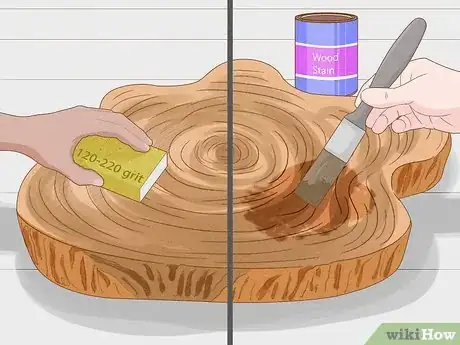
4Sand or stain the wood if you'd like to smooth or tint the wood. Your wood with bark is good to go once the preservative is dry, but this just means you can finish it however you like. Feel free to sand the smooth surface or apply a stain if you want to give the wood some color.
- Keep in mind that you don't want to sand the bark or it could flake off.
-
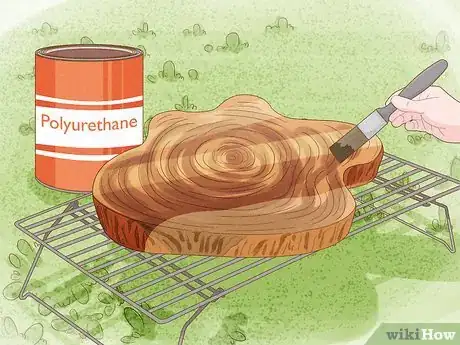
5Seal the wood with polyurethane to protect it from moisture damage. This is critical if you'll be displaying your wood with bark outside. Dip a brush into polyurethane and spread it evenly over the surface of the wood and work it into the rough bark along the sides. Then, let the polyurethane dry for at least 24 hours.[7]
- If you want extra protection, apply another layer of polyurethane after the first one dries.
Warnings
- Always keep wood preservative out of children's reach.⧼thumbs_response⧽
- Although wood preservative isn't toxic, it does have an odor so you may want to open a window or work in a well-ventilated space.⧼thumbs_response⧽
Things You'll Need
- Wood with bark
- Gloves
- Plastic or fiberglass container
- Wood preservative
- Wooden skewers
- Plastic wrap or plastic trash bag
- Wire rack
- Paintbrush
- Cardboard box or plain paper
- Wood stain, optional
- Polyurethane, optional
References
- ↑ https://www.woodmagazine.com/woodworking-how-to/wood-preparation/milling-stock/can-i-retain-the-bark-on-milled-logs
- ↑ https://youtu.be/n5_CR3Hvu1k?t=371
- ↑ https://youtu.be/n5_CR3Hvu1k?t=389
- ↑ https://youtu.be/n5_CR3Hvu1k?t=401
- ↑ https://youtu.be/n5_CR3Hvu1k?t=541
- ↑ https://www.loghelp.com/images/PentacrylDataSheet.pdf
- ↑ https://youtu.be/MH1OifGasRk?t=645
-Step-11.webp)




-Step-11.webp)


