This article was co-authored by Javier Diaz. Javier Diaz is an Entrepreneur & Stunt Helicopter Pilot, and owner of Wings Air Helicopters LLC. With over 20 years of flying experience, his company specializes in helicopter charters, tours, flight training, and aerial film production. He earned his BS from the United States Merchant Marine Academy and is a member of the Screen Actors Guild (SAG). As a Stunt Pilot, Javier has many major film credits, including several blockbuster films.
This article has been viewed 68,922 times.
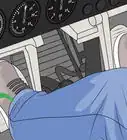
In the event that the pilot has a medical emergency, the following steps should provide enough information to help you get the aircraft safely to the nearest airport. These steps provide a realistic and achievable guide, provided you keep two things in mind:
- It will not be easy, so preparation ahead of time is essential.
- You will have to concentrate 100% on flying the plane and leave the pilot's medical condition alone. Job #1 is getting the plane on the ground safely.
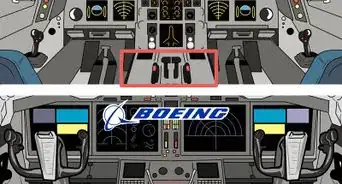
Newer aircraft have a very elaborate glass panel instrument system, but that will not be covered in detail by this article. If needed, you will be able to understand the more complex glass panel instruments and controls by becoming intimately familiar with the basic six instruments in a Cessna 172, one of the most common aircraft.
Steps
Learning the Basic Instruments and Controls
-
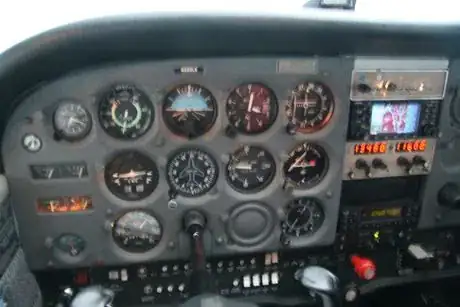
1Study a Cessna 172 aircraft instrument panel. It is a standard aircraft panel with six round "basic flight instruments," sometimes called "the six pack." These are the ones in the center, directly in front of the pilot's seat. Note, too, that some aircraft will also have a set of instruments and controls in the co-pilot position.
-
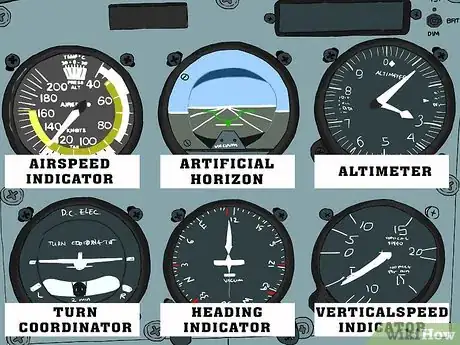
2Familiarize yourself with the six pack. The six instruments will be located in the following order:
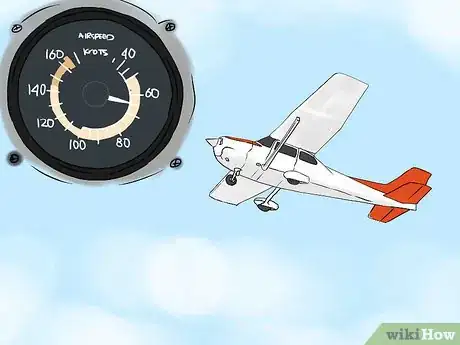
- Top left - The "Airspeed Indicator" shows aircraft airspeed, usually in knots. (A knot is one nautical mile per hour—about 1.15 MPH or 1.85km/hr).
- Top center - The "Artificial Horizon" shows the aircraft attitude, that is, how the plane is inclined in all directions—whether the plane is climbing or descending and how it is banking - left or right.
- Top right - The "Altimeter" shows the height (altitude) of the aircraft, in feet MSL—feet above mean, or average, sea level.
- Lower left - The "Turn and Bank Indicator" is a dual instrument which tells how fast you are changing the compass heading (rate of turn) and also whether you are in co-ordinated flight, feeling the proper (down-in-the-seat) Gs from the turn. This is also called the "Turn and Slip Indicator" or "Needle Ball."
- Lower center is the "Heading Indicator" which shows the current compass heading. Keep in mind that small amounts of friction in the heading gyro dictate that this instrument be calibrated on an ongoing basis. This is explained below in the calibration procedure.
- Lower right is the "Vertical Speed Indicator" which tells how fast you are going higher or lower. It gives the rate of descent (or climb) in feet per minute. Zero means that you are maintaining altitude and are neither climbing nor descending.
Advertisement -
3Test your knowledge of the six pack. Using the 172 panel photograph above, can you tell, by reading the six-pack panel instruments, what the aircraft's current situation is?
- Your answer should have been, "The aircraft is in a slightly climbing left turn, cruising at a speed of 110 knots about 3,100 feet (944.9 m) above sea level on a heading of 178° (almost due south)."
-
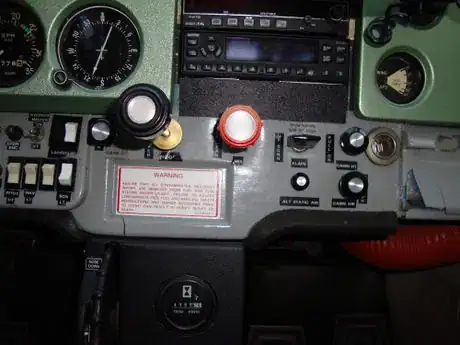
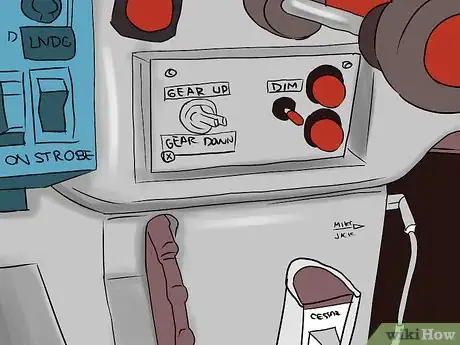
4Study the the aircraft controls. The necessary controls for this mission will be as follows:
- Throttle - A black knob - When pushed forward, the engine is at full throttle and when pulled full back, the engine is idling.
- Fuel Mixture - A red knob - Pushed full inward is the richest mixture (used for sea level takeoffs and landings), while full back is engine off. Only pull the red knob full out when you are on the ground and ready to shut down the engine.
- Carburetor Heat - Used to warm the engine air intake in icing conditions and on long descents with engine at idle - conditions where a cold engine with cold air could cause icing. Note that, for all practical purposes, this has to be either full-on or full-off.
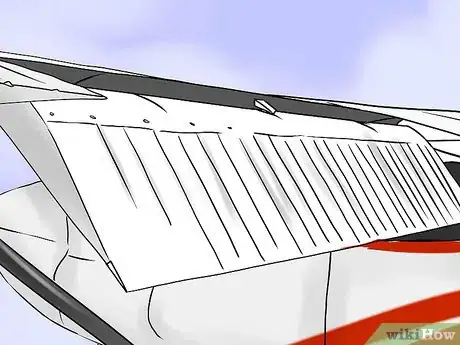
- Flaps - A flat handled switch to select the wing flap positions. This will be used for slowing the aircraft to a safe speed in preparation for landing the aircraft. Note that the flaps should be advanced notch-by-notch, one position (10°) at a time.
- Fuel tank select - A Cessna 172 would almost always be set on "Both Tanks."
- Steering wheel (Yoke) - This sets the attitude (climb and turn) and the speed of the aircraft. Use small pitch adjustments, in and out for pitch (to climb or descend). Turn the yoke left and right to bank the aircraft.
- Engine RPM is used for setting engine speed (power) for climbing, descending, and/or landing.
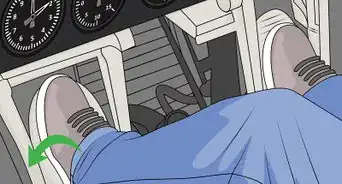
- Rudder Pedals - These are operated by your feet. Press the top edge of the pedals and the brakes are applied. (Of course, this only has an effect when you are on the ground.) Pressing the lower part of the pedals allows steering while on the runway and helps do quality turns in the air. You will also use the lower part of the rudder pedals to stay lined up with the runway while on final approach.
- Control trim - There are two trim wheels in the panel which, when adjusted properly, give you almost hands-off control. You will not be using these in an emergency. Be aware too, if you do try to use them to trim for landing, you may not have enough pitch control to gain altitude quickly in case of a go-around. You would have to re-trim in case of a go-around, but it is way better to just stay away from these controls and consider them off limits.
-
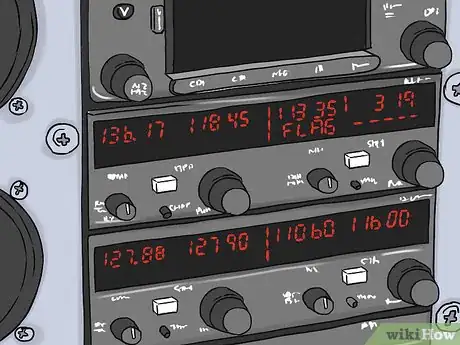
1Become familiar with the navigation and communication equipment. The radio or NAV/COM equipment is used to navigate the plane and, importantly, to talk to the tower or ATC (Air Traffic Control). In an emergency, call them as soon as you get the aircraft under control.
-
2Get someone to show you how to set or change radio frequency in order to communicate with ATC (the airport tower). Changing frequency may not be necessary, but you should know how to do this and should take the time to practice before you are in an emergency situation so that you will not get hung up on this when an emergency does arise. Communication is a critical aspect of surviving an emergency situation.—There is little chance that you will be able to land safely without the tower and their guidance.
-
3Ask your pilot for the emergency frequency. Commit the emergency frequency to memory, just in case you may need it.
-
4Practice changing frequencies. Work until this becomes second nature and you can switch and tune frequencies easily and naturally.
-
5Know when not to change frequencies. If you are already talking to ATC, then stay on that frequency as long as you can. ATC will tell you when to change frequencies. Do not go to emergency frequency. Just tell ATC that you are "Declaring an Emergency."—They will help you get home safely. Do whatever they ask of you and be sure to get confirmation about anything you are not sure of before you take action.
Practicing in an Aircraft
-
1Learn in an actual aircraft. It is best if you reinforce what you learned about the six pack and the basic controls in an actual plane, preferably in a Cessna 172.
-
2Solidify your understanding of the instrument panel and controls while in the aircraft. Using a printout of the above steps, see if you can point to and touch every instrument and control listed. At the same time say aloud what each is used for.
-
3Quiz yourself on each of the instruments. Not only should you immediately be able to name each instrument at a glance, but also describe the information you get from each instrument.
- Look at the gauges and see if you can determine the normal operating ranges. Then ask yourself what basic actions you would have to perform to correct for certain conditions. For, example, if you were slightly descending and wanted to get back to level flight, what would you have to do? Take a few moments to deeply think about the scenarios you imagine and visualize the correct action you might take. This will prime your mind to absorb further lessons.
- It is highly recommended that you spend enough time doing this to feel like you have it mastered, up to this point. You should, at a minimum, have a good feel for what information each instrument gives and how it relates to the plane position and near-term flight path.
-
4Target and master each of the instruments and controls:
- The airspeed indicator (top left) has arcs colored in green, yellow, white, and red. Normal airspeed will, of course, be in the green and the lower edge of green indicates the flap-up stall speed. Try your best to keep the instrument in the green arc while cruising.
- Use the Yoke to adjust nose-up and nose-down (pitch) to set the airspeed; do not use the throttle to adjust airspeed.
- The red line is the "never exceed" speed line. Stay out of there!
- The white range is safe flap lowering speed and the lower end of white is the stall speed for full flaps down (only used when on final approach for landing).
- The Artificial Horizon has a miniature aircraft in the center. In straight and level flight it should stay there. If it starts to drift, use the yoke to re-center and/or level the small airplane on the horizon line.
- The Altimeter may start to wind or unwind. If you seek to maintain level flight, use the yoke to stabilize your altitude. You can see that you will have to scan these six instruments to maintain control of the aircraft. – That's why the six are right together in front of the pilot. Scan them often.
- The Needle Ball should stay centered when you are in level flight and turning the aircraft. When turning, the needle ball graphically shows you the quality of the turn you're making. Strive to keep your turns very shallow, less than 10°. This will keep you out of trouble. which is what you are after whenever you fly a plane, particularly for the first time, and, particularly, in an emergency.
- The Heading Indicator should be on the heading you are trying to fly. If not, use the yoke to make one (or a series of) very shallow turn(s) to stay on course. Don't chase the heading too much; just make very small corrections and patiently wait for the reading to settle. That will feed back on how you're doing and you can correct a bit again, if needed.
- The Vertical Speed also should be centered at zero in level flight. If not, make small pitch corrections with the yoke, don't chase the rate of change of ascent or descent.—Make one small correction, same as above, and continue scanning the instruments.
- The airspeed indicator (top left) has arcs colored in green, yellow, white, and red. Normal airspeed will, of course, be in the green and the lower edge of green indicates the flap-up stall speed. Try your best to keep the instrument in the green arc while cruising.
-
5Develop the mindset and habit of making only the smallest of corrections. When you incorporate all of the six pack in your scan routine, the scanning will get a little harder to do. The "small corrections" procedure is the same for all changes you will perform to control the aircraft. Get this thoroughly in your noggin and ingrain it in your being.
-
6Learn how to calibrate the heading indicator. It is critical to calibrate this instrument on an ongoing basis, usually 3-5 times an hour. If the Heading Indicator is off only a couple of degrees, you will not arrive at the airport where you intend to land. Therefore, it is critical to take hands-on instruction in the calibration of this instrument. It is normally adjusted to agree with the magnetic compass before takeoff and re-adjusted periodically in flight to correct for gyro precession errors. Set the heading indicator only in stabilized straight and level flight.
Flying During a Normal Flight
-
1Learn the phases of normal flight:
- Straight and level flight
- Climb
- Descent
-
2Work hard to understand straight, level flight. In this phase, you use the yoke to maintain level by keeping the small airplane level and centered on the "Artificial Horizon" line. During daylight hours, this can be done just by looking out the windshield at the real horizon. Alternatively, you can scan the six pack and use the feedback to maintain level. In either case always make sure to look outside and to scan the six-pack when possible. Do not rely on one or the other when both are available.
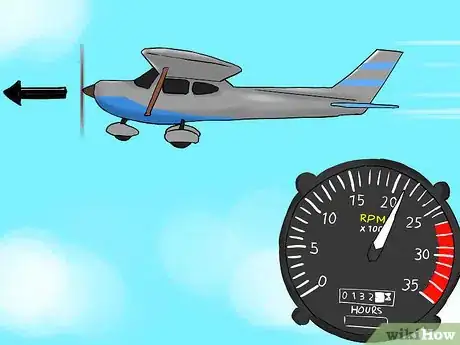
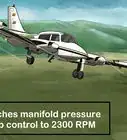
- Ensure that the RPM gauge is indicating a cruise setting of between 2100 and 2700 RPM.
- When you are in straight and level cruise (flight), you can adjust the RPM using the throttle.
-
3Understand the mechanics of the climbing phase. Climbing is normally done under full throttle, but if only a gradual climb is necessary, you can pull back on the yoke to raise the aircraft nose about five and no more than ten degrees above the horizon while advancing the throttle slightly. Remember to also continually scan the six pack at all times and make very sure that nothing else is changing. Scanning the six pack will let you know if you start into a turn (start to bank the aircraft) or the airspeed starts to drop. If an unwanted bank starts, gently turn the yoke the other direction and if the airspeed diminishes, level off for a bit and advance the throttle a little more next time you try to climb.
- The Cessna 172 can stall (in a turn) at approximately 65 knots (no flaps) so keep your turns shallow and avoid any speed below 80 knots to allow yourself a margin of safety. Remember to boost the speed by lowering the nose slightly and/or adding a little throttle when necessary. Again, use gentle corrections and stay well out of the danger zones that are indicated on the instruments.
-
4Get a good feel for what transpires during descent phase. There are two scenarios: one for landing at an airport that is near your current position and one for landing at one that is farther away.
- A descent to land at a nearby airport is done by reducing the throttle to an engine speed of about 1800 to 1500 RPM while setting the air/fuel mixture at full richness (red knob fully inward). If the descent will cause you to be a long time at low engine power, then you may have to use carburetor heat to prevent icing. At reduced RPMs, the engine will not be producing as much heat and you may have to kick on the carburetor heat. Do so only if the weather indicates possible icing conditions. Here, the tower can give you guidance, so ask if you aren't sure.
- If you're descending for a landing at an airport further away, reduce throttle to 2000 RPM to descend while maintaining a higher airspeed. However, don't get going too fast. Watch the airspeed indicator and avoid going very far into the yellow arc.
Landing the Aircraft
-
1Become intimately familiar with the landing phase. This will be the most critical part of your maiden flight. Again, there are two main ways to approach landing at any airport: the standard traffic pattern (45° angle to the runway) and the straight-in, lined up with the runway emergency approach. We will assume that you have clearance for the emergency approach.—After all, that is what this is—an emergency.
-
2Practice in a high quality simulator or under the direction of a qualified flight instructor. The landing phase is the hardest to do successfully. Ideally, several landings should be practiced in a simulator or in an actual aircraft, if at all possible. Practicing landings ahead of time is highly recommended.
-
3Know the appropriate conditions for a straight-in approach. The straight-in approach is preferred in an emergency, so maintain a higher altitude until you have the airport runway in sight then you can start your descent, keeping the runway in sight. Be sure to ask for the airport with the longest runway and, preferably, for an airport where ATC uses radar.
-
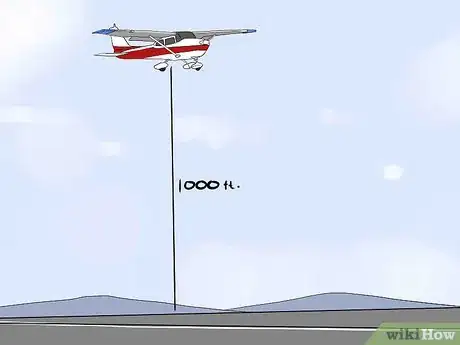
4Plan to be about four miles from the chosen runway at an altitude of 1,000 feet (304.8 m). AGL (above ground level). Hopefully you will be in contact with tower by then and they can advise you (with the aid of their radar). If not, then you have to make the approach yourself.
-
5Descend toward the 1,000 feet (304.8 m). level (above the runway) and slow the aircraft. Set the throttle to 1500 RPM, with a vertical descent rate of 500 feet (152.4 m). per minute and an airspeed of 80 knots.
-
6Lower the flaps a notch at this point. Remember to move the flaps only one notch at a time. Plan on full flaps down by the time you are five miles out. If your altitude is at least 1,000 ft., set the throttle to "idle" at this point with the mixture at full richness (red knob in). Use carburetor heat only if weather indicates possible icing conditions.
- Each time you lower the flaps a notch (10°), push forward on the yoke a little to counteract the tendency of the flaps to raise the nose.
-
7Add more pitch down to keep your speed at 75 knots, if necessary. You can slowly reduce your speed to 65 or 70 knots now.
-
8Stabilize the plane in-line with the runway at four miles out. The airspeed should be 65 knots, with full flaps and a descent rate of 500 feet (152.4 m). per minute.
-
9Check to ensure the throttle is still at idle.
-
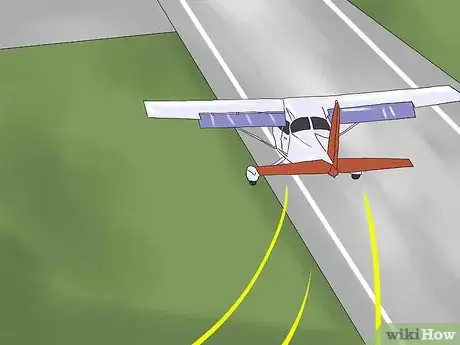
10Use the rudder pedals to stay in-line with the runway, not the yoke. Use the yoke only for pitch control (nose-up and down) at this point unless there is a crosswind, then you may have to use the yoke to bank slightly into the wind. Use only the rudder pedals to continually line up with the runway and stay on course.
-
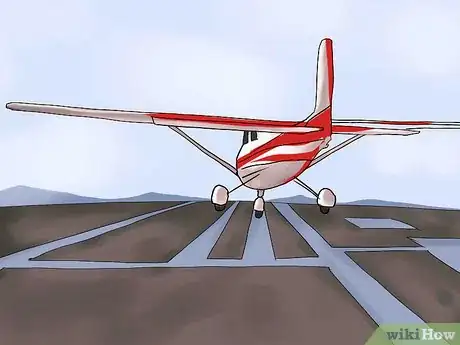
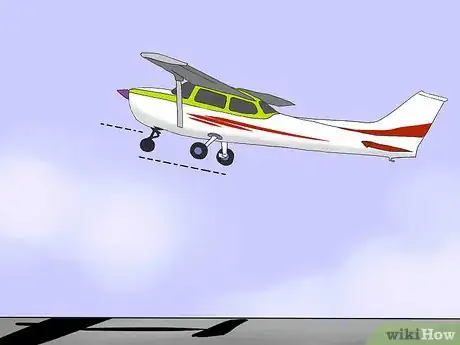
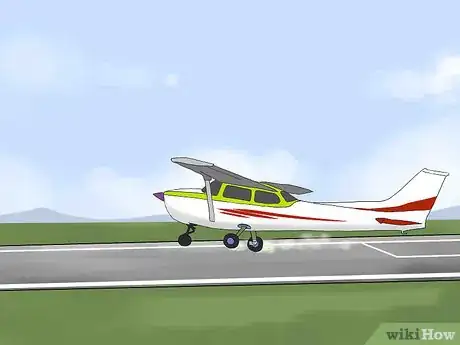
11Hold that attitude, and airspeed. Keep everything the same all the way to about three to four feet above the runway, then start slowly raising the nose as the aircraft settles to the runway (called the flare).
-
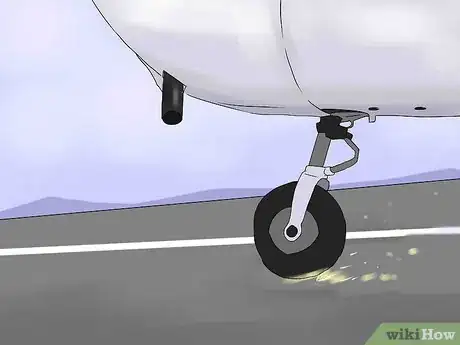
12Continue to hold the nose wheel off the runway after the main gear touch down.
-
13Apply brakes as soon as the nose wheel touches the runway. If you're coming in a bit hot (going a little too fast), you can also raise the flaps to get better braking. Remember that the lower part of the rudder pedals help you to steer while you are on the ground, while the upper parts do the braking.
Pilots say "Any landing you can walk away from, is a good landing." Nice job!
Executing a Go Around
-
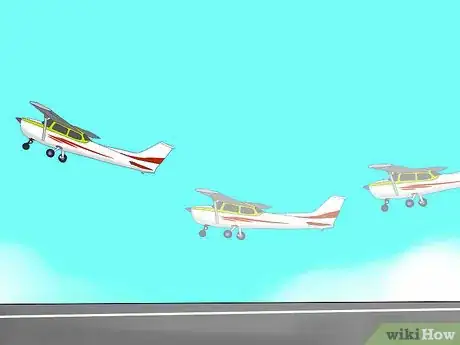
1Know how to perform an emergency go-around, if need be. The go-around is a very dangerous maneuver even for experienced pilots, and is not recommended for a beginner. However, if, at any time in your approach or landing, you see (or anticipate) major problems where things are not lining up as planned, a go-around is required.
-
2Apply full power smoothly and increase the pitch (nose-up) to climb. Make sure the carburetor heat is off and the fuel mixture is full rich. Do all this simultaneously, while raising the flaps slowly, a notch at a time.
-
3Re-trim pitch for a climb. This action helps reduce the yoke pressure. Hopefully you noticed the advice about considering the trim wheels off limits and heeded that advice, so this step will not be needed. It is only included here as a part of a complete checklist for the go-round maneuver.
-
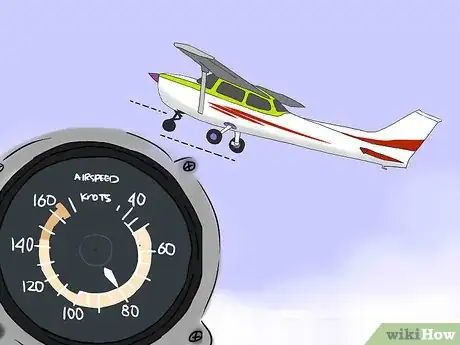
4Climb out at 80 knots. Once your airspeed reaches 80 knots, do not raise the nose any further and, if the airspeed drops below 80 knots, lower the nose a bit to prevent a stall.
-
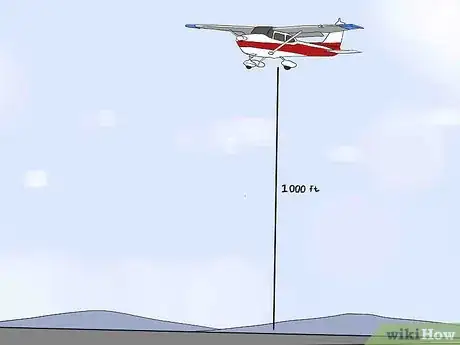
5Level off at 1,000 feet (304.8 m). above ground level (AGL).
-
6Make a wide arc. Gently turn the aircraft in a wide circle until you are lined up on the runway, still at 1,000 feet (304.8 m) AGL.
-
7Attempt the landing all over again.
Preparing for Dark or Stormy Weather
-
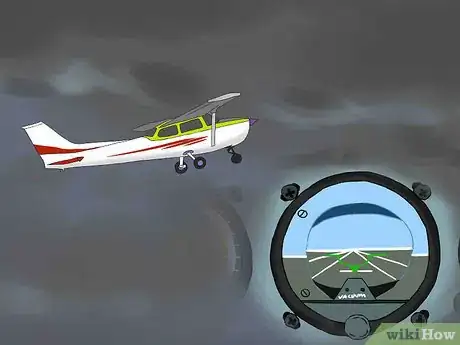
1Be alert to the danger. The mechanics of the human inner ear allow you to detect a change in motion or a change in velocity in any direction. Realize that your body senses only changes and also be aware that your mind has been trusting what the inner ear says day in and day out each day of your life for a long, long time.
- This is a hard thing to break away from, but it is absolutely critical to be able to ignore what your body is telling you because it may be wrong. Instead, when you do not have supplementary visual input, rely solely on the instruments.
- Switch to total reliance on the instruments once you lose your ability to see clearly.
- Once you lose the ability to determine your plane's spatial orientation by using visible cues (either the horizon, a beacon, or a landmark), you must compel yourself to rely solely on the instruments and force yourself to discard what your body is telling you.
-
2Understand the nature of the danger. The tendency of untrained pilots is to "fly by the seat of the pants" and to enter the "Death Spiral," a series of actions which inevitably leads to a crash.
- If you enter a banking turn and stay there (in co-ordinated flight) for twenty seconds or so, your body gets acclimated to the turn and thinks you are flying straight and level when you are still in a banking turn. In the dark or when visibility is limited, you have no visual cues to correct the impression your body has picked up.
- The "Death Spiral" starts when you notice you are losing altitude (common in banking turns) and pull up on the yoke to gain altitude. The problem comes from being in a banking turn: Pulling back on the yoke results in tightening the turn and a further loss of altitude, not in gaining altitude. The natural tendency is then to pull back even more on the yoke and that makes things even worse. Moral of the story: Trust the "Artificial Horizon."
-
3Refer to the little plane's exact attitude within the "Artificial Horizon" before you attempt any altitude correction. Make sure you are in straight, level flight before you make an altitude correction. This will be apparent on the "Artificial Horizon" provided the "Heading Indicator" is relatively constant.
- Be highly aware that any loss of altitude might be the result of entering a banking turn without realizing it. This will be evident on the "Artificial Horizon" and on your "Heading Indicator."
If your heading is changing, you are turning.
- Be highly aware that any loss of altitude might be the result of entering a banking turn without realizing it. This will be evident on the "Artificial Horizon" and on your "Heading Indicator."
-
4Rely only on the instruments if you have little or no visibility.
-
5Resist the urge to fly by the seat of your pants. Trust your instruments.
-
6Try to engage the autopilot. In Instrument Meteorological Conditions (IMC), this is your best chance for a safe landing.
Community Q&A
-
QuestionHow can one get enough information to actually get a pilot's license?
 DanoyachtcaptTop AnswererwikiHow has many such articles; try Fly a Cessna, it has a deeper course in flight training.
 -
QuestionLet’s say the plane was hijacked and a passenger was able to take down the hijacker. What should that passenger do?
 Galasy4969Top AnswererContact Air Traffic Control immediately and call out "mayday" three times, followed by the flight number. ATC will guide the passenger through the landing procedure.
 -
QuestionHow old do you have to be to fly a private jet?
 WikiaWangTop AnswererIn order to achieve a private pilot's license, you need to be at least 17 years old.
Warnings
- The airspeeds and other specifications used for this 172 are unique to a specific 172. Other 172 specs will vary. The manual for the aircraft you will be flying in may be different. The manual should be read for each aircraft.⧼thumbs_response⧽
