This article was co-authored by Ashley Crawford. Chef Ashley Crawford is a Private Chef and the Founder of A Taste of Chef Ash. Chef Ashley started in the culinary industry when she was 14. She specializes in Creole and Cajun cuisine but has experience in all culinary topics. She has been featured in ESPN and Sports Illustrated for her culinary work with athletes.
There are 7 references cited in this article, which can be found at the bottom of the page.
wikiHow marks an article as reader-approved once it receives enough positive feedback. This article received 20 testimonials and 100% of readers who voted found it helpful, earning it our reader-approved status.
This article has been viewed 733,768 times.
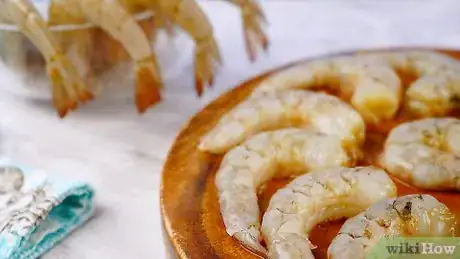
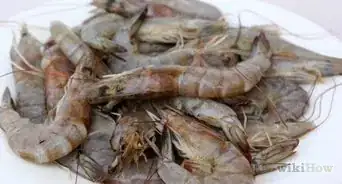
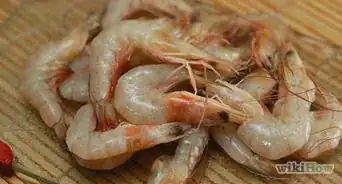
Despite a few anatomical differences, prawn are virtually interchangeable with shrimp in any recipe. Prawns can be prepared and cooked using a variety of methods, and many people don't even clean them before cooking, claiming it leads to better flavor.
Steps
Cleaning and Preparing Whole Prawns
-
1Remove the shells and heads to make eating prawns easier after cooking. You can cook the prawns in their shells as well, removing them later, and this often helps them retain moisture as they cook, But if the prawns are part of a larger dish (like a soup) you don't want to search for scales with your spoon. Luckily, cleaning prawns is easy before cooking.
- If you are grilling or pan frying your prawns, you should leave at least the shells on.
- You can leave the heads on the prawns, as they will lead to a stronger flavor, but many people remove them to make eating easier.[1]
-
2Remove the heads by pulling and twisting. They should come off with ease. Grab around the eyes and firmly twist to pull the head off. You can discard these, or save them to make seafood stock.[2]Advertisement
-
3Pull off the legs. Simply use your hand to pinch off the small dangling legs and pull them away.
-
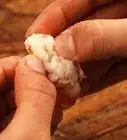
4Peel off the shell with your thumbs. Starting at the larger end, work your thumb under the shell and slide it down to the tail, pulling off the shell as you go. It may come off in pieces. You can either leave the tail on, usually as a "handle" when eating by hand, or remove and discard it if you're cooking the prawns into another dish.
-
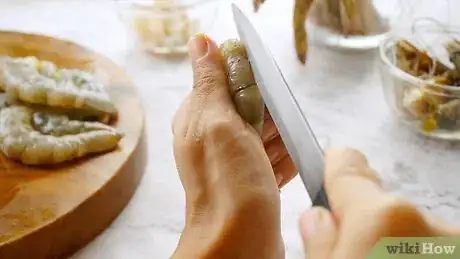
5Use a small knife to create a slit down the back of the prawn. You're looking for the long black vein that runs through the entire prawn. It is easiest to see near the tail, where there is a small valley in the prawn.[3]
-
6Remove the vein from the prawn. Pull the end of the vein up with the tip of the knife then grab it with your fingers to pull it off. This is not strictly necessary, but the vein has a bitter taste that is best removed now.[4]
- You can still remove the vein while leaving the shell on. To do so, clip the shell with scissors and pull the vein out, closing the shell back up. You can also pull the entire vein out in one piece if you break the head off and locate it.
-
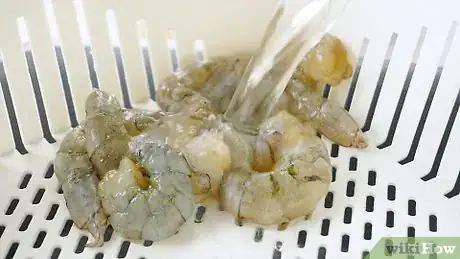
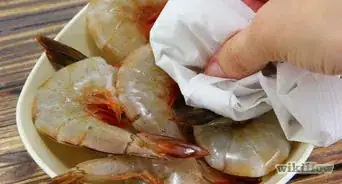
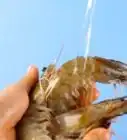
7Rinse under running water and pat dry with paper towels. Moisture on the outside of the prawn will make the cook unevenly. Give them a quick rinse with cold water and then dry them off.
- If you don't plan on cooking them yet, keep the prawns on ice or in the refrigerator.
Pan Frying Prawns
-
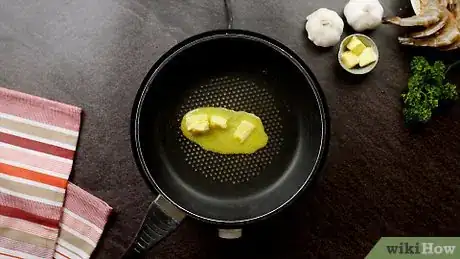
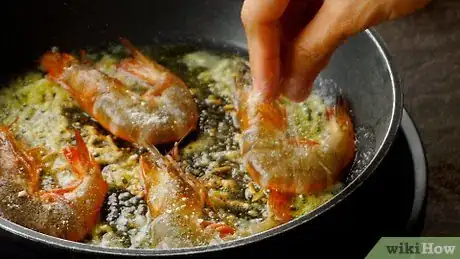
1Melt 2 tablespoons of unsalted butter or olive oil in a skillet over medium-high heat. If cooking a lot of prawns, add enough butter to cover the bottom. You should have enough oil to cover the bottom of the skillet, but you don't need the prawns to be covered.
-
2Add any flavors or aromatics. Aromatics are basically spices that cook with the oil, imparting their flavor on the prawns. Some good additions are:
- 1/2 cup chopped shallots.
- 3-5 cloves of garlic, smashed.
- 1-2 tablespoons chopped ginger.
-
3Add a single layer of shelled prawns and cook until the underside turns pink. This usually takes 3-4 minutes. As the first side cooks, stir in your flavorings.
-
4Add seasoning and stir the prawns up once as they cook. Make sure you stir enough to coat the outside of the prawns in your seasonings, then leave them until the first side is cooked. some seasoning options include:
- Mexican Prawns:Salt, lime juice, red pepper, cayenne, chili powder, garlic powder (if not using fresh)
- Mediterranean Prawns: Salt, lemon juice, black pepper, oregano, garlic powder (if not using fresh) Cook in olive oil.
- Cajun Prawns: Salt, paprika, cayenne, thyme, red and black pepper, chili powder, onion/garlic powder (if not using fresh). Cook in butter.
-
5Flip the prawns and cook until the entire outside is pink. Prawns lose their moisture quickly, so you just want to get the outsides nice and pink and then turn off the heat. There will be deep streaks of pink, not just white, when they are done. Serve in the hot pan so that they don't cool too quickly.
Boiling Prawns
-
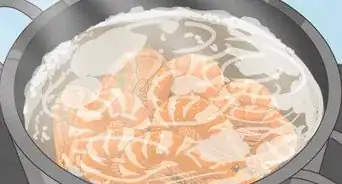
1Boil enough water to just cover the prawns. Add half of a lemon, sliced or cut in chunks, 1-2 teaspoons Old Bay seasoning, 1 minced garlic clove, and 1 teaspoon of salt. Let this mixture boil for 1 minute before adding the prawns.
-
2Add the prawns and lower the heat. Leave the tails on, and make sure they are covered in water. Simmer for approximately 3 minutes or until the prawns turn pink. Remove from heat.
- You can leave the shells and head on, or remove them before cooking. Leaving them on will lead to a stronger flavor.
-
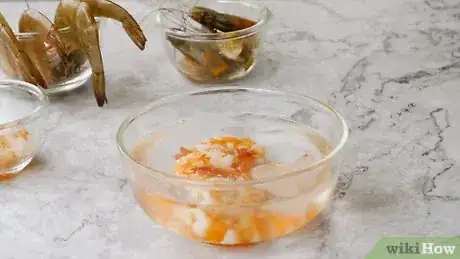
3Plunge prawns into a bowl of ice water to stop cooking. As soon as they come off, drain the hot water and plunge the prawns in a cold water keep them from cooking.
- You can use that water as the base of a soup stock if you want to save it.
-
4Serve the prawns chilled. These prawns are a nice addition to a buffet table, often placed on a large platter and served with a variety of sauces, such as cocktail sauce, tartar sauce or drawn butter.
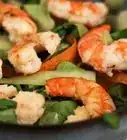
- These prawns also work well in a prawn salad with a mayonnaise-based dressing, either served on a bed of greens or in a bread roll.
Grilling Prawns
-
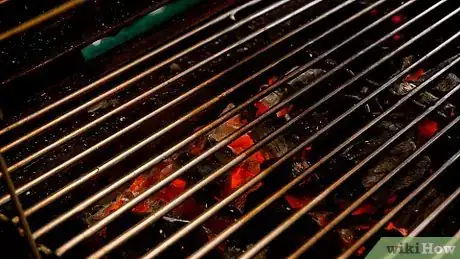
1Preheat your grill at high heat. Prawns need to be cooked quickly to retain their moisture and still cook all the way through, so you want good high heat. This leads to wonderfully browned, crispy skins with succulent prawn meat underneath.
- Generally, leaving the skins and tails on his best for grilling. However, it is not essential.
-
2Try out a baking soda bath for the crispiest prawns. If you like crispy, well-browned prawns, soak the prawns in 1 tablespoon of salt and 1 tablespoon of baking soda, and 1 cup water for 15 minutes before moving on. The baking soda alters the pH slightly, promoting caramelization.[5]
- Pat the prawns dry after removing them, but don't rinse them and get rid of the baking soda.
-
3Skewer the prawns. You can mix them with vegetables as well, threading them one after the other on your skewer. Whatever you do, thread them tightly together, with no spaces between each prawns. This helps the interiors retain moisture as the outsides brown.[6]
- Soak wooden skewers in water until thoroughly soaked through. Soaking the wooden skewers ahead of time prevents them from drawing moisture out of your prawns while they cook.
-
4Coat the prawns in olive oil. Use a brush to coat all the sides of prawns with olive oil, which helps them cook evenly. Add a dusting of garlic powder, if you love garlic, and a light sprinkling of salt.
-
5Arrange the skewers on the grill without touching each other. Press them lightly down into the grill so that the prawns are touching the hot grate.
-
6Cook for 3-4 minutes on each side, turning when the side is pink. Remember that prawns cook quickly, and you only need the outsides to be pink to move on. With a very hot grill you should get char lines quickly, and then the prawns are ready to turn. Cook for 1-2 minutes on the opposite side before removing.
-
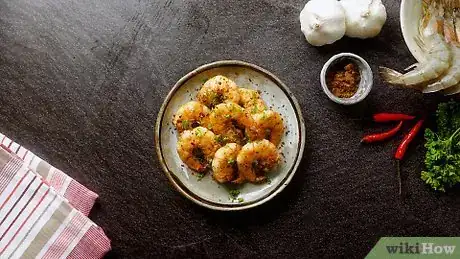
7Season the prawns after the come off the grill. Take the prawns, shells and tails still intact, and toss them with some olive oil or melted butter, salt, and pepper. You can then add whatever other flavors you desire:
- Mexican Prawns: Lime juice, red pepper, cayenne, chipotle, chili powder, garlic powder.
- Mediterranean Prawns: Lemon juice, black pepper, oregano, garlic powder, parsley.
- Cajun Prawns: Salt, paprika, cayenne, thyme, red and black pepper, chili powder, onion/garlic powder.
Community Q&A
-
QuestionAre cooked prawns softer than cooked shrimp?
 Community AnswerIt depends on the prawn. Langoustines are usually best, but cooking any of them right is the key - overcooking can make both prawns and shrimp tough. Cooking them separately from other ingredients makes getting it right easier.
 -
QuestionCan prawns labeled as cooking prawns be used for cold dishes?
 Community AnswerYes, as long as you cook them first. Once they're cooked, refrigerate and serve them within 3 days.
 -
QuestionHow long will boiled prawns keep?
 Community AnswerIn the refrigerator, prawns will keep for three to four days, and in the freezer they can last up to three months.
Warnings
- Prawns cook quickly, in a matter of minutes, so don't leave them cooking unattended.⧼thumbs_response⧽
Things You'll Need
- Paper towels
- Skillet
- Grill, broiler, or stove
- Knife
References
- ↑ http://www.helpwithcooking.com/seafood-shellfish/how-to-cook-shrimp-prawn.html
- ↑ https://www.foodnetwork.com/how-to/articles/how-to-peel-and-devein-shrimp-a-step-by-step-guide
- ↑ http://www.helpwithcooking.com/seafood-shellfish/how-to-cook-shrimp-prawn.html
- ↑ http://www.bbcgoodfood.com/technique/how-prepare-prawns
- ↑ http://www.seriouseats.com/2013/04/the-food-lab-wonton-soup.html
- ↑ http://www.seriouseats.com/2015/07/food-lab-how-to-grill-shrimp.html
- http://www.helpwithcooking.com/seafood-shellfish/how-to-cook-shrimp-prawn.html
About This Article
To prepare and cook prawns, twist and pull the heads from the bodies, then pinch off the legs. Next, work your thumb under the shell and slide it down to the tail, pulling off the entire shell as you go. Then, use a small knife to cut a slit down the back of each prawn and remove the dark colored vein. Rinse the prawns under running water, pat them dry with paper towels, and use them in your favorite recipe! For tips on cooking techniques, read on!
