This article was co-authored by wikiHow Staff. Our trained team of editors and researchers validate articles for accuracy and comprehensiveness. wikiHow's Content Management Team carefully monitors the work from our editorial staff to ensure that each article is backed by trusted research and meets our high quality standards.
This article has been viewed 97,088 times.
Learn more...
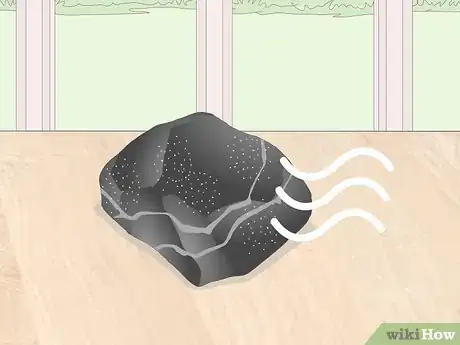
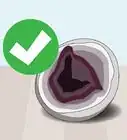
You can easily turn a rough or dusty rock into a polished and shiny stone, and you don’t need a tumbler or fancy equipment to do it! Start by making sure the rocks are clean by scrubbing off any dirt or grime from their surface. Then, grind or sand their rough exterior down so you can apply a coating of polish to them. Rub in the polish with a denim cloth, let them dry, and bam! You’ve got yourself a gleaming rock!
Steps
Cleaning and Sanding the Rocks
-
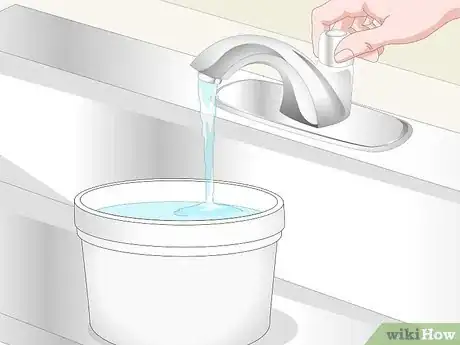
1Fill a small bucket with water. You need to keep your rocks damp to make them easier to grind them down. You also need to clean the rocks and remove any dirt that may be stuck to them. Fill a small bucket of water and keep it nearby while you work.[1]
- A small bucket with about 1⁄2 gallon (1.9 L) of water should do the trick.
-
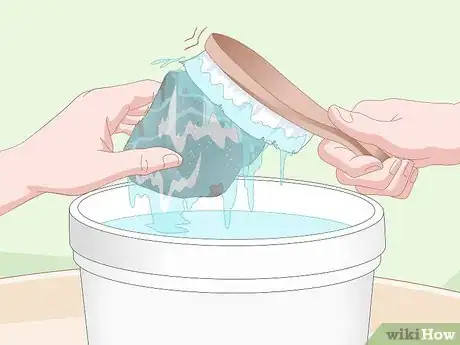
2Scrub the rock in the water with a brush or sponge. Before you start to sand the rock, use a stiff brush or a sponge with a scrubbing surface to wash off any dirt or debris that may be caked on to the rock. Wash the rocks thoroughly in the water.
- You can add soap to the water if the grime isn’t coming off easily.
Tip: Use an old toothbrush to get into the crevices and scrub off stubborn grime.
Advertisement -
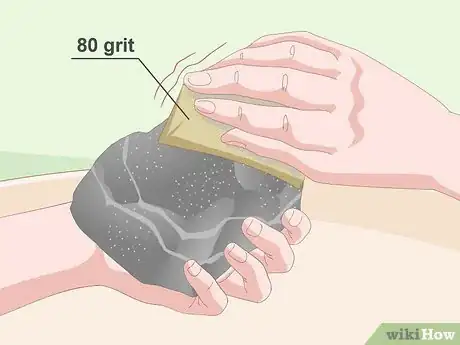
3Use 80-grit sandpaper to smooth out the edges and corners of the rocks. Start with coarse-grained sandpaper to round out the sharp edges of the rocks. Sand the rocks until the rough edges and surface are smooth.[2]
- Depending on how hard your rocks are, it could take 10-15 minutes of sanding to create a smooth surface.
- Keep the rocks damp by dunking them in the bucket of water whenever they start to dry.
-
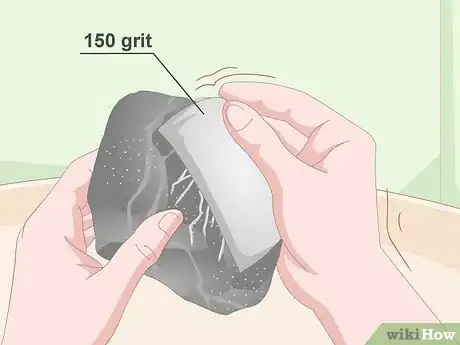
4Remove heavy scratches in the rocks with 150-grit sandpaper. Once you’ve buffed out the rough exterior of the rocks with the coarse sandpaper, switch to a finer grain and focus on any deep scratches on the surface of the rocks. Use softer, circular motions over the deeper scratches to buff them out evenly.
- The smoother the rock is, the better the polish will adhere and the greater the shine.
-
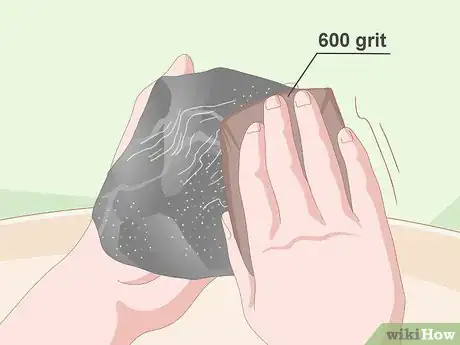
5Buff out any light scratches with 600-grit sandpaper. After you’ve buffed out any deep scratches and marks on the rocks, use a fine-grained sandpaper to get the rocks ready to be polished. Buff the entire surface of the rocks and pay extra attention to any light scratches or abrasions on them.
- Focus on removing any remaining blemishes or abrasions on the surface of the rocks.
Grinding with a Rotary Tool
-
1Put on gloves and safety glasses when you’re grinding rocks. Grinding and polishing rocks with a rotary tool can cause small particles of grit and rock to fly off. Dust and rock particles can irritate or injure your eyes if they get into them. Gloves will improve your grip and keep your hands protected if the drill happens to slip.[3]
- Use a thick and sturdy type of glove like leather, puncture-resistant, or heavy fabric gloves.
- Thin rubber gloves will improve your grip but won’t protect your hands.
-
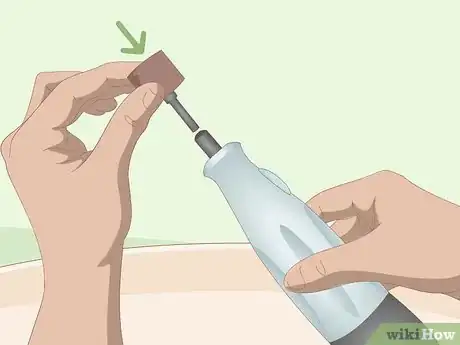
2Attach a sanding attachment to the rotary tool. The rotary tool has a multitude of attachments you can use for various projects. For grinding and smoothing rocks, use an attachment designed for sanding. Insert the attachment into the opening at the end of the rotary tool and make sure it’s secure.[4]
- Don’t use a drill bit or other type of attachment to polish or grind rocks because it could break the rock or cause a large fragment to fly off and possibly injure somebody.
-
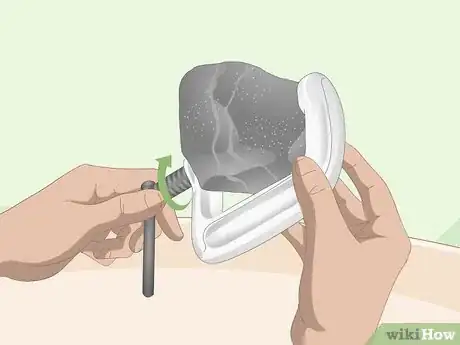
3Place the rock in a spring or C clamp. To protect your hands and prevent the rock from slipping when you grind it with the rotary tool, use a clamp to secure it. A spring clamp or a C clamp will grip the rock without crushing it. Put the rock in the clamp and make sure it’s tight and secure in the clamp.[5]
- Make sure the clamp isn’t so tight that it could crack or break the rock.
-
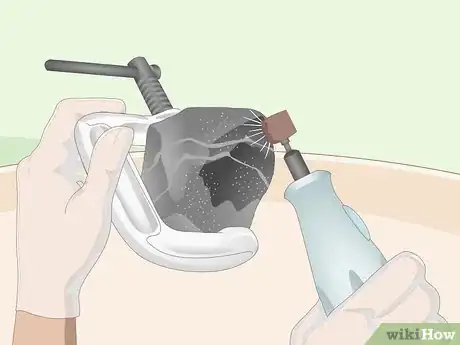
4Grind the rock with the top half of the sanding bit. To prevent scratches in the rock, use the top half of the sanding bit to grind the entire surface of the rock. When you’ve sanded the surface, adjust and move the rock in the clamp so you can cover any areas that you missed.[6]
Tip: If you have multiple sanding attachments with different grits, grind the rock with progressively finer grit bits to bring out the rock’s shine.
Applying Polish to the Rocks
-
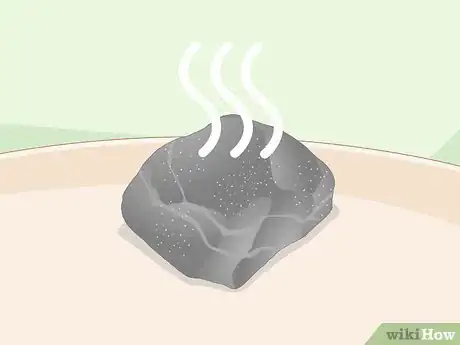
1Make sure the rocks are completely dry before you polish them. In order for the polish to adhere to the rocks, they need to be completely dry. It’s also easier for you to buff them until they shine if they aren’t damp.
- Allow the rocks to air dry for at least 1 hour if you recently washed them.
-
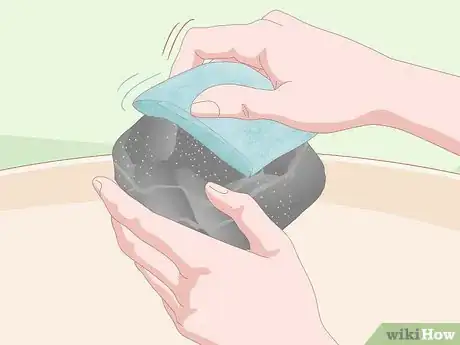
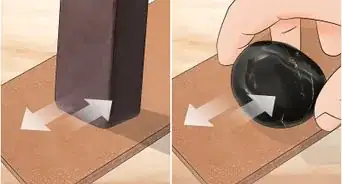
2Use denim fabric to rub the rocks until they shine. To really create a smooth surface and really bring out the natural shine of the rocks, use a sturdy piece of denim fabric rather than fine-grained sandpaper. A piece of soft cloth like denim is the best option to polish rocks.[7]
- If you don’t have denim, you can use 600-grit sandpaper to polish your rocks.
-
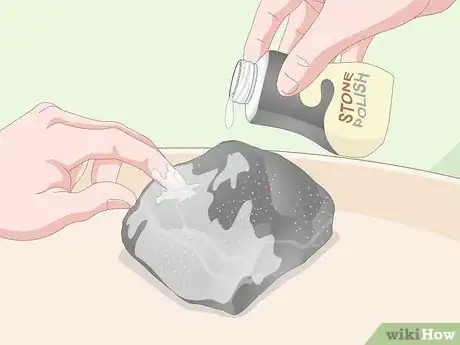
3Apply stone polish to the surface of the rocks. Use a commercial rock polish to create a shiny coating on the surface of the rocks. Add a few drops to a rock so there’s plenty to cover all of it. The denim fabric will soak up any excess polish.[8]
Tip: For a natural alternative, apply mineral oil to the surface of the rocks.
-
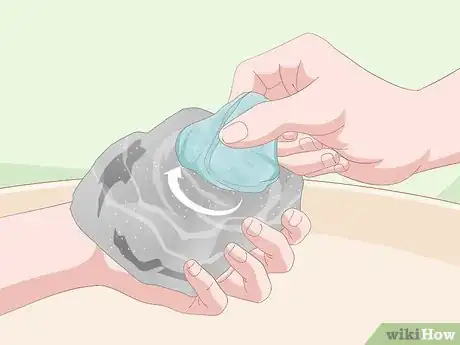
4Buff the rocks with the denim fabric. After you added the polish to the rocks, use your denim cloth to rub the surface of the rocks. Rub the rocks in gentle, circular motions to apply the polish and bring out their shine.[9]
- The polish will adhere in an even coating and the denim will bring out the natural shine of the rocks.
-
5Allow the rocks to air dry. Before you pick up or handle the rocks after you’ve polished them, it’s very important that they’re completely dry. You could smudge the polish or get small particles of dust in the coating. Additionally, the oil from your fingertips could leave blemishes on the polish.
- Wait at least 1 hour before you pick up the polished rocks.[10]
- Test that the rocks are dry by touching them with the denim fabric. If none of the polish comes off on the fabric, they’re dry!
Things You’ll Need
Cleaning and Sanding the Rocks
- Small bucket
- Scrub brush or sponge
- 80-grit sandpaper
- 150-grit sandpaper
- 600-grit sandpaper
Grinding with a Rotary Tool
- Rotary tool
- Sanding attachment
- Safety glasses and gloves
Applying Polish to the Rocks
- Denim fabric
- Commercial rock polish or mineral oil
References
- ↑ https://sciencing.com/polish-rocks-gems-rock-tumbler-8164627.html
- ↑ https://sciencing.com/polish-rocks-gems-rock-tumbler-8164627.html
- ↑ https://sciencing.com/polish-rocks-gems-rock-tumbler-8164627.html
- ↑ https://www.rocksforkids.com/how-to-polish-rocks-with-a-dremel
- ↑ https://www.rocksforkids.com/how-to-polish-rocks-with-a-dremel
- ↑ https://www.rocksforkids.com/how-to-polish-rocks-with-a-dremel
- ↑ https://sciencing.com/polish-rocks-gems-rock-tumbler-8164627.html
- ↑ https://sciencing.com/polish-rocks-gems-rock-tumbler-8164627.html
- ↑ https://sciencing.com/polish-rocks-gems-rock-tumbler-8164627.html
