This article was co-authored by Zac Churchill. Zac Churchill is from Davidson, North Carolina, and currently attends Tufts University. He has played Minecraft for over eight years and has extensive knowledge on how to play Minecraft and how the game has changed over the different versions. Specifically, Zac has expert experience in survival worlds, large builds on creative mode, and server design/upkeep.
This article has been viewed 452,791 times.
Custom maps and games are a popular aspect of Minecraft. Countless creators have released maps and game modes for players to download and enjoy. Adding custom maps is a fairly straightforward process for the computer versions of Minecraft, and a little more complex for Minecraft PE for Android and iOS. Regardless, you can have your new map up and running in just a minute or two.
Steps
PC, Mac, and Linux
-
1Download the map file. There are countless custom maps available online from a huge number of Minecraft fan sites. Simply search "Minecraft maps" to find more maps than you'll know what to do with. Most map listings have ratings and comments so you can browse and find the perfect map to try.[1]
- Maps are usually in ZIP or RAR format. ZIP files can be opened without any additional software, but RAR files will require a new program. You can use the free WinRAR trial (rarlab.com) in Windows, or you can use the open-source program 7-Zip (7-zip.org). Mac players can use The Unarchiver, available for free on the Mac App Store. See How to Open RAR Files for more information about opening RAR files.
- Make sure to note what version of Minecraft the map is designed for. You can change your Minecraft version in the Launcher before starting the game so that you can play maps designed for older versions.
-
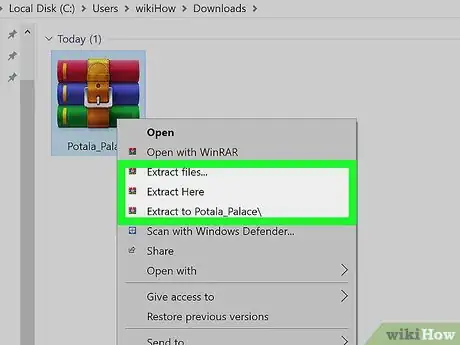
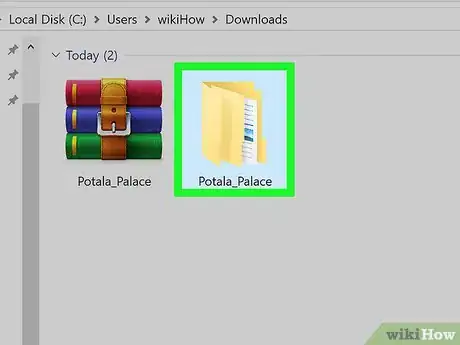
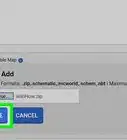
2Extract the map file. Right-click the downloaded map file and select "Extract file" to extract the files into a new folder.[2] The folder will have the same name as the downloaded map file.Advertisement
-
3Open the extracted folder. Open the folder that you just created by extracting the map file. You'll usually see a _MACOSX folder and a folder with the same name as the map file. Leave this window open for now.
- If you open the folder with the map's name, you should see several files and folders, including a level.dat file, a data folder, and several other files. Return to the previous folder after verifying that these files are here.
-
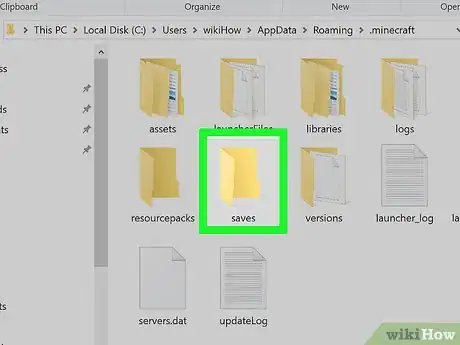
4Open the Minecraft saves folder. The location varies depending on what operating system you are using:[3]
- Windows - Press ⊞ Win or click the Start button to open the Start menu. Type "%appdata%" and press ↵ Enter. Open the .minecraft folder, which for most users should be at the top of the list of folders in the %appdata% folder. Open the saves folder. You will see a list of folders for all of your saved games.
- Mac - Hold the ⌥ Option key and click the Go menu. Select "Library" from the Go menu. Double-click the Application Support folder and then open the Minecraft folder. Finally, open the saves folder. All of your saved worlds will be listed here in separate folders.
- Linux - Open your User folder (your name) and then open .minecraft. Double-click the saves folder. You should see a list of all of your saved worlds.
-
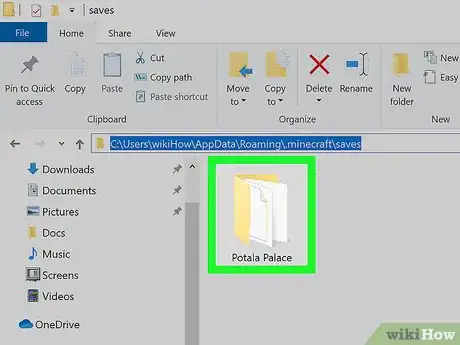
5Copy the map folder to the saves folder. Copy the map folder containing the level.dat file and data folder from the other window into the saves folder.[4]
-
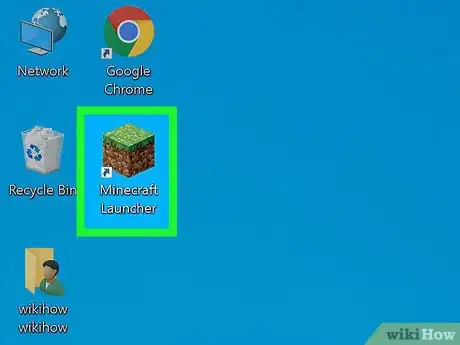
6Start Minecraft. After copying the map files, you're all set to start playing! Load up the Minecraft Launcher and start the game.
- If you're trying to play a map for an older version, make sure to change your profile before starting the game. Click the "Edit Profile" button in the Launcher, and then click the "Use Version" drop-down menu to select the version of the game you want to load.
-
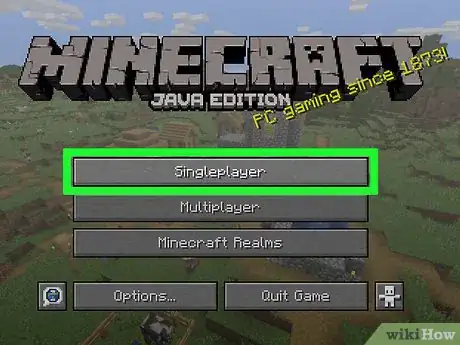
7Open the Single player menu. This will display a list of your saved worlds. Your new map will be on this list. Then delete others in the saves file.
-
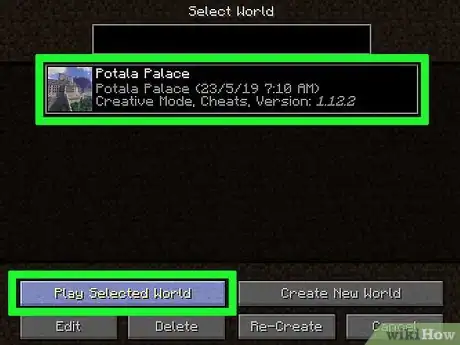
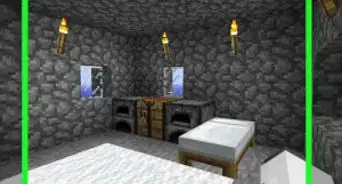
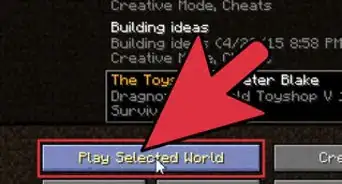
8Find and load your new map. Oftentimes, the new map will show up at the bottom of the list, but this isn't always true. Scroll through the list until you find it, and then double-click it to load it.
Android
-
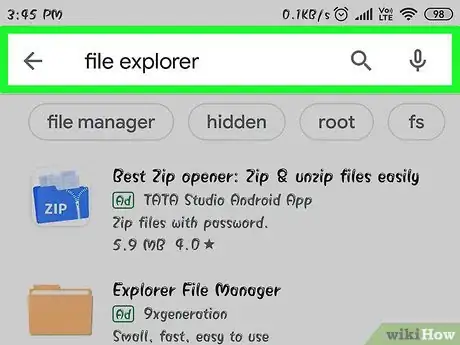
1Download and install a File Manager app that supports archives. You'll need a file manager that will allow you to open ZIP files. You'll be using this app to extract the map files and then copy them to your Minecraft PE worlds folder.
- One of the most popular file managers for this task is ASTRO File Manager, available for free from the Google Play Store. You can also use a file manager like ES File Explorer, also available for free.
-
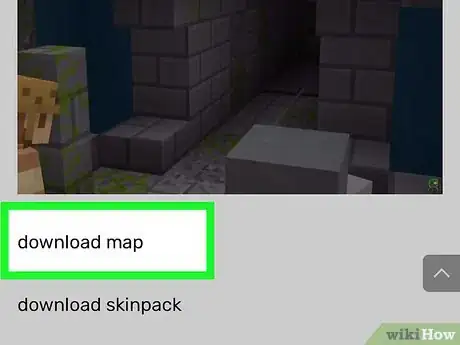
2Download the map file. Make sure that the map file is for Minecraft PE, and not the computer version. Also make sure that you're downloading a map that matches your version of Minecraft PE, as it isn't as easy as it is on PC to change the version you are playing.
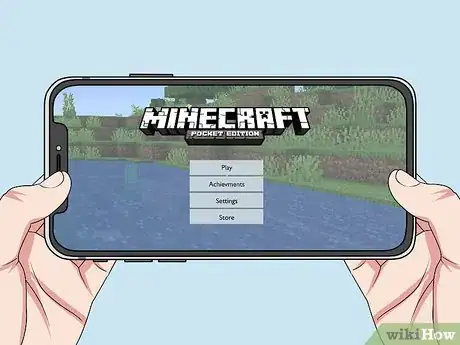
- You can see the version of Minecraft you are using on the Minecraft PE main menu.
-
3
-
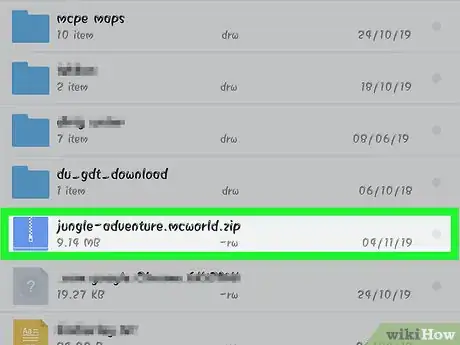
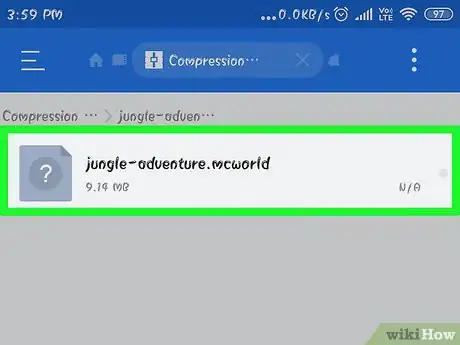
4Tap the downloaded map archive to open it. Tapping the ZIP file will display the contents of the ZIP. You should see a folder with the name of the map you downloaded.
-
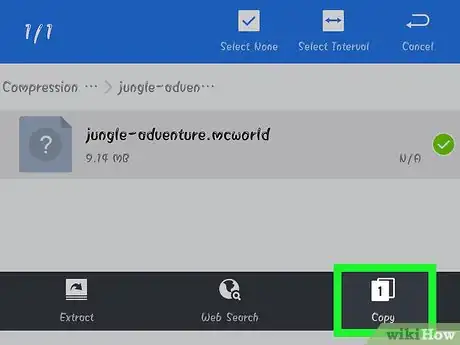
5Press and hold the folder inside the archive. This will open a menu of actions you can take with the folder.
-
6Select "Copy" from the menu. This will copy the folder, allowing you to paste it elsewhere.
-
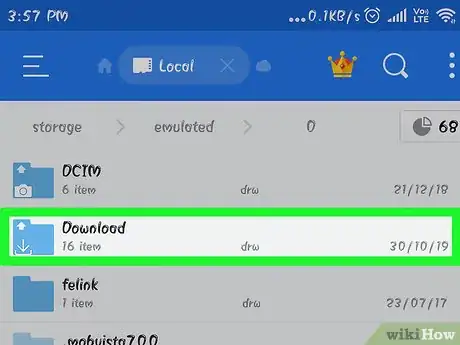
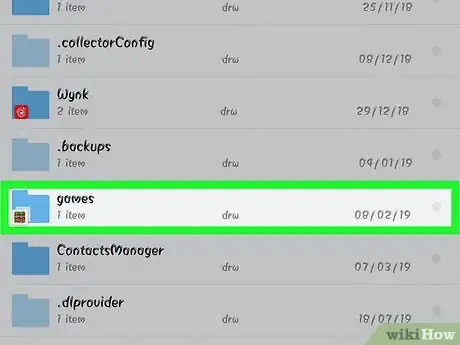
7Navigate to the games folder. You'll find this on your base directory, in the same location that you found the Downloads folder.
-
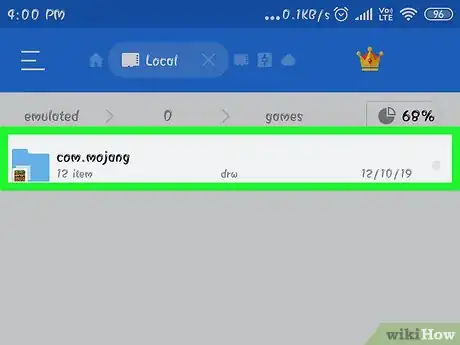
8Open the com.mojang folder, and then the minecraftWorlds folder. This will contain a folder for each of your saved games.
-
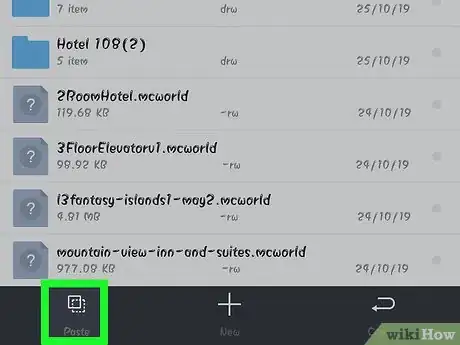
9Press and hold a blank spot and select "Paste". This will paste the new map folder into the minecraftWorlds folder.
-
10Start Minecraft PE and select the new map. Your new map will be listed in your saved games. It usually appears at the bottom, but could show up anywhere in the list.
iOS
-
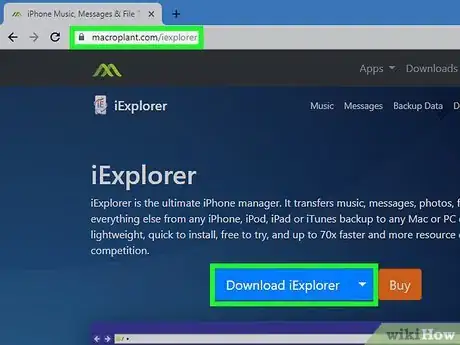
1Install iExplorer on a computer. The free version of iExplorer will allow you to copy downloaded Minecraft PE maps onto your iOS device. You can download the free version from macroplant.com/iexplorer/.
- You need to use a computer to install custom maps on the iOS version of Minecraft PE. The only way around this is if your device is jailbroken and you can install a file manager app such as iFile from Cydia.
-
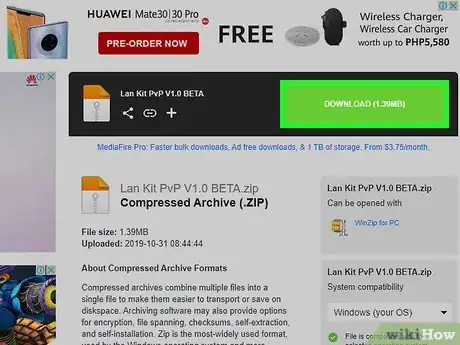
2Download and extract the map file on your computer. Download the map file that you want to install on your iOS device. Make sure that it is compatible with the version of Minecraft PE that you are running. You can see which version you have from the main menu screen of Minecraft PE.
- Right-click the downloaded file and select "Extract files". This will create a new folder containing a folder with the map name.
-
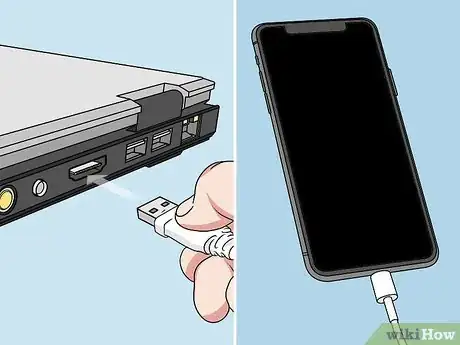
3Connect your iOS device to your computer via USB. Close iTunes if it opens when you connect the iOS device.
-
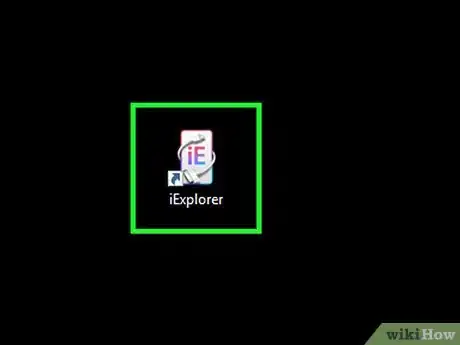
4Start iExplorer. You should see your device appear in the left frame of iExplorer.
-
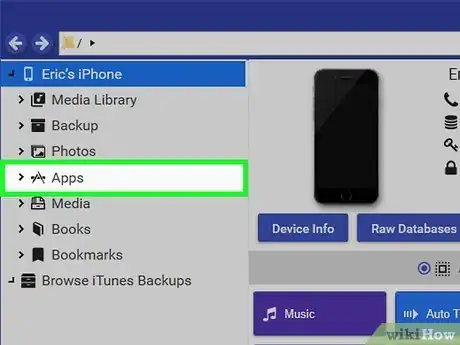
5Expand the "Apps" section of your device. This will display a list of all of the apps installed on your device.
-
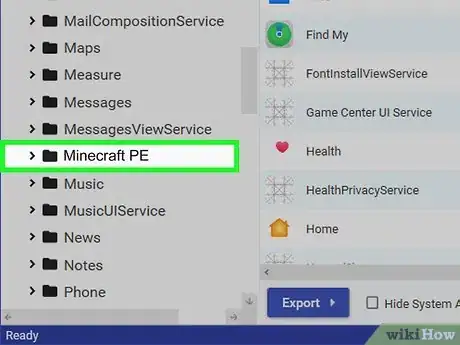
6Find and select "Minecraft PE". Folders will appear in the right frame of iExplorer.
-
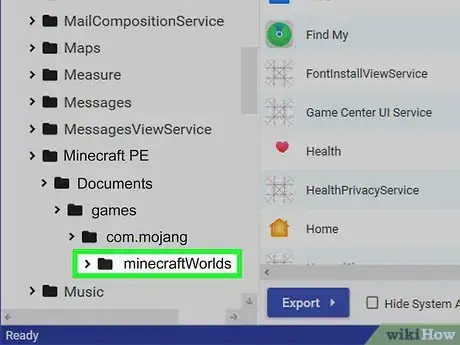
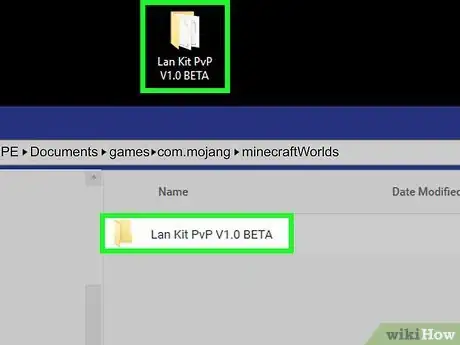
7Navigate to Documents→games→com.mojang→minecraftWorlds. The minecraftWorlds folder will contain folders for each of your saved games.
-
8Drag and drop your new map folder into the Minecraft Worlds folder. It should only take a moment to copy. After it has finished transferring, you can disconnect your iOS device and close iExplorer.
-
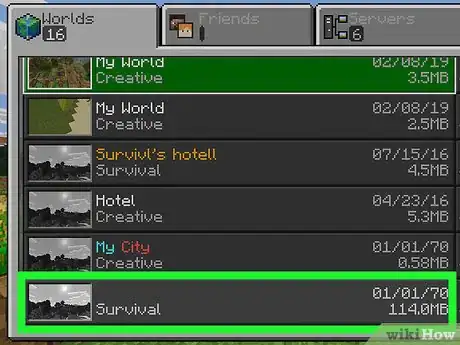
9Play your new map in Minecraft PE. You'll be able to find your new map among the list of saved games. It may not appear on the top of the list after you add it.[8]
Community Q&A
-
QuestionWhat if it has 3 level.dat folders, like level.dat_old and level.dat_mcr?
 Community AnswerFirst, play the world. If it doesn't work, delete level.dat_old, then try again. It should work.
 -
QuestionHow can you allow another player to join a downloaded Minecraft map?
 Community AnswerOn your friend's computer, click "multiplayer" and wait for your username to pop up. On MCPE, click "play", then "friends" and click on your username.
 -
QuestionDo these methods work for the latest version?
 Community AnswerI believe they should, yes.
References
- ↑ https://www.sportskeeda.com/minecraft/how-play-custom-map-minecraft
- ↑ https://www.sportskeeda.com/minecraft/how-play-custom-map-minecraft
- ↑ http://www.howtogeek.com/school/htg-guide-to-minecraft/lesson13/
- ↑ https://www.businessinsider.in/tech/how-to/how-to-download-new-minecraft-maps-and-add-them-to-your-game/articleshow/82040320.cms
- ↑ https://optifine.net/home
- ↑ https://optifine.net/home
- ↑ https://optifine.net/home
- ↑ https://www.minecraftmaps.com/info/how-to-install-a-minecraft-map
About This Article
1. Download a map file.
2. Extract the ZIP or RAR.
3. Open your Minecraft saves folder.
4. Move the extracted map folder to the saves folder.
5. Open Minecraft and click Singleplayer.
6. Select your new map.
7. Click Play Selected World.

