This article was co-authored by Andrew Carberry, MPH. Andrew Carberry is a Food Systems Expert and the Senior Program Associate at the Wallace Centere at Winrock International in Little Rock, Arkansas. He has worked in food systems since 2008 and has experience working on farm-to-school projects, food safety programs, and working with local and state coalitions in Arkansas. He is a graduate of the College of William and Mary and holds a Masters degree in public health and nutrition from the University of Tennessee.
This article has been viewed 150,702 times.
If you want to start your very own pumpkin patch, all you really need is a packet of seeds and plenty of space. Pumpkins are surprisingly easy to plant and grow. Make sure the spot you choose gets full sun, and keep the plants watered all summer long. By the time the autumn rolls around, you'll have plenty of orange pumpkins to eat, carve or share with friends.
Steps
Getting Ready to Plant
-
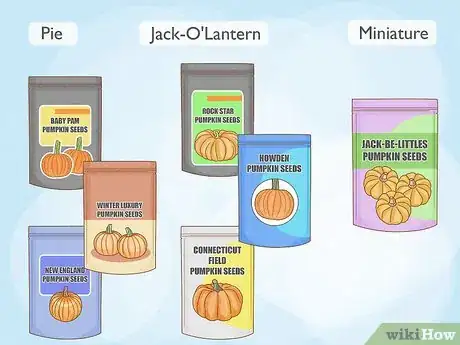
1Choose high quality seeds. Go to your nursery, check out a seed catalog or look for seeds online to pick out your pumpkin seeds. You can try to plant seeds that came from a pumpkin you bought at the store and carved or ate, but there's no telling whether they'll grow well in your area. Your best bet is to pick out a fresh packet of seeds to start your pumpkin patch.
- Pie pumpkins are used for making pies or roasting. Good varieties to start with include Baby Pam, Winter Luxury or New England Pie.
- Jack-O'Lantern pumpkins are larger and less flavorful than pies. If you want to grow pumpkins large enough to carve, try Howden, Rock Star or Connecticut Field.
- Miniature pumpkins are grown for decorative purposes. Jack-Be-Littles are a good choice if you want some tiny orange pumpkins in time for fall holidays.
-
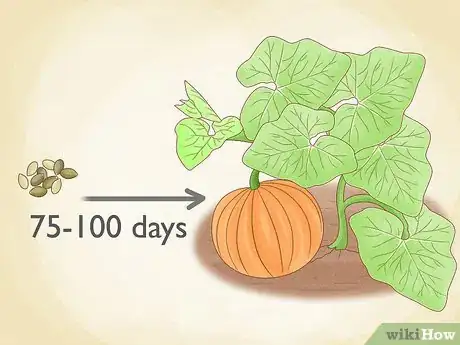
2Decide when to plant your seeds. Pumpkins take 75-100 days to grow from a seed before you can harvest them. Count backwards from the date you'd like to harvest, and plant at that time. Most pumpkin gardeners aim to have their pumpkins ready for harvest in time for fall. In order to do this, you'll need to figure out the right time to plant your seeds according to what climate you live in. Pumpkins grow more quickly in hotter weather, so if you plant them too early in the year, they'll be here and gone long before Halloween.
- If you live in a place with cold winters and mild summers, planting in late May after the last chance for frost has passed is your best bet. This way your pumpkins will be ready in time for fall.
- If you live in a place with long, hot summers, you can put your pumpkins in the ground in July and have them ready for Halloween.
- If your primary reason for growing pumpkins is to have them as a food crop, and you don't mind having them ready to eat before the fall, you can start the seeds indoors 3 weeks before the last frost date in your area, so they'll be ready to put in the ground as soon as it warms up. To start seeds indoors, simply sow single seeds in four-inch peat seed pots filled with seed starting mixture (not soil). Keep the pots well watered and place them in a sunny window. The seedlings will be ready to plant outside in a few weeks.
Advertisement -
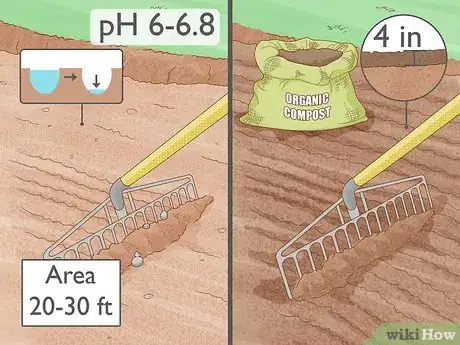
3Prepare the pumpkin bed. Choose a place that gets full sun, since pumpkins won't thrive unless they get plenty of it. Pumpkins grow on wide-reaching vines that need 20 or 30 feet (6.1 or 9.1 m) of open space to stretch out. Choose a place that has good drainage, so that the pumpkins' roots aren't sitting in water all day long.
- The ideal soil pH for pumpkins is 6.0 to 6.8. If your soil hasn't been tested in awhile, get a soil testing kit and determine whether your soil falls into this range or is a little high or low. You can amend it by mixing in lime, bone meal or compost as needed.
- To test whether the soil has good drainage, dig a hole and fill it with water. Allow it to drain overnight, and then re-fill the hole to conduct the test. Measure the water level with a yardstick or measuring tape each hour to see how much it has gone down.[1] Draining 1-3 inches per hour is ideal. If your soil drains too quickly or too slowly, try adding compost to improve the drainage.
- To give pumpkins a boost, amend the soil by tilling it to a depth of 4 inches (10.2 cm) and mixing in organic compost.
Planting and Caring for Pumpkins
-
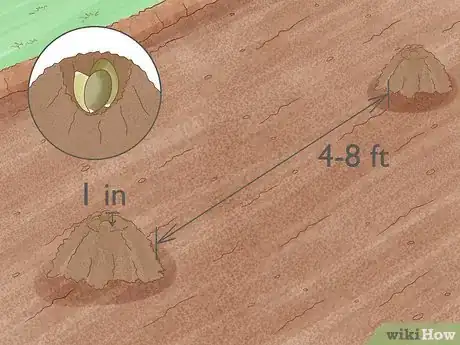
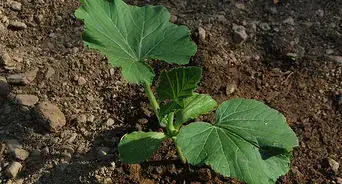
1Plant the seeds 1 inch (2.5 cm) deep. Choose a spot toward the center of where you want the vines to grow. Build a small mound to help warm up the soil, improve drainage, and reduce pests. Plant 2 or 3 seeds in the center of the mound about 3 inches (7.6 cm) deep. Pat soil over the seeds and water them well after planting. If you aim to grow more than one pumpkin plant, space them at least 4–8 feet (1.2–2.4 m) apart. Mini varieties can be spaced 3 feet (0.9 m) apart.
- If you live in a place with strong winds, you can plant the seeds in a trench about 3 inches (7.6 cm) deep. This will protect the seed from wind as it gets established.
- If you're transplanting seedlings, space the holes 5 feet (1.5 m) apart.
-
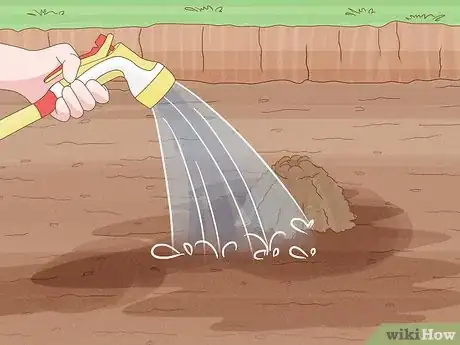
2Water the pumpkin plants regularly. Don't ever let the soil completely dry out. Pumpkin plants need a lot of water. When the soil seems dry and dusty, water the pumpkin bed thoroughly using the spray attachment on your garden hose. Give the area a good soaking, since pumpkin roots run deep into the soil and the water needs to be able to reach them.
- Don't soak the soil if it's already wet, since this can lead to rot.
- Water in the morning, so the water that gets on the pumpkin leaves has time to dry. If you water in the evening, powdery mildew can form on the wet plants.
- When the pumpkins begin to grow and turn orange, you can stop watering as frequently. Stop watering altogether about a week before they're ready to harvest.
-
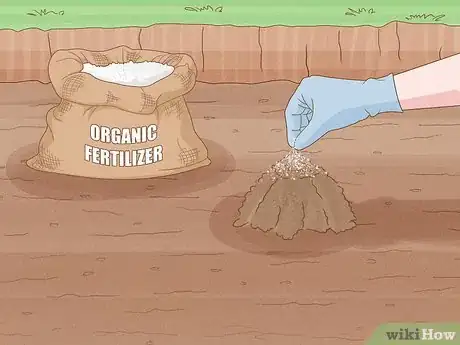
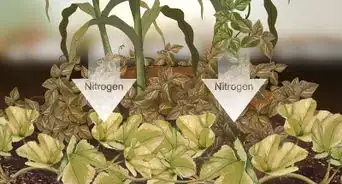
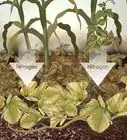
3Fertilize the plants. Spread compost around the base of the plants or treat the planting bed with a suitable organic fertilizer. Do this just after the seedlings sprout, to encourage healthy growth and prevent weeds from taking over.
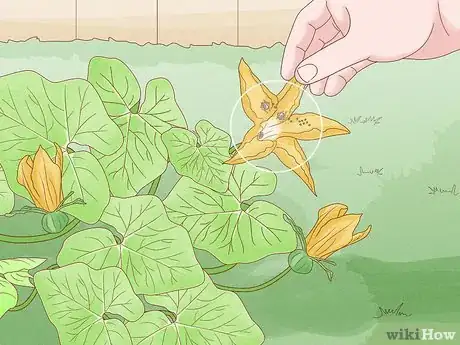
- If you notice your flowers dropping off and no pumpkins growing, you may need to hand fertilize. Use a small paintbrush or Q-tip to transfer pollen from a male flower to female flowers.
-
4Thin the plants. If you planted more than two seeds in one mound, choose the two strongest plants and leave them to grow. Remove all of the weaker plants. This will provide more nutrients for the stronger plants to grow.
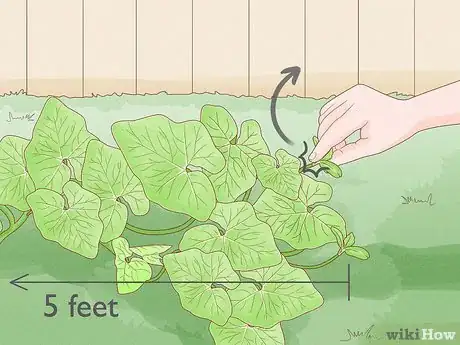
- When the vines reach about 5 feet (1.5 m), clip off the tips of the vines. This will encourage more side shoots to grow, and it will improve pumpkin production.
-
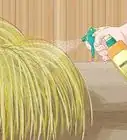
5Watch out for pests. Pumpkin plants are susceptible to a number of pests that eat the leaves and vines. Spotted and striped cucumber beetles, four line beetles, aphids, and squash bugs are all common pests you might find crawling over your plants. Luckily, most pest populations can be controlled by either picking them off the plants by hand or spraying them off with a stream of water.
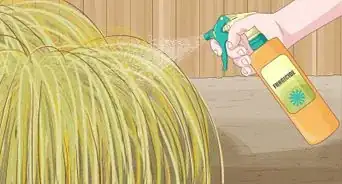
- If plain water doesn't seem to be working, try wiping down the leaves with soapy water, or a solution of water and ammonia.
- If necessary, you can treat the plants with pesticides. However, these will harm beneficial bees, which pollinate the pumpkin flowers and help the plant stay healthy. To minimize the damage to bees, treat the pumpkin plants at night, when the bees are away in their hive.
Harvesting Pumpkins
-
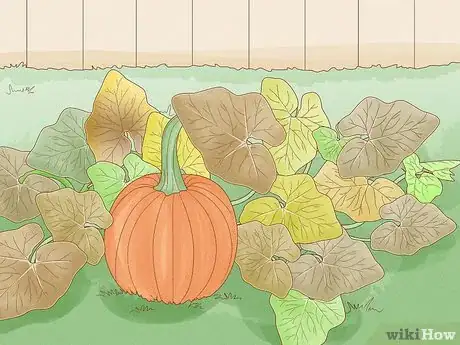
1Look for signs the pumpkin is ready for harvest. The pumpkins should be uniformly bright orange in color (unless you're growing a white or mottled variety). The vines will begin to shrivel and dry out. Most importantly, the pumpkins' skin will be tough. If you can indent it easily with a fingernail, the pumpkins need more time on the vine.
-
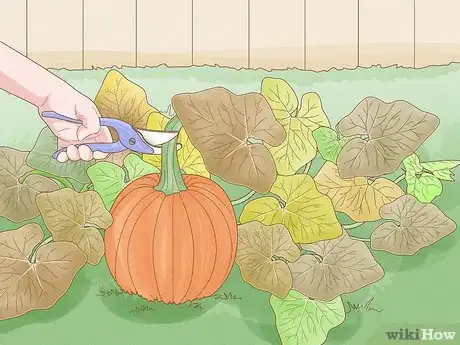
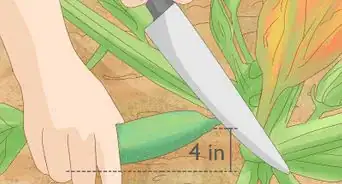
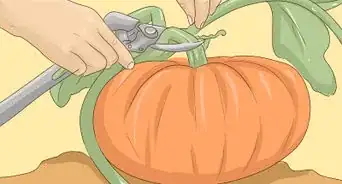
2Use shears to cut the stems. Leave several inches of stem at the top of each pumpkin, since this keeps them from rotting too quickly. Don't pick up the pumpkins by their stems, since if the stems break their bases will rot.
-
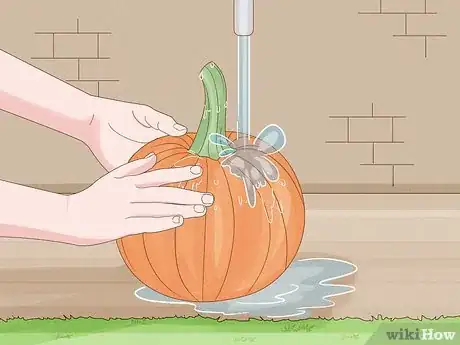
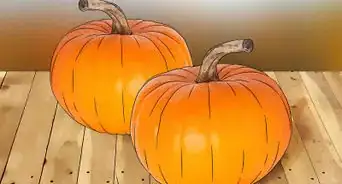
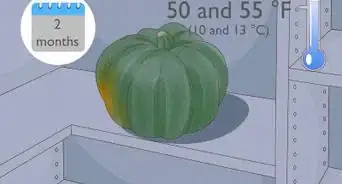
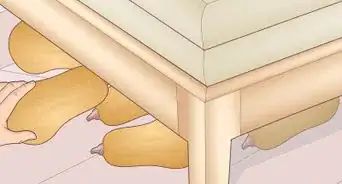
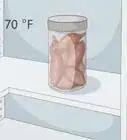
3Rinse, use and store the pumpkins. As soon as you cut them, they're ready to be removed from the pumpkin patch and used in whatever way you like. Rinse them off (you might need to scrub the dirt off the bottom) and either cut them to make pie or carve them into jack-o'-lanterns. If you store pumpkins in a cool, dry place they'll keep throughout the winter months.
Community Q&A
-
QuestionDoes the round end of the seed go into the soil with the point of the seed straight up?
 Community AnswerNo. The point of the seed is where the roots comes out, while the round part is where the sprout leaves are developed or enclosed.
 -
QuestionHow do I know if pumpkin seeds are dry?
 Community AnswerThey are white when dry, kind of grey-ish when wet.
 -
QuestionWill my pumpkins regrow the following year, or do I need to reseed?
 Community AnswerSince pumpkin plants die when cold weather arrives, you'll need to plant new seeds the following spring. However, if you planted more than one seed in the hill you made last year, and not all of those seeds sprouted, then the unsprouted seeds may grow the following year.
Warnings
- Don't remove the seed cover when plant first appears.⧼thumbs_response⧽
About This Article
To plant pumpkin seeds, wait until 75-100 days before you want to harvest them, which is about how long pumpkins take to grow. Then, choose a sunny, well-draining patch of wide open soil. Once you've found a good spot, make a small mound and plant 2-3 seeds 3 inches deep in it. If you want to grow more than one pumpkin, leave 4-8 feet between each mound. After you plant the seeds, water them regularly so the soil never dries out. To learn how to harvest pumpkins once they reach full size, scroll down!
