This article was co-authored by Maggie Moran and by wikiHow staff writer, Sophia Latorre. Maggie Moran is a Professional Gardener in Pennsylvania.
There are 11 references cited in this article, which can be found at the bottom of the page.
This article has been viewed 113,917 times.
If you live in a place where it is legal to grow marijuana, you can expand your crop by planting clones. Planting clones of marijuana plants is a simple process that only requires a few steps. Choose clean pots with new soil and provide a warm, moist environment with weak light to ensure that the clones thrive.
Steps
Ensuring a Healthy Environment
-
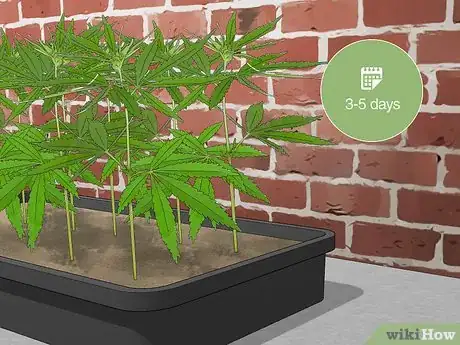
1Quarantine the clones for 3-5 days. If you got the cloned plants from an outside source, be sure to quarantine them before planting them. Place them in a separate room from the rest of your plants for 3-5 days. During this time, examine the plants for fungus or pests that could spread to your other plants.[1]
- Twisted, blistered, and wet-looking leaves are an indication of broad mites or russet mites.[2]
- Small specks or bite marks on leaves are a sign of spider mites.[3]
- Yellow spots on the leaves indicate a fungus called leaf septoria.[4]
- White spots, fuzzy patches, or powdery-looking leaves are signs of white powdery mildew.[5]
-
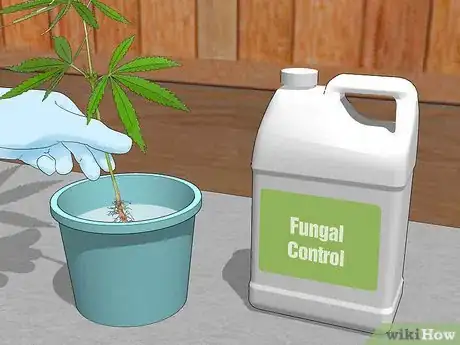
2Dip infected clones in a foliar pest or fungal control product. Fortunately, both pests and fungi can be treated using the same method. Get a foliar pest or fungal control product from a garden shop or marijuana supply store. Pour the liquid into a container large enough that you can fit the clones in. Dip each clone in the solution, then let it dry completely before planting.[6]
- Be sure to wear gloves to avoid getting the product on your hands. If your skin does come into contact with the liquid, wash them with warm water and soap immediately.
- You also need to avoid contact with your eyes.
Advertisement -
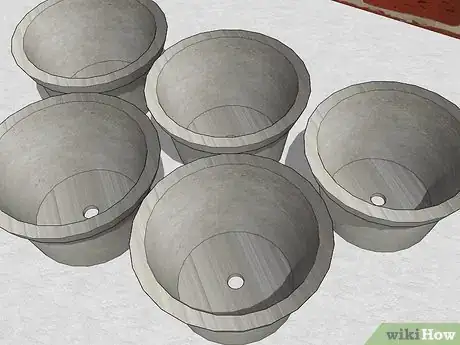
3Begin with new or clean pots with drainage holes. The pots should have drainage holes to keep the soil from becoming waterlogged. In order to avoid contamination, you should use new pots or sterilize used pots before planting clones in them. Spray or dip used pots in bleach or hydrogen peroxide to remove any leftover biological residue from previous plants. Let the pots dry completely before using them.[7]
- It’s best to transplant clones into small or medium-sized pots, rather than large ones, to ensure the nutrients in the soil aren’t drained off and wasted during watering.
-
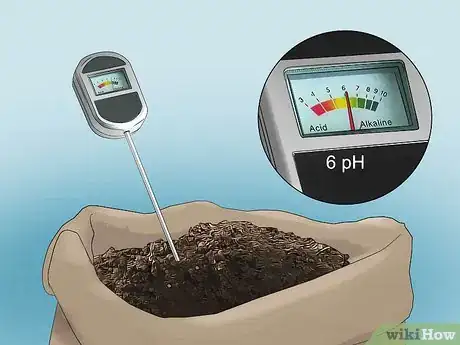
4Use new soil with high nitrogen levels and a pH of 6. Choose an organic soil with a diverse range of ingredients. Soil should contain high nitrogen levels for clones, as opposed to soil with high phosphorus levels for flowering plants. Ensure the pH of the soil you choose to use is right around 6 for best results.
- It’s important to purchase new soil, rather than reusing soil, to ensure that the clones aren’t contaminated with pests or fungus from other plants.[8]
Transplanting Clones
-
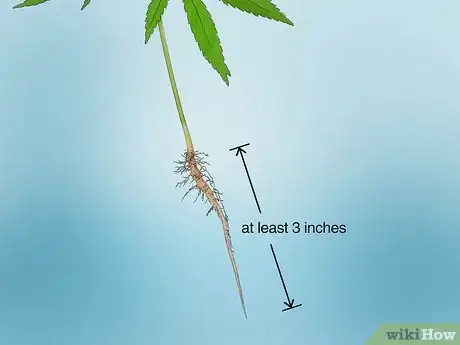
1Plant clones when the roots are 3 inches (7.6 cm) long. Though some growers opt to plant their clones once the roots reach 1 inch (2.5 cm) long, it’s best to wait until the roots are 3 inches (7.6 cm) or longer to reduce the chances of transplant shock.[9]
-
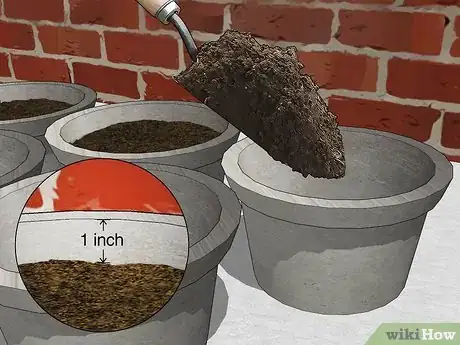
2Fill a pot almost to the top with lightly-compacted soil. Leave at least 1 inch (2.5 cm) of space between the soil and the top of the pot to leave room for the water to settle before being absorbed. Use the bottom of another pot to lightly compact the soil, but don’t compact it too much or the roots will have trouble spreading.[10]
-
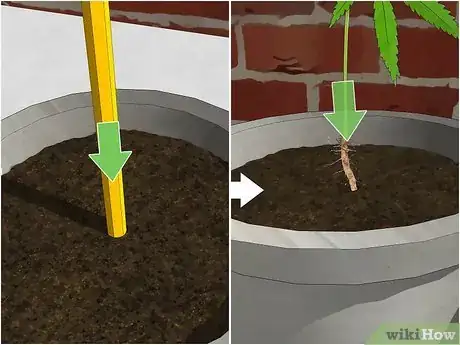
3Make a hole in the soil and gently place the clone into it. Don’t force the cuttings into the soil or growing medium. Instead, use the end of a pencil to make a hole in the soil, then gently place the cutting inside of the hole. Use your fingertips to fill the hole and cover the roots with soil.[11]
- If your clones are planted in rockwool, dig out a space in the pot large enough for the rockwool. Then, place the rockwool and clone inside the pot and cover the rockwool with soil.
-
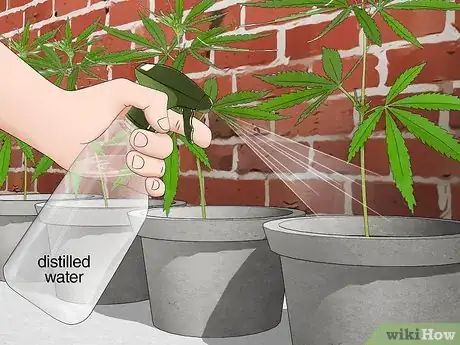
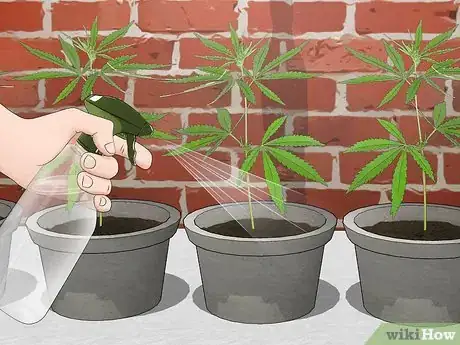
4Water and mist the clones immediately after planting. Use only distilled water for marijuana plants, as the minerals, sodium, and chlorine in tap water can damage your plants. As soon as you’ve gotten the clones in the pots, water the soil until it runs through the drainage holes in the bottom of the pot. Then, use a mister or spray bottle to lightly mist the leaves and stem of each plant.[12]
Caring for Clones
-
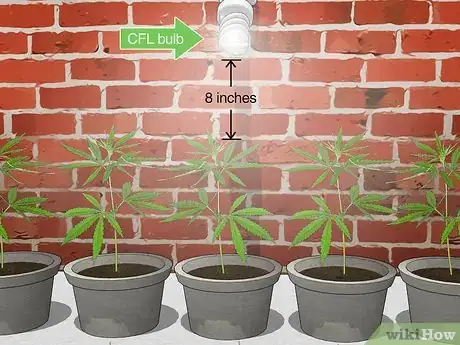
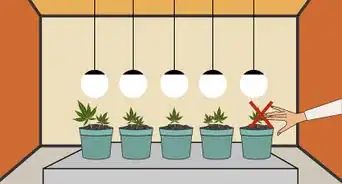
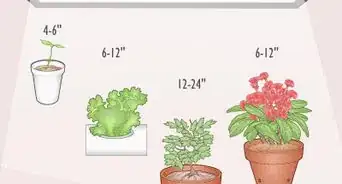
1Provide 18 hours of weak light per day. Strong, bright light is not necessary for clones. Use a weaker light, such as compact fluorescent light (CFL) bulbs, rather than high-intensity discharge (HID) light bulbs. Situate the bulbs 8 inches (20 cm) above the cloned plants. Set times on your lights so that the clones receive 18 hours of light and 6 hours of darkness in each 24-hour period.[13]
-
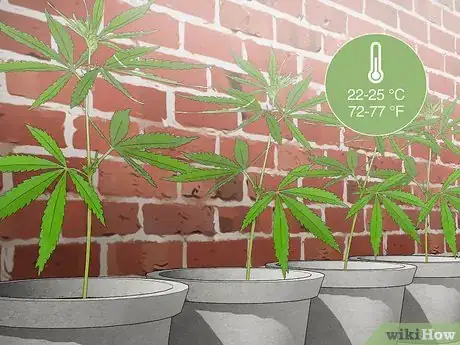
2Ensure the temperature is between 72 and 77 °F (22 and 25 °C). Clones need a warm environment to thrive. They do best with temperatures between 72 and 77 °F (22 and 25 °C), so use a heater or cooling system in your grow room if necessary. Do your best to keep the temperature as consistent as possible, as fluctuations in temperature can weaken your plants.[14]
-
3Keep the soil consistently moist. Check the soil each day to see if your plants need water. The soil should be moist, but not saturated. It’s better to water the plants small amounts more frequently than large amounts less frequently. You can also use a mister or spray bottle to keep the leaves moist, as well.[15]
-
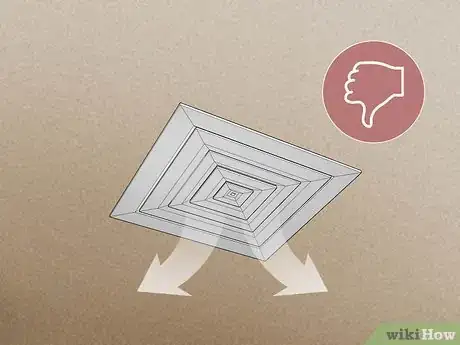
4Provide little to no breeze for cloned plants. It’s important to check your ventilation system before planting clones and adjust it as necessary. Because cloned plants are young and weak, too much of a breeze will dry out your clones. Ensure that there is little to no breeze in the space where the cloned plants are located.[16]
-
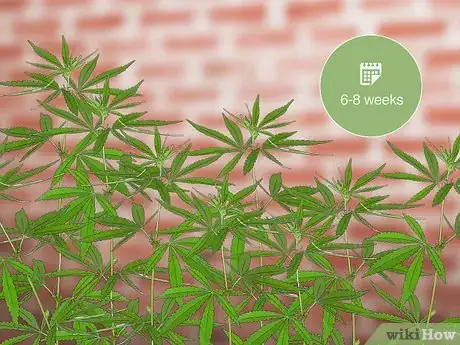
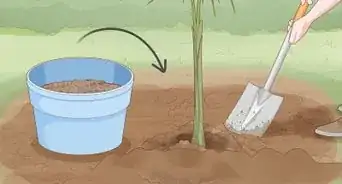
5Treat the clones as adults after 6-8 weeks. After 6-8 weeks, the clones are considered adult marijuana plants. If the roots grow to the bottom of the pot, you can transplant them into larger pots. Provide the same amount of light, fertilizer, air circulation, and water as you would for other full-grown plants so they can mature and flower.[17]
Community Q&A
-
QuestionCan adult marijuana plants be planted outside in the sun after 6-8 weeks?
 Community AnswerYes, although you may want to get a bucket or the growing bags found at your local hydroponics store. if you plant in the ground it is quite possible the plant will reach 10-12 feet tall, depending on the strain. be mindful of the time of year you're planting in your zone.
Warnings
- Only grow marijuana where it is legal and follow all rules and regulations concerning cultivation (such as only growing the number of plants allowed in your area).⧼thumbs_response⧽
References
- ↑ http://marijuanagrowershq.com/transplanting-clones-and-seedlings/
- ↑ http://www.growweedeasy.com/cannabis-broad-mites
- ↑ http://www.growweedeasy.com/spider-mites
- ↑ http://www.growweedeasy.com/yellow-leaf-spot-leaf-septoria
- ↑ http://www.growweedeasy.com/white-powdery-mildew
- ↑ http://marijuanagrowershq.com/transplanting-clones-and-seedlings/
- ↑ http://marijuanagrowershq.com/transplanting-clones-and-seedlings/
- ↑ http://marijuanagrowershq.com/transplanting-clones-and-seedlings/
- ↑ https://howtogrowmarijuana.com/marijuana-cloning/
- ↑ http://marijuanagrowershq.com/transplanting-clones-and-seedlings/
- ↑ https://howtogrowmarijuana.com/marijuana-cloning/
- ↑ https://howtogrowmarijuana.com/marijuana-cloning/
- ↑ http://www.growweedeasy.com/cloning-marijuana-guide
- ↑ http://www.ilovegrowingmarijuana.com/how-to-make-marijuana-clones/
- ↑ https://hightimes.com/grow/10-easy-steps-for-successful-cloning/
- ↑ https://merryjane.com/culture/12-tips-for-growing-clones
- ↑ http://www.growweedeasy.com/how-long-does-it-take-to-grow-weed
About This Article
All you'll need to plant clones is a pot with large drainage holes, soil, and a warm place for them to grow. Your pot needs to have good drainage because clones don't do well if the soil gets waterlogged. Choose a soil high in nitrogen, which helps clones thrive. Give your clones about 18 hours of weak light, like compact fluorescent light, each day for best results. Clones do best in environments between 70 and 77 degrees Fahrenheit, so make sure you place them in a hot room if necessary. You should also water your clones every day to keep the soil moist, but not too damp. For tips from our Gardening co-author on how to transplant cloves, read on!
